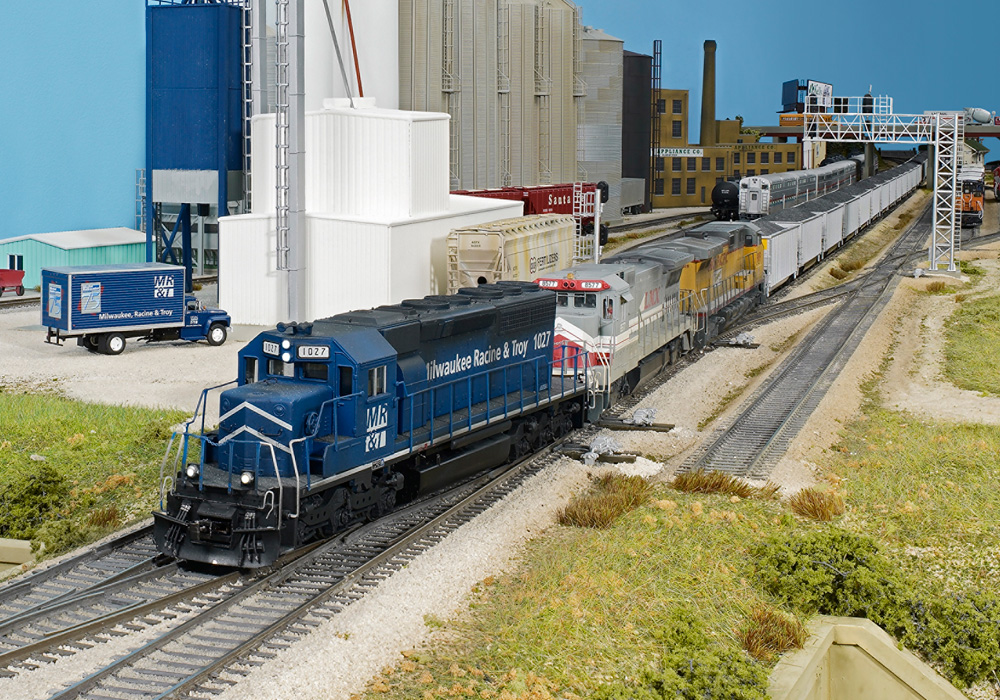
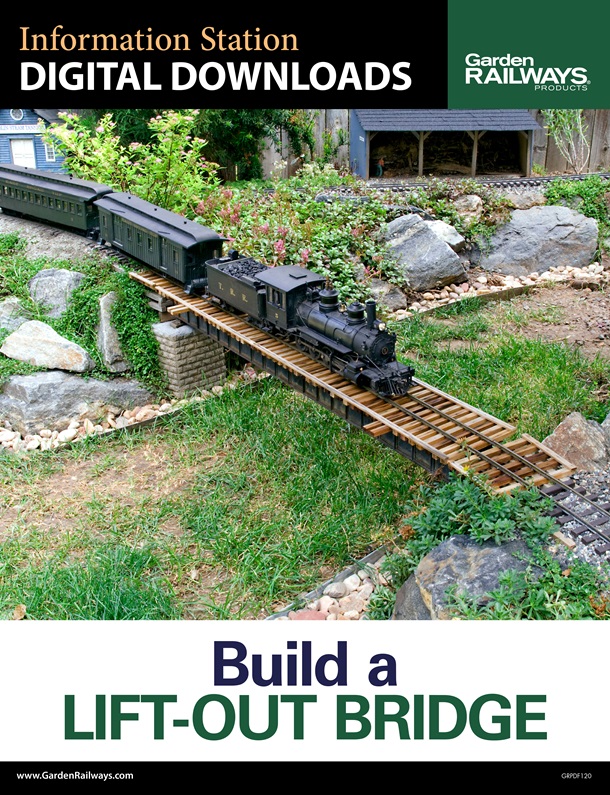
The importance of ballasting gauge-1 track: LGB track is heavy enough to float by itself in ballast, just like full-size railroad track. The ballast not only provides a good, solid base for the track, it keeps the track away from the soil and provides good drainage.
Marc Horovitz photo
Before we could begin ballasting, we had to remove our carefully made and placed track. We first scratched lines in the dirt on either side of the track. Then, to ensure that it went back together the same way, we labeled each track joint so we could easily match it with its neighbor later. Then we carefully lifted it, section by section, and stacked it out of the way.
We then dug a trench 1 inch to 2 inches deep along the entire roadbed to accept the ballast. Full-size railroads don’t put their track in trenches, they build the ballast up. Unfortunately, this doesn’t work so well on little railroads. Our ballast doesn’t have the mass of the larger stuff and tends to subside, erode, and generally go away, leaving the track high, dry, and usually uneven. So we put it in a trench, which retains it.
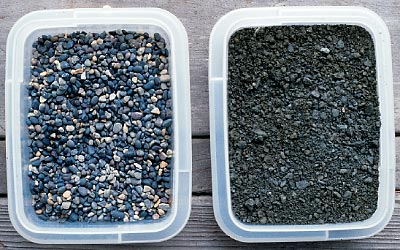
Once the arduous task of digging the trench was finished and we all had something tall and cold to drink, we went off to get some ballast. We found what we needed at a local landscape supplier and filled the back of our pickup with it. When we got home, the kids very kindly brought it around back in many wheelbarrow loads. They dumped it on a large tarp that we had spread on the lawn nearby.
We then began filling the trench with ballast. It was filled more or less to the top, then tamped with a tamper. You can also use a 4-by-4. Tamping the ballast is extremely important. If it isn’t thoroughly tamped, it will settle erratically, negating all the work required to get it level.
When the whole trench was filled and tamped, the track was replaced in it. Our trusty water level was brought out again and the mainline was checked for levelness. Of course, it wasn’t level at all, so we had to go back in and add more ballast in some places and remove ballast from other places. Gradually the line became level.
Since we had now established the final level of the track, the trestle was also installed at this time. It was sunk in ballast much the same way the track was, bringing it up to the level of the track above. The trestle was tamped in so that it actually supported the track. The track was attached to the trestle by Jack Verducci’s method of drilling holes through the web of the rails and literally tying the rails to the top stringers of the trestle with copper wire (GR, December 1998, p. 118). This method is surprisingly unobtrusive when the ends of the wires are clipped.
The road up
Our spur line takes the high road up the side of the mountain. We’d calculated a 3% grade, which shouldn’t overtax our little engine too badly, and roughed it in accordingly. However, now we wanted to make sure that the grade was smooth and accurate all the way up, not steep here and shallow there, just averaging out to 3%.
To easily measure our grade, we adopted the step-block method. This involved using a level of a set length with one end set up on a block of known height. Using the level and step block, we measured the angle of the track all the way up, smoothing where necessary, until we reached the top and the track became level again.
Ballasting gauge-1 track
Once the track was level, final ballasting could begin. We poured loose ballast over the track and brushed it down between the ties with a broom. Then we took tamping sticks-sticks that were narrow enough to fit between the ties-and we began to go around the track, using our sticks to force the ballast into all crevices, compacting and settling it. We could feel the ballast firm up under the stick. In some places the ballast was very loose, and more was required to maintain the level, which we added as we went along.
This was fairly hard work, but it was important. Track in firmly tamped ballast stays put. In harsher climates, where frost heave occurs, well-ballasted track requires much less reballasting and releveling in the springtime than loosely ballasted track or track with no ballast at all.
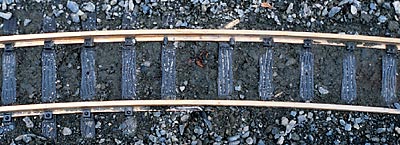
The level was checked one last time and a very few minor adjustments were made. Finally, we took a hose with a fine-spray nozzle and watered in the track. This helps the rock dust to settle in and bond the track with the earth. Well-ballasted track looks like it is of the earth, not just sitting on top of it. When we finished, we walked on the track. It felt firm and stable underfoot-no give at all, which is what we wanted.
There’s a psychological element at work here, too. The more effort expended on a project, the greater the sense of pride and accomplishment once the job is finished. When we finally completed the job of ballast tamping, we stood gazing at our work, feeling like something really good had been done.
Learn more in our beginner’s booklet.