


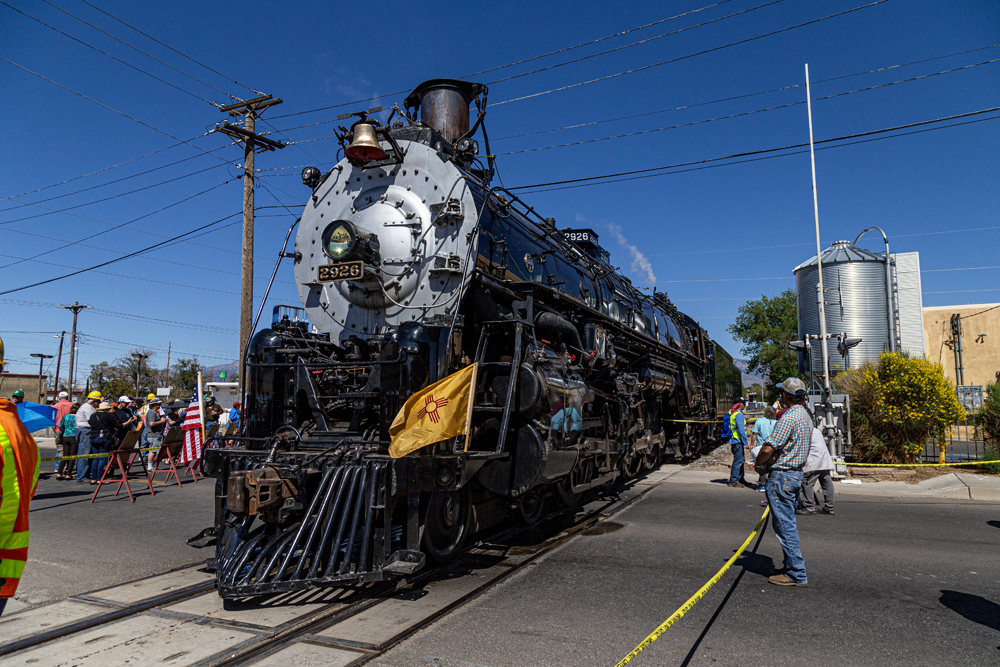
The traditional roundhouse is fast becoming a memory. Modern diesel locomotives are serviced in giant steel pole sheds that have more in common with an airport hangar than a railroad building. These days, a roundhouse is more likely to be a railroad museum than a functioning shop.
In the world of O gauge, you won’t find many roundhouses on home layouts either. But in this case, it isn’t a sign of the times – it’s a sign of the size.
The model
Atlas O’s venture into the realm of roundhouses proves one thing: Even a “small,” three-stall facility takes up a lot of layout real estate. And that’s before you begin laying track to let you use the facility as it was designed.
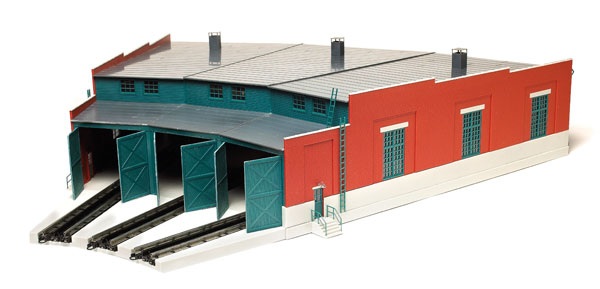
The assembled O gauge kit (no. 6904) makes a tapered footprint roughly 38 inches wide (along its rear wall) and 38 inches long. Tack on an Atlas O 24-inch turntable and a few sections of approaching track and you soon have a 70-inch-long storage and service facility, at the minimum.
But if you have the space, Atlas O has the kit. It’s a fine representation of railroad history, in this case a Delaware & Hudson roundhouse.
Assembling the kit
Atlas O designed this kit to eliminate as much of the guesswork as possible. It features numerous slots and footings that help you correctly position important parts, especially the walls. The instructions wisely suggest the use of a square to ensure that you cement the walls perpendicular to the base.
Keep in mind, however, that this isn’t a snap-together kit. It helps if you’ve built a few kits.
First of all, you need to find the space to build it. I bought a 4- by 4-foot sheet plywood to use as workspace. The assembled base alone would dominate a dining-room table – which probably isn’t the best place anyway. Because the finished building is cumbersome to move once assembled, I suggest building it as close to your layout as possible.
The base pieces slot together like old-fashioned slot-car tracks, creating a firm platform once the glue has dried. Atlas O recommends using liquid plastic cement for styrene. I agree. The best way to glue pieces, when possible, is to hold them together and to brush the liquid cement along the joint. You have to hold the pieces together for 30 seconds or less to make the initial bond.
However, for the long foundation and trim pieces, you’ll want to use a liquid cement that doesn’t evaporate so quickly, allowing you to coat both pieces separately and then press them together. In this regard, Testor’s liquid cement is better than Tenax-7R, both of which I used to build this sample.
Instructional issues
The instructions and drawings were helpful during construction, but there were some discrepancies.
The window glass material was precut on our sample; there were not printed sheets marked for you to cut, as the instructions state. So don’t look for a large sheet in the box; instead, find the small bag that almost blends in with the other parts. Our bag did not include enough glass pieces to cover the openings in the three doors, so I used some scrap .010-inch clear styrene cut to fit.
The instructions also failed to mention that the clear plastic has an almost equally clear protective coating (like waxed paper) on either side.
Remove the coating before gluing the glass in position.
A square proved handy for installing the walls, but the instructions also suggest using it for squaring up the internal metal braces. Frankly, there isn’t enough surface area on the braces for a square to be of much use. Also, one of the braces wasn’t perfectly flat in our sample.
The instructions suggest that, in places, you may need to do some sanding. What made the instances daunting was the size of the building – these kit parts aren’t small, so even removing a little material along one edge can take some time.
In all, I spent around three hours sanding or filing parts.
The instructions state that the foundation and base trim pieces are beveled so they fit properly against each other if installed correctly. Well, if the pieces are beveled, it sure wasn’t obvious. Your best bet is to make sure that the smooth side of the pieces face outward so the side with the little circular casting marks is hidden and glued against the structure.
Lastly, the instructions mention only three roof drain pipes. Actually, four are included, so you can cover each of the rear wall seams if you carefully position the pipes.
Finishing touches
There are many ways to improve the appearance of this structure. First of all, you should paint it, although for this review I built the kit as-is straight from the box. Atlas O shows a painted version on the box, so use that as a color guide or have confidence in your own choices. It makes sense to paint the parts while they’re still on the sprues before assembly, but you can also brush-paint or spray-paint the finished structure by careful masking.
Also, an odd piece on the green sprues proved useful. I cut the thin strip of styrene into two pieces and used it to cover the gap between the skylight window sections above the front doors.
You won’t want to hide this kit on your layout. Well, actually, you can’t! The point is that it won’t just command space; it’ll demand attention. Atlas O even designed this roundhouse so that you can buy two or more kits at once and combine them from the start, making an even bigger structure!


Great kit, worked well for me.
nice detail on sides,small enough to fit most layouts