


Having to disassemble a train layout is always frustrating, thinking about the time and effort I put into building it. But alas, many model railroads eventually run their course, and the space is needed for other uses.
In my 40s, I began thinking about a layout that could be preserved yet be flexible enough to accommodate modifications and hobby technology improvements. When my son was in high school, I built a 14 x 18-foot model railroad that pivoted up to the living room ceiling. To get the necessary strength and rigidity, I used 18-foot-long 2 x 6s and a ¾” plywood surface. It made the framing and surface prohibitively heavy. Eventually, this idea bit the dust.
After retiring, I thought about the living room layout idea again. I wanted a clean design form and fit for a given space, lightweight construction, and the ability to easily modify and update the layout.
In southern California, we generally don’t have basements and attic space. I thought I’d be relegated to designing an “elevated layout” (approximately 1 foot below the ceiling) that might measure 35 x 20 feet in our kitchen and family rooms. The more I explored this idea, the more disillusioned I became. Going up and down ladders had little appeal to me. Looking up at a train layout 7 feet up an 8-foot wall would have reduced visibility, particularly for a two track O-72 design.
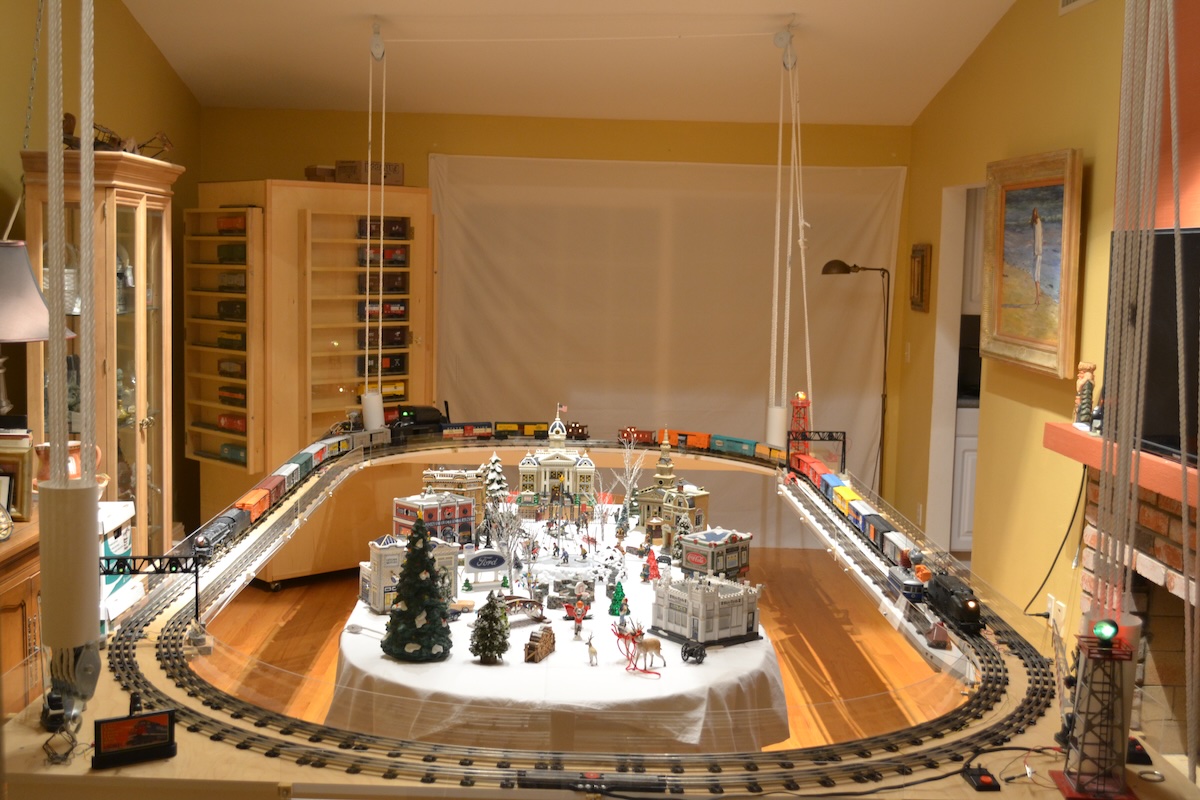
After decades of experimenting with different ceiling designs, I believe I’ve created an optimal layout. It’s suspended from the ceiling by its four corners with the bonus of being able to raise and lower it in minutes.
Starting the build
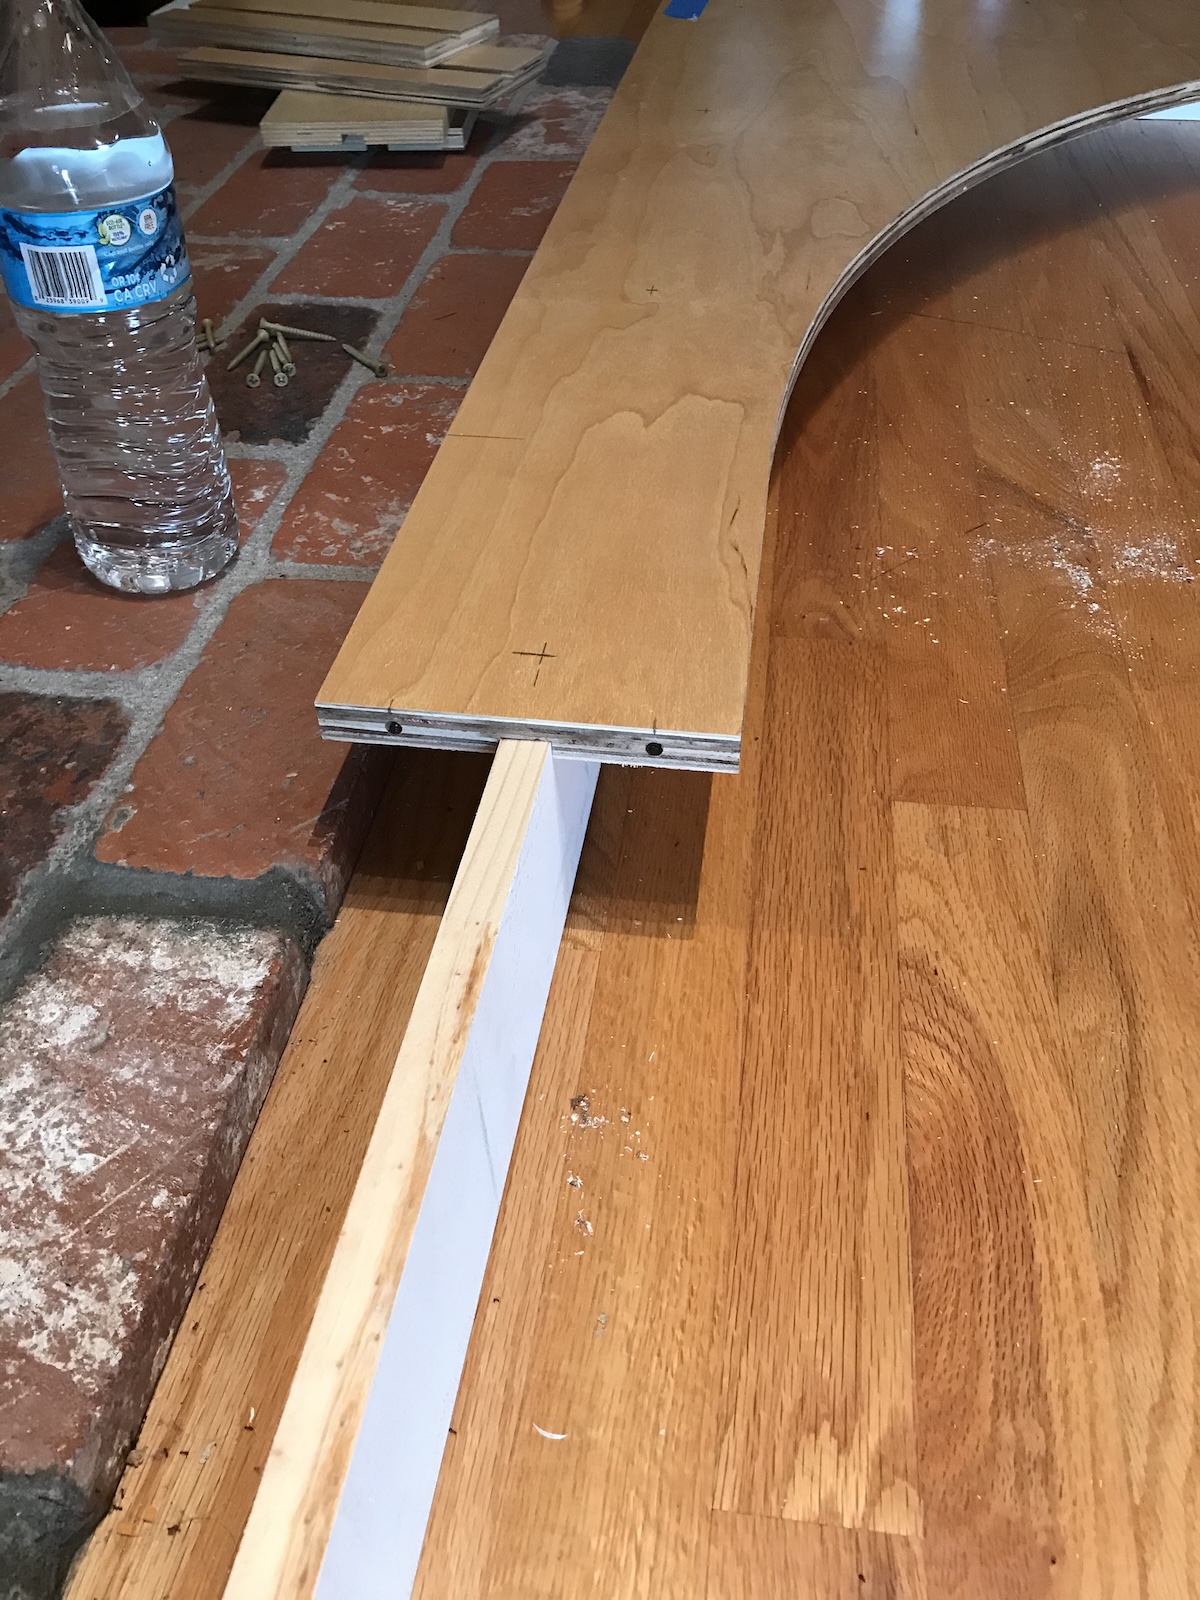
I used three 14-foot-long 1 x 4s for the underlying perimeter structural support and 3/4” pre-finished birch Melamine for the layout’s surface. Most notably, I used dado cut into the underside of the birch. The 1 x 4 inserted into the dado creates a “T” structure and gives the layout the needed rigidity to support the track and help the trains roll smoothly.
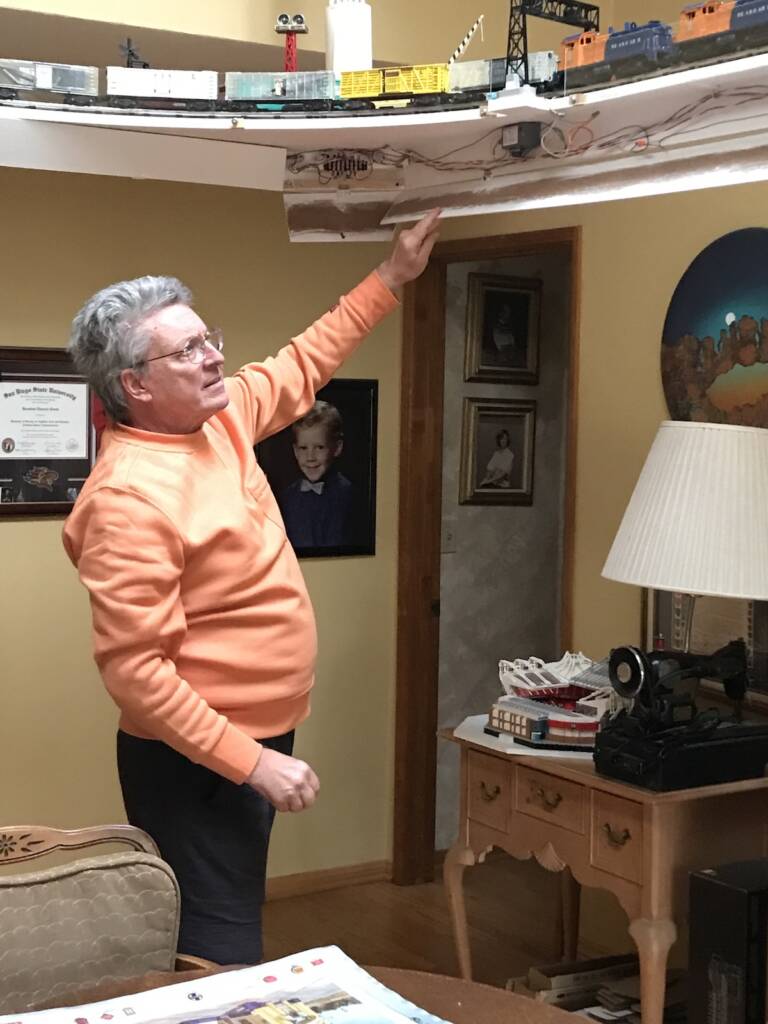
As an added benefit, the inside base of the “T” frame contains the layout infrastructure, including power strips, wiring, and relays. I added hinged, drop-down service panels to conceal the contents. I painted the entire underside of the layout ceiling white so it blends in with the ceiling when the model railroad is raised up.
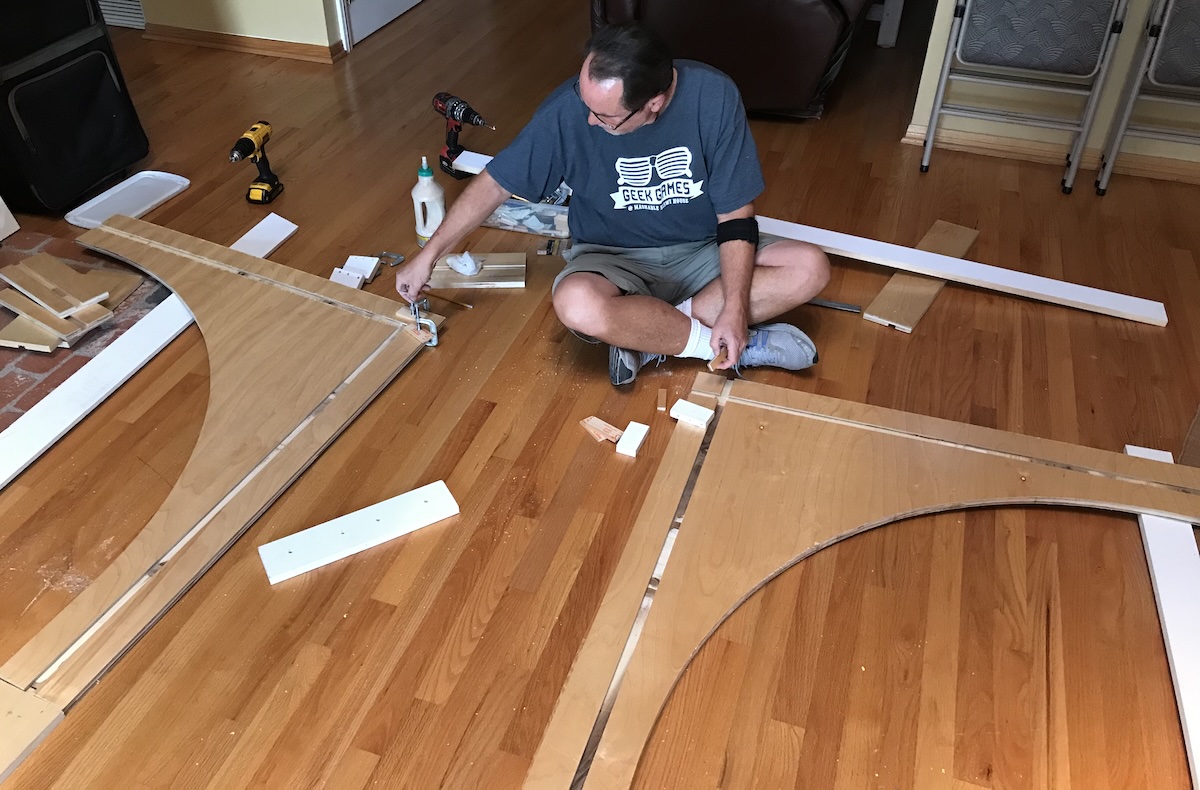
The early stage of the building process was fairly straightforward. The shaping of the four corners required a jigsaw, a template, and a router with a pattern bit to accurately cut the O-72 curves. The ¼-deep dado joint brought all the pieces into perfect alignment during assembly. I used dowels to connect the Melamine sections, allowing for smooth alignment as well as increasing the strength and rigidity of the overall design. I attached the dado cut under the birch surface to the top of the 1 x 4s with screws and carpenter’s glue.
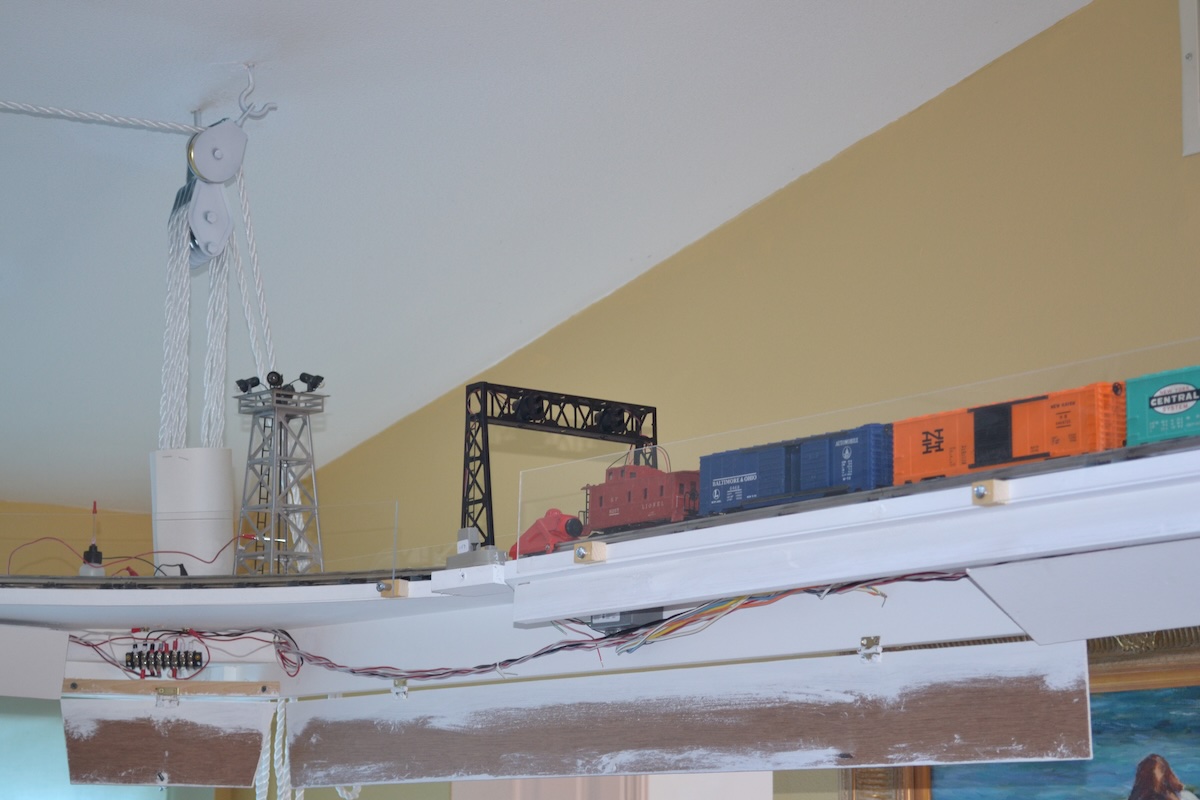
I installed heavy-duty eyebolts to the four reinforced corners and the 2 x 6 stringers in the vaulted ceiling. I used an improvised plumb bob to accurately locate the eyebolts on the four corners of the layout, strung nylon ropes through the eight blocks and tackles, and attached them to the eyebolts. (A block and tackle, or tackle, is a system of two or more pulleys with a rope or cable threaded between them, usually used to lift heavy loads.) I added small bubble levels at the two lifting corners to help set a level alignment when raising or lowering the layout.
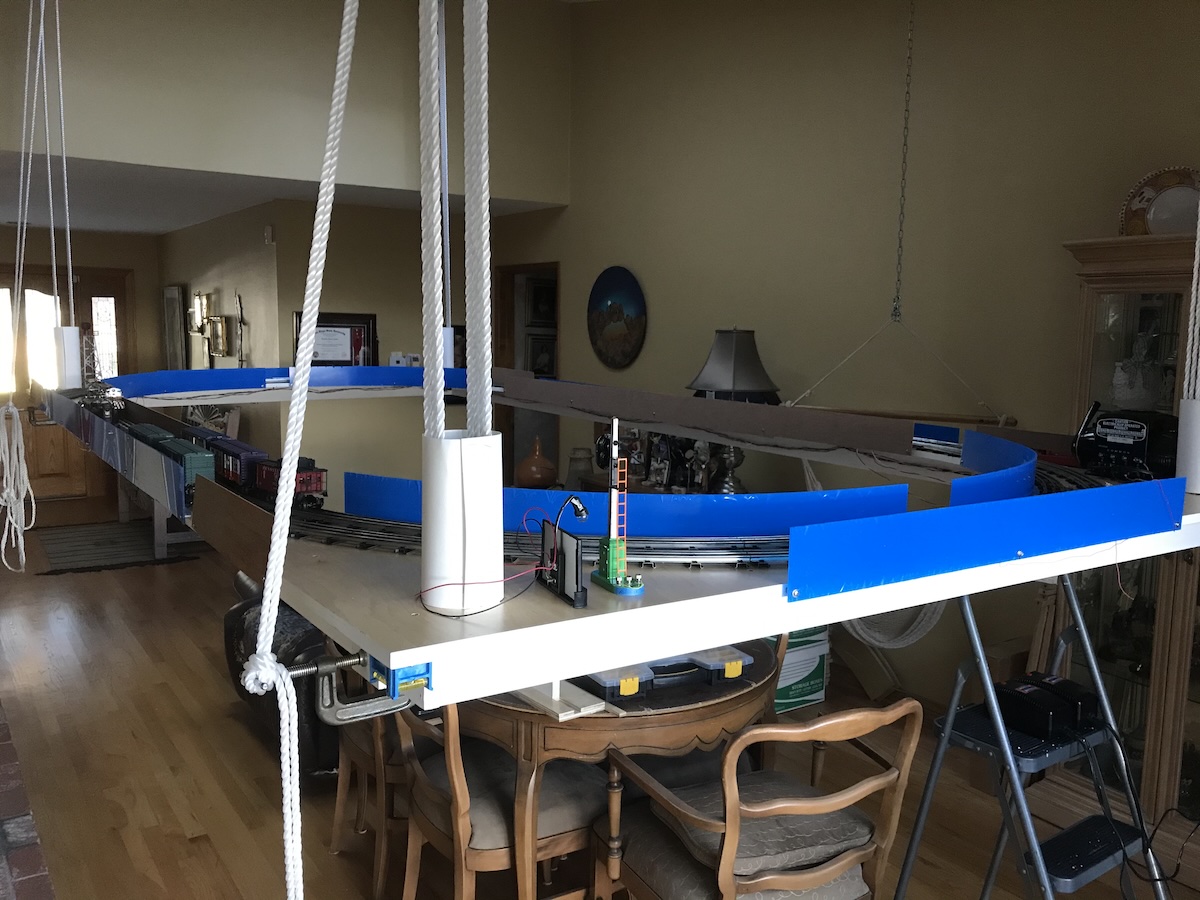
The block and tackle corner placements allow for two people to raise and lower the entire model railroad from just two corners on the same (long) side of the layout. I installed 1/8” clear acrylic plastic on the sides of the layout to prevent derailed equipment from ending up on the floor, while at the same time providing a clear view.
I purchased four floor-based telescoping tripods that I thought I’d need for stable train operation. I was pleased by the stability of the layout without them. The tripods did come in handy when installing and hanging the layout from the ceiling for the first time, though.
All changes with track, wiring, and installation of accessories can be done without having to reach across the layout, slide under it, or climb a ladder. I raise or lower the layout to a comfortable working height. If we need to use our formal dining table on short notice, no problem; I can raise the layout out of the way in less than a minute.
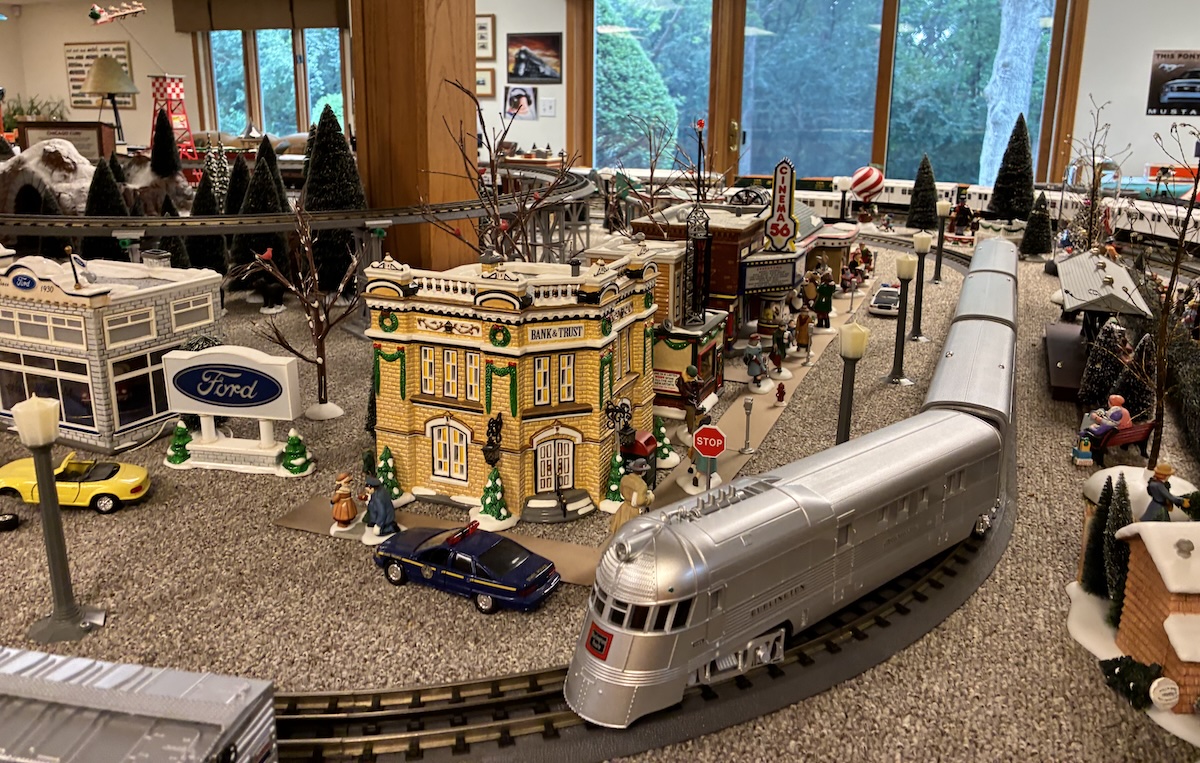
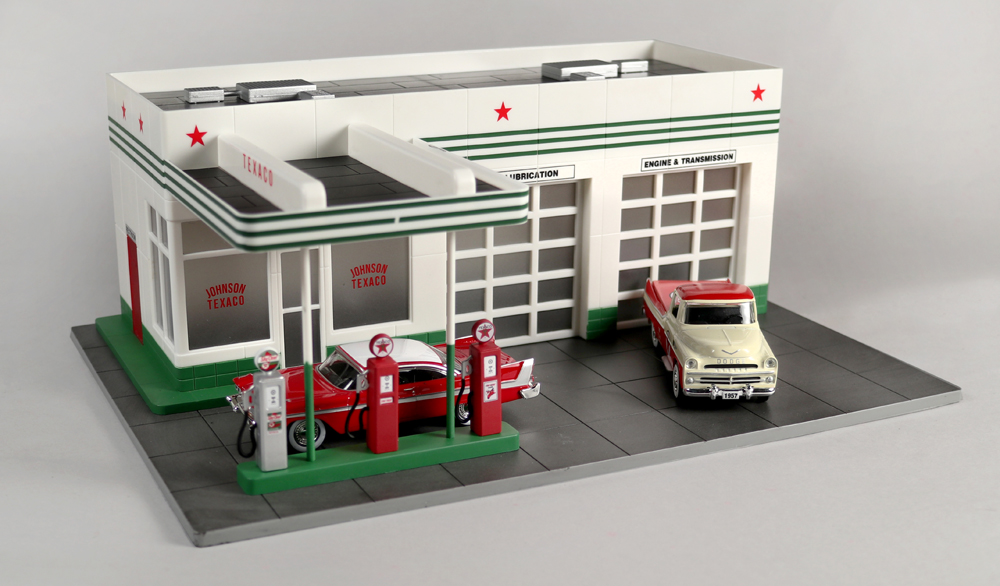
As for the open real estate on the four corners, I have enough room to place buildings, landscapes, and operating accessories. If I purchase a vintage accessory, the install is quick and easy. The fun part of this model railroading experience is deciding what new themes and operating accessories to rotate in and out.
I’m experimenting with better accessory electrical control features, such as employing a relay to more effectively control the Lionel No. 450 signal bridges versus using the pressure-sensitive (and quite finicky) Lionel 153C contactors.
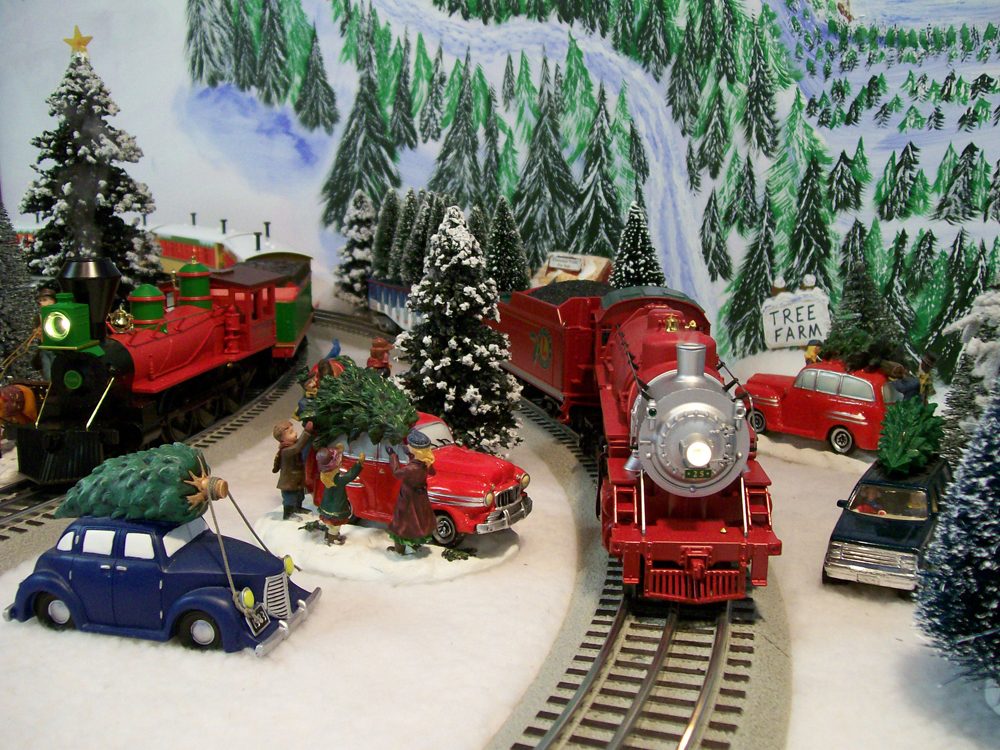
The holiday season on this layout takes on a festive appearance with my wife’s Department 56 buildings and accessories in a village setting on top of our formal dining room table. By raising the layout to the ceiling, she can walk around the table during the set-up process. Once the buildings and accessories are in place, the layout can be lowered.
Benefits of an elevated block and tackle layout
- The layout lowers into position in less than a minute.
- Layout viewing for guests can be easily adjusted to any level.
- My wife can set up a holiday theme of Department 56 buildings and accessories on the formal dining table in the center of the layout in an hour or two. Because of the ease of access around the table, her holiday layout usually comes down in less than an hour, with most of the time spent carefully putting items back into their original boxes.
- It’s easy to make changes to the decor or accessories at any time of year.
- Sometimes we will entertain guests with a meal at the formal dining table. We can set the layout at a comfortable viewing level and discuss any aspects of model railroading that may be of interest to our visitors. The trains travel around us while we talk!
- This kind of layout can be preserved for a long time (more than a lifetime), and be flexible enough to easily accommodate modifications and technological improvements.
- The block and tackle corner placements allow for two people to easily raise and lower the entire layout from just two corners on the same (long) side of the layout.
- Installing or modifying track, wiring, and accessories can be done without having to reach across the layout, slide under it, or climb a ladder. I raise or lower the layout to a comfortable working height, a huge benefit for anyone of any age.
- This kind of layout can be used in any room in your house. The underside of the model railroad is painted ceiling white, so it blends in when the layout is in the raised position.
- Underside service panels fold down around the perimeter of the entire layout, permitting easy installation of wiring.
- The layout benchwork is incredibly stable.
- I won’t have to demolish this layout in the future to recover desired living space.
Materials
14-foot 1 x 4s (3)
4 x 8-foot sheets 1/8” acrylic plastic (2)
4 x 8-foot sheets ¾ pre-finished birch Melamine (2)
Carpenter’s glue
Eyebolts (8)
Nylon rope
Small block and tackles (8)
Small, permanent bubble-levels (4)
Small single pulleys (2)


Great Idea looks like a fun project. I’m sure your guests love watching the trains!