


A version of this article first appeared in the December 2010 issue of Classic Toy Trains.
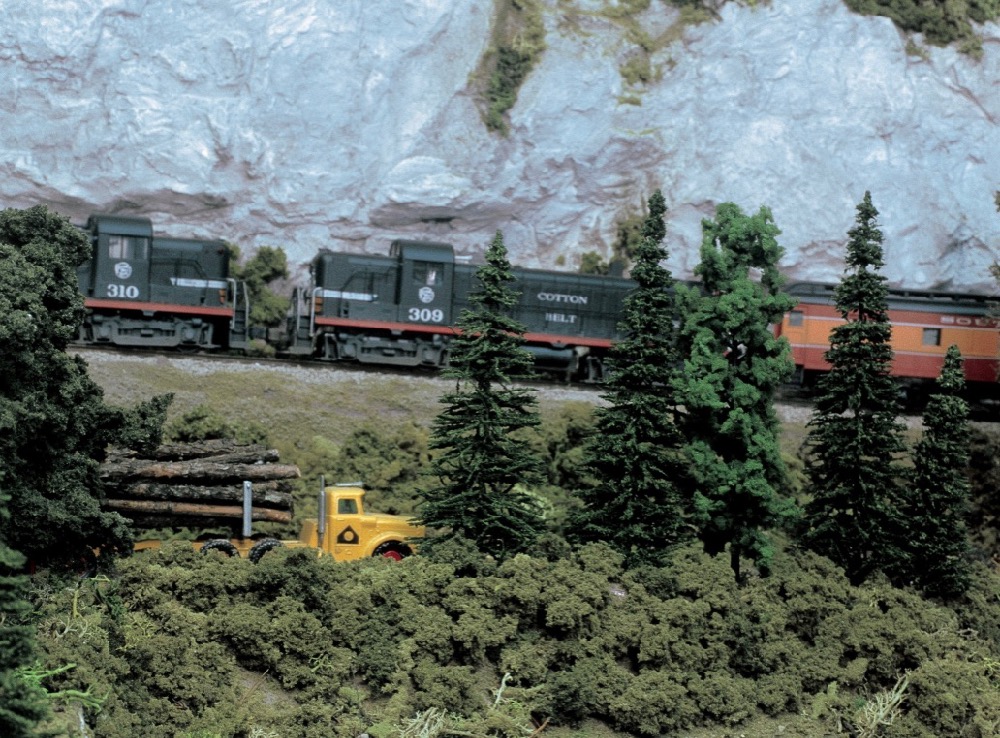
Elevated track adds another dimension (literally) to a layout, plus it lets you get more operation in the same space. It also adds fun – few things look cooler on a layout than a heavy freight fighting its way up a hill, smoke blasting from the stack.
Still, many toy train fans find that reliable operation on grades can be tricky. Now you know why you see so many “wedding cake” layouts, with multiple levels but no connecting tracks.
If you follow a few simple guidelines, you can enjoy reliable operation on all of your el-evated track, grades included. Yes, you’ll need to do a little bit of basic math, but the benefit is worth the time it will take. Then we’ll show you an easy way to build a viaduct that looks plau-sible and gives your track firm support.
Toy train physics
Grades seem pretty simple. You go uphill and then you go downhill, right? Well, yes, but several elements come into play.
The simplest is the slope itself, or how steep the rise is.
Railroaders usually express that as a percentage. If a train rises 2 inches for every 100 inches it travels, we refer to this as a 2% grade.
On a grade, your locomotive is not only moving the train, it’s lifting it – or holding it back. More about the latter in a minute.
You also need to consider that grades have curves, even on straight track. How’s that? Because your track makes a curve in the vertical plane as it transitions into and out of the grade.
Just as on the horizontal plane, the more gradual the curve, the easier it is for your train to get through.
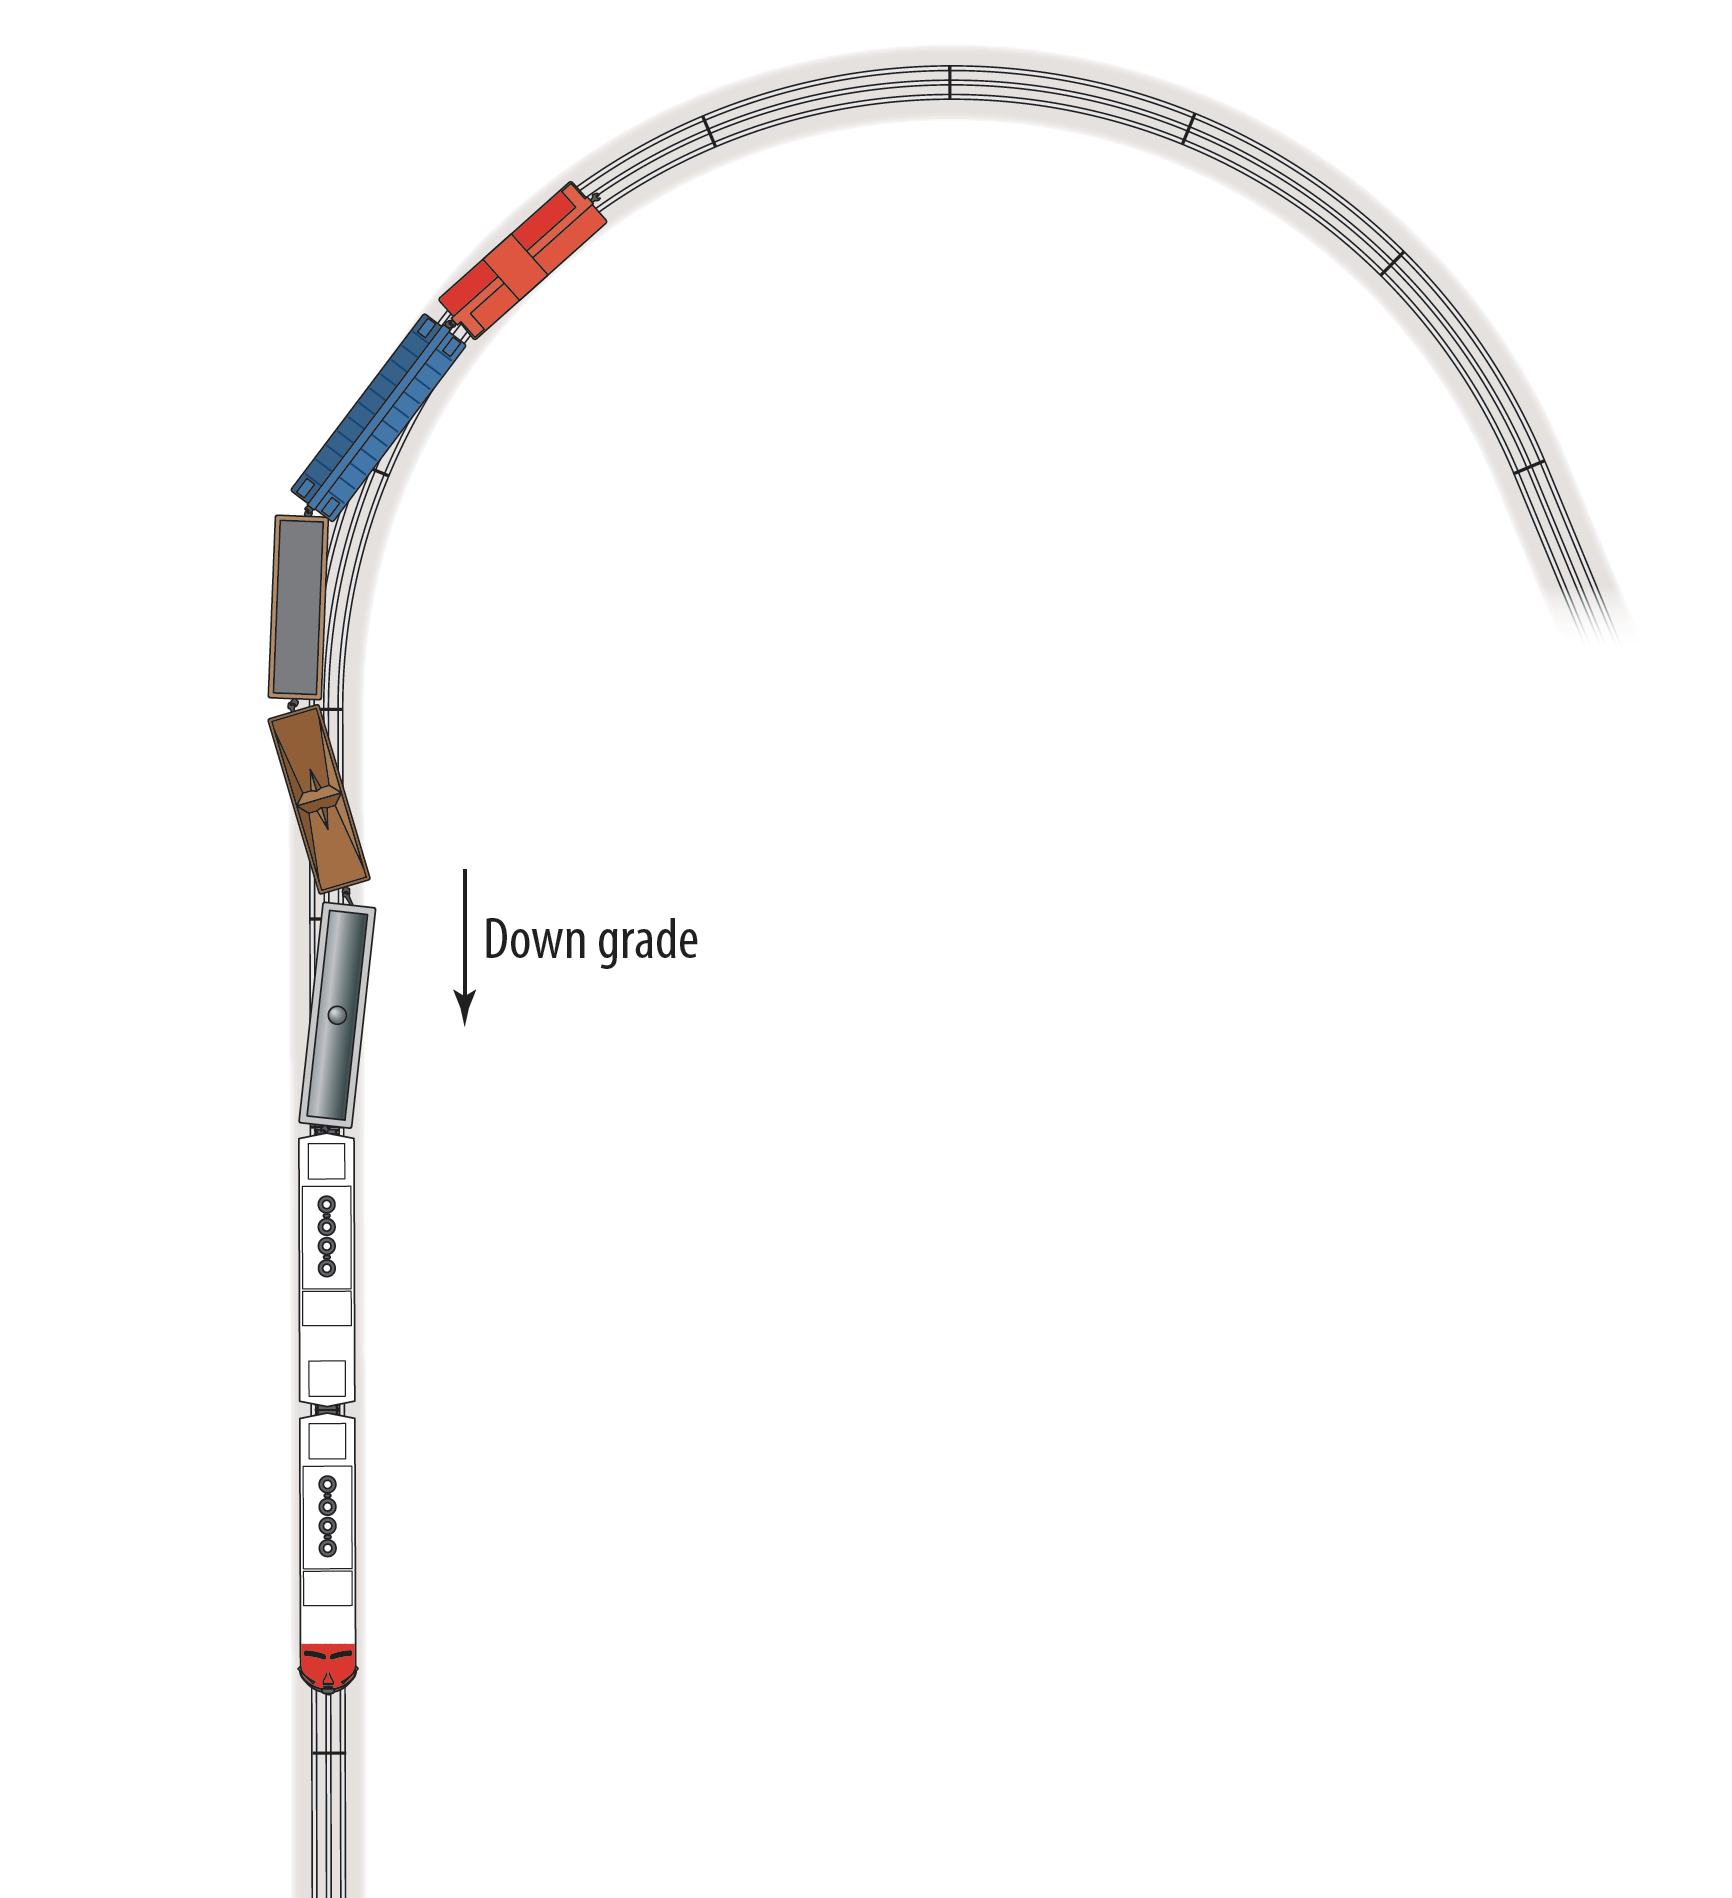
The weight of the train also comes into play. Going uphill, the train is harder to pull. Going downhill, however, your train is actually pushing the locomotive. When your train starts down a grade, the slack runs in, and that gives the locomotive a shove.
Depending on the grade, the curve, and the type of locomotive, that push can be a prob-lem. It can make your train go faster or, if the locomotive resists the force, cause the train to buckle.
Finally, don’t forget about the effect that curves have on grades.
We know that it’s harder for our locomotives to pull their trains through curves because of the additional friction on the wheels. Going uphill, curves intensify grades.
Going downhill, they lessen the grade but may increase the problems caused by the weight of the train.
A train on a downhill curve is more likely to buckle than is one running on a segment of straight track. In addition, a top-heavy locomotive is more likely to roll when it encounters a curve when going downgrade.
Rules for toy trains on grades
Having said all that, following a few guidelines as you plan your layout will minimize the problems and maximize the fun. Here, in no particular order, are CTT’s rules for grades:
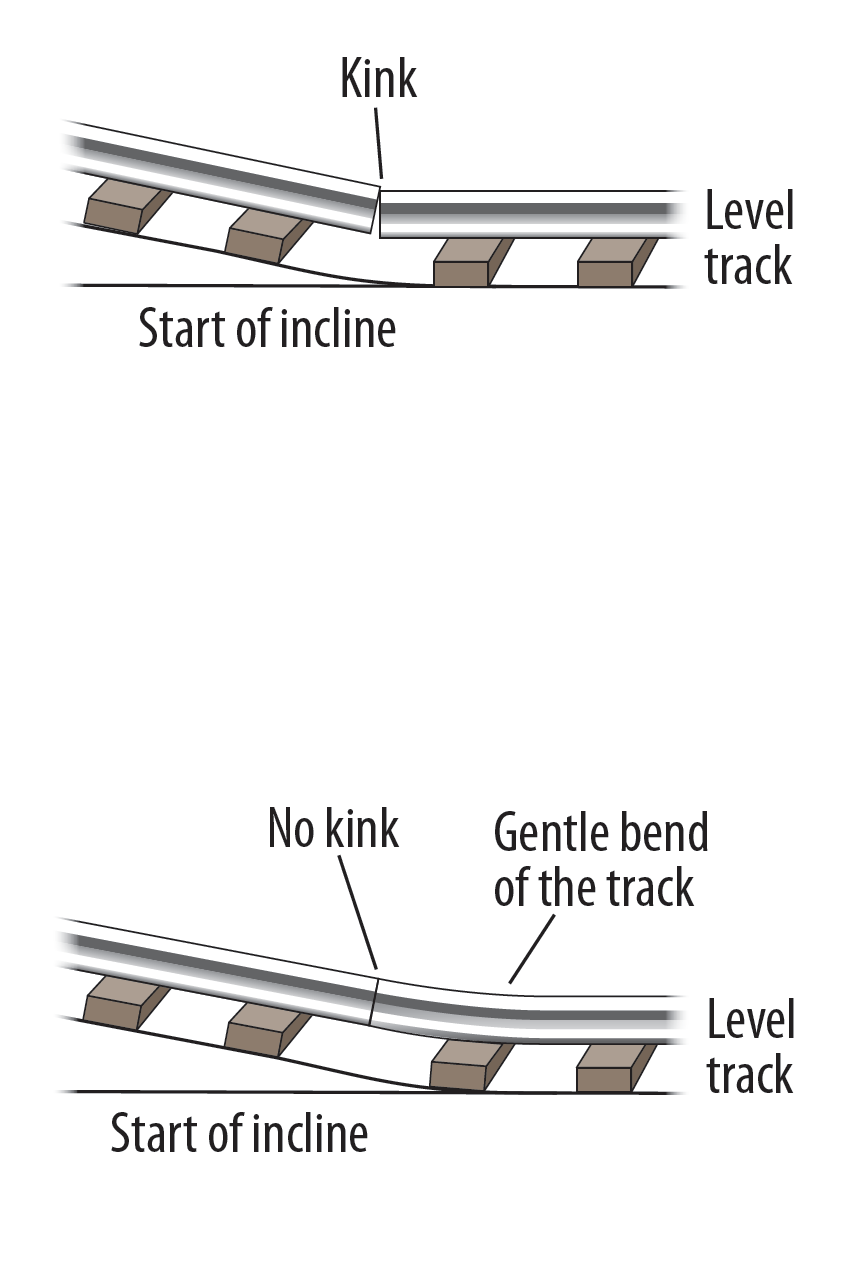
1. Ease into and out of the grade. Let’s say that on your layout the track will rise one inch every three feet – that’s steep on a real railroad but manageable for us.
At the top and bottom of the hill, cut the grade in half by allowing three feet for the first (or last) half-inch and making sure the vertical curve is smooth. If you’re using tubular track, you may want to bend some straight sections slightly to avoid kinks at the joints.
If you’re using modular track, you can’t bend the sections but you can switch to shorter sections in those areas. Making that change has the effect of making the track more flexible.
2. Reduce the grade if your track curves. If you’ve decided to attempt 4% grades, cut back to 3% or even 2.5% in curves.
The sharper the curve, the bigger the reduction needed. Avoid curves at the top and bottom of the grade so the track doesn’t have to curve in two planes simultaneously.
3. Provide more power. Use plenty of track feeders on the grades and sincrease your transformer size. The voltage provided by a larger power supply won’t drop as much when the load rises. Why is that important? Because if you’re using a small power supply, you’ll need to increase the throttle substantially to make it up the hill. If you forget to reduce it, your train will be at or near full throttle going downhill. Crash!
The Lionel Corp. used to recommend using insulating pins and the different taps on a transformer to provide a higher voltage on uphill sections and a lower voltage on downhill sections, but that works only if your trains always go in the same direction.
4. Avoid switches on grades. As in rule no. 1, you end up with the track curving in two dimensions simultaneously, plus you have a sudden increase in the effective grade on the curved route. Avoid this if you can.
5. Hold grades to an average of 3%. Measure the rise and the run (length of track), then divide the rise by the run, and multiply the result by 100. That’s your average grade in percent. In reality, you’ll probably have transitions at the top and bottom plus roughly a 4% grade in between, and that’s a very steep grade.
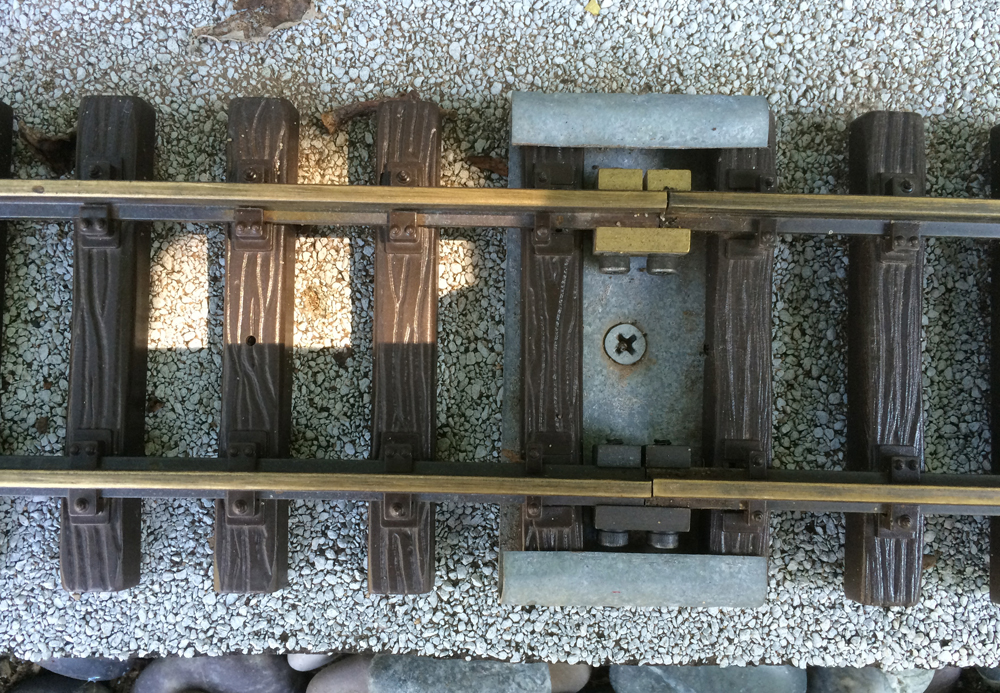
6. Support your track. The much loved (and much reviled) Lionel No. 110 trestle set often used on layouts. While it has its good points, the unsupported track between trestle bents isn’t one of them. The last thing you want is a heavy locomotive taking a sharp curve on shaky track.
With a little planning, you can have elevation changes on your layout without derailments, runaway trains, or implausibly unsupported track. Add a bridge or two, and you’re really in business.


Very useful article. What guidelines do you have for (1) banking curves to prevent downhill derailments (2) transformer power settings for conventional locomotives to avoid having to continuously adjust the throttle for climbing and descending?