Like most of us looking to craft “The Perfect Plan,” my efforts at track planning require a methodical approach. In fact, even before I sit down to render any track plan – large or small, simple or complex – I work through a number of preparatory steps that help me sketch a quality design.
Since many of you have the same goal, I’ll gladly share my six-step pre-design ritual. Granted, my method and the resulting plans won’t suit every taste, so I encourage you to adapt my steps or develop your own process.
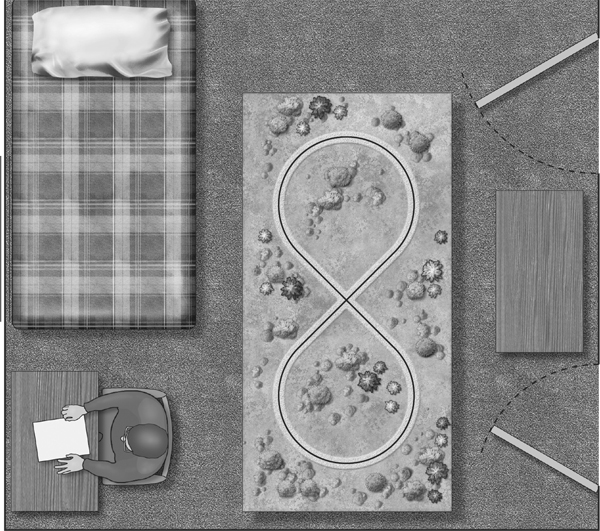
Observe and note the location and orientation of doors, closets, windows, vents, and light switches. It’s rarely a good idea to obstruct these fixed features, so you’re better off designing around them from the onset. Also consider the height and construction of the ceiling to make sure you account for new layout lighting, backdrop installation, and even exceptionally tall framework.
Even if you never get around to building a layout, you’ll at least have made improvements that enhance the room for any use. More often than not, you’ll be so inspired by the fresh coat of paint or bright lights that you’ll immediately want to start designing a layout. But for now, hold on to that thought.
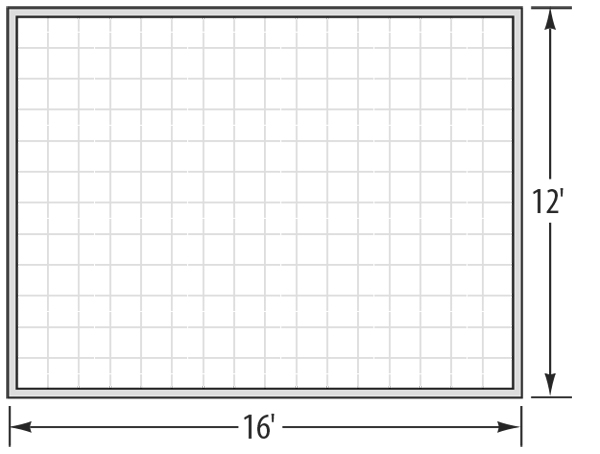
Typically, I’ll start by drawing a pencil sketch of the room on graph paper. After defining the walls, I record each of the previously noted room features. When I’m satisfied with this sketch, I make at least a half-dozen photocopies I can use for doodling out various layout designs any time an idea strikes.
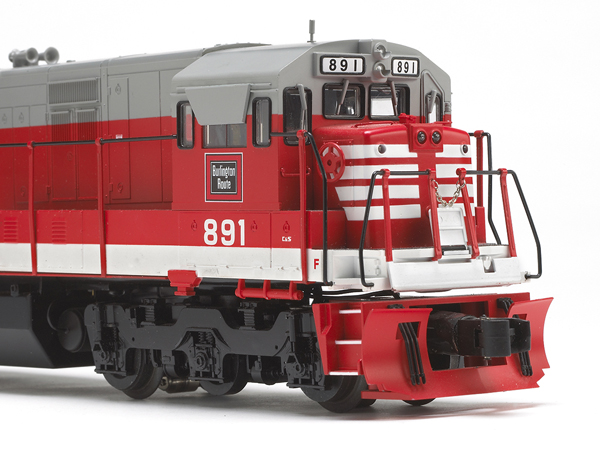
Case in point, when my father first considered building a new layout, I asked him to survey his collection. That’s when he realized his latest acquisitions were mostly command-controlled locomotives marked for the Chicago, Burlington, & Quincy RR. Hence, the basis of his new layout – a design that reflects the Burlington Route along the mighty Mississippi River.
Additionally, never discount the importance of dreaming up a layout that reflects you – not your friends, family, or the latest trend in the hobby. As the chief operating engineer, you’ll be much happier with the resulting layout.
For example, consider the track plan for CTT’s Retro Railroad [see the September 2009 issue of Classic Toy Trains]. The builders of this 4 x 8-foot O gauge pike opted to use tight-radius O-27 track to accommodate a layout scheme that wasn’t feasible with broader curves. As you consider the many track options now available, be sure to reference Bob Keller’s tips for selecting the right track, found here.
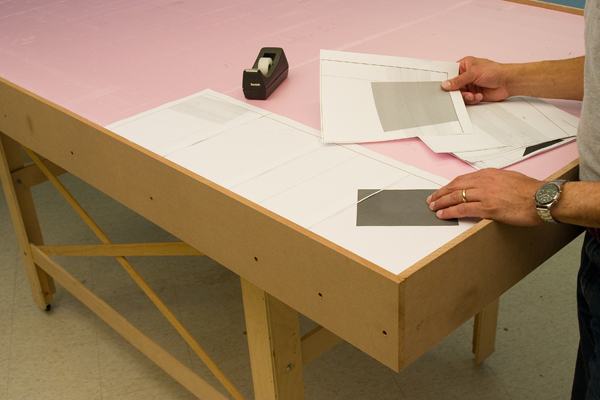
These features are ideal, but the real bonus is the provision that RR-Track includes for printing a full-scale (1 inch equals 1 inch) plan using a standard computer printer. These black-and-white printouts on 8½ x 11-inch paper can then be placed on a layout tabletop to test-fit a plan – all without the expense of purchasing track sections first.


The best designed layout for O gauge tinplate trains remains the L shaped double 5X9 featured in the 1957 Lionel catalog, providing one has the space. The only modification I’d make would be the addition of a drop leaf yard.