Videos & Photos Videos How To Benchwork Canadian Canyons Series: Part 6 – Expanding the benchwork and raising the grade

Canadian Canyons Series: Part 6 – Expanding the benchwork and raising the grade

By Angela Cotey | March 20, 2017

| Last updated on November 20, 2020


Email Newsletter

Get the newest photos, videos, stories, and more from Trains.com brands. Sign-up for email today!

Having trouble viewing this video?   Please visit our Video FAQ page
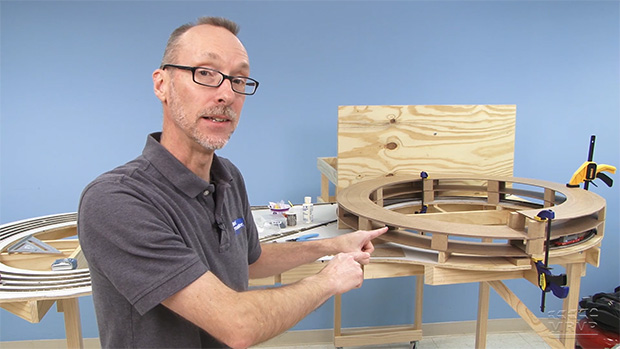
Here’s proof that even the best-laid plans can (and do) change! In this episode, David comes to realize that the layout really can benefit from one additional foot of real estate. He’ll show you how to amend the benchwork, and then install a new plywood panel. David then shows how to install the risers required to start the upward spiraling helix construction!

15 thoughts on “Canadian Canyons Series: Part 6 – Expanding the benchwork and raising the grade

  1. Just started planning my next model RR, wife wants double level (This is why we are married) I was very against it because I am very intimidated by building a helix. This video series is helping so much!

    would I be correct with my math? if I want to come up 18″, I will need 18 half circles???

  2. My current layout is based on your 2010 Project. But this one, has the wheels turning. I was born in Canada thus the first part of my interest, but secondly this is a real challenge. You’ve done a great job taking us this far. KUDOS to your video production team, after a career in broadcast journalism I know full well the work that goes into these segments. Well done team!

  3. Are you going to have to add one foot onto your van so the layout can be transported? Just kidding but something to be considered.

    I’ve really enjoyed this project as we just returned from Rocky Montaineer train journey thru the Frazer and Thompson river canyons. Very tempting to convert me to an “N” scaler so I can build this layout.

  4. David, as always your explanation of processes is excellent. The only comment I would offer is that when you cut the fillet pieces (or risers if your viewers prefer to use risers) you could actually profile the cut face of the fillet or riser at an angle to reflect the 2% rise. If done accurately, this will eliminate the gap you mentioned that shows between the low and high sides of the fillet pieces.

  5. Another fine video you’ve produced for this railroad David. Not sure if I ever will build an addition to my current layout, but if I do and I want to add a helix, you can bet I’m coming back to this and the following episodes to make sure I do it right. If nothing else, I enjoy watching you measure, cut and build the bench work as you’re very neat in your construction techniques.

  6. Wish this was made before I built my helix. Now I am thinking about tearing mine down and starting over as it seems to be much easier than what I built.

  7. David – Great work as usual. Seems like you might explore the use of pocket hole screws to simplify benchwork.

  8. nice! I have avoided helixes but your approach makes the process look easy if one is just careful in the measurements and construction. Thanks David.

  9. Thanks David ! I’ve been trying to work out starting my planned helix and this was a great help.
    Watching the web cam helped some and this answered many questions.
    Looking forward to more.

  10. Thanks David. Like Gary below I have avoid helixes but will consider an opportunity to building one now. Look forward to next episode.

  11. Been waiting for this part now I can start my Helix. Looks great, nice job with the making the changes clear.

You must login to submit a comment