Videos & Photos Videos Layouts Project Railroads Thin Branch Series: Build a Bridge part 4 – installation

Thin Branch Series: Build a Bridge part 4 – installation

By Angela Cotey | June 19, 2013

| Last updated on November 30, 2020


Email Newsletter

Get the newest photos, videos, stories, and more from Trains.com brands. Sign-up for email today!

Having trouble viewing this video?   Please visit our Video FAQ page

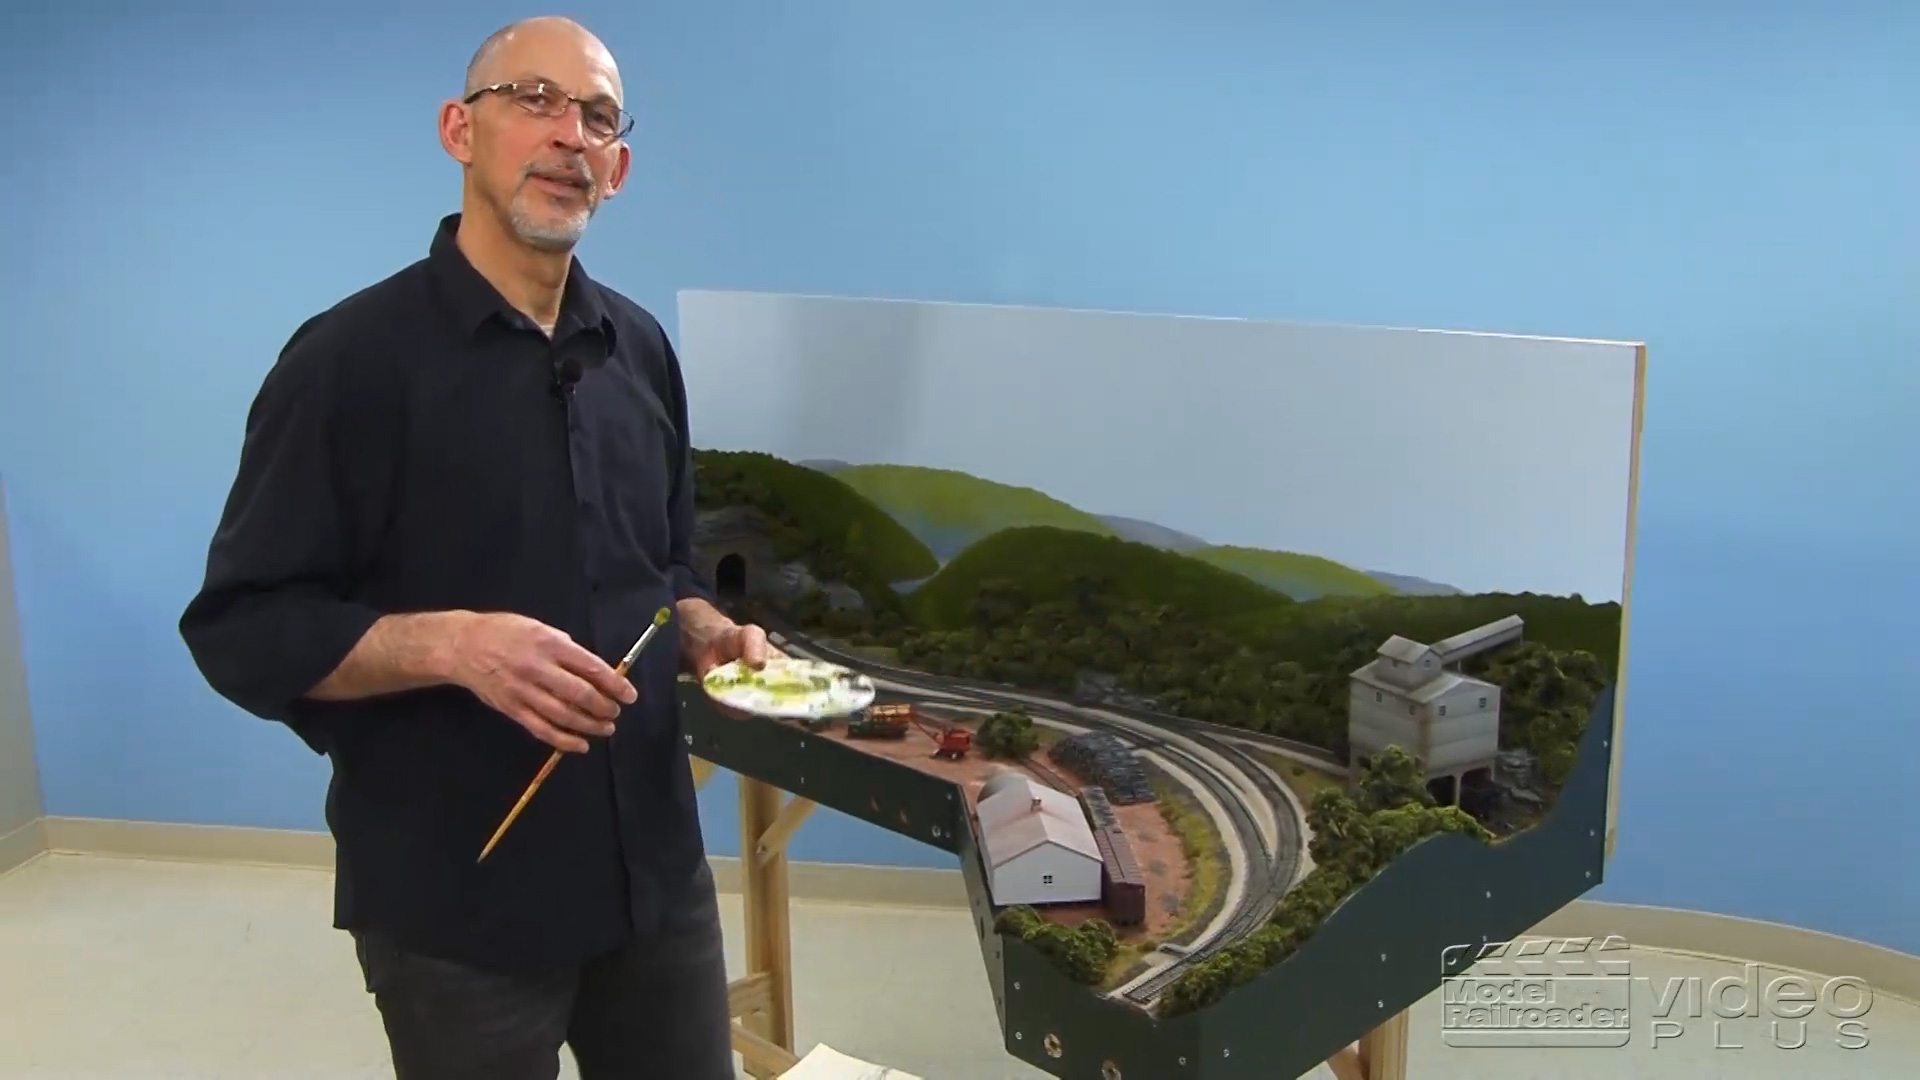
We close our four-part Build-a-bridge series by installing the model on our Thin Branch HO scale layout. In this video David shares some techniques for building foam scenery and working with plaster abutment castings to support our through-girder bridge.

9 thoughts on “Thin Branch Series: Build a Bridge part 4 – installation

  1. I am working on a larger ME 210" girder bridge for my layout. This video gave me some good basic information about fitting the bridge into the scene and creating the basic land forms around it.

  2. Great video! I was thinking you may be able to use a 1/8th inch or smaller wood chisel to save time working that notch in the abutment. Really good info! I've watched this three times and pick up something new each time. Thanks David.

  3. Good series David & Cody. Enjoyable with a lot of good information. Everyone forgets the thickness of the glue. I ran into that issue a few times already as well!

    I have to echo Barry's comments about sharp pointy things moving with force towards bare skin. I've done that enough too. It usually happens when I realize I shouldn't be doing that and say to myself, "Just one more"…

  4. I enjoyed this segment on building a bridge. I echo Barry's comment,"Please don't pull a sharp blade toward your hand." Near the beginning I liked the casual way you admitted getting things out of order and backing up to get things corrected. I tend to forget things and get ahead of myself too.

  5. I'm a visual learner and really do appreciate the "how to" segments. David did a super job presenting the four part "build a bridge" series. David and the other staff members are excellent teachers and motivators. Thanks!

  6. Good 4 part series of great help. But David, when cutting, PLEASE don't pull a sharp knife TOWARDS your hands! I had visions of band aids and bandages in the following scene. Thanks!

  7. David, A couple of questions on the turnouts now that the track plan has been published. In the video you mention that the turnout nearest whistle creek is a #5, yet the published track plan lists it as a Peco #6. Which is it. Also the turnout nearest the pulpwood yard is unmarked on the track plan. It looks like a Walthers. Is it a 6 1/2, a 7 or something else. Thanks in advance.
    Steve

You must login to submit a comment