Building the 3 x 7 Red Oak model railroad
| Last updated on November 23, 2020
Part 1: An overview of the railroad and building benchwork
Trains.com is undergoing website maintenance that is expected to last approximately two weeks. Click here to learn more.
| Last updated on November 23, 2020
Part 1: An overview of the railroad and building benchwork
Members enjoy 15% off any purchase in our store. Join Today!
Model Railroader 2026 Calendar
Don't miss Model Railroader’s all-new 2026 calendar, featuring Rod Stewart's spectacular layout!
How did you wire the 2 track yard with the reversed polarity?
I watch those Red Oak Videos just during MR "unlocks the site" – great instruction, good "side information" – I think I will go to follow tho RO ideas to upgrade some small layout I have started years ago in order to get it finished. Thank you, MR !
The Red Oak project railroad could not have come at a better time! My current 36×76 layout uses Kato Unitrack throughout. I notice that David Tevis has put together a track list. Thanks David! There are no insulated joints shown in the track plan. I think I have found 2 places at least where they would be needed. One is between the 2 leads of the junction branch & the other is on the backside transfer tracks. Would it be possible to annotate in the current drawing where all the power leads & insulating joints are located?
The turnout discrepensy was noticed a month ago… look below for the correction. It seems they added a staging lane late in the plan.
Your list is the same as the one in the magazine. But when I count them in the "plan" (more like a picture than a plan) I get a total of 18 turnouts, not 16. To me there are 6 right med turnouts and 7 left med turnouts, not 5 and 6.
It's kind of frustrating that the list in the magazine is wrong.
Where did you buy the styrene sheet you're using for the backdrop? I didn't see anything that size on the Walther's site.
Thanks,
Dave Allen from Georgia
MR staff, Intermountain has CB&Q FTs in freight colors being reserved. You could buy a set to go with the Kato F2 diesels to make it prototypical correct. Just an idea.
I am looking at this as being an industry as the branch line.
Wow, I priced the track out from David's list below. $504.12 for all the track in this plan. Those turnouts add up quick!
Looks great guys; but where do the hinges and door handle go???
Thanks David tevis
I noticed that the final plan and the plan in the video are slightly different. The final has an added staging track. That would add 2 switches (1 right and 1 left) and possibly another piece of flex track.
Awesome looking layout. It comes at the perfect time for my project. I've been looking for a plan that fits exactly what this layout does. Chicago, Wisconsin, midwest 1960's I have the door and am gathering needed items. I hope what I found on the video below is correct… I ordered it. The plans have hand written parts list below.
In the video if you pause just right you can catch the track needed, all peco:
20 Flex 5801
5 Right medium turnout 1795
6 Left medium turnout 1796
3 Left curved turnout 388
2 Right curved turnout 387
3 1712 Insulated joiners
3 1711 Regular joiners.
Definitely need a bill of materials in advance in order to start gathering bench work AND track.
What a great N scale design. I want to build it along with the MR Magazine and Videos. I already have my door and set to go. Will there be bii of material covering the track and turnouts?
The Red Oak Route is a great concept for a model railroad. The track plan looks like an operational dream in a small space with lots of potential for fun with timetable and train order operation. The two staging yards side-by-side are a particularly good idea.
At 7:40 into the video… Neil talked about the layout and the gang being "at work". Gotta love it.
As a former frustrated n scaler from attempting to model anything in n scale back in the early 70's, I am watching this series with great interest. I have a hi-rail (3-rail, don't hate me!) layout that I love, but I'm sure I also have room for this layout. Thanks to MR, I've recently bought 2 GP-20's, an NW2, and a passenger train set in CB&Q colors. I've also bought Digitrax boards for the GP-20 engines. Mr. Popp, can I find that article online for adding sound to the Kato covered wagons?
Hello all,
Glad you're excited to see the Red Oak layout progress. To answer just a few questions:
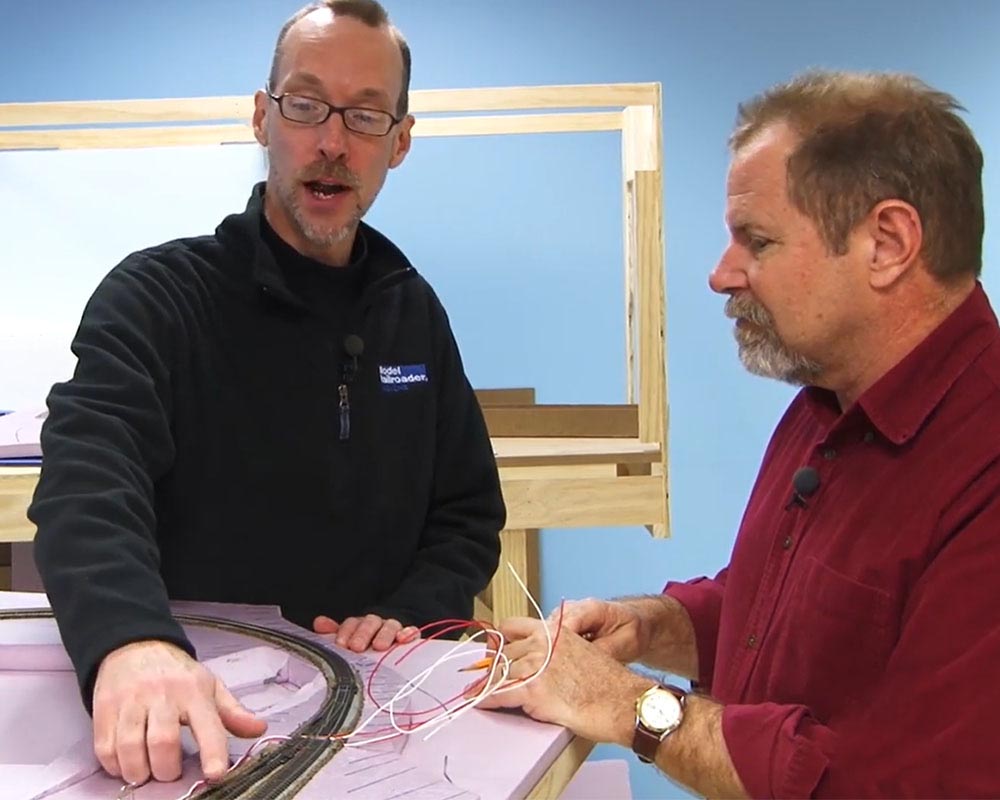
Wiring: The wiring will run through the foam layer, just like my home N scale layout. No wires go through the door except the two leads that run to the DCC system for the power bus. You'll see more of that in one of the upcoming videos, as well as in the magazine.
Door sizes: I think the MR staff chose to call it 3 x 7 for the ease of the title. The door is in fact a standard 36" x 80" size, so everything you see in the videos and in the magazine will fit in that space.
Sound decoders: I did install MRC sound decoders in the two Kato F units. I covered this process completely in DCC Corner in the June 2012 issue of MR, starting on page 64, and they are about as easy to install as any decoder installation gets.
Branch staging: The door length limits the branch staging a bit, but it does work. Essentially, a train runs down the branch into staging with 3 or 4 cars. Then through a series of switching moves using the small runaround track, that train is swapped for 3 or 4 cars waiting in staging. The branch train returns to Red Oak later in the session. Any cars heading east are set out in Red Oak. The rest return home with the branch train.
More videos: There are more video blogs to come on the Red Oak project (as well as articles in the magazine). MR Video Plus subscribers will have access to about a dozen Red Oak how-to videos as well, including benchwork construction, starting in January 2015, so there is plenty more Red Oak fun on the horizon.
Enjoy the show!
David
Am very happy to see this as I am starting my first N scale layout. This will be lots of help.
Why not turn the lower shelf over so that you have an edge so items won 't fall off?
This project is going to be a godsend to me as I have just started my first N scale layout, and it is on a door! It is an Atlas pre packaged (N-9) set, as my skills match that of a nuclear physicist trying surgery. I hope that you are going to get into some depth with Digitrax components, decoders, and wiring. Look forward to the upcoming issues.
Looks like a great project railroad. I am considering doing it in TT scale, making adjustments for the differences in scale size. 1/160 vs. 1/120. Perhaps I should finish my version of the HO-Virginian first!
Looking forward to this one! The Fort Worth and Denver City ran through my hometown of Wichita Falls, TX. As an N Scaler I might build this one but renamed FW&DC!
I've hesitated on using doors for concern about how to get the track feeder wires through the two door skins, so I'm interested in how the wiring will be done, maybe just under the foam?