Videos & Photos Videos Layouts Project Layouts Building Model Railroader’s HO scale Virginian Ry. part 2

Building Model Railroader’s HO scale Virginian Ry. part 2

By Angela Cotey | November 19, 2012

| Last updated on November 23, 2020


Benchwork legs for the 4 x 8 foot HO scale Virginian Ry. Model Railroader project layout

Email Newsletter

Get the newest photos, videos, stories, and more from Trains.com brands. Sign-up for email today!

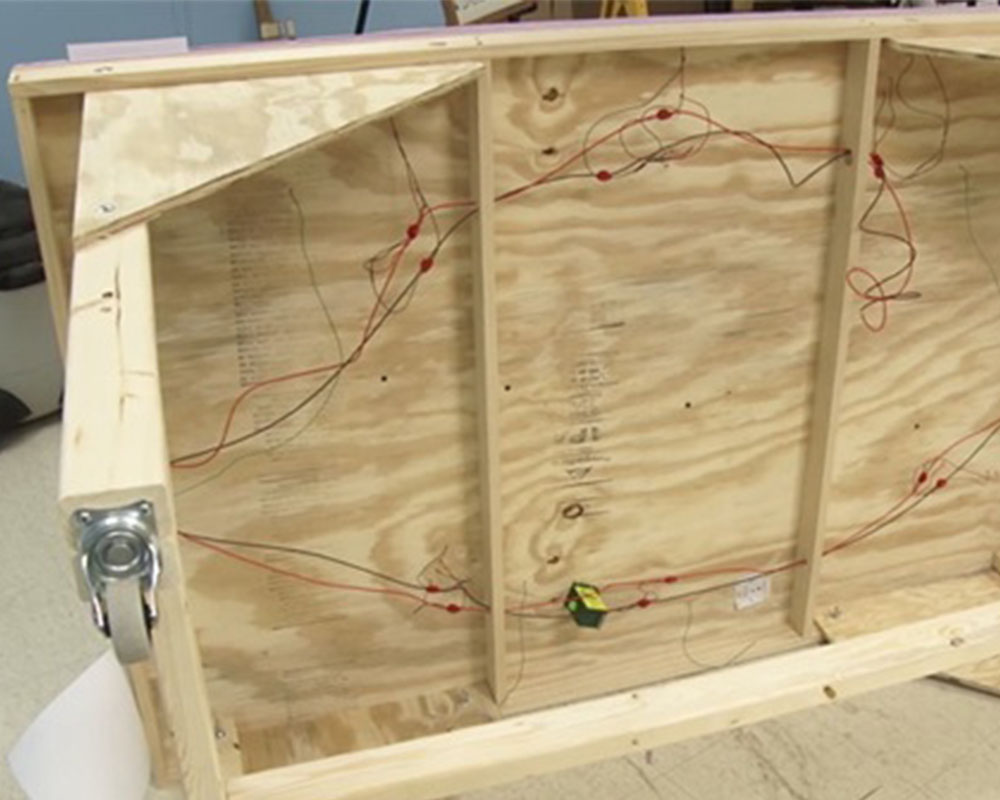
Work begins on the HO scale Virginian Ry., the latest Model Railroader project layout. Managing editor David Popp starts working on benchwork for the model train layout. In this episode he’ll show you how to build benchwork legs for a model railroad.

25 thoughts on “Building Model Railroader’s HO scale Virginian Ry. part 2

  1. David, and MR staff….
    Good videos so far. However, I agree, they need to be longer to cover more detail, as some things are glossed over, especially for beginners. Also, can we see video parts 5 and 6 sooner than later, as I see many modelers like myself are clamoring to see what switches were used, and how many #4's and #6's, etc. Many of us already have our bench work started or done, and waiting to go on the track. If we could get a head start on this info, it would be great, as subscribers are the only ones with access to these videos anyway…..thanks!

  2. Appreciate seeing your wife halping with tyhe truck unloading. Looking at yours projects, I often think you staffers must be supermen. Its nice to see you too need "other-end of the board holders".

    s/s
    Nat

  3. David,
    Another question here. Can you tell us what Home Depot calls this "clear select" pine? And can you give us an approximate cost on the lumber used? I can't seem to be able to find this particular #1 grade pine at my local Home Depot. Thanks!….

  4. Well done, David. If not in a hurry, countersunk screws could be used and later filled with plastic wood. Thanks for the tip on the HD truck; I will keep that in mind. One negative, however, is that you didn't give enough credit to your helper. We would like to have been introduced to her up close and personal (so says my wife, Sue)! A great layout, by the way!

  5. David,
    Thanks for answering many questions, it's much appreciated by all of us! Is there any way you can tell me (us) what type of track exactly you used (flex or snap, and manufacturer), and the type switches you used (manufacturer and how many #4 and or #6's), without having to wait until the March issue I believe, as I at the moment (and I'm sure more readers are) are about ready to order supplies to build this as we go along…I know I am! Thanks!

  6. Hello all,

    Thank you for following the Virginian project. Installments 2 through 5 will cover benchwork. Since I was trying to film as I worked, the subject is not as completely covered as I would have liked. However, if you combine the articles in the magazine with the videos, you'll get just about as complete a picture of what to do from start to finish as I think we can provide at MR without doing our own television series.

    As to some of the questions, I'll answer what I can remember from reading all the comments:

    • You don't need an air nailer to assemble the layout. Hammer and nails or screws and a drill will work just fine, and we've shown both methods before over the years. That said, my nailer and air compressor cost just about $200, and I find I've never built benchwork faster since I started using them. I also the nailer to construct sets for my video business, and it speeds up that work as well.

    • I use yellow carpenter's glue. White glue will work, but if it gets wet, it will dissolve. The glue is the best bond. I just use a few nails to tack everything together until it sets.

    • You can also use plywood to make great benchwork, and I've seen plenty of layouts that do just that (Bruce Chubb's giant SP layout from the February and March 2006 MRs comes to mind). When we built the 4 x 8 layout for the World's Greatest Hobby video years ago and for the Black River Junction layout in the January 2007 MR we used 1/2" birch cabinet-grade plywood. Both layouts turned out just fine. However, ripping 4 x 8 sheets of any plywood into dimensional lumber strips on a table saw by yourself is tough work. Also, plywood tends to shed splinters on the cut edges, which doesn't make me happy when working with it. I like no. 1 lumber for a lot of reasons, so that's what I use, but plywood would also work.

    • Years ago I used 2 x 4s on a home layout for legs, and I don't recommend them. The humidity in the basement caused them to twist and warp over time. And, they were just too heavy for what was needed to get the job done. The L construction of the legs shown here, with the glued joint, produces a lightweight structural member that won't warp easily. You can also use a clear sealer on it help prevent moisture problems.

    • Look in the February MR on page 35 for the complete benchwork assembly diagram, including layout height. Video journal no. 5 will address the "height issue" clearly, and I don't want to spoil it. However, I recommend that you build the layout to a height you're happy with, and not necessarily what we used. My home layout is set at 50", which I find great, but people like Neil, MR's editor, find it a little too tall.

    • We used casters because we often have to roll the layouts around the building by ourselves or at train shows. I typically use furniture leveling feet on layouts that don't move, but T-nuts and bolts, as shown in the January 2003 MR on page 68, is another solution. We have a set of rubber furniture cups in the shop, which are easy to slip under the casters when we don't want the layout to move.

    • I used 2" medium-duty casters on the layout. The finished railroad doesn't weigh much over 120 pounds – if that. Having had the layout at Trainfest this year, I'll probably swap the 2" for 3" casters, just because it will make it easier to roll over rougher surfaces.

    • The company houses shown in the credits are Blair Line kit no. 176. Steven Otte built one according to the instructions and did some kitbashing on the second. You'll see more of them in the May 2012 issue of MR.

    • The 2 x 6 branch extension is its own self-contained unit, with its own casters. We cover how it plugs into the rest of the layout briefly in the January issue, but you'll also see it on video in a later journal. I know I filmed it, but I've not edited it yet, so I'm not sure which one. We'll both be surprised!

    Thank you for writing your comments and questions. I hope to be able to answer as many as I can in the coming installments.

    Best wishes on your modeling endeavors

    David Popp
    Managing editor
    Model Railroader magazine

  7. It was nice to see the benchwork going up. I have inherated my grandfathers s gage rr and am moving it to my home and folding it into my railroad his bench was made from farm leftovers so it is good to see your ideas You can see my gandpa Jess's great northern in the June 2004 MR

  8. Nice advertisement for Home Depot, but you make a good point about being able to use their truck to get large pieces of lumber home safely. I think it would be a good idea to explain about using t-nuts and bolts in place of the casters for those of us who don't have level floors.
    Can't wait for the next ones to see more of how you build the rest of the benchwork.

  9. Well done. I am enoying the series and look forward to following the articles and videos. One of these days I must actually start something, as opposed to just being a closet model railroader.

  10. In the opening of the video, you all show two company houses, they look great, I was wondering where/which company I can purchase them from?

  11. David
    I am very impressed with the total idea of doing it in 4×8 with attachments. More of this later on. Keep it going

  12. Very nice layout and design. Quality workmanship and I think I might just build my own version of this very neat railroad. I will be following all the episodes on this construction project. Good job MR staff!!!

  13. David, you do a great job in the presentation of the Virginian Ry. in the introduction of the railroad. The videography you do is very good and easy to understand in the "big" picture of the layout. I also appreciate, for the small size of the layout, your video work in the opening and closing segments it is excellent. So far you've made this layout very interesting – maybe I could build one too!!
    Thanks and keep up the excellent work.
    P.S. You also do a great job, along with Cody on Cody's Office. I look forward to it, along with your next installment of Virginian Ry. Pt 3

  14. Great Job!! Having seen the completed? layout in the Jan issue I look forward to the rest to the construction videos.

  15. Is it posseble to get a copys or save these videos for future reference, I am planing to build the Virginian at a later date probibly late summer, early fall of 2012, have to finish other projects first.

  16. All right Dave… you go boy… really like what you're doing. Am returning after 5 years, (retired,moved into new home, etc.) Have been trying to find a good "track-plan" that is interesting with some potential to grow and this is definetly a winner! Want to get started on this after Xmas. Looking forward to future installments.

  17. Nice work David. I wish I'd seen this method before I built my last set of model railroad legs. Mine are good but your are so much better!

  18. Thanks and love your first 2 installments. Thanks for doing an RR step by step. I have returned from a 33 year absence of the
    hobby due to things called "life". And am loving just like when my brother gave me my first HO Santa Fe boxed set when I was 6.
    Thanks again for all your great videos.
    David

  19. Very nice article, but could you use screws instead of the air nailer? Because I don't own one, at least not yet. Also, I like the idea of casters under the layout to move it around the room.

  20. Super great Video for starter on building a 4×8 ,the mother of all bigger layouts and also a great way to put legs togethet Keep it going.

  21. Theodore, from reading the label in the episode at 4:55, I'm pretty sure it's wood glue, making it likely yellow. I don't think it's your monitor making it hard to tell, I think it was the sunlight. But anyway, it should be wood glue. White glue is bad because if it gets wet, it disolves and its strength goes away.

You must login to submit a comment