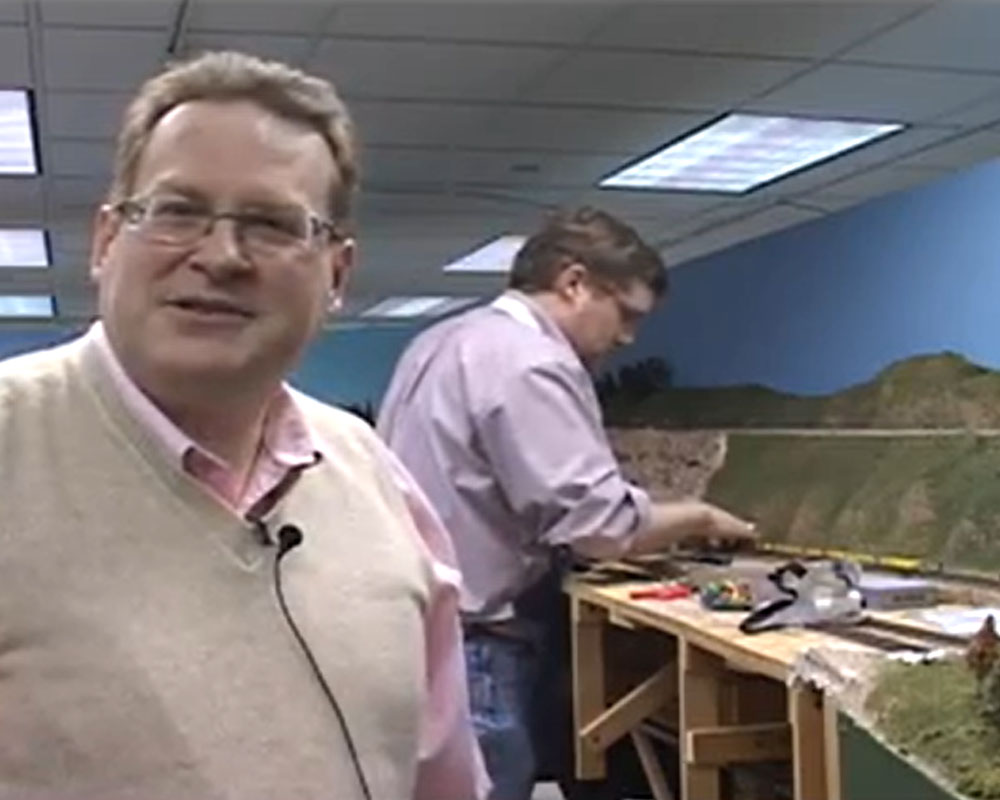
The HO scale Virginian Ry. uses open-grid benchwork construction. Managing editor David Popp shows how to build open-grid benchwork for this 4 x 8 model railroad.
Building Model Railroader’s HO scale Virginian Ry. part 3
| Last updated on November 23, 2020
Get how-to tips for building open-grid benchwork for a small model railroad
On my way with my n scale project based on the Virginian.
I scaled the HO version to half and it is working well.
It was somewhat difficult finding the right curved switch combination, but managed to find the proper accessories from Peco and Atlas. All my trackwork is at hand, I drew a template on velum, transferred the template to 1/4 birch plywood and now ready to 'cookie cut' the plywood .
This railroad will be based on the SP in the '50's.
Will keep you informed of the progress.
Like the video presentations, very helpful.
I just want to say a BIG thank you for giving your readers access to these videos. I'm a 72 yr. old kid who needs all the help I can get. And the real value to me is to be able to 'back-up' the video and replay something I missed while I took a sip of coffee'
Thanks again!!
Dale
how do you findout the answers to all the questions?
Great video series! It has been a huge help to me in building my first layout (12×6 but using the same techniques)
One question, you mention that you will have to do some final leveling to the top of the frame due to the uneven floor in your garage. I am also building this frame on an uneven floor, so can you provide some details of how you level the top of the frame once it is on legs?
Dave, I also am enjoying this series. I am in the process of building this benchwork and I have noticed an error on page 35 of the February issue of MRR. Looking at the diagram showing the construction of the table frame, shows the 1×3 cross pieces mounted flush with the bottom of the frame. I have all my pieces cut and was ready to start assembling today and decided to watch this video one more time. I noticed that these cross members should be flush with the top of the frame. Also, I have seen no mention of how the legs should be attached to the frame. Should the legs be flush with the top of the frame? If so, the leg under Baxter Creek will need to be shortened by 1 inch.
Looking forward to each new video.
With 25 years of cabinetry experience, I am always interested to see how people build their benchwork, and I have to say I am impressed with the accuracy and neatness of David's design. I also can not agree more with his choice of clear (or 'select') lumber. Common #2 lumber costs half as much, but is four times more trouble to work with and results in more problems in later stages. It can be used for risers, braces, etc. where warping is not a major concern, but avoid buying pieces with tight rings from the center of the tree, which is the least stable wood and most likely to warp. Also, if you buy stock from a lumberyard that was stored outdoors, it is best to store it open to the air in your shop for a week or so to allow its moisture content to adjust, which can change its straightness. Some have suggested plywood, and this can be an effective cost savings that is more stable than construction lumber, but I would only screw through its face – screwing into the sides can split the plys, and is not as strong as screwing into the side of a solid board. It is better to use a 3/4" X 3/4" cleat of solid wood that both pieces can be screwed into if the joint requires any strength.
I often see the ends of boards glued to the sides of other boards (such as where the crosspieces meet the outer frames). Yellow 'carpenter's glue' is actually stronger than the wood when used on side grain, but gluing endgrain is a very weak joint by itself. Any amount of lateral force creates enormous mechanical advantage that will cause the glue joint to fail. Also, nailing or screwing into the endgrain of a board is a very weak joint. In this project, the bench top will hold the joints solid, but in other cases without additional support such a joint will fail.
I see braces at the tops of the legs for forces along the length of the layout, but not for lateral forces across its width. I may suggest that if it is to be wheeled around much, a diagonal brace between the legs on each end, or a couple plywood gussets may prevent weakening joints.
Howdy David and Mrs. David…
Living in northern Indiana, I fully can appreciate the "cold" garage. Last winter when needing to work on my truck, I purchased one of the fairly new to the market LP electric space heaters. For under $100 (30,000-60,000 BTU size) and a full tank of gas (grill size) I would venture to say that it afforded 15 hours of heat before needing a refill. This was over the course of 3 different work projects during the winter months and was being used in a non-insulated 2+ car garage very similar to yours. It was a most worthy investment.
Keep up the great videos and all the work at MR.
Hey David,
I was wondering about the risers under Reid Gap and Rogers Yard. I know you said you glued them to the tops of the boards but is there a way we could get the actually measurements of what size to cut the long risers? Also, How did you make the risers? Did you take the measurements from the top of the plywood to the bottom of the track? I'm kind of lost on the risers and how you did them.
WHAT SIZE NAIL GUN DO YOU RECCOMMEND FOR BUILDING BENCH WORK IE SIZE OF NAILS IT TAKES
I may be "old fashion" (forget the "may be!"), but I glue and screw the joints when building benchwork. The screws hold the joint tight until the glue sets. In fact, you can really take the screws out after the glue sets if you want to. However, I don't own a nail gun. I think if I did, I might be tempted to glue and nail. David, do you use a pneumatic nailer or an electric one?
You have 2 cross members in the area of where you cut out for the water. What are the the measurements for the second one? The first goes where the cutout starts
how can i get Model Railroader's book?
Add me to the growing list of readers who rely on screws and pocket joinery. Any crossmember can be easily moved or repositioned as needed and all joints are solidly pulled together. I am building my first layout(40 years in the planning) and have done a great deal of research into building the table. Everything I have read seems to be stuck using 50's or 60's techniques. Using the "new" technique of pocket joinery, courtesy of a Kreg tool, I don't need to be locked in to a non-changeable table top as I would using the cookie cutter method. I can attach my risers using just two screws, from the top, and if I don't like the way that lays out there is NO problem to making a change.
Where is the blade guard and kerf spreader/kickback device on your table saw? Safety First!
Hey James, David mentioned earlier that he has 2 Mini Coopers normally in the garage, so it would probably stretch the budget a bit to insulate as well (only joking)? We share our train layouts with our Mini's too, so I understand how he feels.
It's great to see David using the same little "corner clamps" to set up the frame as we use here in Tasmania.
I'm really enjoying this series of video clips on the Virginian Layout.
Please keep up the great work David. Thanks a lot..
David, you do a great job of demonstrating very straight forward, practical and efficient methods of modeling. These step by step videos are great. As a semi-professional woodworker as well as model railroader, I would like to complement you on teo things specifically. First, your selection of clear pine for the framework. This will prove to be the most stable and dimensionably accurate material to work with for the money spent. And for those concerned, it is a standard product at Home depot. Secondly, your framework shows some forward planning that will minimize the possibility for major construction changes later. I see too many photos of layouts that have the appearance they were assembled haphazardly from scrap lumber pieces.
To address some writers' concerns, I would point out that if the board ends are cut square, and square corners are maintained at the jpints, the uneven garage floor won't matter much.
For construction tips though, I agree that screws are the fastener of choice on the butt joints, with pocket holes being the best approach. Nails don't pull the glue joints tight, and the way you were holding pieces while nailing wasn't really safe. I have had a nail driven into my finger due to "blow out" as the nail followed the grain in the piece I was hoolding. (After about 10 seconds, it really hurts!) Also, watch what temperature you're using the glue at. Colder temperatures can yield a very weak bond.
Ovrall though, grat work and very instructional. I look forward to the next installment.
GREGORY S KOON – I used plywood ripped down for dimensional lumber for the frame work. I used cheaper grade for the insides of the frame work with a nice finnish grade for the outside. I was very happy with the results.
Hi David and Crew,
I see that you are using what looks to be clear pine for the frame work.
What would be Pro/Con over using a good grade of plywood cut down to the 1×4 & 1×3 sizes?
Clear pine can get pricey.
I am looking forward to following this photo journal and learning different construction methods.
Keep up the great work!
Nice article as always Dave . You said that your work shope is cold , i noticed no insulation on your walls , it might help . Keep up the good work .
Perhaps Anthony is being overly critical,I am sure David and the rest of the staff at MR super planned and double checked everything as they always do. Great job keep them coming.
You mentioned that your garage floor was not level and you were going to have to compensate for that. I assume you meant it was going to cause the frame to be out of square.
How did you deal with that?
Seems like a good idea not to glue the cross members. I screw 1×1 blocks to the outside framing & use screws to attach the cross girders. I always seem to have to move at least one.
Theoretically, If you plan everything before hand you won't have to move any, & I'm sure the staff at MRR did just that.
A really nice video series so far for someone contemplating their first layout or for someone that wants to start a new one on the right foot.
The benchwork seems pretty straight forward, the part of the video that impressed me was how you stored your patio furniture on the wall.
I too think using screws a much stronger bond, more flexable if change should be required. I have a cordless drill/screwdriver but not a nail gun.
You commented on the fact that your garage floor was "anything but level," but there was no reference to the use of a level to make sure everyting was level before it was glued and nailed. How did you assure that the assembly was level?