


Having trouble viewing this video? Please visit our Video FAQ page
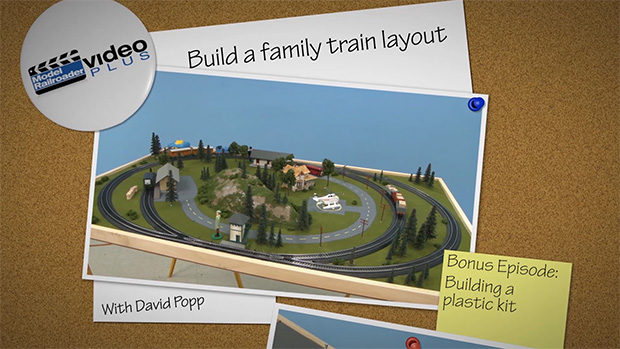
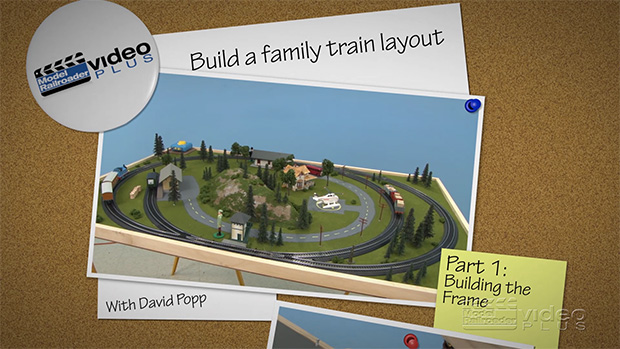
In this fifth and final installment of the Family Train Layout project, David shows viewers how to spruce up the railroad by adding a vacuum-formed hill, trees, and other small details. Would you like to learn more about how to get started in the great hobby of model railroading?


David, I noticed the case you use for the trains. Can you give the brand of the case? I would like to have that same case for my Thomas trains.
What a beautiful series. Thank you David and MR crew!
Layout suggestion – building a small N Scale switching layout with continuous running on a 2×4 or smaller surface
I learn something new each time I log in. Lots of work to do on my third layout and my largest and most difficult yet. DCC is a vcery interesting feature I have added this time.
The best thing I got out of this being a somewhat more advanced modeler is how easy it is to get a layout looking nice. I am spending most of my modeling time modeling building and so on but little time on the layout itself. This is an eye opener seeing that without too much work I could make my layout look way more complete.
Well done, I really enjoyed the series.
QUESTION LIKE NOW APPLY JOG MODEL Railroader love This Stuff have mi city scale my trains area Roco and Fleischamnn and Atlas love work this compay
LIKE VERY MUCH THIS STUFF
I found the video quite entertaining!
Next layout – how about a shelf layout?
I have one of those vacuum hills on my layout. I use a combination of Grey ballast and green foliage to hide the edges.
I am new to the hobby. These series will be a great help in getting started. Thanks.
Dear David,
Distilling a model railroad down to it's essentials. I love this series! Thanks for these simple ideas for getting started!
Another way to hide that gap on the premade hill's edges would have been to save all the "scrapings" from when the vinyl grass mat was scraped away for the roads and structures, allow the adhesive caulk to ooze out a little on the edges, and use that caulk to hold pinches of that saved "grass."
One lesson here for more "serious" model railroaders, by the way, is following David Popp's idea of very regular spacing between utility poles. Guys fret about following prototype spacing for poles but in our very selectively compressed world of layout details, it is more important to realism to get the spacing even and consistent than to get the number of feet between poles "just right."
No matter what David builds, even this simple layout came out nice. Great job!