


Tips for Body-mounted couplers on auto racks: When N scale got its start in Europe in the 1960s, its originators conceived it in the tradition of toy trains, with truck-mounted couplers that could negotiate sharp-radius curves.
Some N-scalers began switching to body-mounts after Kadee introduced its N scale knuckle coupler in the early 1960s. (Kadee split into two companies in 1990, and the N scale line became today’s Micro-Trains Line.)

Converting was no easy matter, though, as you first had to assemble the couplers from kits. Assembled couplers were offered a few years later. Then came the game changer, when Kadee offered its trucks with Magne-Matic couplers attached.
That made conversions easy. You could swap out trucks in about a minute, so most N scale modelers, myself included, went down that road. This left me with about 200 freight cars of various brands that ran just fine, until I decided to try mid-train helper operations.
Once out on that curvy, climbing main line, they would derail if you just looked at them a little wrong. Actually, “derail” is not a strong enough term. Explode off the rails is more like it.
On to the tougher cars
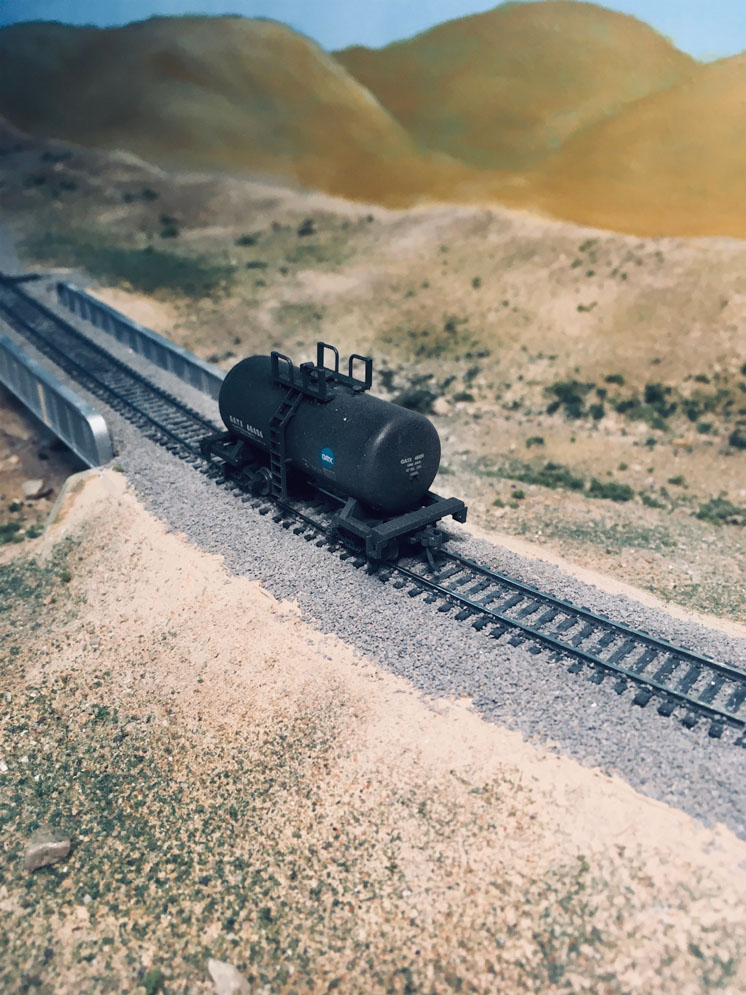
I converted the easiest cars to body-mounted couplers first, the boxcars and reefers. Then came tougher models like hoppers and tank cars, especially those that had no platform for mounting the couplers. I wrote about these in the July 2014 N Scale Insight column, and in the February 2015 column I wrote about mounting couplers on Micro-Trains 89-foot flatcars.
In the most recent chapter of this ongoing coupler saga, I took on the Micro-Trains auto racks, figuring they would go about the same as the 89-foot flats. After all, an auto rack is just a separately manufactured housing mounted on a flatcar.
On the Micro-Trains cars, the stirrups are supported by plastic brackets, and each of those brackets has a mounting hole at exactly the place where you want to mount the coupler. Just drill a No. 62 mounting hole in the center of the peg inserted in the hole, tap it for a 00-90 mounting screw, and you’re in business – almost.
Of course there’s a rub. Because the car rides so low, you need an underset shank coupler, and the easiest place to get it is from the car you’re converting. I just remove the truck-mounted coupler and cut off the tongue with a razor saw.
If you do that without taking some precautions, though, I can virtually guarantee the draft-gear box will fall apart during handling. These boxes don’t feature the snap-together construction found on most other Micro-Trains couplers.
Modifying the couplers
My recommendation is to leave the coupler on the tongue and use a soldering iron to weld the top rear corners of the coupler box to lock on the top. Get that iron in and out quickly. I don’t try to secure the forward corners, as it’s just too easy to miss your mark a little and ruin the coupler. (I learned this the hard way.)

Then remove the plastic pin (or screw) that holds the box together, and cut off the tongue. Clear the mounting hole in the coupler box with a no. 56 drill, and mount the box to the car.
I always use a smidge of Walthers Goo on the car bottom to keep the box from rotating once in operation. I converted some Red Caboose auto racks at the same time, and as these had the same Magne-Matic couplers, I found the procedure much the same. The big difference is that there’s no indication on the car bottom as to where to drill a mounting hole. I used the hole in the coupler, still on the tongue and on the car, as a guide to drill the hole in the floor.
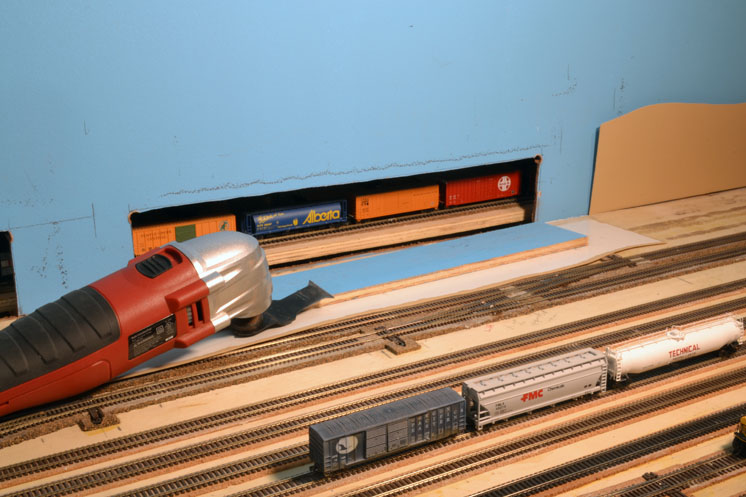
Both these models are beautifully detailed and really big compared to most N scale cars, probably too big for smaller layouts. On the prototype you usually see them run in strings of eight, 10, or more, and they are an impressive sight indeed.


Will this help with using these cars on tighter curves?
The article is great but if it was accompanied by illustrations it would be best
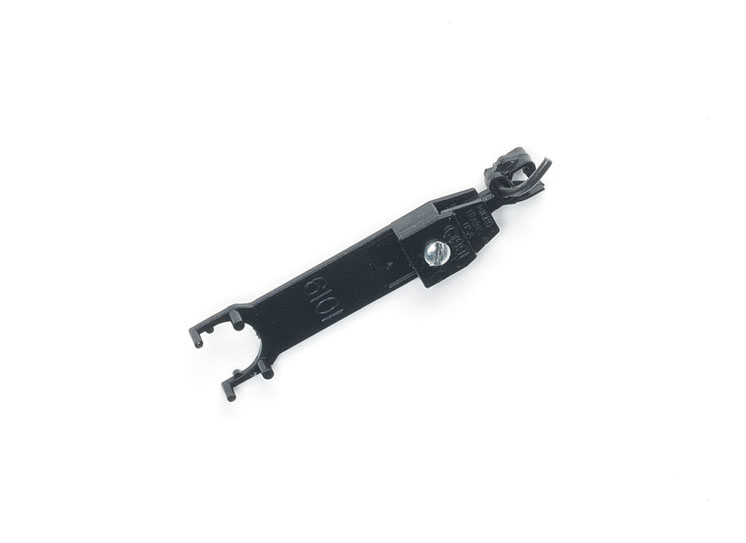
For those of us who want to double head the BLI Pennsy M1a I discovered that while the standard M-T couplers won’t mate with the scale coupler on the front, the new scale coupler will. It will also mount exactly the same as the 1015 will. Just slide the couplers together from the top and the height is very close to dead on. Who sez ya can’t run 100 car coal drags.