Painting is one of my favorite aspects of the hobby, though I guess that shouldn’t come as a big surprise. My father and grandfather were auto body repairmen, so painting (albeit on vehicles, not model trains) has been a part of my life from an early age. I started airbrushing model trains in my early teens and haven’t looked back. Along the way I’ve learned a few tips and tricks. Here are five model railroad painting hacks, a mix of products and techniques, that you can put to use today.
Rattle can primer
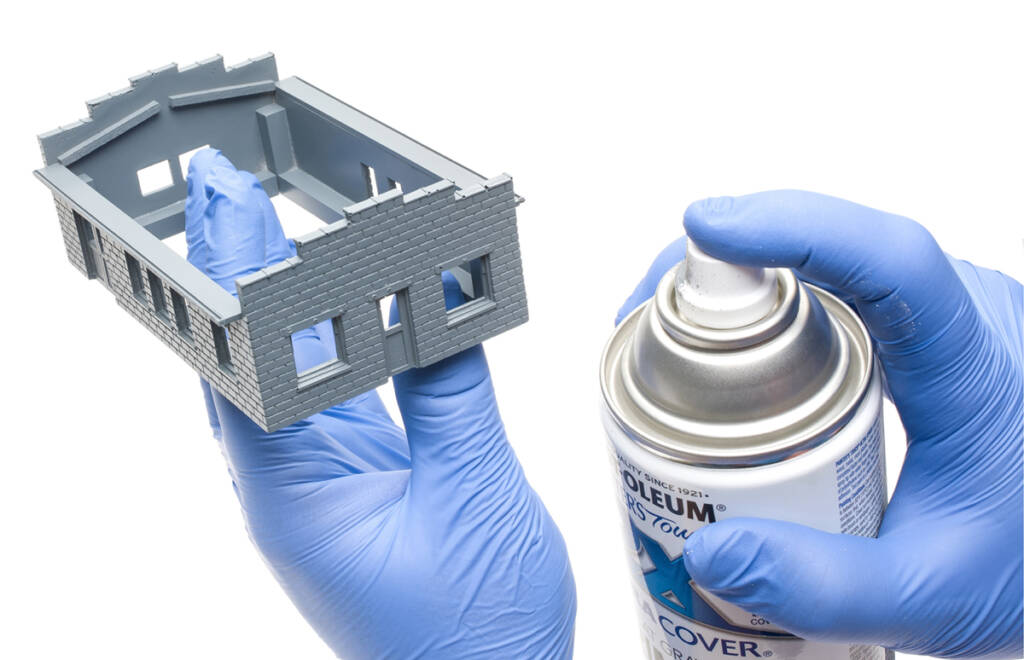
Rattle can spray paint probably isn’t the first thing you think of for modeling railroading, but hear me out. If you’ve been to big-box retail and home improvement stores, or even your local hardware store, you’ve likely seen displays featuring the Rust-Oleum Painter’s Touch 2X product line. The paint is compatible with wood, metal, and plastic, among other materials.
I’ve long been a fan of the Painter’s Touch 2X primers, which are available in Flat Black, Gray, Red (more of an oxide color), and White. I’ve used them as base coats on plastic and resin structures, steel freight car weights, ScenicExpress Super Trees, white metal kits, wood freight cars, and much more.
Naturally, the primer can be top-coated with colors from Painter’s Touch 2X line. For example, I’ve used Satin Moss Green (334075) to spray-paint electrical boxes and passenger car interiors. However, I’ve also applied various acrylic hobby paints over the primer with success. I haven’t tried putting solvent-based hobby paints on top of the primer. If you have, let us know how it turned out in the comments field below.
Adding texture to paint
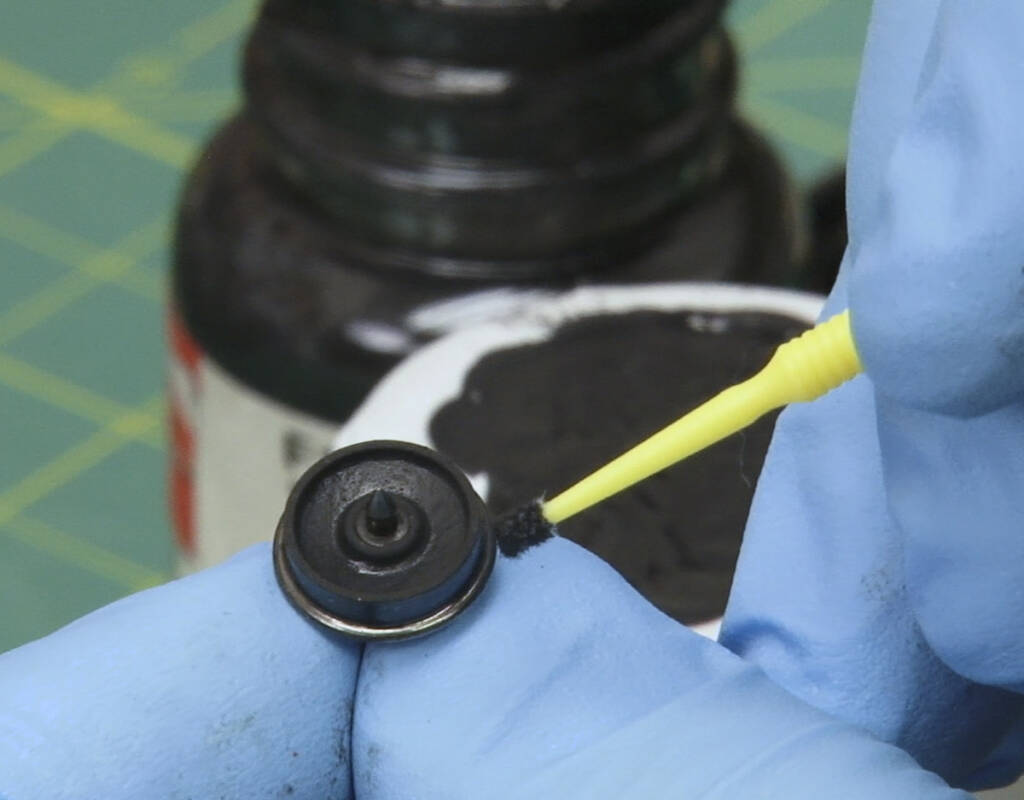
Most of the time the goal when painting is to get a smooth, even finish. However, there are times when a textured finish is the objective. One example is when painting wheelsets on freight cars with solid-bearing trucks. On full-size cars, the wheel faces were often coated with a textured gunk from dirt sticking to the oil from the journals.
To simulate that look, I mixed weathering powder with flat black enamel paint. In the photo above, I used Monroe Models Grimy Black Weathering Powder (3102) and Floquil Weathered Black. The Testor Corp. discontinued the Floquil line more than a decade ago, but there are other enamel hobby paints on the market that you can use instead.
After cleaning the wheelsets with 70% isopropyl alcohol to remove any impurities, I used a fine Microbrush to apply the paste to the wheel face. I was careful to keep the paste off the tips of the needle point axle and the wheel treads. The backs of the wheels and the axle weren’t as exposed to the oil packed in the journal boxes and generally stayed a rusty brown color.
Hair spray: The peeling paint technique
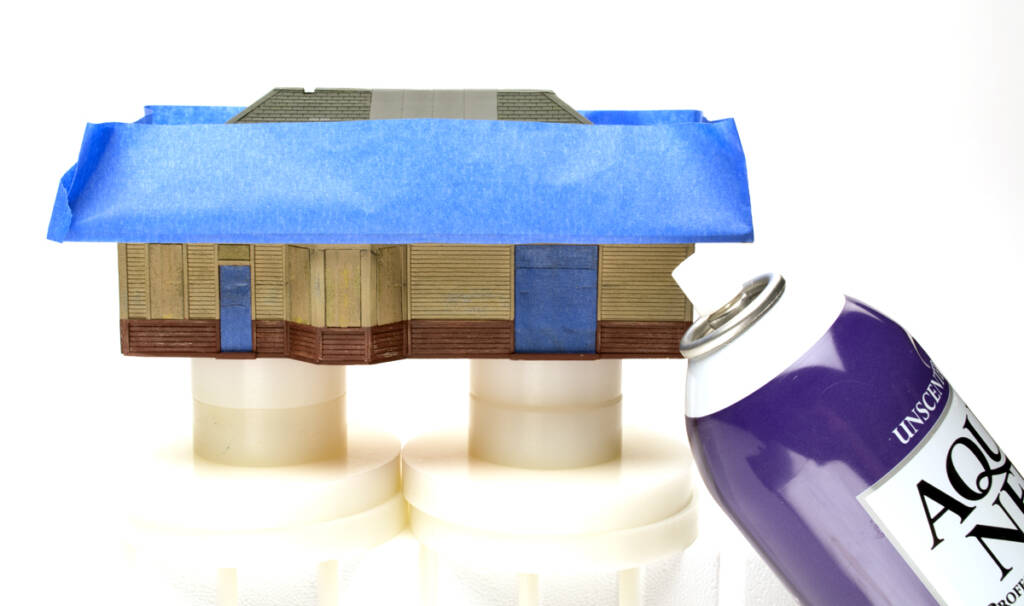
In the March 2018 issue, I wrote about modeling a weather-beaten depot. The subject of my project was Blair Line’s HO scale Gerald, Mo., Rock Island depot. As I was studying prototype Rock Island photos from the Show Me State, I noticed several depots were painted white with the original tan-and-maroon scheme showing through chipping paint. I knew that was the look I wanted to re-create.
The secret to realistic chipped paint starts with hair spray. I applied two coats of Aqua Net to the depot over the tan and maroon paint. Once applied, the depot will have a smooth, shiny appearance, similar to that of a semi-gloss finish. I let the hairspray dry overnight.
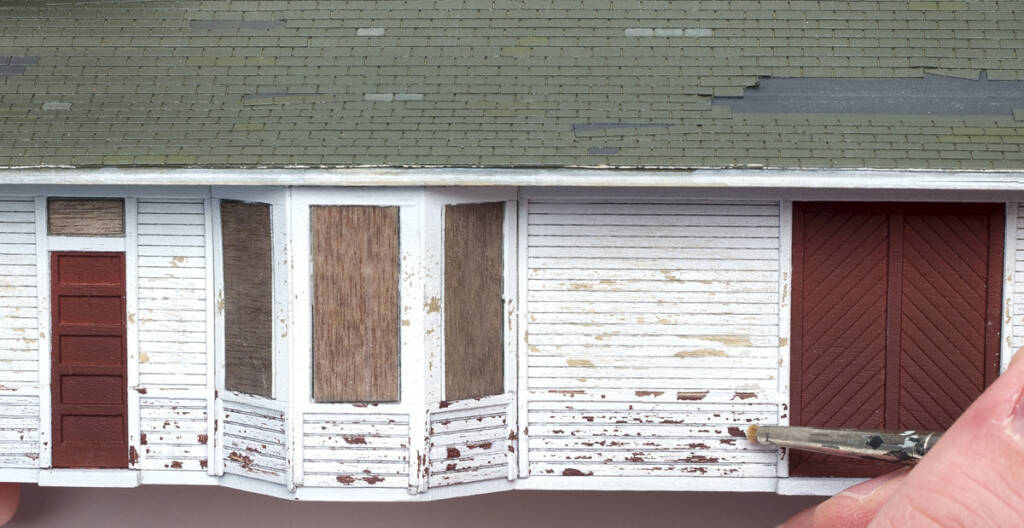
Next, I painted the depot with acrylic Reefer White. Ten minutes after the last coat had been applied, I used a variety of short-bristled (trimmed between 1⁄16″ and 3⁄16″ tall) brushes to remove the white paint. After dipping the brush in water, I applied firm pressure and moved it parallel to the siding.
There were a few spots that I got a bit carried away with the chipped paint effect. In those cases, I used a 10/0 paintbrush to apply more Reefer White. It’s a good idea to refer to prototype photos to see what looks right.
I masked the wood window covers and applied a thinned acrylic Engine Black control coat over the chipped paint. This toned down the white paint and helped the wood grain detail stand out. I followed that with a coat of clear flat acrylic.
That rusty metal look
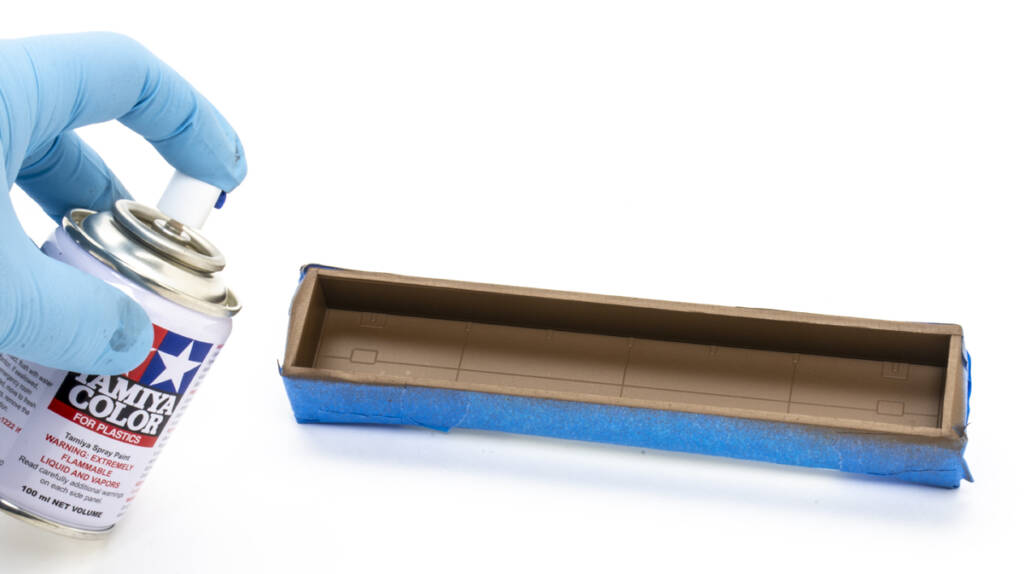
One of my favorite model railroad painting hacks involves making paint look like rusty metal. My current method involves a three-step process, which I outlined in the September 2022 issue of MR. Though I demonstrated the process on a Walthers HO scale 53-foot gondola, the technique could be applied to any open-top car in any scale.
First, I carefully masked the sides and ends of the gondola using blue painter’s tape. I then spray-painted the interior Tamiya Red Brown (TS-1).

The next day, I overcoated the paint with Testor’s Dullcote (1260) from a spray can. Once that dried, I applied Monroe Models Quick Age Weathering Wash (978) with a paintbrush. While the Quick Age was still wet, I held a small piece of foam with tweezers and blotted the wash. This yielded a mottled finish, as gondola interiors rarely weather in a uniform pattern. The blotting also minimized tide marks (hard lines where the wash stops leaching). Notice how the alcohol-based wash reacted with the Dullcote, further enhancing the effect.
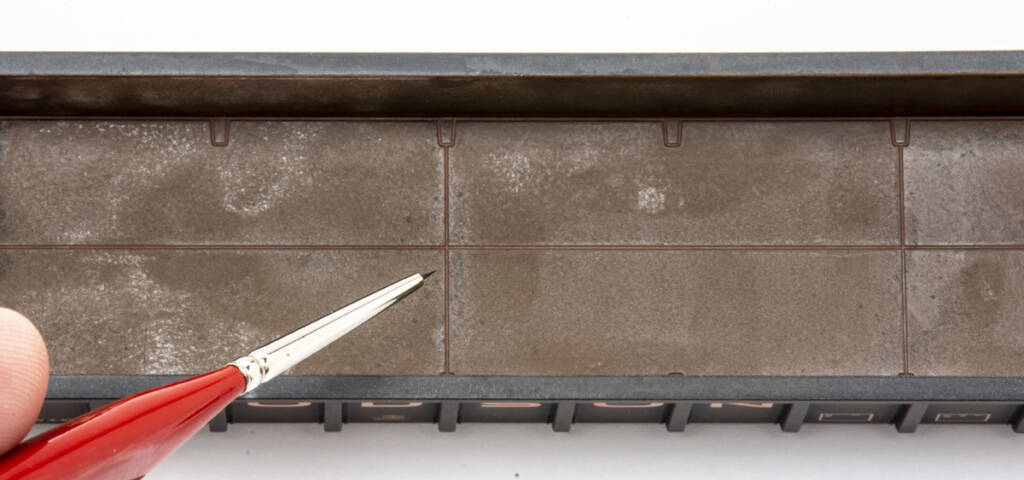
Then I used a 10/0 paintbrush to flow Monroe Models Dark Rust Weathering Wash (979) into the seams for the floor panels, beaver tail connection plates, bolster blocks, and body bolsters. This simulates the rust that develops in the recesses of gondolas.
A time-tested technique
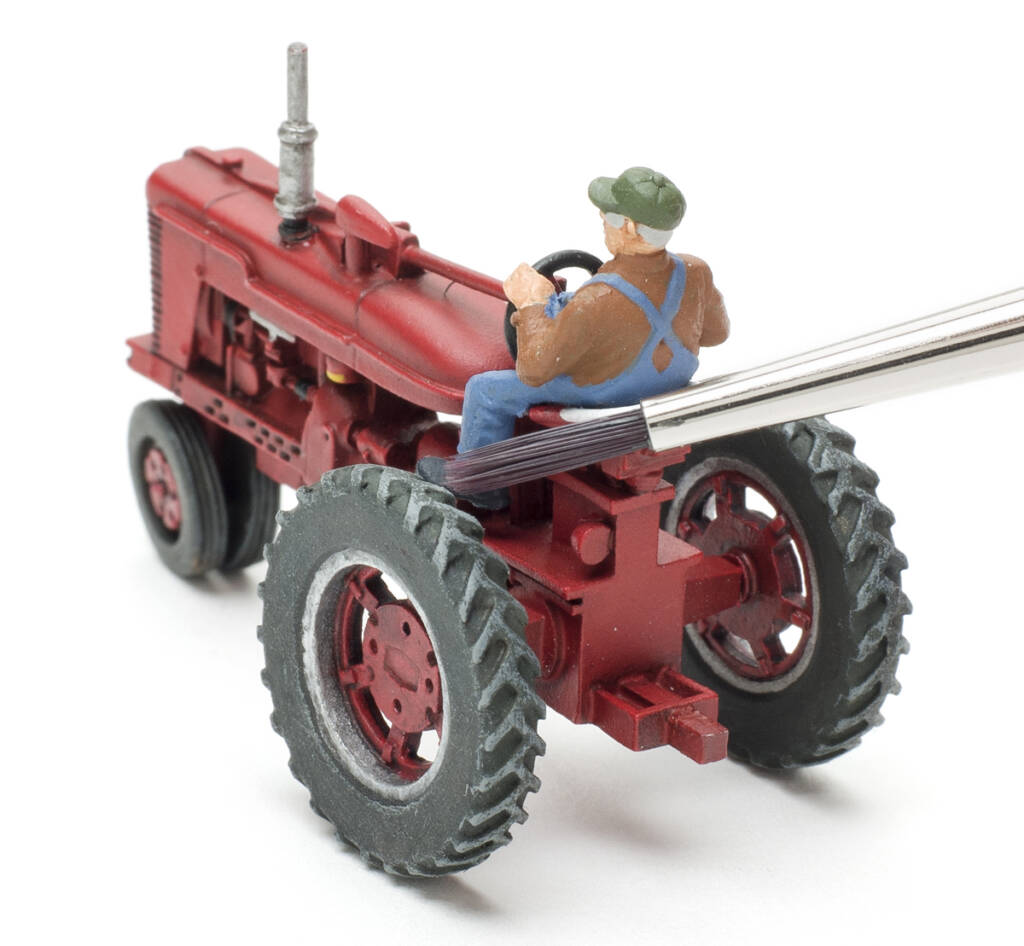
I’ll wrap up my list of five model railroad painting hacks with a classic — drybrushing. For most of you, this technique doesn’t need an explanation. But if you’re new to the hobby, here’s how drybrushing works: You put some paint on a brush, wipe off all but a trace amount on a paper towel or piece of paper, then touch the brush to the model. This is a great technique for helping raised details stand out.
Need some examples? In the January 2016 issue, I wrote “How to build a white-metal kit.” In the story, I explained how I assembled, painted, and weathered an HO scale 1950s farm tractor from GHQ. The front and rear tires on the model have raised tread detail. To help it stand out, I drybrushed the tread detail with acrylic Reefer Gray paint, as shown in the image above.
Drybrushing is also effective on scenery, structures, and rolling stock. Use it to highlight the raised edges of rock outcroppings, add weathering effects building roofs, or apply streaks of spilled lading to the sides of freight cars.
So there you have it, five model railroad painting hacks. Hopefully you can put one or more of these techniques to use in your future modeling projects.


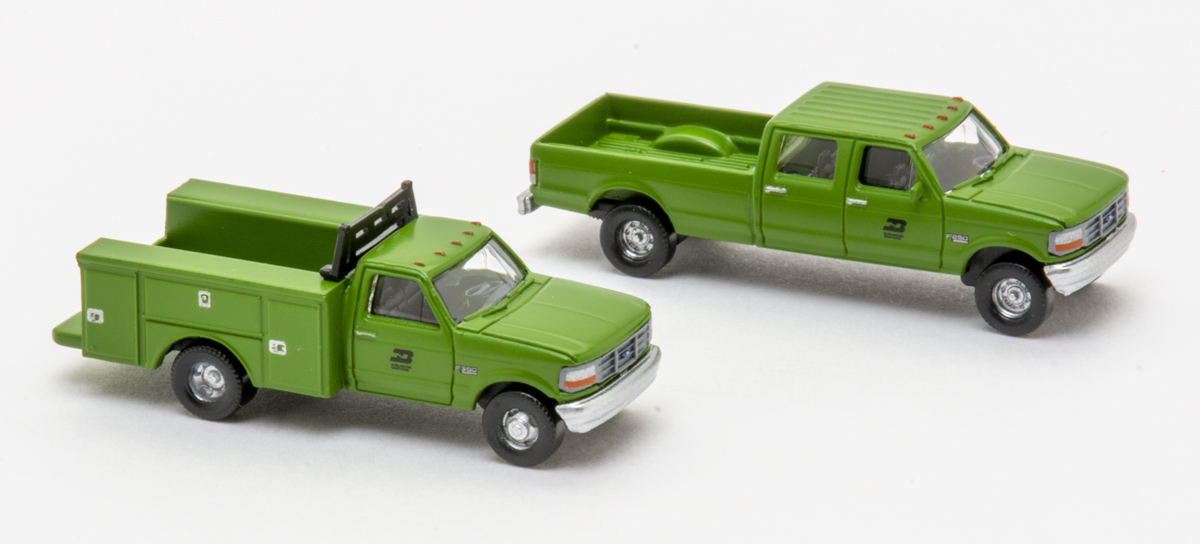
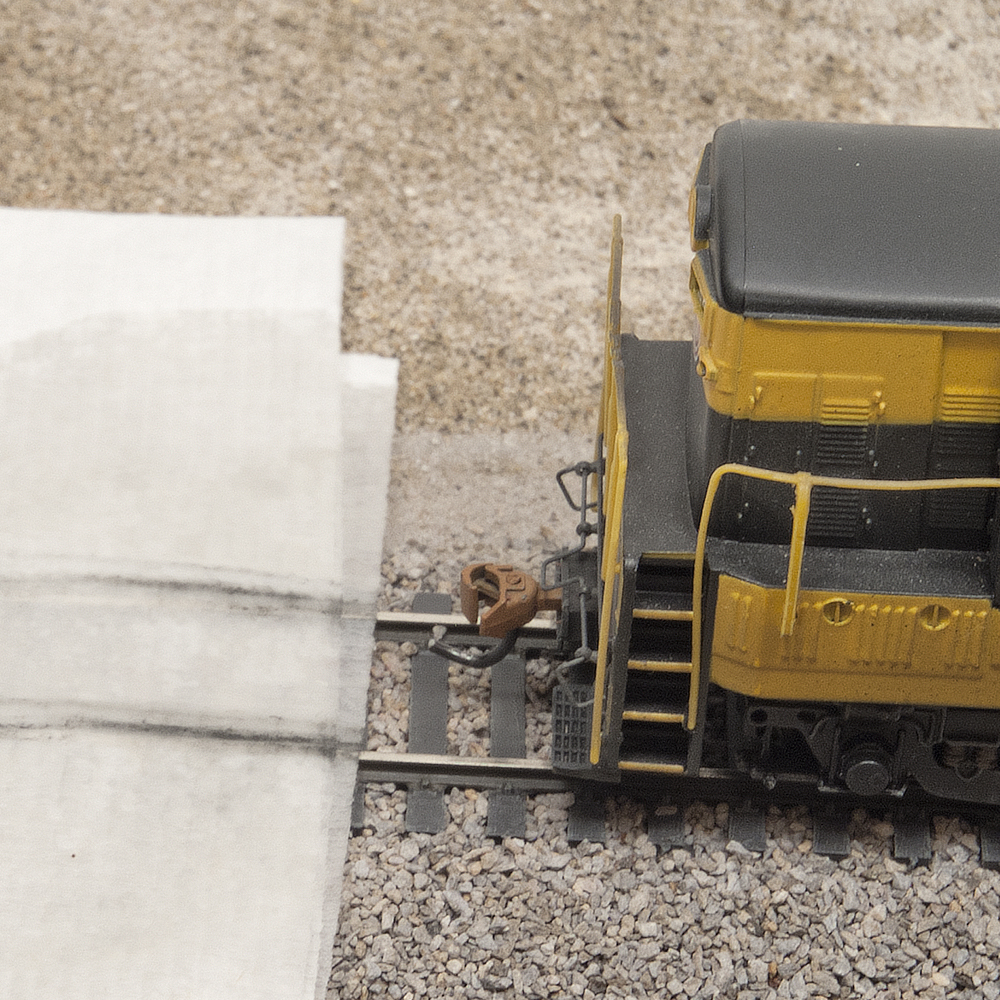


Wheel faces on axles with solid bearings generally have an oily sheen rather than a flat finish.
Mark Vinski