Learning how to install roadbed at a turnout, a place where tracks meet or diverge, is a valuable skill for all model railroaders to have. Installing strips of cork or foam roadbed for straight or curved tracks is a straightforward process. Mark the center line, split the roadbed sections into flexible strips, and glue them to the layout on either side of that line.
Turnouts, however, are places where tracks meet or diverge. Because of this, installing roadbeds for turnouts requires a modified technique. For the example shown here, Trains.com Director David Popp is using cork strips. Cork is a firm material with some sound-deadening properties and is ideally suited for supporting model tracks in a variety of scales. When cut into strips, cork is also flexible and can be bent to follow tight curve radii, making it easier to work with when laying it for a turnout.
Step 1. Mark the turnout
Before laying any roadbed through a turnout, you must mark a few things on the layout’s surface, including the straight and diverging routes. Start by drawing the straight leg for the turnout on the layout’s surface. Next, set the turnout you plan to use at this location onto the layout, being sure to use the correct type (frog size) and hand (right or left). Mark the center of the diverging route, the center switch points, and the location of the frog on the layout’s surface.
Next, remove the turnout and draw connecting lines through the diverging route to the center of the points at the switch rod, as well as connect to the center line of the diverging track. With these lines drawn, you can now move to step 2 of the process.
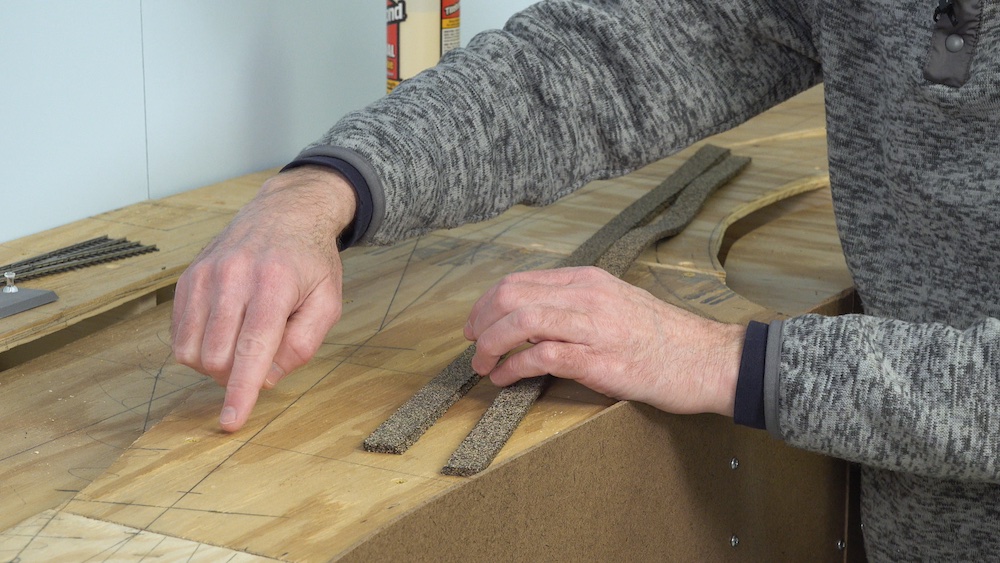
Step 2. Lay the outer-most strips
You will likely need several strips of cork to complete the roadbed for a single turnout, so split two cork roadbed sections into their pre-cut strips before you begin.
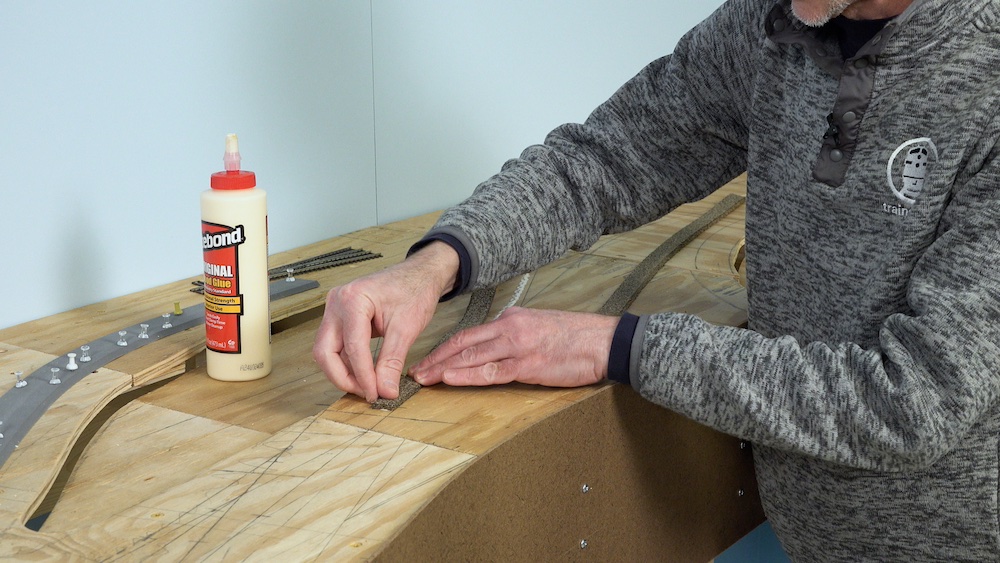
Start by gluing the outer straight-leg strip into position. Normally you would use wood glue for gluing roadbed to plywood surfaces, but if you are using foam as a subroadbed base, then you will want to use adhesive latex caulk or a foam-safe construction adhesive, such as Liquid Nails for projects. In either case, it’s recommend using push pins or small tacks to hold the cork in place until the glue sets.
With the outer straight strip glued down, next repeat the process for the outer diverging route, following the curve of the centerline you’ve drawn on the subroadbed. Tack that strip in place as well.
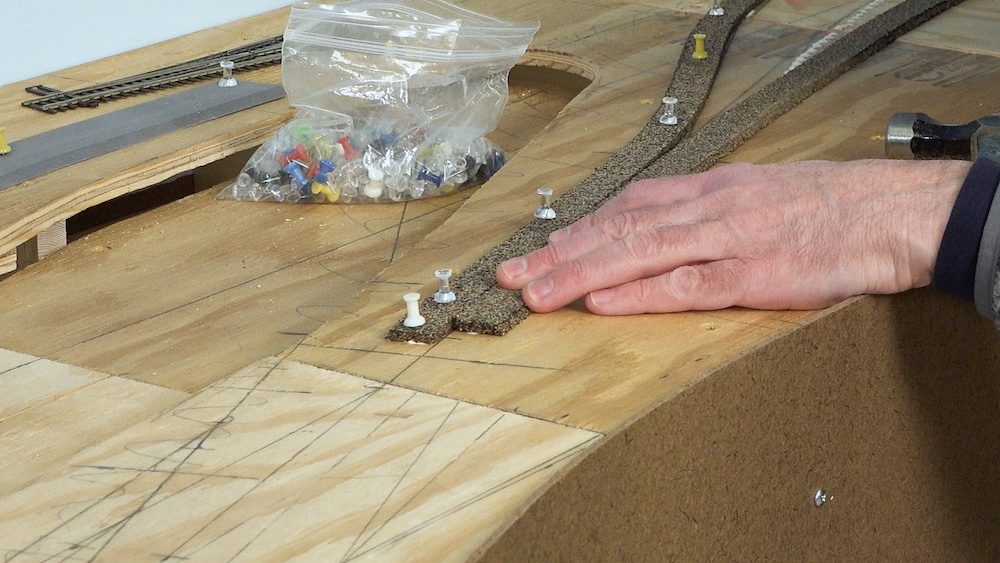
Step 3. Filling the middle on the turnout
Avoid the temptation to let the glue dry on the outer strips before proceeding. In fact, it’s best that you get all the strips in place before the glue sets, as it will allow you to make minor adjustments as you work.
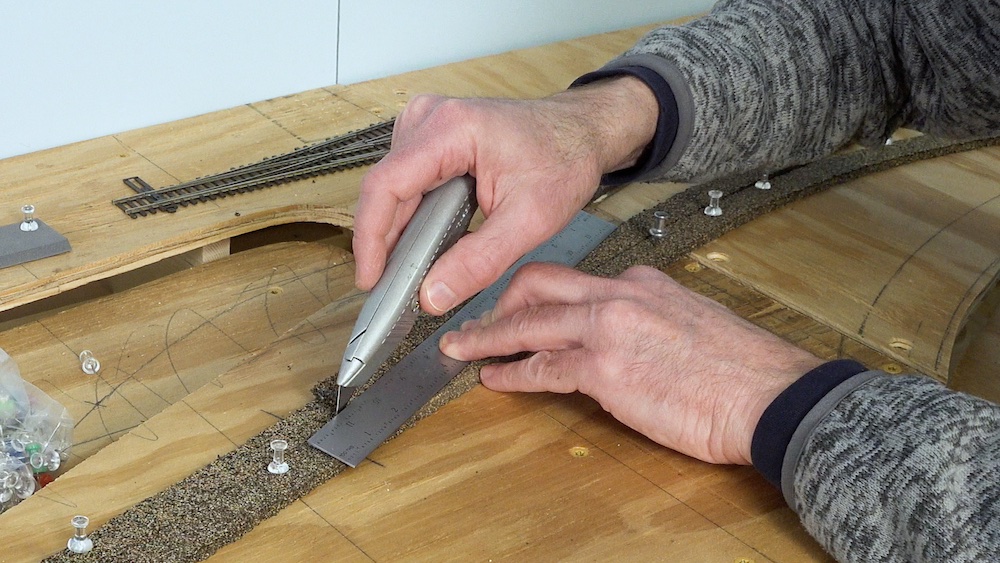
As with the outer strip, start this step with the inner straight strip. Before adding any glue, lay the strip in place and determine the angle you will need to cut before installing it. I simply lay a metal straight edge along the cut line, then use a sharp utility knife to make the cut. Don’t try to cut all the way through the cork in a single pass. Instead, make several light passes and allow the sharp blade to do the work.
Once you are satisfied with the cut, glue the inner straight strip into place.
The final piece should follow the inside of the diverging route. Be aware that when cutting this piece, you will likely also have to cut away some of the beveled edge both its strip, as well as the straight inner strip so that they match properly. When you’re satisfied with the fit, glue this piece in place.
Try as you may, it can be very difficult to get a perfect fit to both long wedge cuts from the center pieces. As long as the glue is still wet for the other roadbed pieces, you can carefully slide the strips around a bit to better fill in any gaps. You will likely need to remove the pins to accomplish this.
Step 4. Headblock tie pad
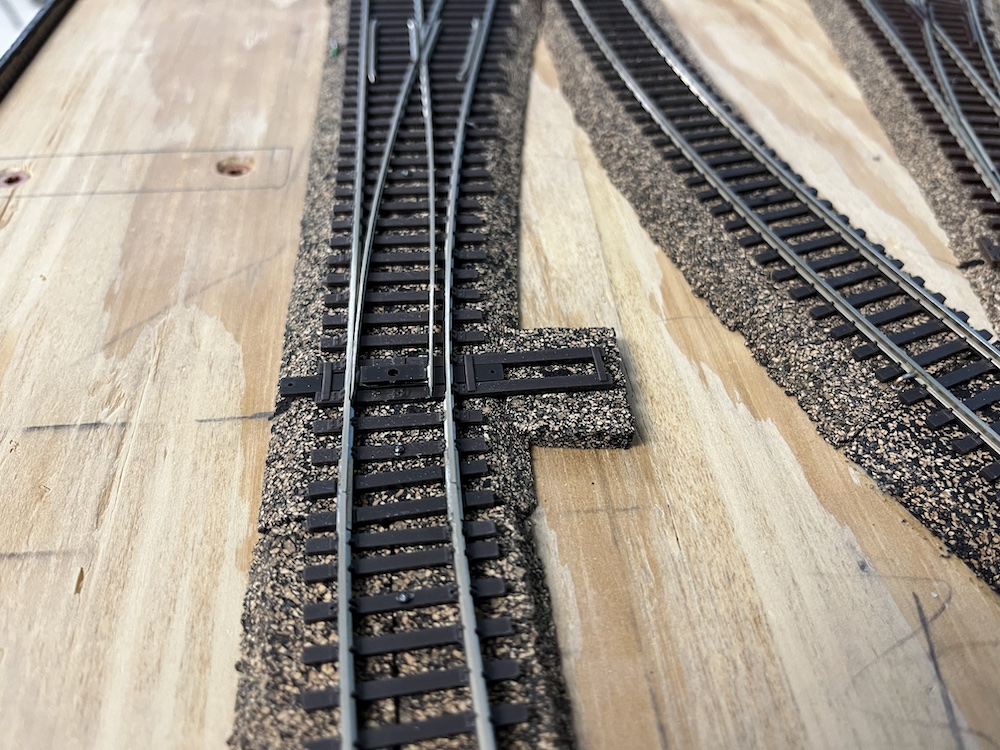
Turnouts have two longer ties that parallel the switch rod. These are called headblock ties, and they are used to mount switch stands. They also need to be supported by the roadbed.
To make a headblock tie pad, cut a 1-2” strip of roadbed. Next, place some glue where you’ve marked the switch rod on the side of the turnout that you want the headblock ties to rest on. Flip the tie pad over so that the beveled edge is facing down, and set it into the glue, again pinning it until the glue dries.
With that, you’ve completed the roadbed for this turnout. The technique will work well with any roadbed material that comes in strips or can be cut into them, including foam and Homasote.
An alternative route
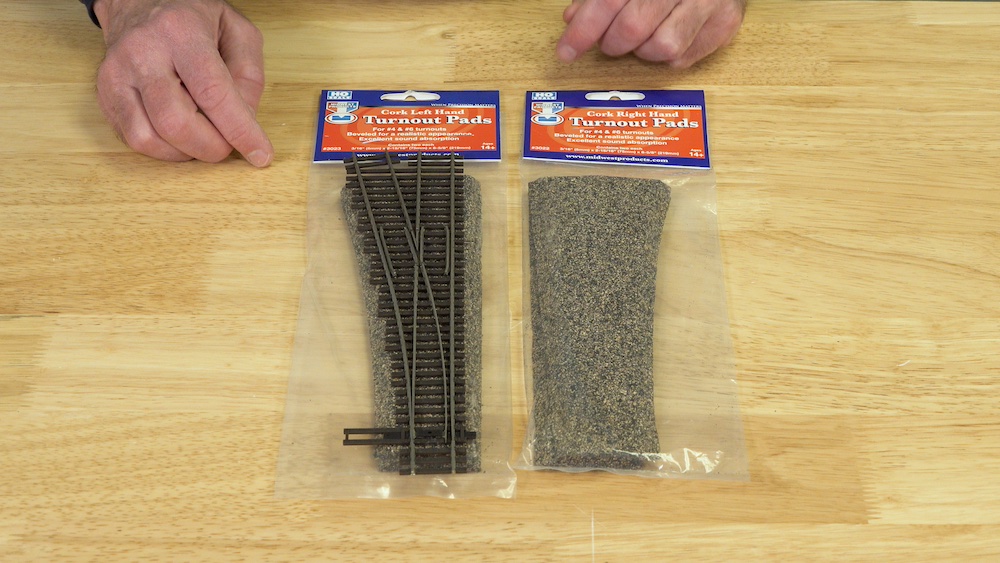
Of course, premade turnout pads are another option and are available from Midwest Products, a primary supplier of cork roadbed. Cork turnout pads are pre-cut for right and left-hand turnouts and come in standard turnout sizes, such as no. 4s or no. 6s. However, the turnout pad doesn’t cover the entire space, usually just the center from the switch points to just beyond the frog.
To use a turnout pad, glue it into place over the top of the center line drawing you’ve made for the turnout on the subroadbed. Be sure that it is positioned properly to fit the turnout for the space so that the points, frog, and diverging route all align with the actual section of track.
Once the pad is secure, then glue the approach, tangent (straight), and diverging lines to connect to the pad. Basically, the turnout pad simply eliminates all the cutting and fitting required for the center of the turnout.
Members can watch a demonstration on how I install cork roadbed at turnouts on Trains.com Video!