Handy tools for DCC wiring projects: I talked about soldering irons, solder, heat sinks, tip cleaners and other handy tools for DCC wiring in the August 2017 DCC Corner column. I’m not going to repeat that, but I want to provide an update. Some soldering irons can leak current through their tips if they’re not internally grounded. Even in those that are grounded, apparently over time the ground can degrade. This can lead to damage to decoder parts if the decoder becomes part of the ground path. Be aware that low-cost soldering units may suffer from this problem. This is why working on a special non-conductive work surface can be important. One reader contacted me about this issue with the Weller soldering iron I showed in the article. With his WLC100 he burned out the audio amplifier on several SoundTraxx decoders. Upon testing, the soldering iron was found to be leaking current and damaging the components. Since I do a lot of decoder installations, I was obviously concerned. After discussing this problem with the folks at SoundTraxx, I purchased a more expensive soldering iron that has a grounded tip that won’t leak current.
Although I still use the Weller iron for general soldering, I now use a Hakko FX888D for my electronics work. With this unit I can set a specific sensor-controlled temperature for the tip, and it heats up quickly, plus it has a reliable internal tip ground. Another easy safety measure for decoders with removable wiring harnesses is to disconnect the decoder when doing any soldering.

Heat-shrink tubing is an important item to have on hand, and I use it on almost all my decoder installations as well as other wiring on the layout. It comes in a variety of diameters and can be ordered in rolls or strips. I purchase 4-foot lengths from All Electronics and then cut them to approximately 6″ strips for storage. I keep a selection ranging from 3⁄64″ to 1⁄4″ diameter on hand. It’s available in a number of colors, including transparent, but I find basic black is less visible inside models. The polyolefin version I use shrinks little in length but about 50 percent in diameter, although other shrinkage ratios are available. You can use a dedicated heat gun to shrink it, but I’ve found that simply holding a hot soldering iron tip near it will do the job. Don’t do this with PVC heat-shrink tubing, as it will melt. Anytime I need to protect a solder joint on wires, I just slip a piece of heat-shrink tubing onto one wire before soldering, then slide it over the completed joint, apply the heat, and the job is done.
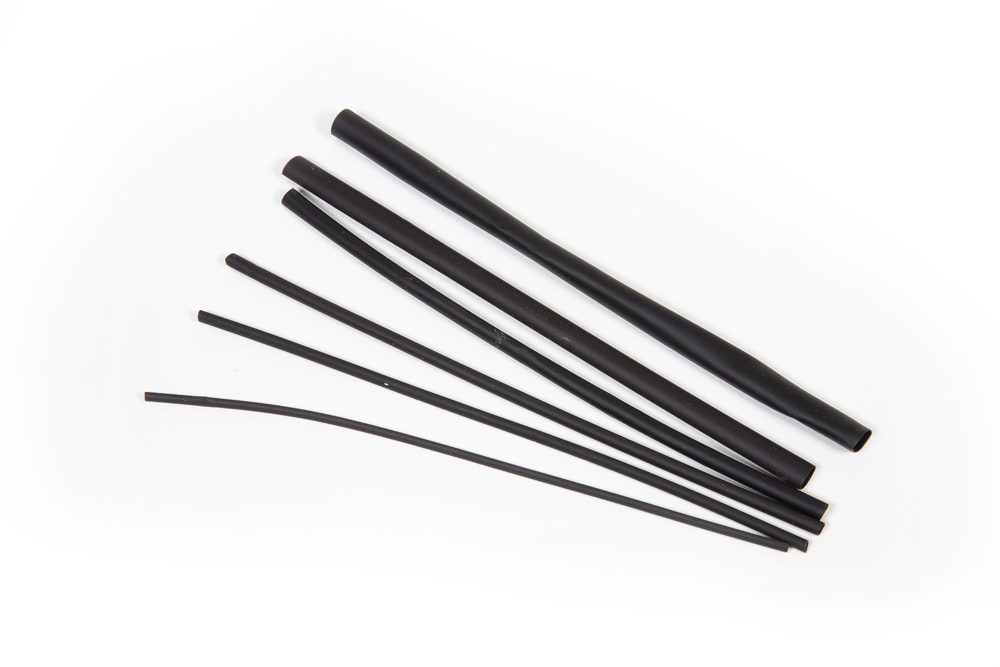
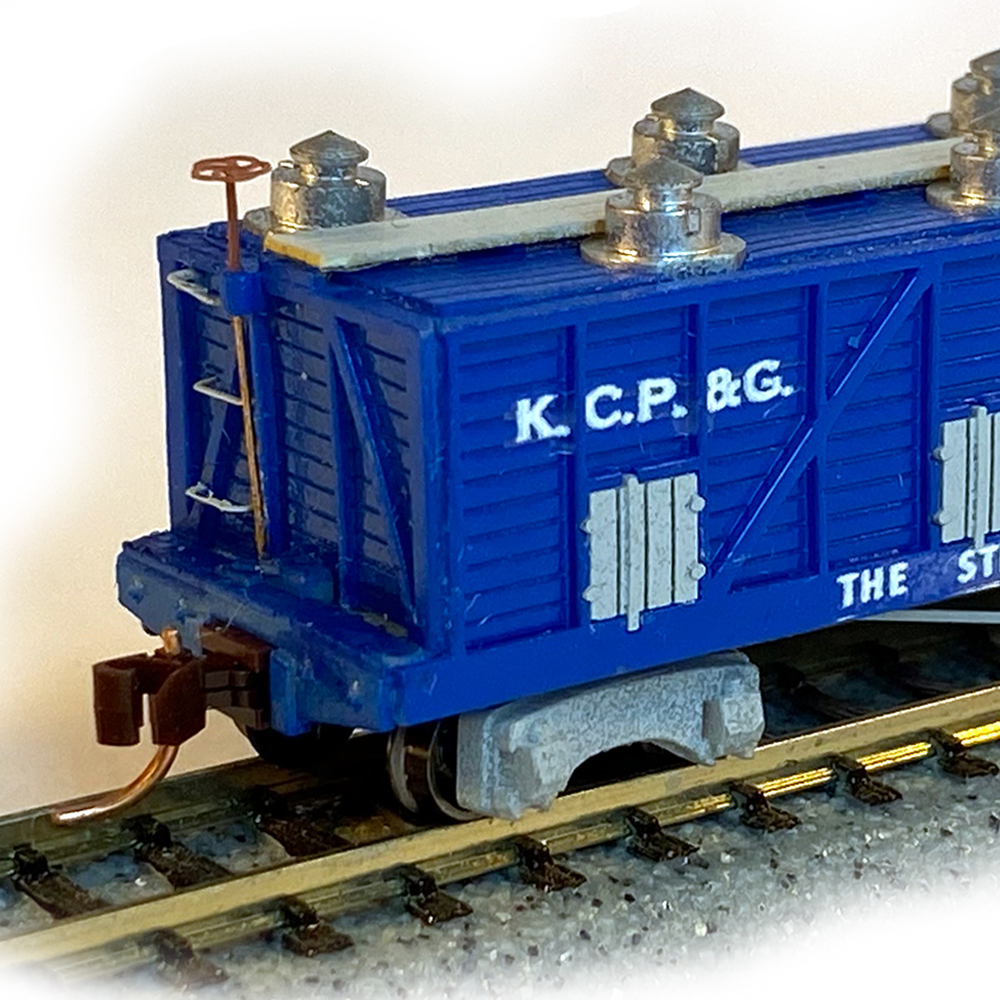
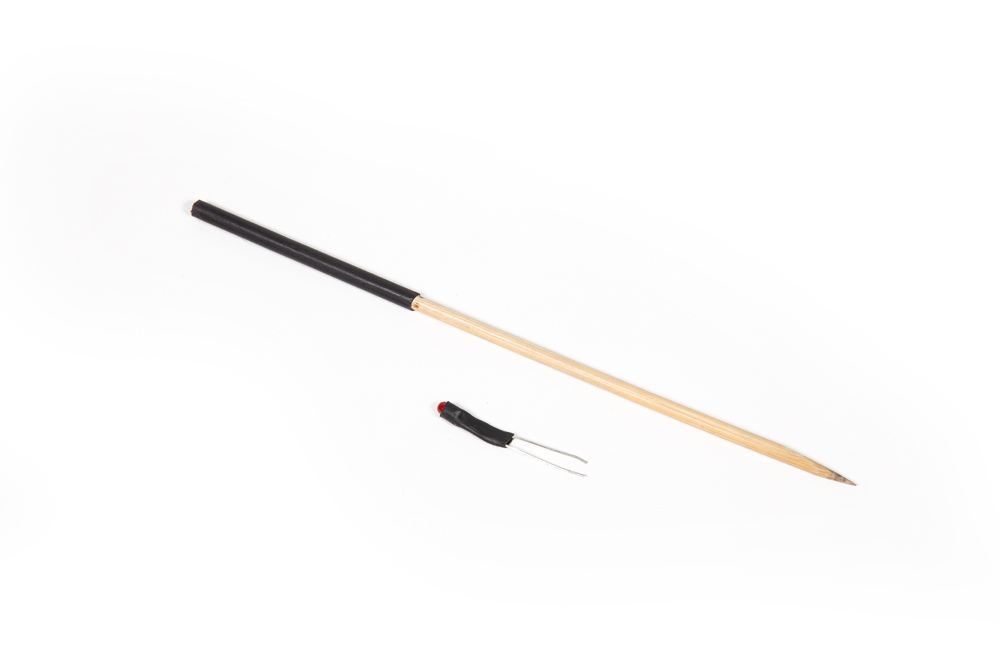
In addition to protecting wire joints, heat-shrink tubing can be used for other purposes. For example, you can cover all of a light-emitting diode (LED) or light bulb except for the very tip to control the direction and spread of the emitted light. This is especially useful with headlights. In an upcoming article, I’ll show how to do this with fiber-optic strands to create several types of locomotive lights. Another trick is to place a piece an inch or two long on the end of an uncoupling pick to make it easier to grip and manipulate.
Wire strippers are another essential item for your Digital Command Control (DCC) tool box. These come in a variety of sizes, complexities, and costs. The more expensive versions can strip the insulation back from any place on a wire, making them very useful for adding drops to power buses. However, since I began using various types of suitcase connectors that cut through the insulation, I haven’t had to deal with this problem, and I don’t own one of these expensive wire strippers.
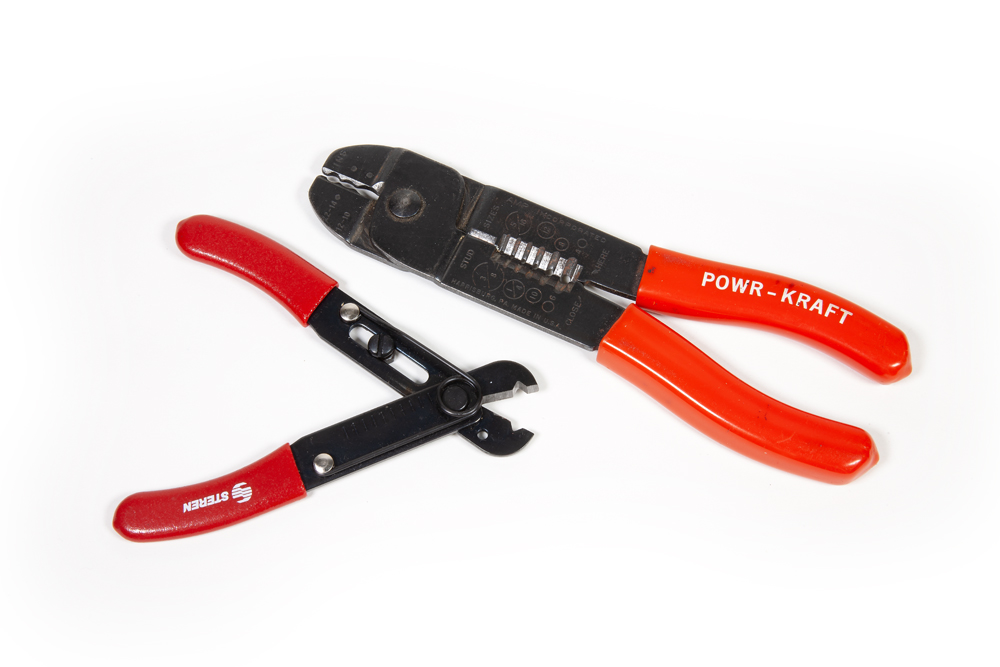
Also available are strippers with holes sized for specific wire diameters, making it fairly easy to strip insulation from the end of a wire. The most inexpensive strippers have adjustable jaws. I have several of these preset to the most common wire sizes I use. I’ve also found that by carefully manipulating the jaws I can strip any size wire without changing the set screw position.
Another product I use a lot of is double-sided foam tape. This is what the name implies, a strip of flexible white plastic foam with adhesive on both sides. It’s available in different widths and thicknesses, and because it’s flexible, it conforms to uneven surfaces. I use it for attaching decoders, speakers, wires, and stay-alive devices to locomotive shells or motors. It can be used for attaching accessory decoders to Tortoise by Circuitron switch machines.
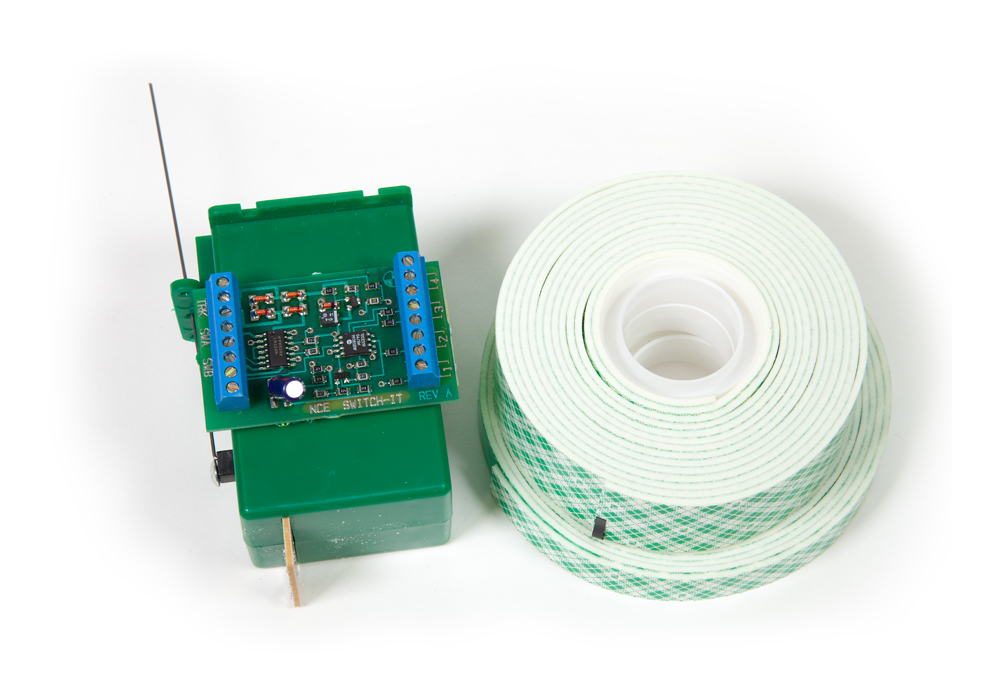
It also works well for mounting small circuit boards such as a switch frog power board, auto reverser, occupancy detector, or accessory decoder under the layout. The adhesive on this stuff seems to last forever. I have Tortoises with accessory decoders on them that have been there for about 15 years. A putty knife or chisel blade in a hobby knife will separate the parts, if necessary.
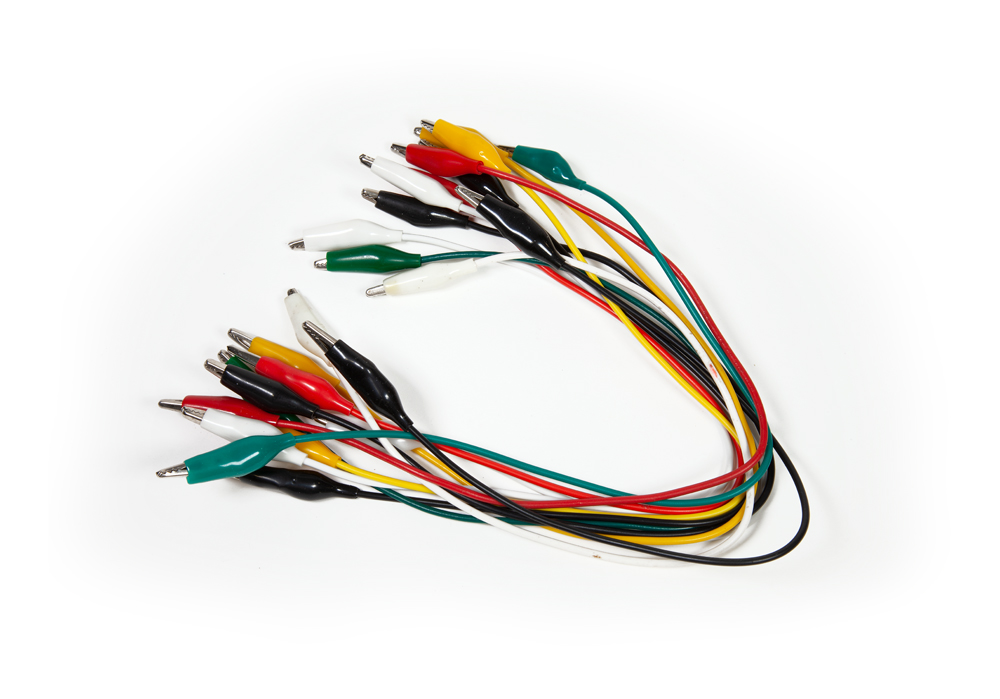
Clip leads may not sound like a tool, but they definitely belong in your electronics tool box. Made from alligator clips attached to the ends of a piece of flexible wire, and available in various lengths, they’re great for a quick connection to test an installation. For debugging purposes, they can be used to bypass a suspect solder joint or other connection. While they should never be used for permanent connections, they’re great for test purposes.
This isn’t a comprehensive list of tools, just those I find most handy for DCC wiring needs. No matter what tools you use, don’t cut corners when in a hurry, and be careful about using temporary fixes – they have the habit of becoming permanent.