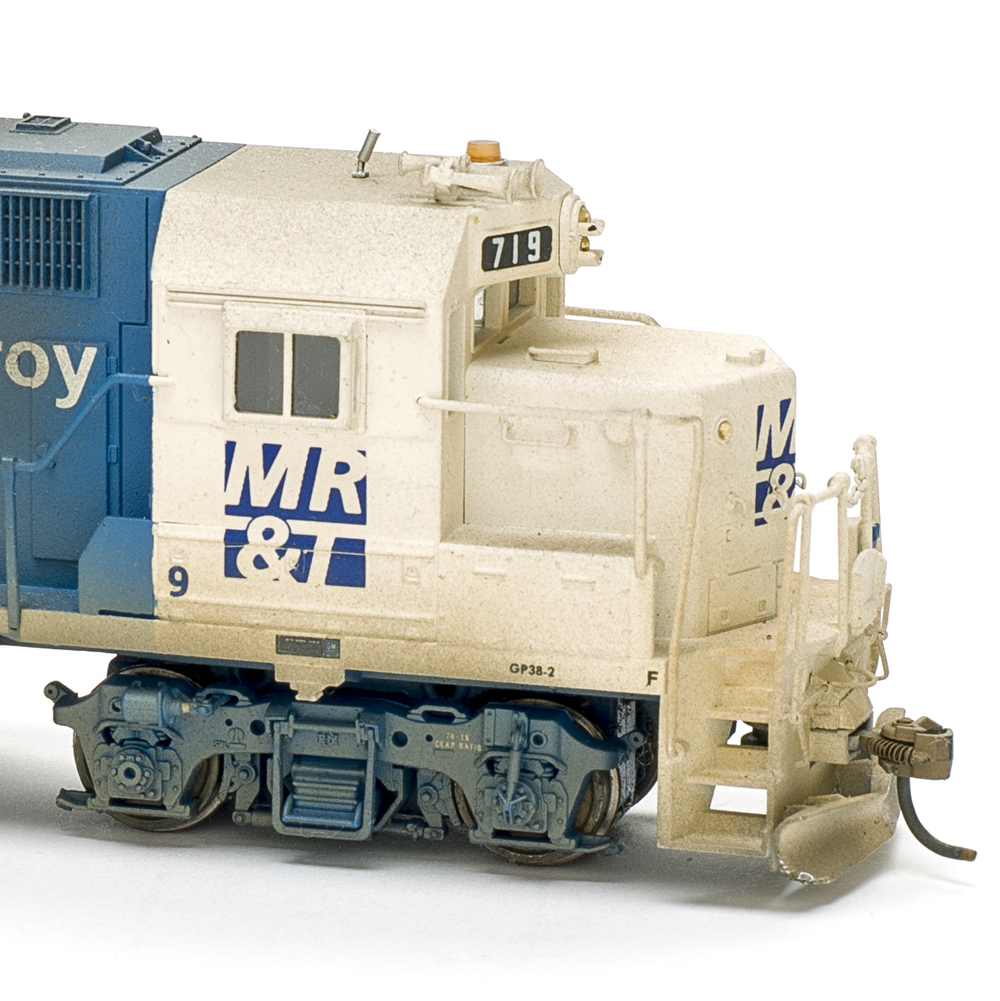
Q: Do you have any suggestions on how to remove locomotive lettering? I have an HO scale Proto 2000 Heritage 2-8-8-2 steam locomotive from which I would like to remove the decals. I was wondering if the decals are on paint, or if they are put straight on the plastic? Can you tell me how to remove locomotive lettering without damaging the paint? – Darryl Haderlein
A: If those locomotives were factory-decorated, they likely aren’t decaled, but decorated with a printing process similar to silk-screening. The ink would be printed not directly onto the locomotive’s plastic shell, but onto a base coat of paint. You’ll have to be careful when removing the lettering not to damage the paint underneath it.
Group Technical Editor Cody Grivno has tried about every method to remove printing from a locomotive shell over the years; here are some of his favorite techniques. The first to try is to dab on some Micro-Sol decal setting solution (the stuff with the red label), let it sit for a while, then rub gently with a pink rubber pencil eraser to remove the softened printing. Don’t rub too hard, or you might remove the underlying paint. Walthers Solvaset can be used in place of the Micro-Sol with this technique.
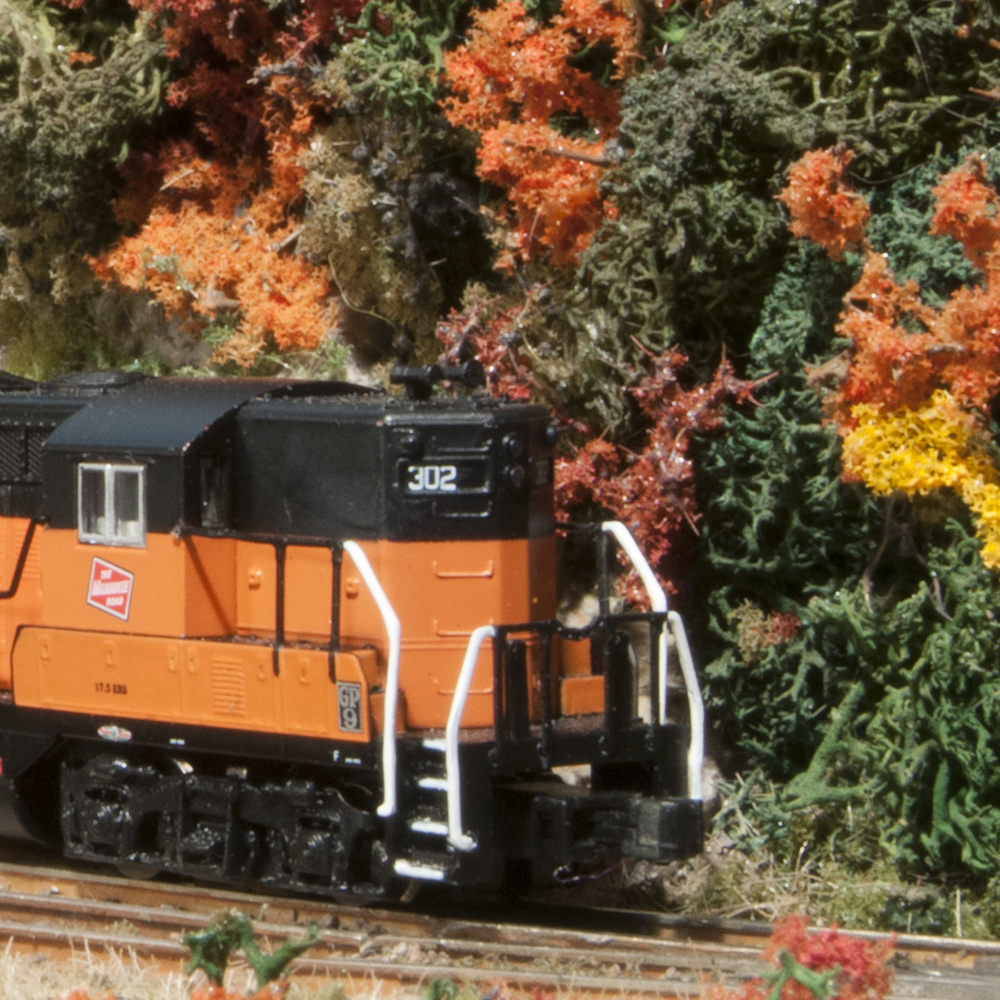
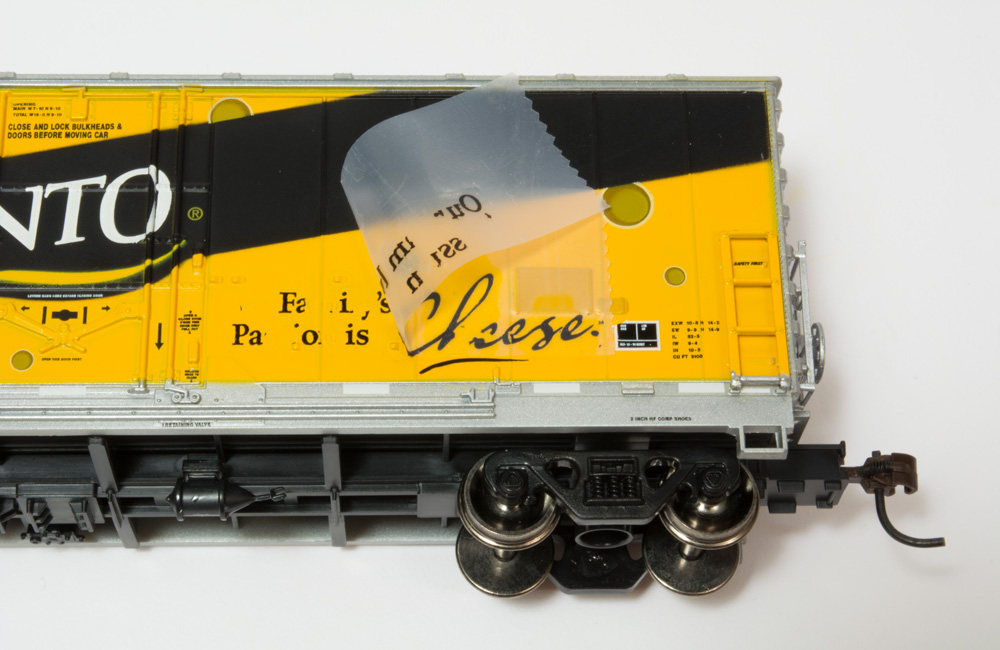
Another technique that Cody demonstrates in the book 25 Freight Car Projects (available in the Kalmbach Hobby Store) also involves decal setting solution. Although he demonstrates the technique on a boxcar, the same methods are used to print the lettering on locomotives. Apply a small amount of the setting solution to the lettering you want to remove, then let it sit until the liquid is almost fully evaporated. Apply a piece of Scotch Magic Tape over the printing to be removed and burnish it down firmly with a toothpick, then pull off the tape. With luck, the softened printing will come with it. Repeat as needed until all the printing is lifted off.
Finally, there’s wet sanding. Using ultra-fine wet/dry sandpaper or a sanding stick (1500 grit or finer), put a drop of water on the printing and sand gently. Monitor your progress carefully to make sure you aren’t removing paint.
Cody talks about these techniques in a recent episode of his video series, “Ask Trains.com.” If you’re a subscriber to our website, you can watch the episode on our website. Good luck with your locomotive relettering project.
Send us your questions
Got a question about modeling, operation, or prototype railroading? E-mail it to us at AskTrains@Trains.com. Include your full name and hometown and put “Ask MR” in the subject.