


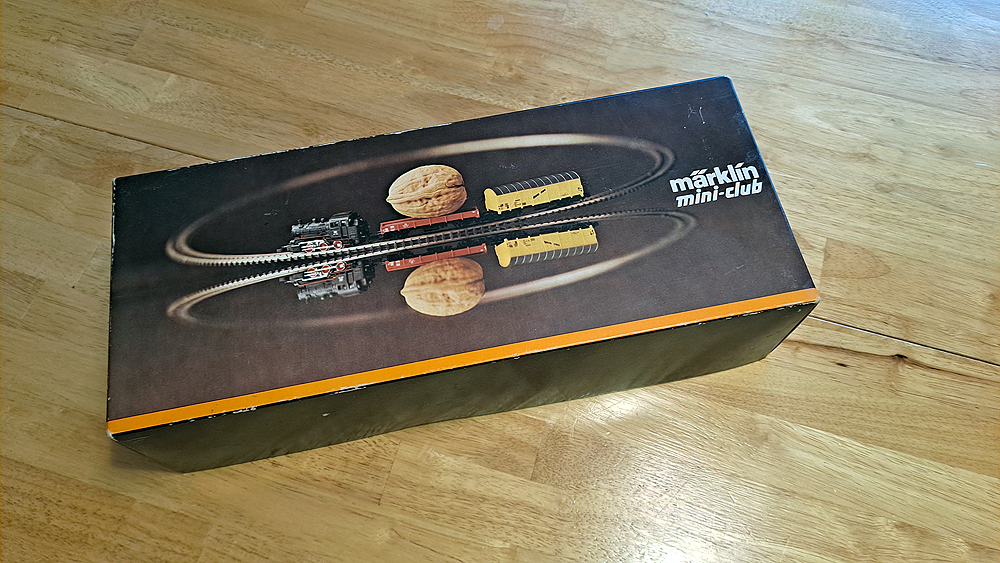
1980s Z scale train set revived: This was the train set I took off the shelf of a toy store in Kirchheimbolanden, West Germany, in the summer of 1981. Follow along as I clean and restore the set to running condition.

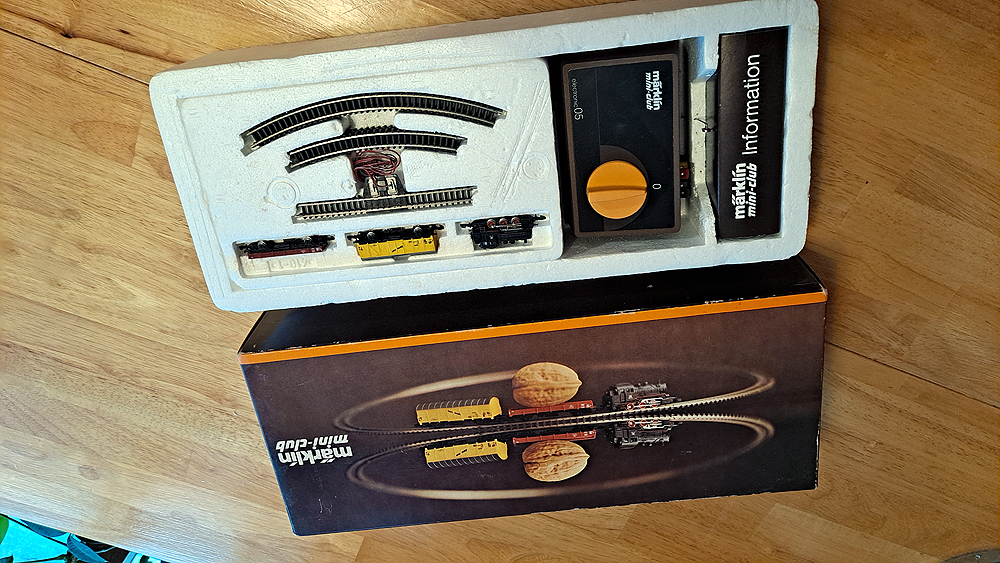
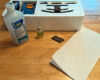
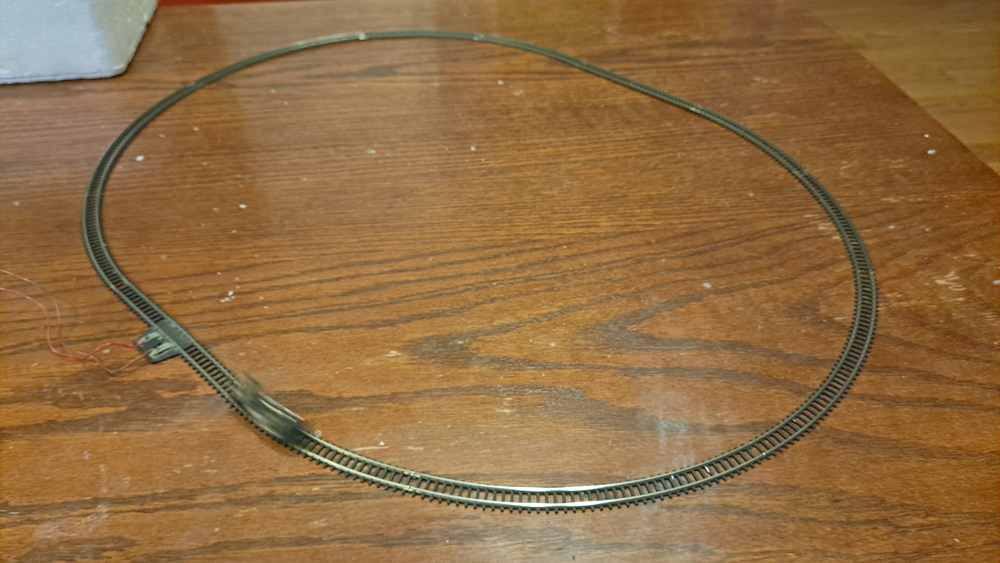
Inside the box are the locomotive and cars, 12 pieces of track, a power pack, instruction sheets, and a tie pin featuring a driver like those on the locomotive. This was the original starter set Märklin offered when it introduced Z scale.
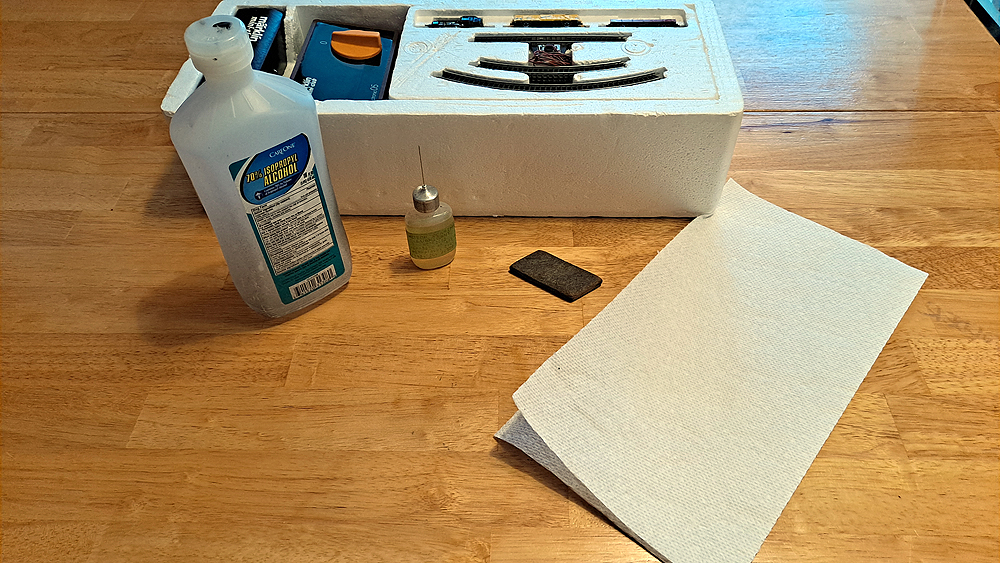
For this project, I used isopropyl alcohol, a few drops of plastic-compatible oil, a Bright Boy track cleaner, and a couple paper towels. Check to be sure your oil won’t affect plastics, or your results may be less than optimal.
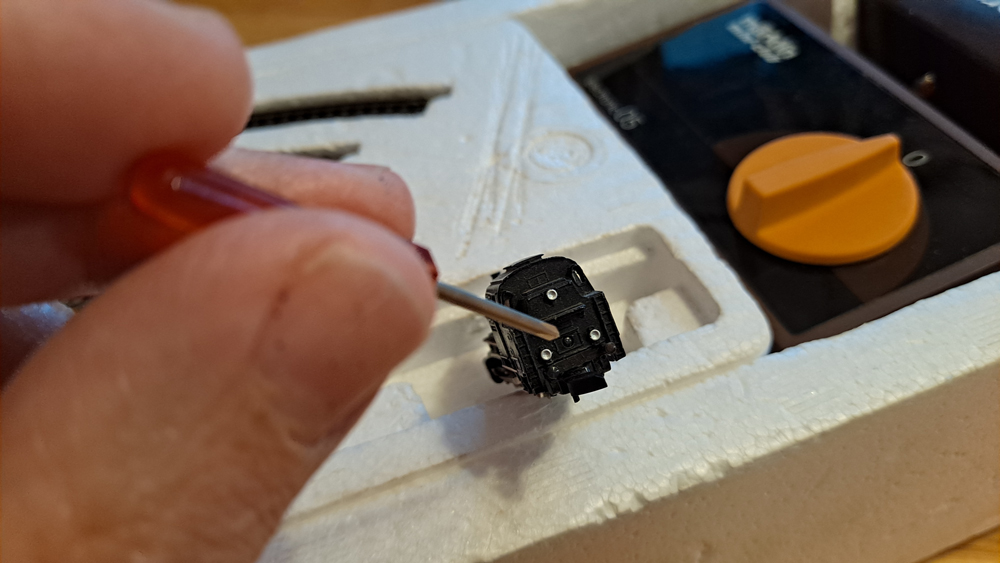
I knew I’d have to apply a little oil to the motor and gears, as the locomotive hadn’t been run in quite a while. To get inside, I pressed the button on the rear of the locomotive, freeing the die-cast metal shell from the frame. There’s a catch under the smokebox to hold the front of the shell in place.
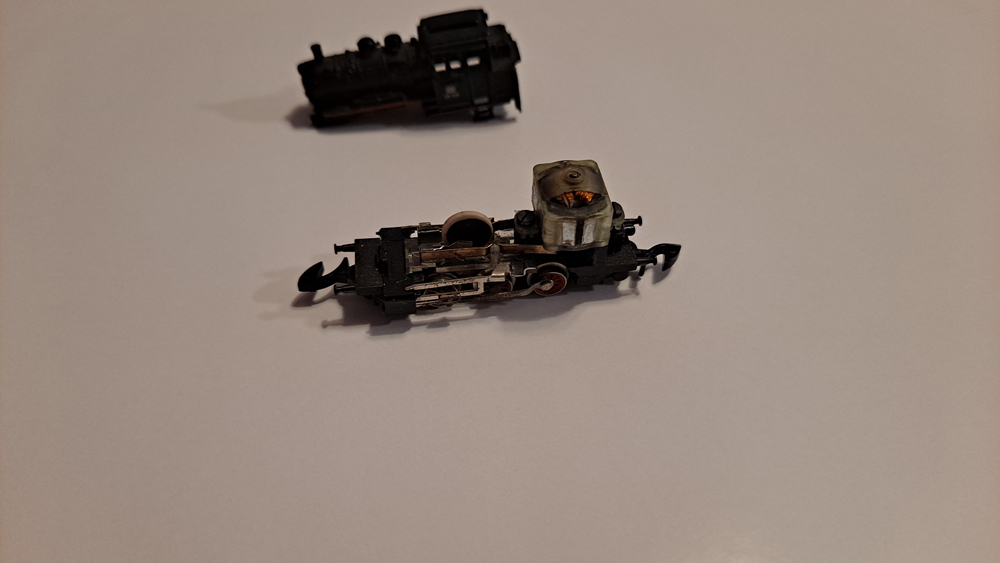
The simple mechanism uses a vertical motor to drive gears attached to the drivers. There’s a bit of corrosion on the main rod and the valve gear pieces, but everything turns, if a bit hesitantly.
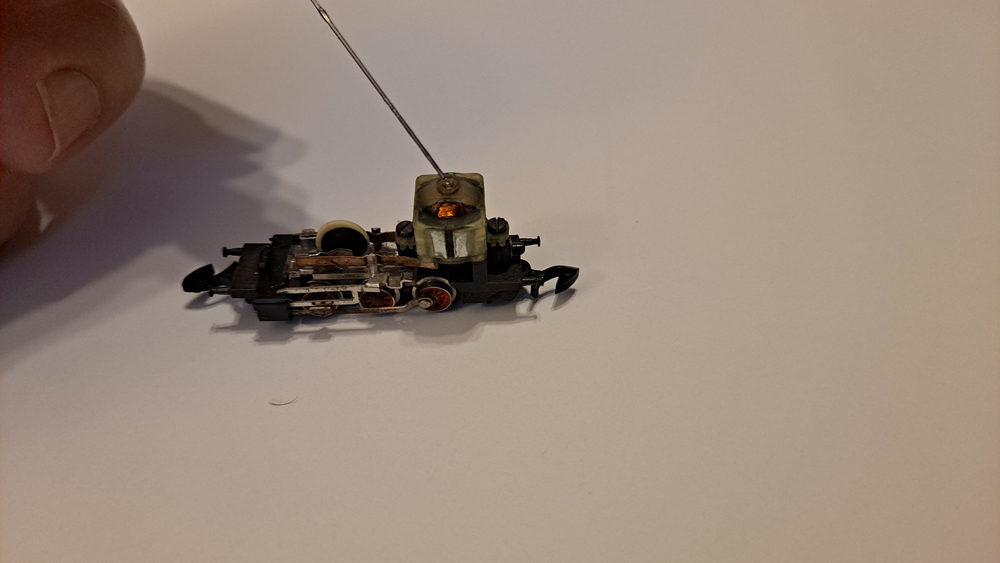
I started with a tiny drop of oil on the top bearing. Be careful not to apply too much oil, as it will drip into the brushes, causing poor performance as dirt accumulates on the commutators – the metal pads connected to the motor’s windings.
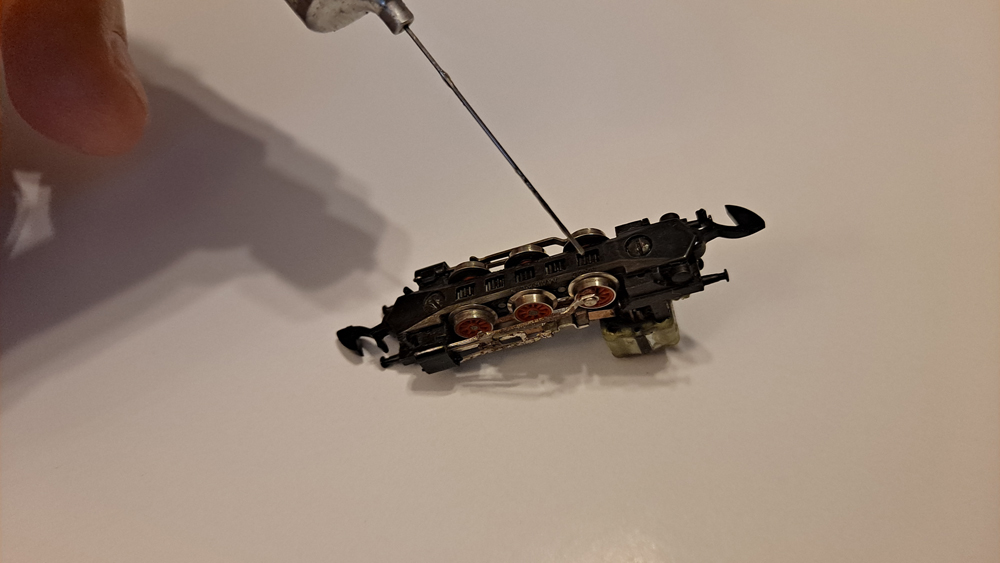
1980s Z scale train set revival: I flipped the locomotive over and applied a drop of oil to each gear. There was no need to take the bottom cover off to do this, so I left it in place. There are no side rods, so these gears are how power is transferred to the center and front axles from the rear axle, which is driven by the motor.
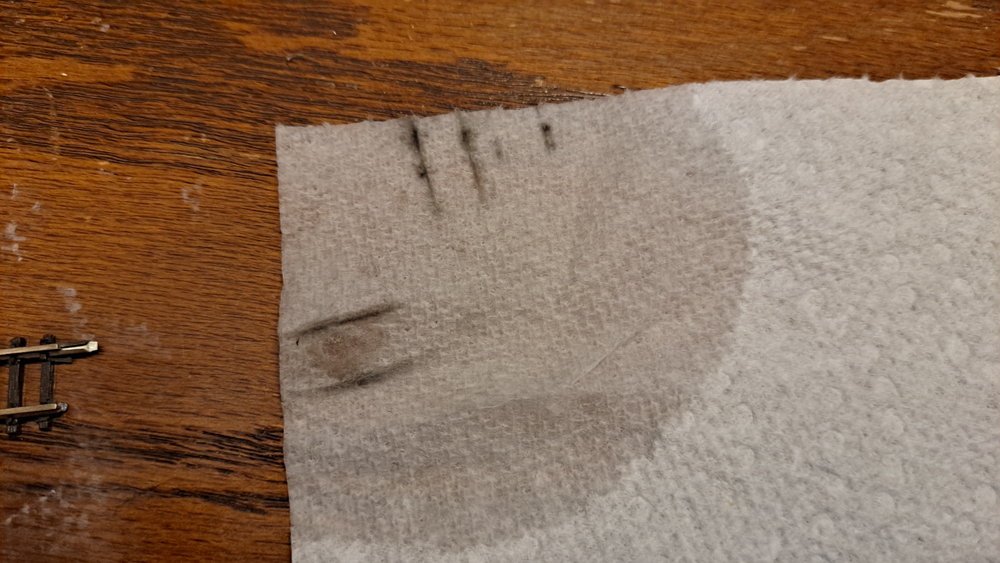
And here’s proof the wheels have been cleaned. Those streaks of dirt on the paper towel would’ve insulated the locomotive from the track. The light weight of the model makes clean wheels and track a must.

And it works! I tried the locomotive first without its shell. Letting it run for a bit helped smooth its operation, and I was eventually able to get it to run smoothly at a reasonable speed. I’ve marked my MRC power pack showing where 8V is on the throttle so I don’t overspeed the motor.
Reviving a 1980s Z scale train set
I bought this 1980s Z scale train set, made by Märklin, as a high school student in 1981 while on a short exchange program visit to southern Germany. I immediately set it up in the bedroom of my host family in the village of Marienthal, in the Rhineland region of what was then West Germany. It ran great, and I had visions of adding more German trains when I arrived back in the States to model what I had seen while touring around Germany.
When I got home, I realized expanding my Märklin collection was going to be expensive, so the set, which came with a 220V powerpack, went onto a shelf to stay for a while. A few years later, I got a new Model Rectifier Corp. Tech II power pack that I felt confident would run the locomotive safely, so I took the set out and hooked everything up. It all ran fine, but after a few laps around the loop, it went back into its box, where it stayed for several decades.
The first Christmas I spent in Wisconsin, I brought the set into work and set it up on a cabinet in my office at MR. It ran, but only with lots of nudging, and at high speed. Back in the box. Now, with a bit of time on my hands, I decided to dig the train out again and see if with a bit more care, I could get it running a bit better. Follow along in the slide above as I apply a bit of elbow grease and get this little jewel back to its original brilliance.


*I suppose the set in Portland might have had a 110v transformer. Even so, 13 y/o me would have probably managed to break it within a few months.
Am I the only one who thinks it is odd that the author isn’t identified? I remember this set, having seen it at a toy store in Portland, OR back about 1980-81. I considered buying it, but I was a little put off by not seeing a scale reference anywhere on the box. Glad I didn’t, seeing as the included power pack was 220v only. It says something about Marklin’s engineering that it took as little maintenance as it did to return it to running.
For those confused by the “follow along” part of this story, the rest of it continues in the photos with captions. It had me scratching my head for a minute as well!
Huh? “Follow along as I apply a bit of elbow grease and get this little jewel back to its original brilliance.” But nothing follows and there isn’t a clue about how to “follow along.” 🙁