While searching for barrels to use on my railroad, I noticed wood turnings marketed as “pickle barrels” in a Michaels craft store. They are made by Lara’s Crafts and are turned Baltic birch in the general shape of a barrel with hoops. While unbecoming in their present state, they offered good modeling potential, so I got a package of two for around a dollar to see how well I could improve the barrels’ looks.
Since these barrels are wood turnings, they are completely smooth, lacking the wood and plank detail. I first roughed up the surface with some fine grit sandpaper. Be careful to rub the barrel horizontally to simulate the wood grain, since that is the orientation of the planks.

I then secured the barrel on my gluing jig and scribed lines to simulate the side planks of the barrel. I used a hobby knife with a new blade, though a small razor saw would work too. I freehanded the scribe work, being careful to maintain a straight cut. If this is difficult for you, a straight edge would assist in scribing straight. Be careful not to scribe into the hoops that hold the planks together.
The turning also has an inset at the top to simulate a lid. You can scribe the flat surface for planks that make up the lid and cut through the rim where you scribed the side planks.
The base color of the wood turning is a light brown, which is fine for newer barrels, but I wanted to simulate an older barrel, so I used a burnt umber craft paint. I poured a small amount of paint into a small cup and filled the rest with water. You’re not painting the barrel but lightly staining it with a wash of pigment. I liberally applied the wash all over the barrel. This gave me a shade close to that of aged oak. The coat does not have to be even, as different planks age differently.
Let the piece dry. I used a silver Sharpie to paint the hoops of the barrel. You may need to go over some of your scribed lines with a hobby knife again, as the paint may have covered them.
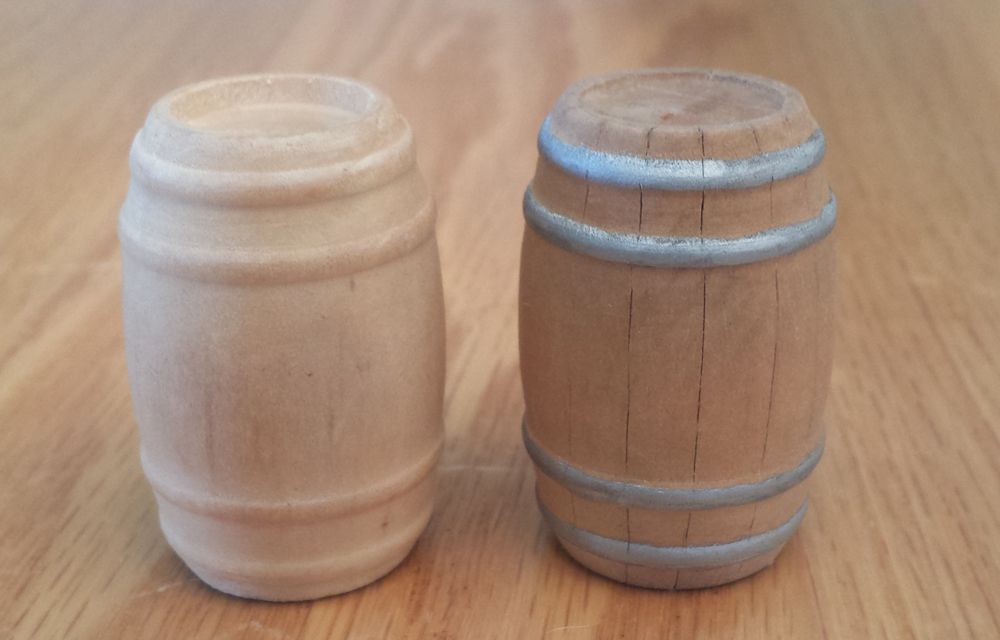
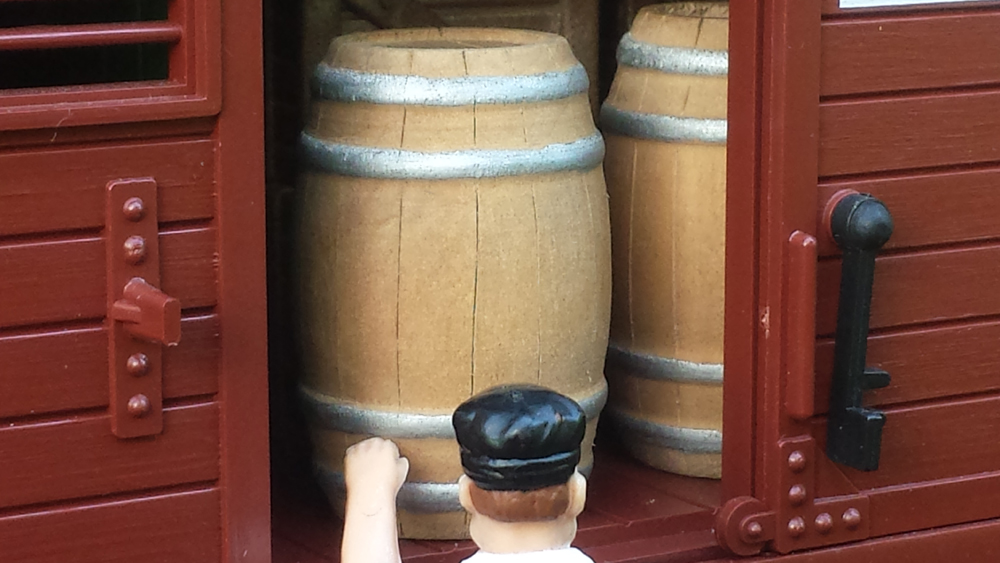
At this point the barrel is finished, and compared to the original look, is a significant improvement. You could seal the barrel with a spray of clear coat to preserve your work.
While these barrels have a simulated top, the bottom is smooth, so for the best results the barrels should be modeled upright or on their sides with the bottoms concealed. You could add hardware if you wanted a tap for your barrel, using styrene or leftover parts from a project. This could also help hide deficiencies in the wood, like knots and cracks.
Lara’s Crafts sells other turnings such as milk cans, baskets, etc. that can easily be enhanced into respectable models. Besides being able to make hard to find models, these are also inexpensive. The next time you go into the craft store, take a look and see what could be modified for your garden railway!