


I have always liked narrow gauge. In my early 20s I tried my hand at modeling a bit of the South Pacific Coast RR in HOn3. But truthfully, I didn’t have the skills or the time. Frankly, my first love was the 2-foot gauge Sandy River and Rangeley Lakes.
I remember talking to Bob Brown, editor of Narrow Gauge and Short Line Gazette in early 1994. By that time, I had decided to build the SR&RL, centered around Strong, Maine, in our backyard. I will always remember Bob’s comment when I mentioned the Forster Toothpick factory in Strong. “Ah yes, the toothpick factory. That would make a great shed!” It was a bit of a wakeup call for an HO scale modeler. Construction started 10 years later, using the NMRA Standards for Proto 20.3, adapted for 2 foot gauge.
The SR&RL in Strong was about 1,500 feet long from the F&M Branch junction switch at the north to the south siding switch at the B&M corn factory. I rebuilt an existing retaining wall, creating a 40 foot by 9-foot-wide level area. In 1:20 scale, the railroad is about 800 feet from switch to switch – only a 2:1 compression!
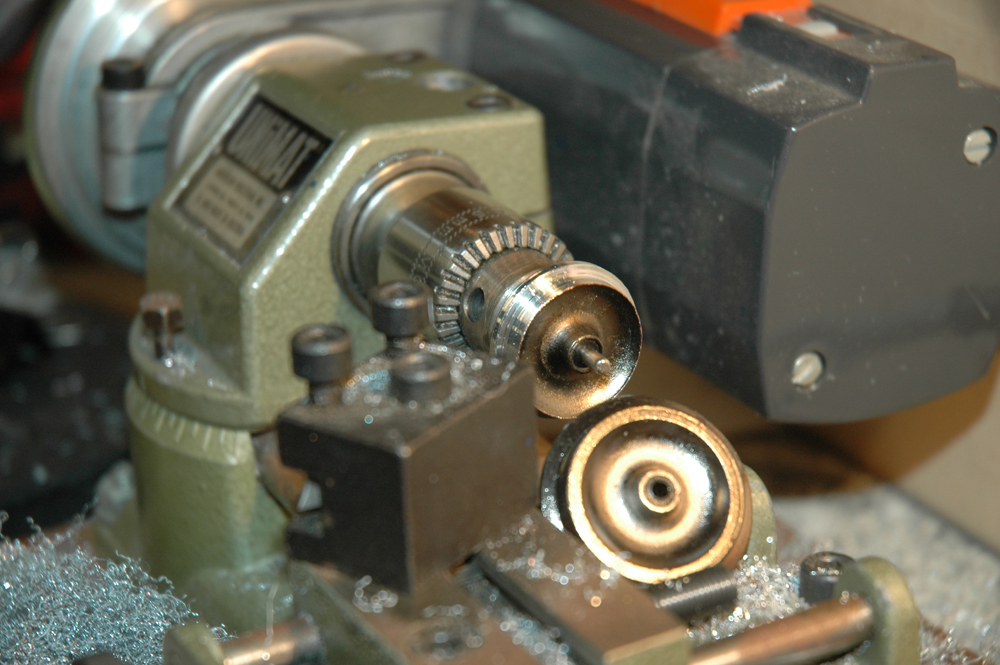
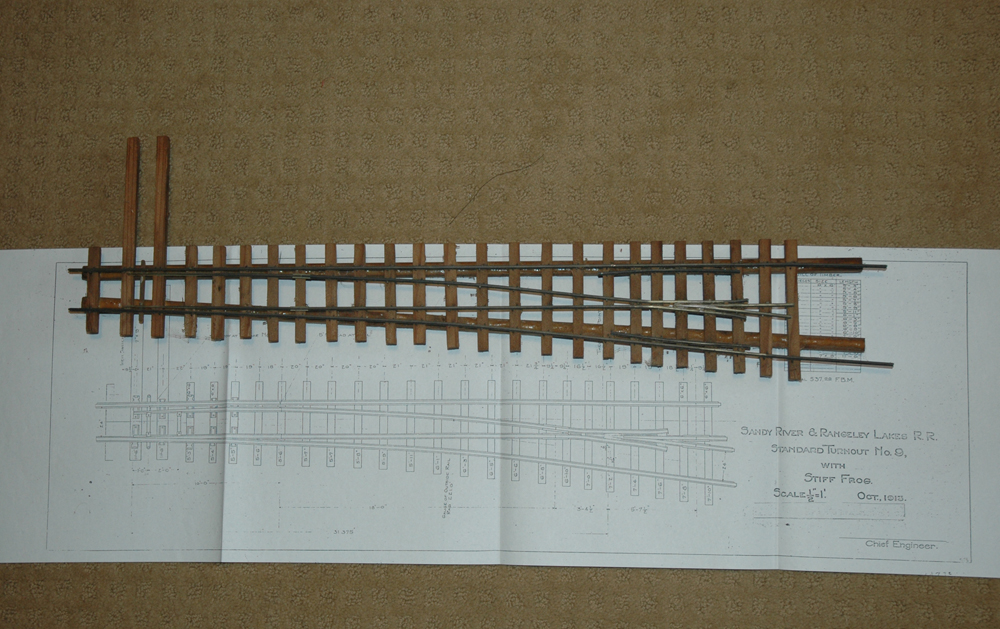
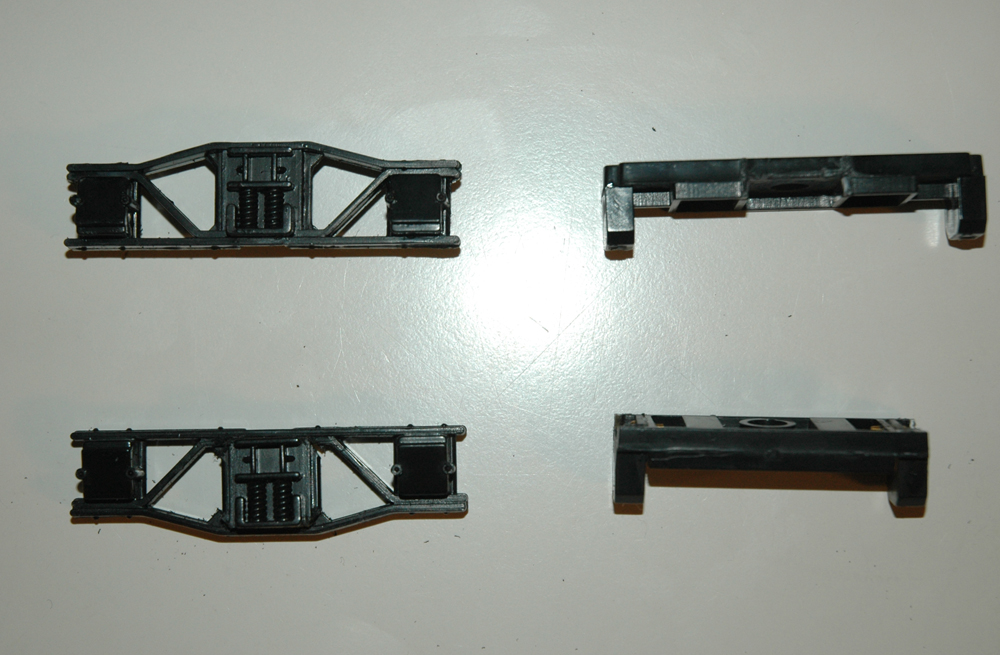
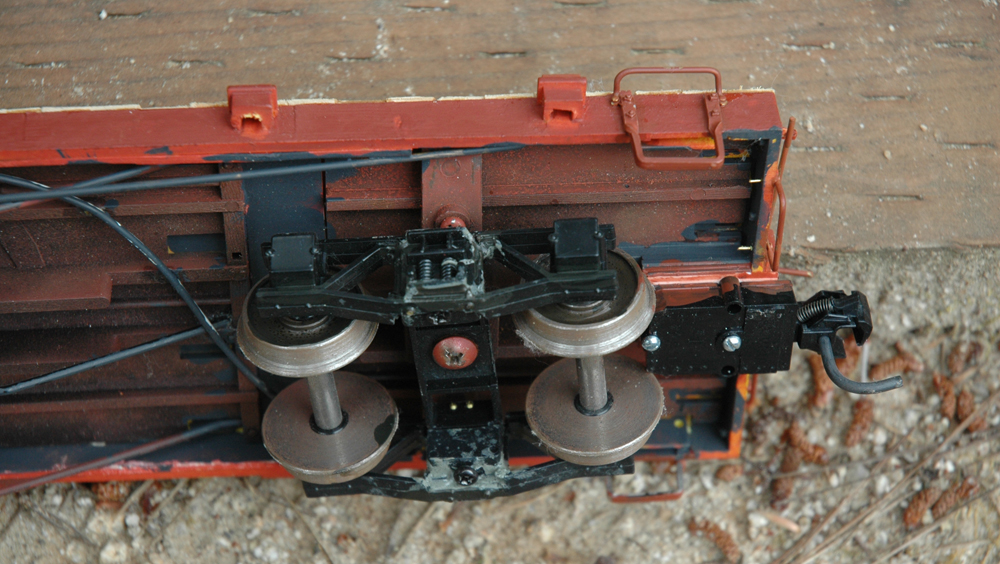
Proto 20.3 scale uses prototype wheel and track relationships. I work from copies of prototype plans for wheels and switches (photo 1). I purchased a number of Sierra Valley Enterprises wheel sets and turn others from Bachmann wheelsets on my Unimat lathe (see photo 2). Almost all of the freight trucks are kitbashed from Bachmann arch bar trucks, cutting them apart to invert the arch bars like the SR&RL ones and shortening the truck bolsters (see photos 3 and 4). The freight cars are mostly kitbashed from Bachmann models into replicas of specific SR&RL boxcars, flatcars, and pulp rack cars.
Track
Track construction started with redwood bender board cut lengthwise into nominal 2” wide strips. I brad-nailed the strips to redwood spacers, creating a continuous spline. I cut redwood ties, made from the old wood retaining wall, to prototype dimensions. I brad-nailed ties to the spline and spiked the rail to the ties using Micro Engineering medium spikes.
I used 30mm gauge for the 2-foot gauge SR&RL. Mainline rail is Llagas Creek Code 215, which simulates the SR&RL’s 55- and 60-pound mainline rail. All other rail, including that on the F&M branch, is Micro Engineering code 148, modeling the road’s usual 35-pound rail.
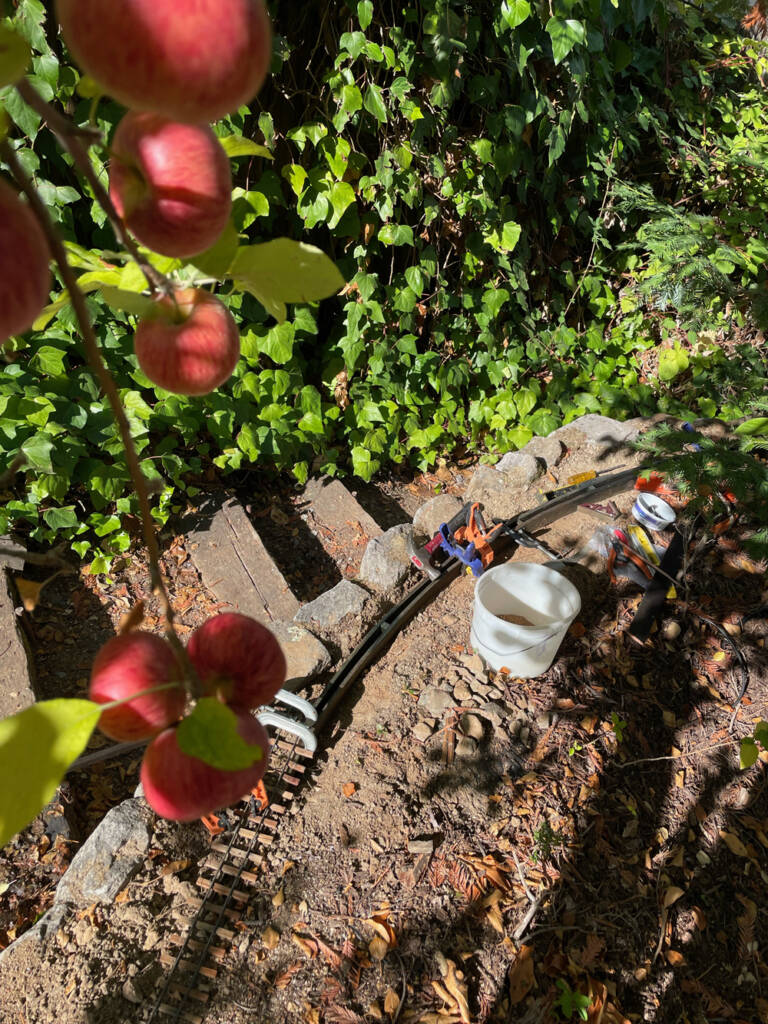
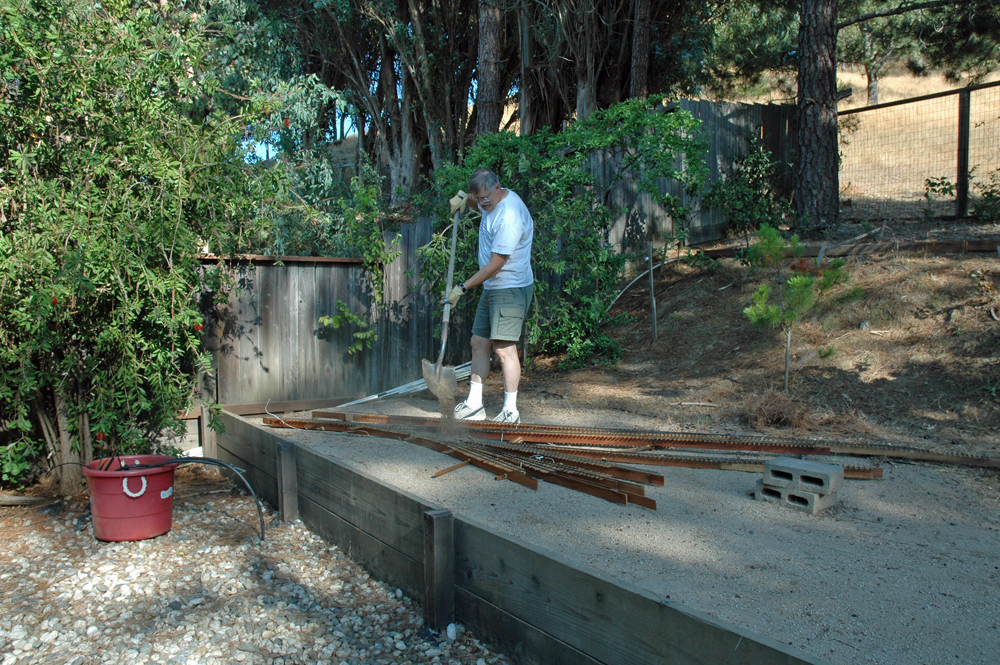
In photo 5 I’m starting to add decomposed granite ballast to the built-up track at the north end of Strong in 2008; photo 6 shows the first major track replacement in progress 16 years later.
Locomotives
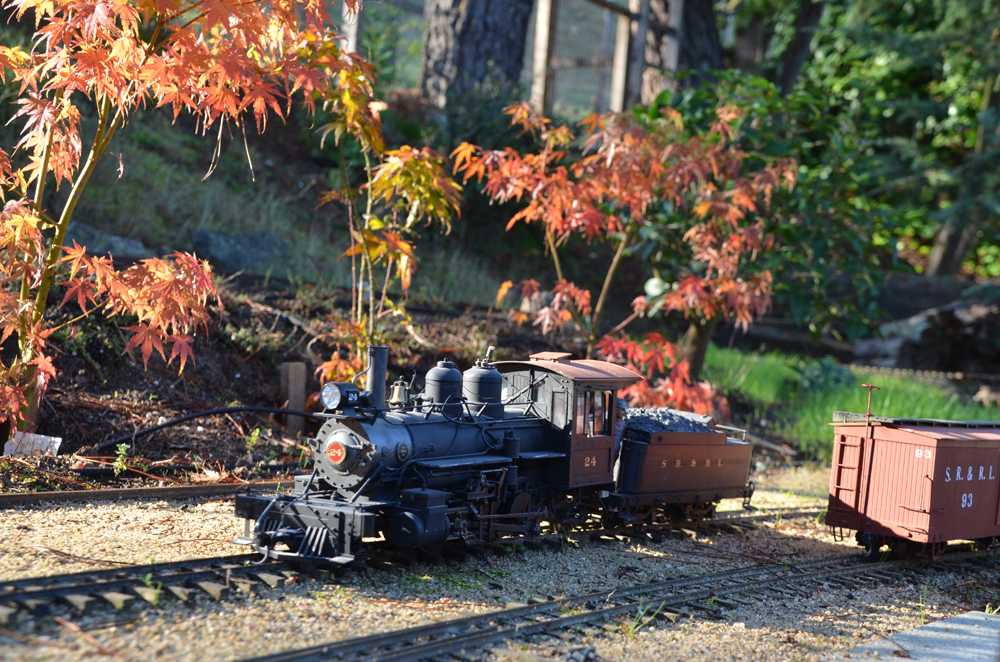
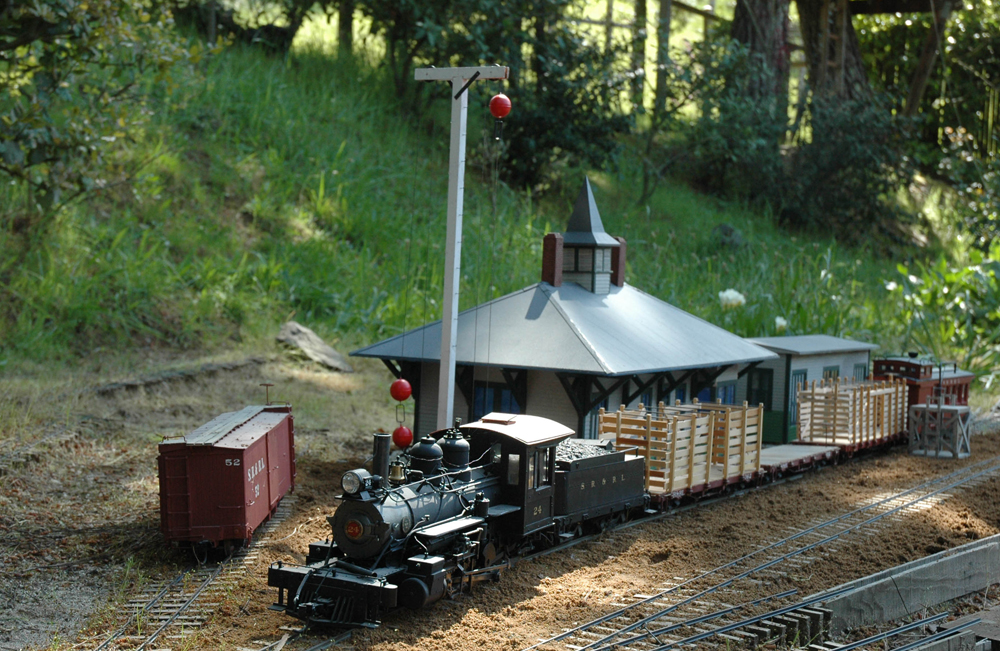
No. 24 started as a Bachmann 45mm gauge 2-8-0. Three and a half years later I had a 30mm gauge 2-6-2 with scratchbuilt boiler and cab and a kitbashed tender that had been shortened, narrowed, and lowered. I narrowed the engine frame and driver axles. I modified the Bachmann pilot truck and built a working swing bolster trailing truck starting with a second pilot truck (photo 7).
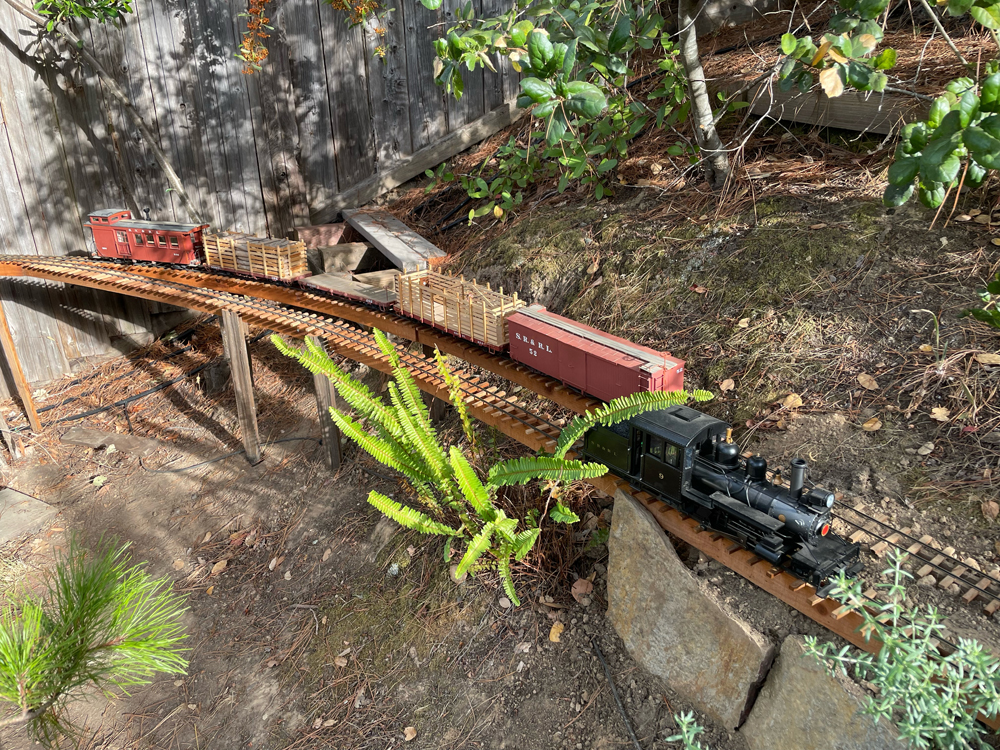
Locomotive No. 9 is a stock Bachmann model above the frame. It is correct for the SR&RL No. 9. My friend John Rogers made the modifications to convert the running gear from 3-foot to 2-foot gauge (photo 8).
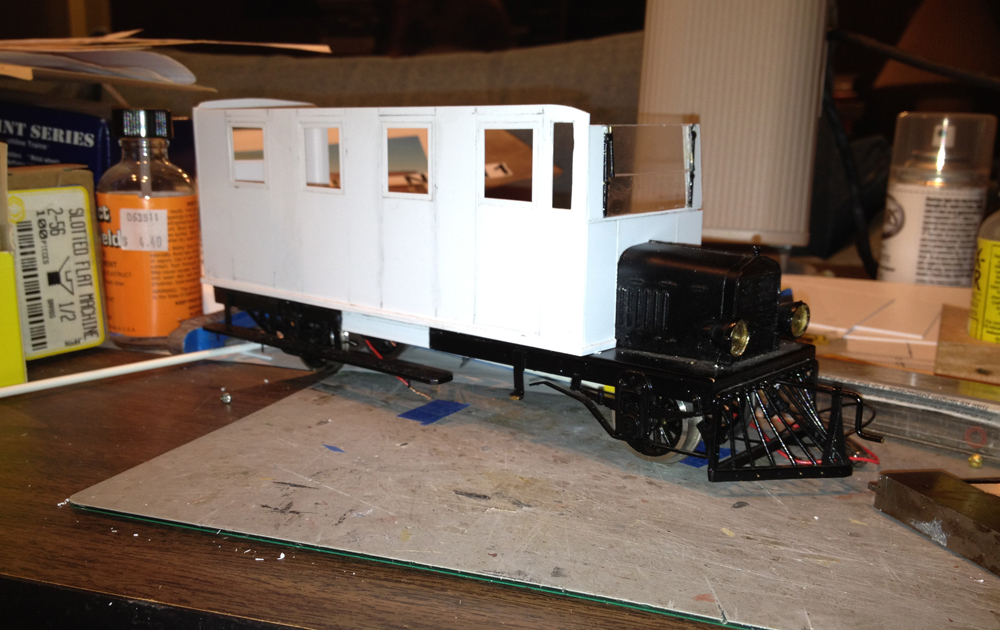
Motor No. 3 started as an Aristo-Craft model of a Model T maintenance-of-way vehicle. I regauged the trucks, lengthened the frame, and scratchbuilt the passenger compartment (photo 9).
The locomotives and motor are battery powered; they are equipped with Soundtraxx Tsunami2 decoders and controlled by NCE DCC through the Tam Valley Depot wireless system.
Structures
The passenger and freight stations and the two section houses in Strong are scratchbuilt to scale from plans. I used polycarbonate to build the interior walls and roofs. I glued clapboard siding to the polycarbonate. I then built up the doors and windows directly on the polycarbonate (photo 10).

The Strong turntable was likewise scratchbuilt using polycarbonate (photo 11). Non-railroad structures which stay out in the garden all year are built of 1 x 8 or 2 x 8 redwood with exterior plywood roofs (photo 12). Non-railroad structures are about 80% “full size.”
Plants
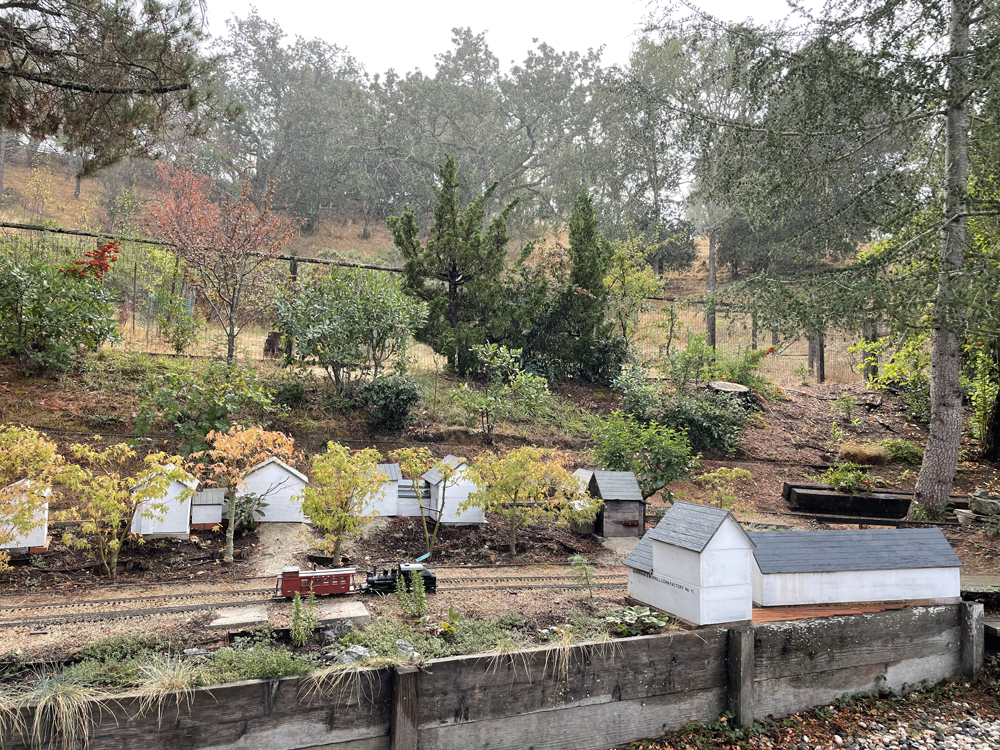
These have taken a real beating recently! Watering restrictions in northern California during the 2020-22 drought prevented me from using drip irrigation. I saved the miniature Japanese maples (Acer palmatum) along Depot Street but lost almost all the groundcover and ferns that were part of the original garden design by Nancy Norris.
The current list of plants relies heavily on native volunteers: toyon (Heteromeles arbutofolia), coastal redwood (Sequoia sempervirens), deodora cedar (Cedrus deodara), and live oak. Groundcover is replenished with woolly thyme (Thymus pseudolanuginosus) supplemented by judicious plantings of strawberries and rosemary. Grasses that did survive have been divided and replanted.
Black-eyed Susan (Rudbeckia hirta) is a self-seeding pest, regularly removed from roadbed and roadways alike. However, with native grasses and some surviving Point Reyes manzanita (Archtostaphylos u.u. ‘Point Reyes’), it helps cover the hillside above Strong along the F&M Branch right of way. As I re-establish the garden, I’m trying new plants, including Westringia ‘Wynyabbie Gem’.
Modeling the people
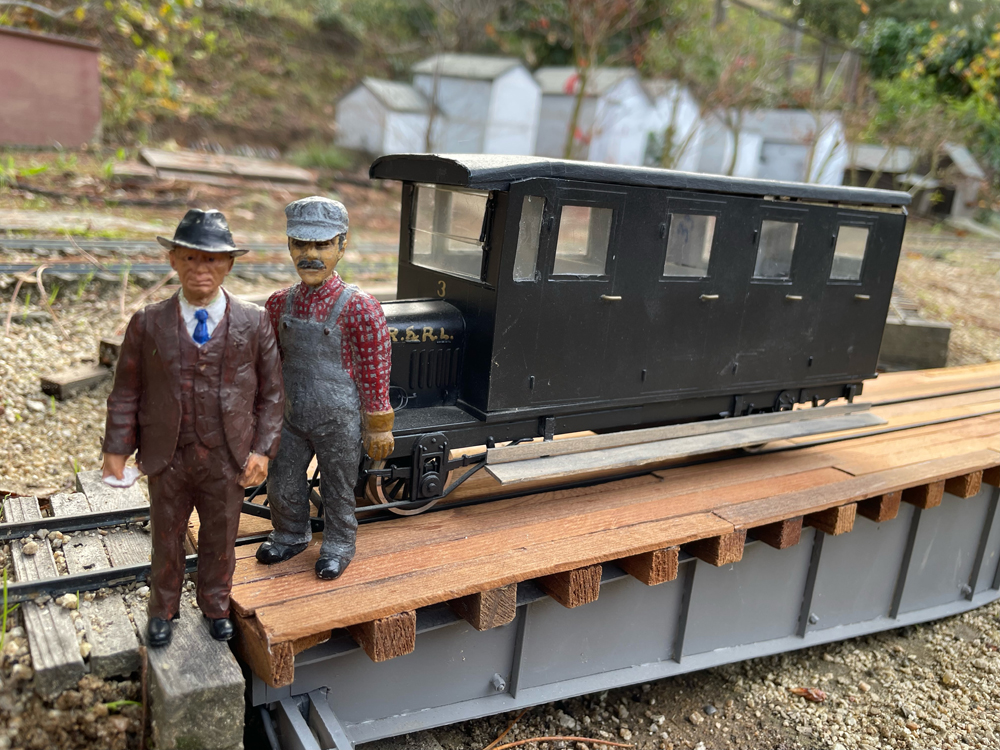
It was an eye-opener to discover I could model real people. At a National Garden Railway Convention years ago, I stumbled across a 1:20 figure marketed as “Fireman Ed.” I recognized Ed West from photos in my books on the SR&RL. I quickly located “The Engineer,” a model of engineer Dana Aldrich, and “The Agent,” a model of E. O. “Pansy” Newell, the last station agent at Strong, at the same vendor’s table. I have since modified several other figures to represent actual people, including a railfan, George Phelps (photo 13).
Operations
My SR&RL is designed for operation, meant to mimic how the railroad ran in the 1920s and 1930s. Strong itself was a busy place. Even as the railroad was dying in 1935, there were 13 scheduled train movements through Strong between 7:30 a.m. and 3:30 p.m. There will be more than enough work to keep two train crews busy, along with Agent Newell at Strong.
Coming to a town near you
Hosting an open house for the Garden Railway National Convention in June of 2023 was a real motivator; there’s nothing like a deadline to make one get work done. Building on the momentum from the open house, I’m pushing forward to Kingfield, the second major prototype scene on the railroad. I think I can squeeze it down to about 32 feet long and 2½ feet wide, and build it over the winter. Onward!


Great story and wonderful modeling.
The editor’s note mentions that “Narrow Gauge and Shortline Gazette” is no longer published. I just renewed my subscription for a year and received the January-February issue. No mention in the magazine about ceasing publication. Do you all know something I don’t?
Richard Myers
Great story and wonderful modeling.
Theeditor’s note mentions that “Narrow Gauge and Shortline Gazette” is no longer published. I just renewed my subscription for a year and received the January-February issue. No mention in the magazine about ceasing publication. Do you all know something I don’t?
Richard Myers
Great all-inclusive story, Jim! I’m working on Phillips and Rangeley RR, a point-to-point line on a stone wall in 1:1 Maine.