A large scale engine house project is just one example of how buildings complete a scene. It little matters if the large scale railroad is an indoor table presentation or an outdoor garden expanse.
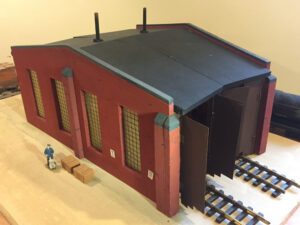
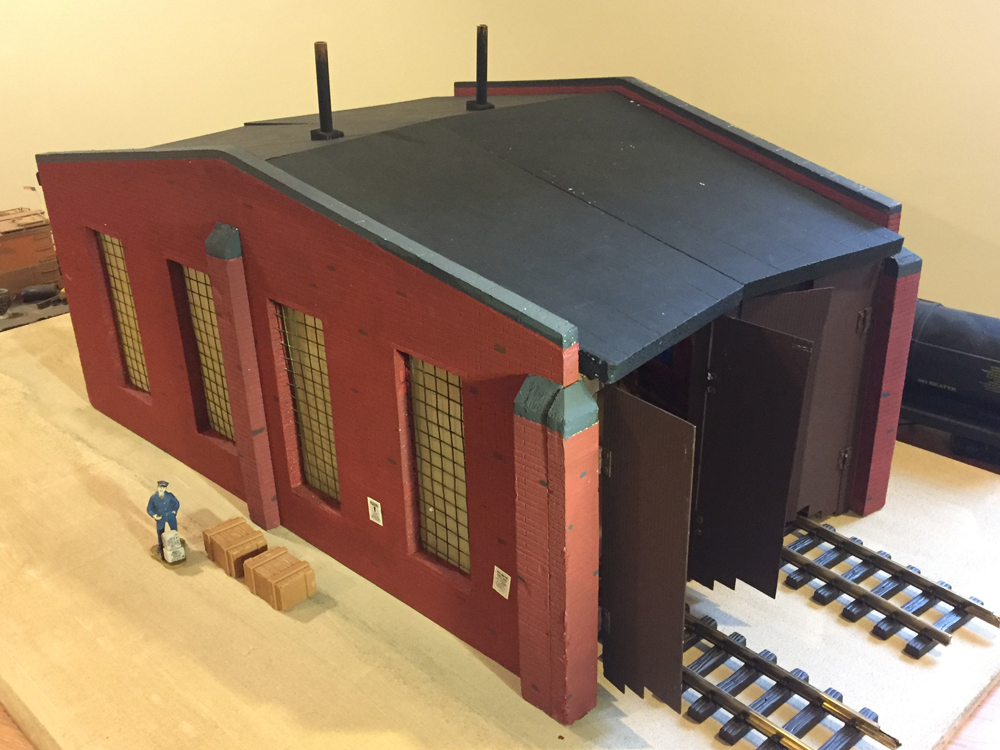
I built a two-bay roundhouse with the added feature it can be partially disassembled for storage and transport. It’s a hybrid of extruded pink or blue foam insulation board and a supporting wood structure that gives it strength and longevity.
Large scale engine house pattern
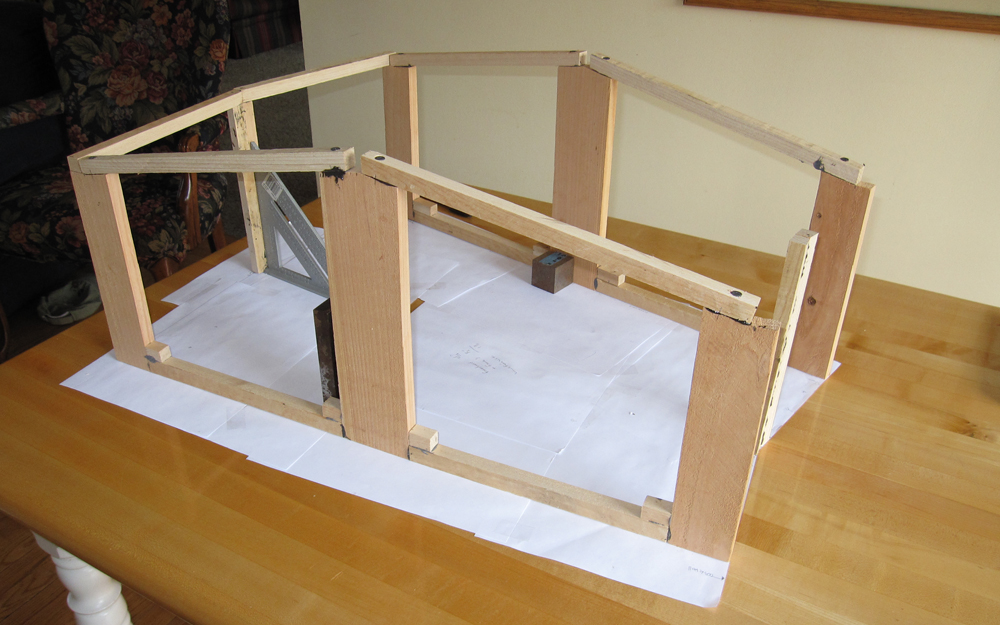
In large scale, I model approximately ½” to 1 foot (1:24, or dollhouse proportions). Since we need a pattern for the frame as shown in the picture, start by drawing a full-size pattern on paper (such as butcher or wrapping paper) that you can use in sizing the structural pieces.
After you have cut these pieces to size, glue or epoxy the wood together (I prefer epoxy) right over the pattern. Tip: Put wax paper down on top of the pattern before adhering them. Generally, you won’t need to clamp the joints; you can use weights to secure while the adhesive dries.
Secure and complete the engine house frame
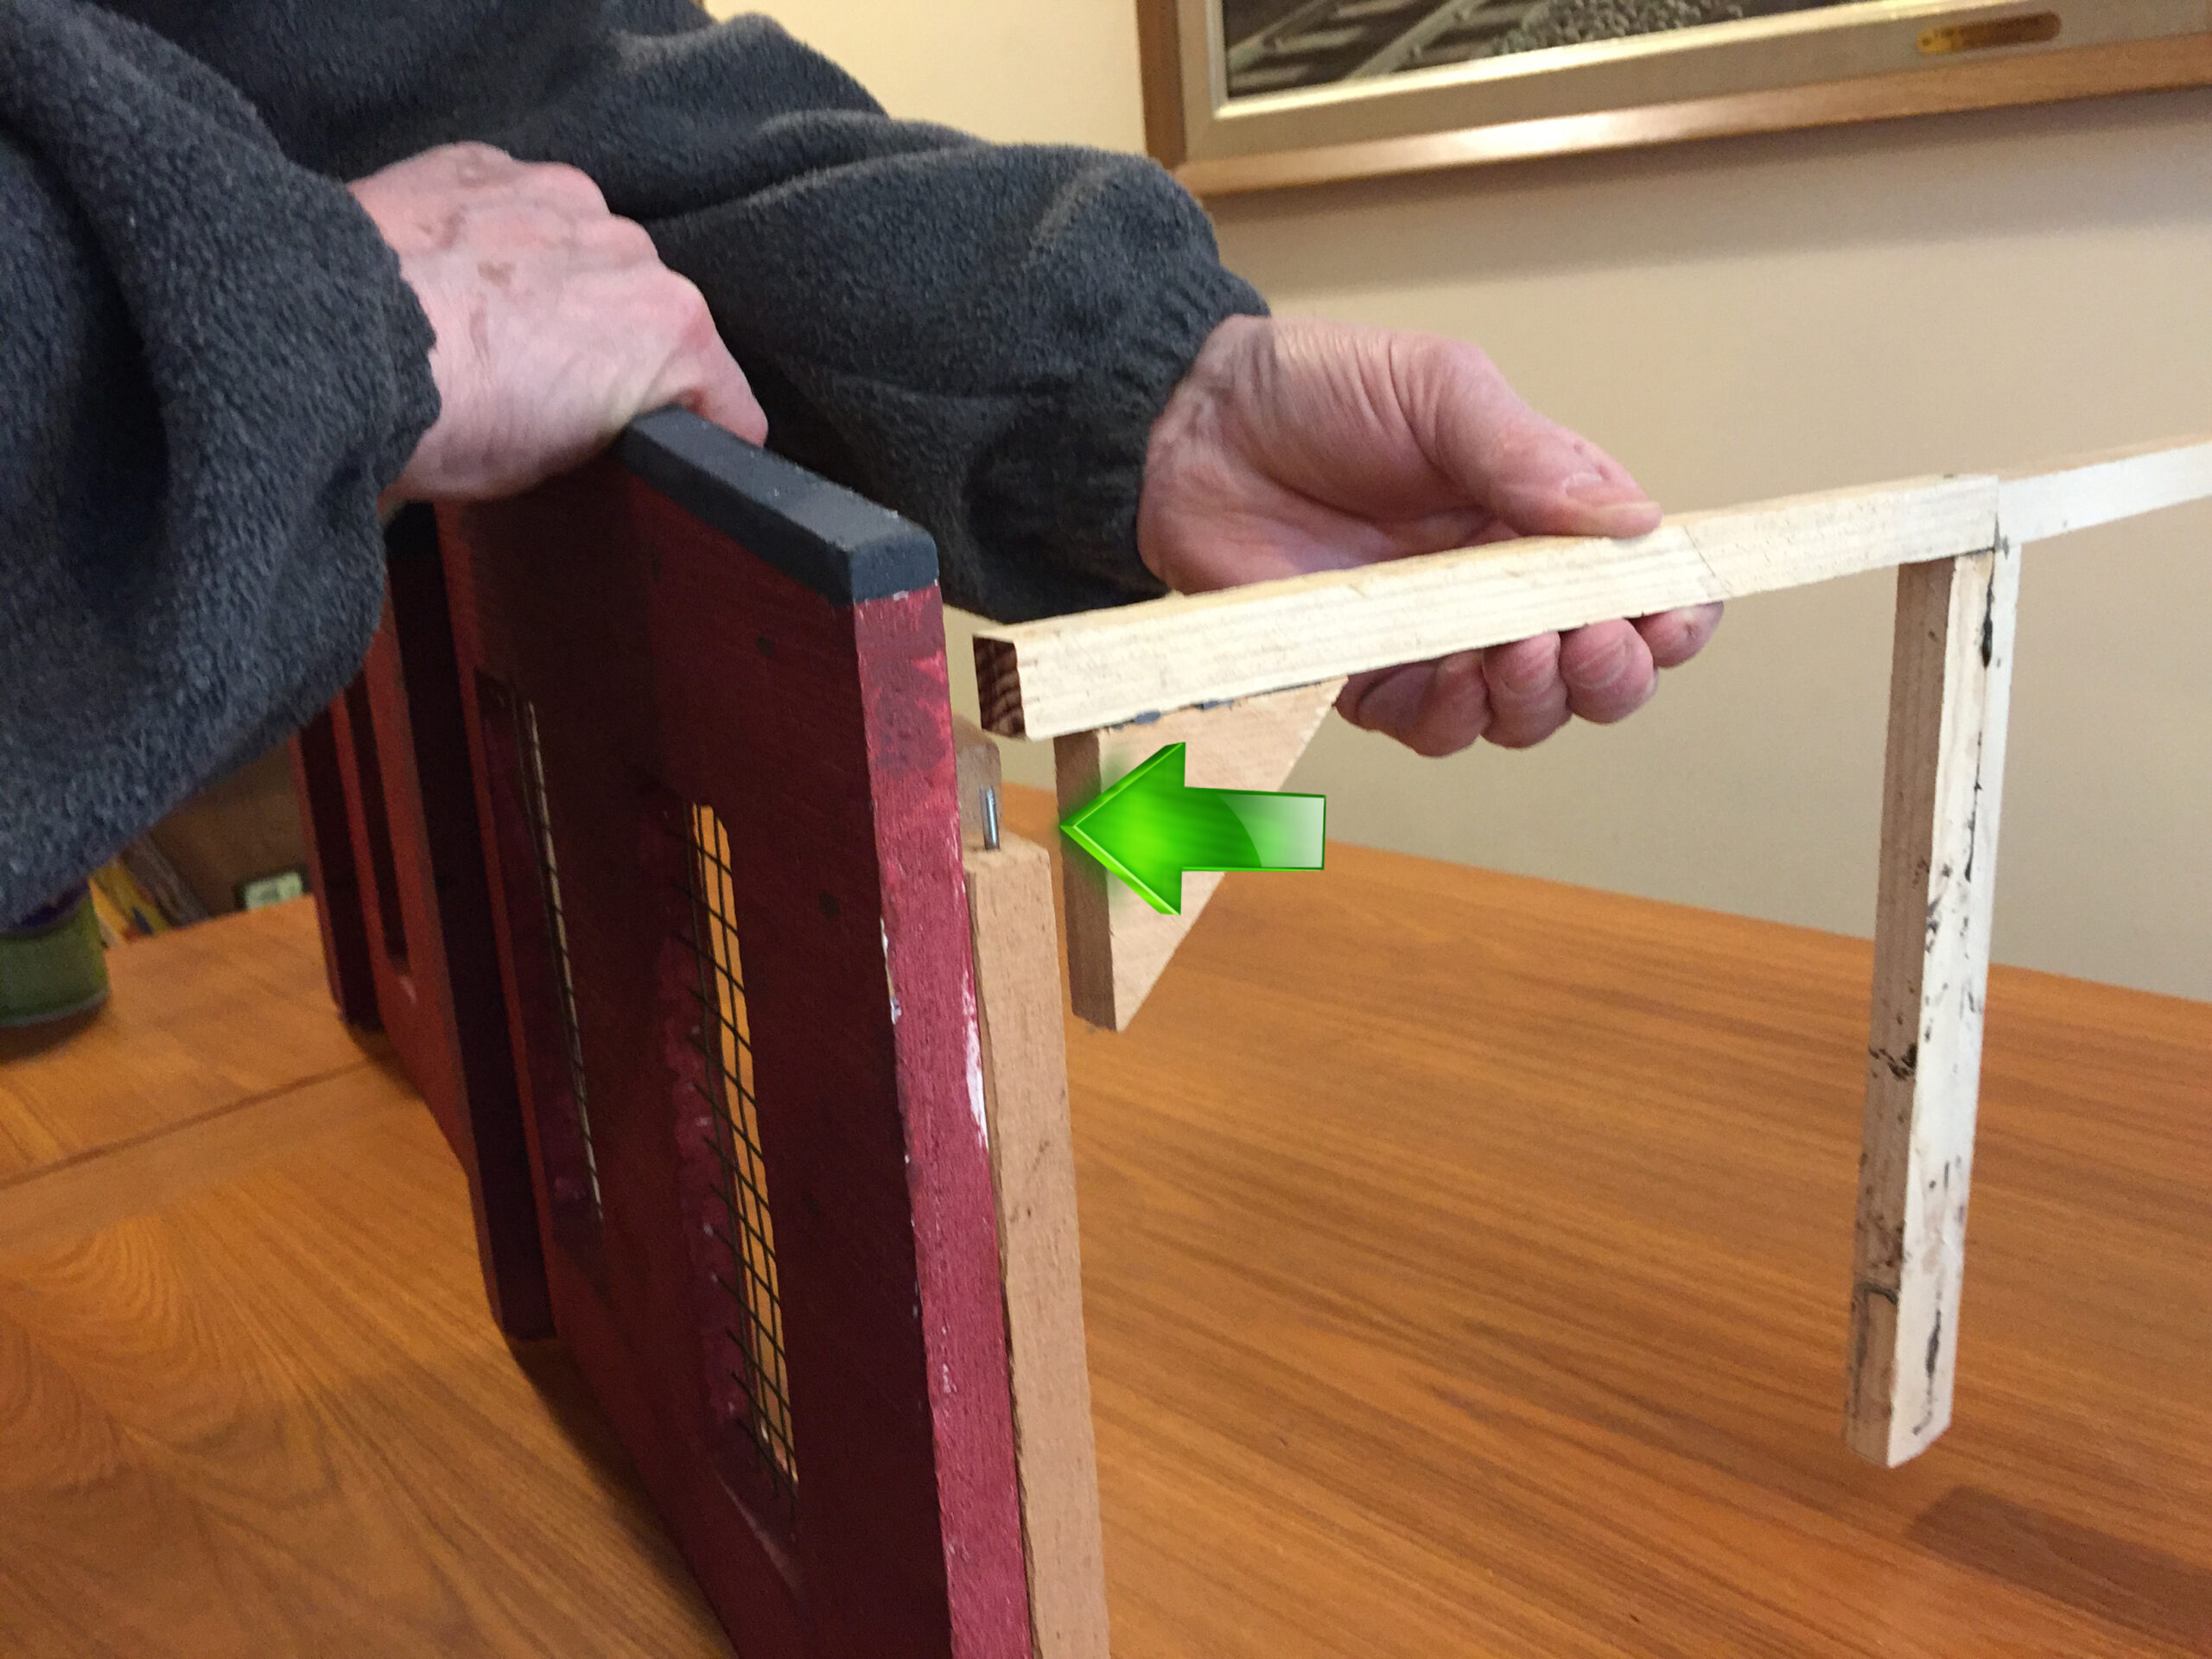
Before repeating the adhering process for each side, think about how they’ll be joined together. If you’re not planning on a portable structure requiring disassembly you can simply epoxy the corners.
If the large scale engine house project is to be portable, as shown in the photos, then you’ll want to either “pin” or use hook-and-loop fasteners on the joints. The pinning method is simply drilling a hole into one piece of overlapping frame. A finishing nail attaches the two pieces.
Building the engine house walls
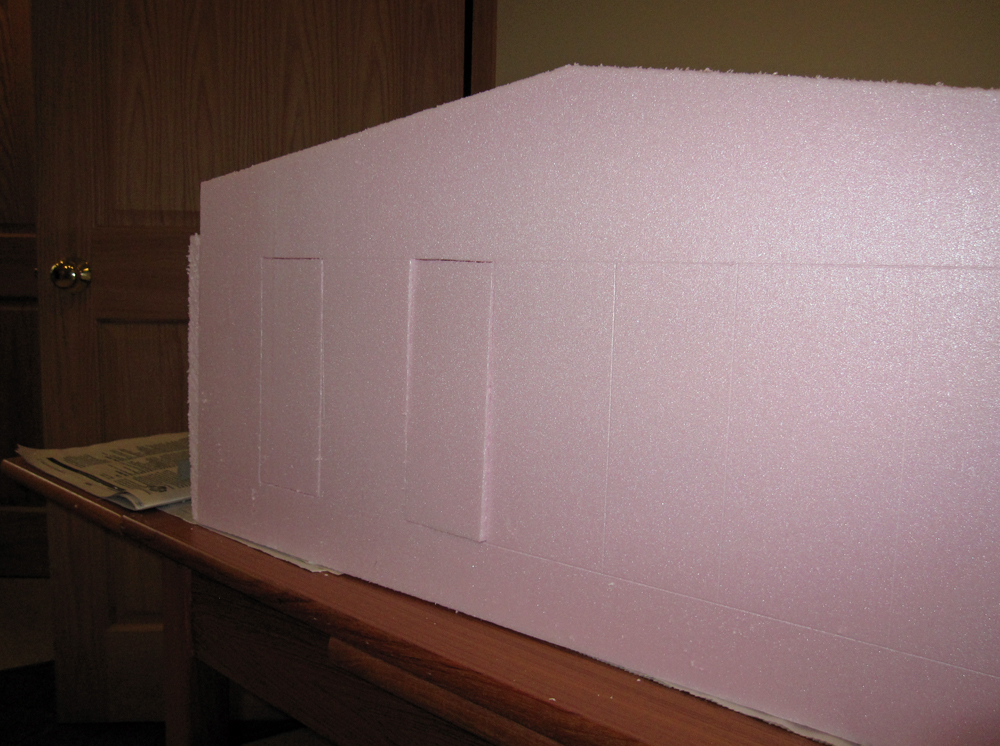
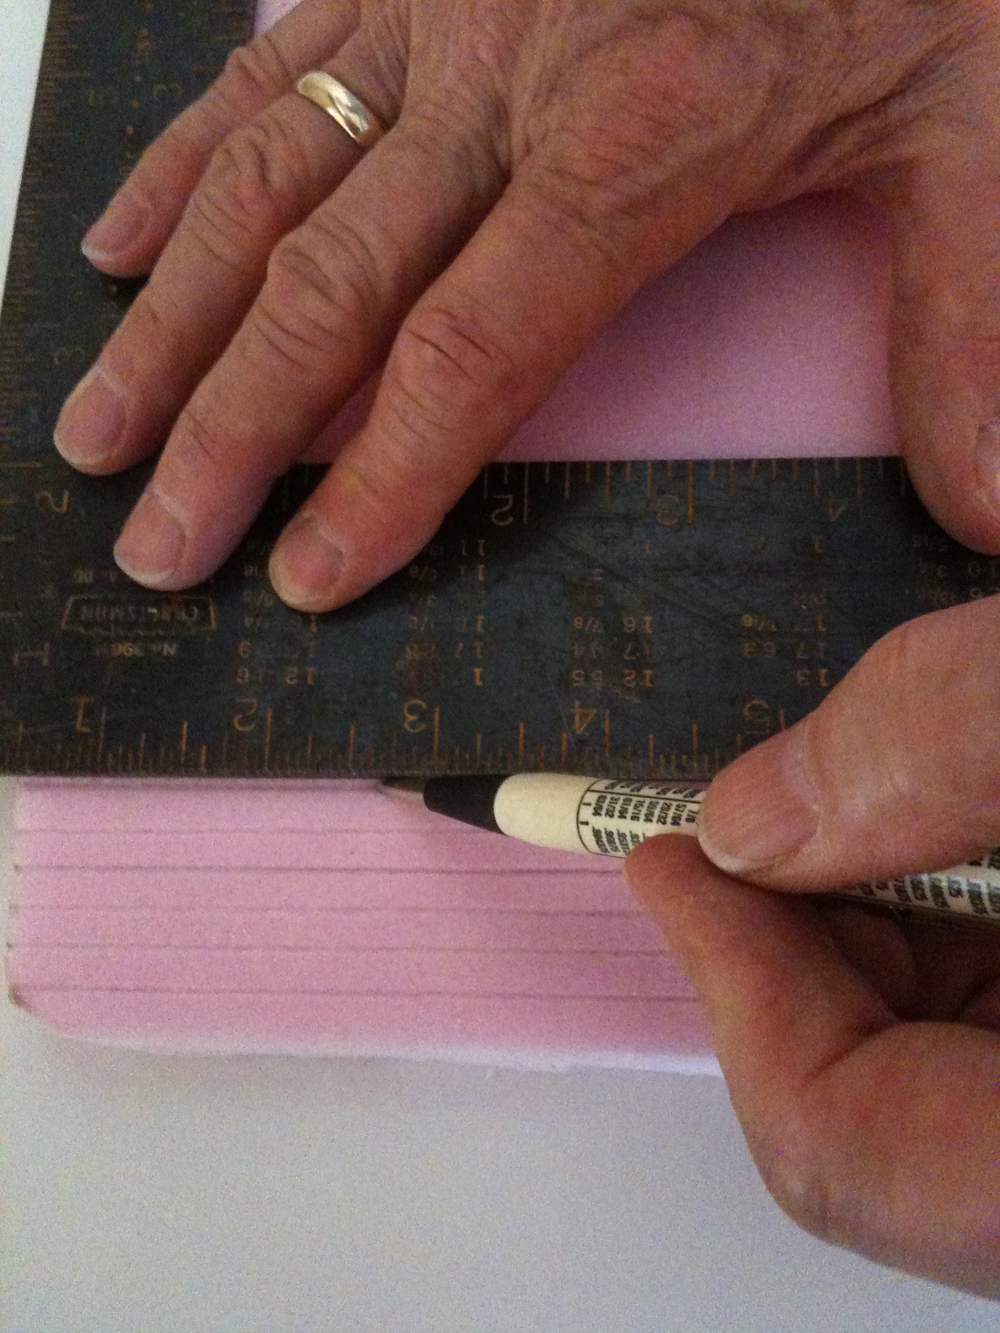
Use the same pattern to size the walls. When cutting foam board, use a box knife to score the piece several times, then snap it free. Tip: use a steel measuring angle or similar as a guide and score several times with light pressure, concentrating on accuracy.
Windows and doors can be tricky, since you rarely can have a clean “snap.” I’ve found it best to use a small keyhole saw, a coping saw blade, or hobby saw blade. Cutting leaves a rough finish, but that can be cleaned up with a rasp, light files, or fine-grit sandpaper. I’ve also used a hot-wire foam cutter, but I find it’s less accurate, and the fumes given off while cutting are unhealthy. Save the cut-out pieces; they will make a good door. We’ll finish the windows later.
Surface of the structure
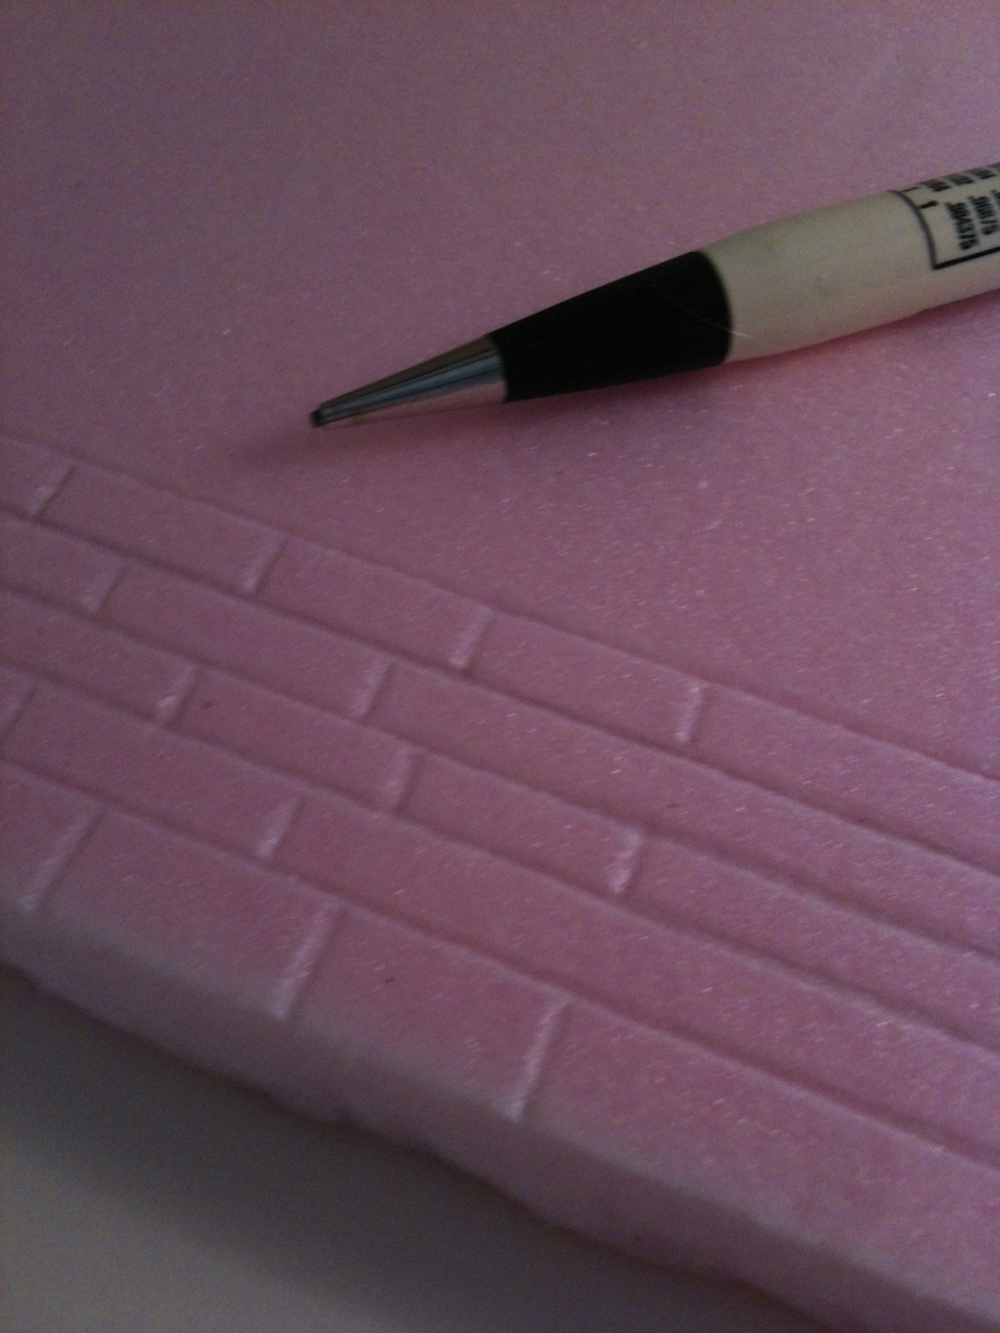
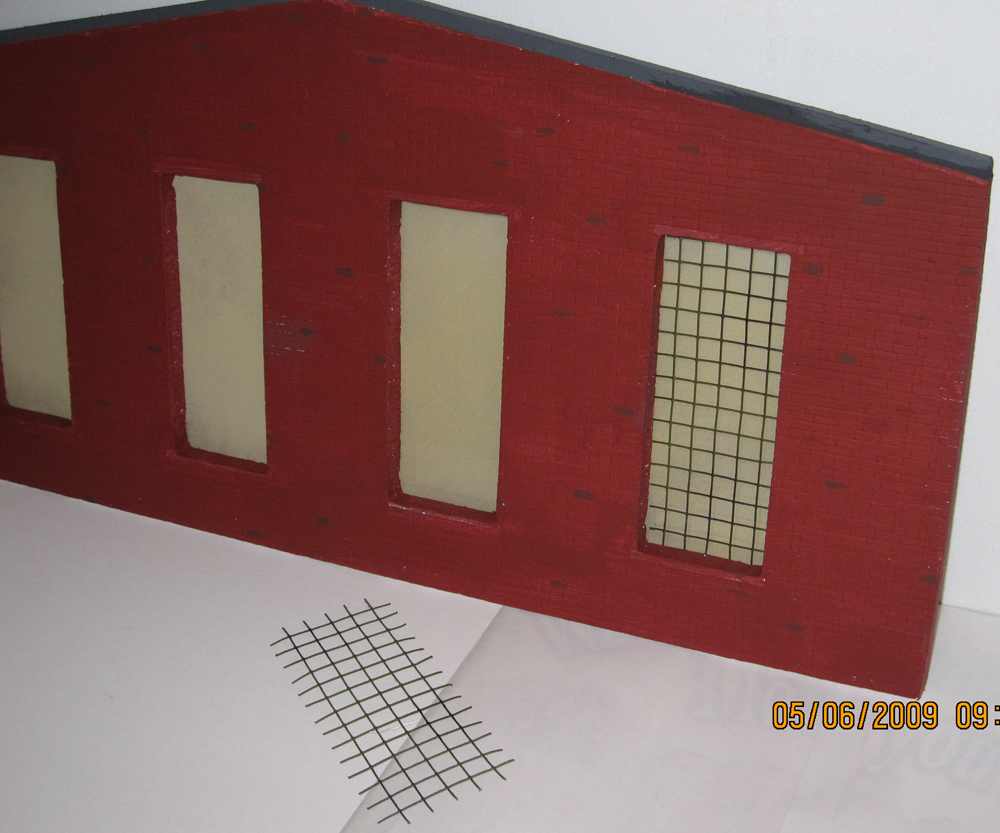
Determine what the outside surface on the wall will be: brick, stone, wood — all of which can be simulated on the insulation board. I’ve used brick as noted in the photos by simply “scoring” with the tip of a mechanical pencil (minus the lead). I use a simple straight edge so that the lines are consistent. They are not precise—this is a model, not an architectural piece.
Roof construction follows the same sizing and cutting process with no framing necessary, and you can add markings for tar lines, rivets, etc. Don’t cut the roof panel until you have a standing structure, which allows for more accuracy.
Paint and protect the exterior
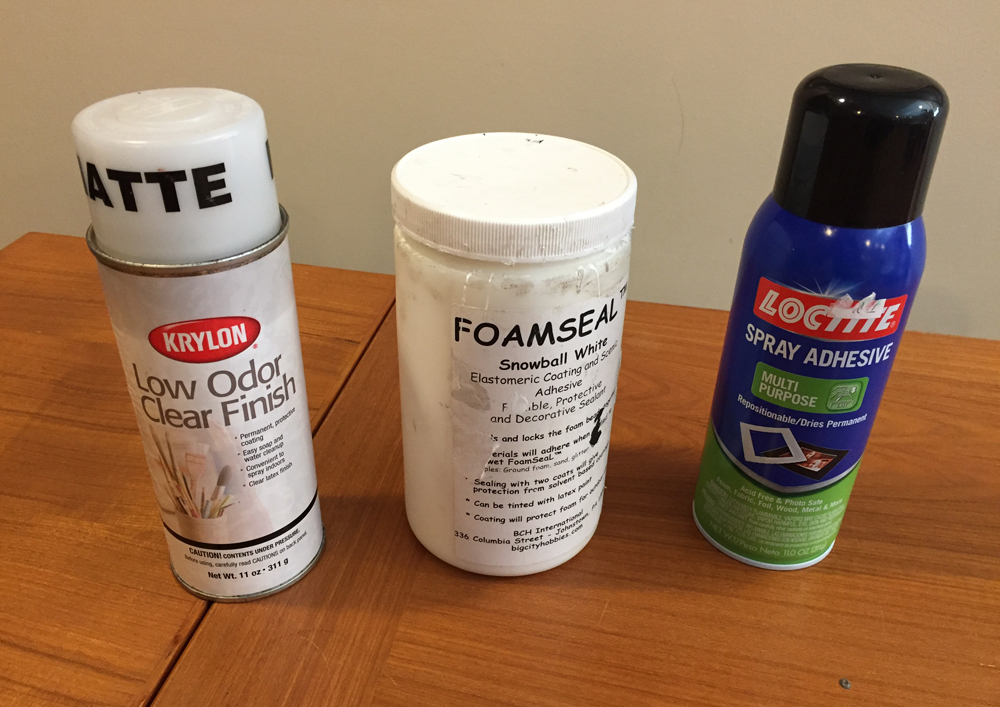
Foam products don’t hold up well to accidental mishaps or outdoor elements. First apply a foam sealant (see tips under the photo gallery) on all outer surfaces. This product does what the name implies and provides a somewhat “spongy” texture that allows the foam to spring back when dinged. Next paint the surfaces — I prefer a couple of coats. Finally, apply a protective clear coat over the paint to give lasting protection. I use a spray-on Krylon product (see photo in gallery).
Finishing the windows and other details
In the photos, you’ll see I’ve used simple hardware wire painted black to look like the small panes of glass found in industrial windows. I’ve pushed them into the openings, then glued plastic window glazing on the inside of the foam board. Use the cut-out pieces for doors, gluing them in place. Now is a good time to attach the various frames and foam walls to one another using an adhesive such as Liquid Nails for Projects & Foamboard Adhesive.
For the engine house doors which I want to open and close, I’ve used styrene that looks like wood. Small hinges attach to the wood frame, and functional doors are inexpensive if you do a little searching in hardware stores or online. Add a couple of smokestacks and the project is complete!
More tips:
- Use an inexpensive painting mask when cutting or sanding foam board to protect your lungs from the particles.
- Smoothing any foam board surface is done easily by long strokes with a sanding block.
- Loctite makes a spray adhesive that bonds wood and foam. Use liberally.
- Foamseal, BCH International, is a white paintable foam sealer (see photo in the gallery).
- Paint can be inexpensive acrylics from a hobby or craft store or any water-based exterior paint. Solvent-based paints will destroy foam.
- Finished painted building can further be protected with spraying Krylon low odor clear matte finish. This product is foam safe.
- Repairs to deep wounds to foam board can be made with wall board- patching compound.


