TW Trainworx Company House kits might be an ideal way to add structures to your layout. They are laser-cut and have easy to follow directions.
If you’ve never built a building like this before, they might just move you beyond the track, power, and trains stage. Really, that’s all you need to participate in the hobby. But then you add some plywood and a few sawhorses and now you have a table. Then you get deeper and add more ingredients to the recipe. Eventually there’s a layout.

Searching for options
But in the O gauge world, there are a few options when it comes to scenery buildings.
The choice of which manufacturer to go with depends on the overall look or feel you’re trying to achieve. MTH and Lionel are obvious choices, each offering a multitude of options that can mesh directly into their systems. Think Lionel Plug-Expand-Play.
Woodland Scenics steps up the level of detailing. They offer a handful of buildings and few houses, and an endless number of detail parts. (It should be noted that the company offers many more buildings in HO than in O).
My only concern with any of these options is that many other people have the same ones. It’s like a mutli-verse of similar O gauge cities and towns when I travel to different layouts.
TW Trainworx Company Houses
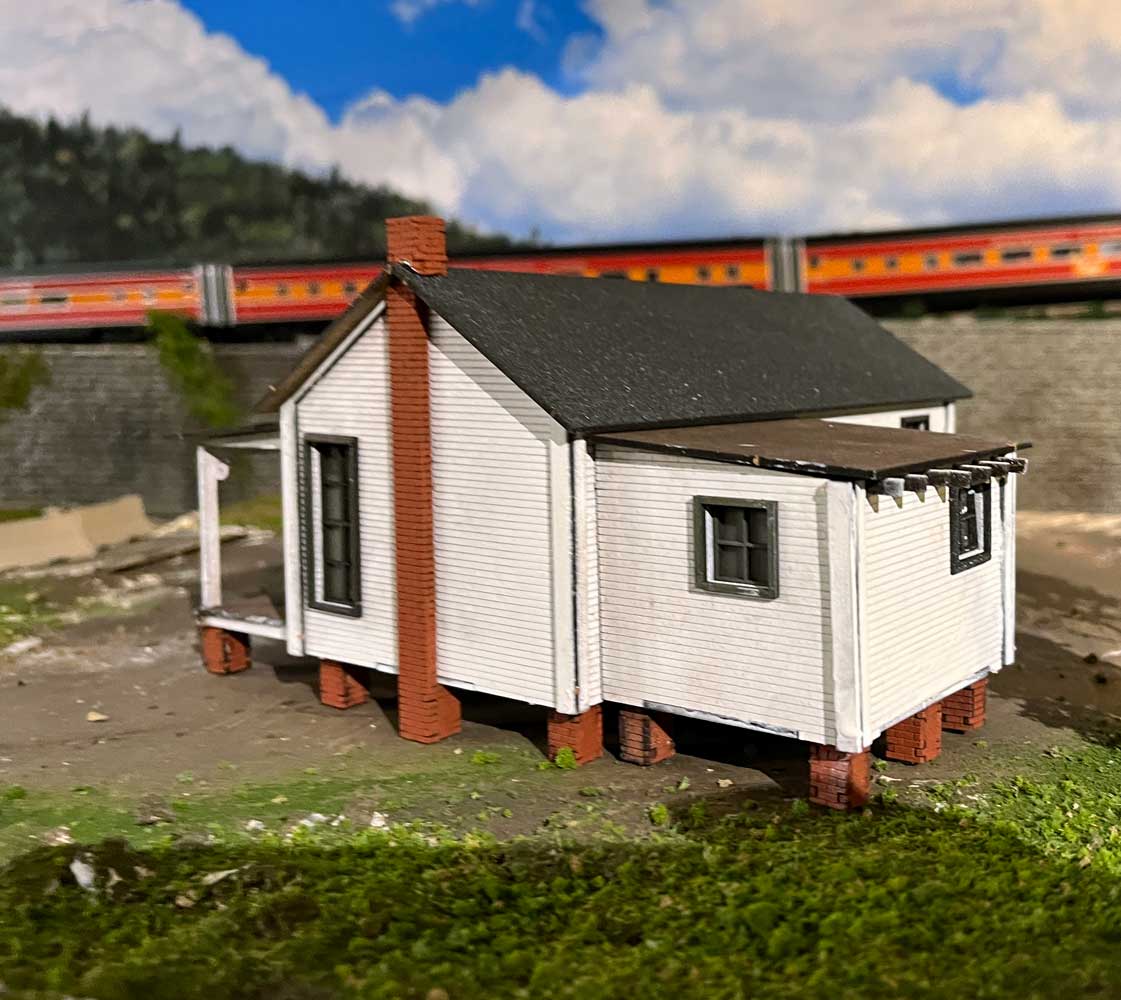
As I began planning a scenery adjustment on my layout I knew I wanted small houses that could be made to look abandoned. After a few searches I was in luck. TW TrainWorx offers its Company House kits which are exactly what I’d pictured in my mind. Better yet, they offer a three-house package that includes some extra options.
When my three-pack arrived the box was about 18 inches long by 18 inches wide and only an inch high. I carefully opened it up to find laser-cut hardboard stacked inside. Each piece was labeled (with laser) to signify which house it belongs to. The directions for assembly can be found online, so I pulled them up and gave them a quick scan to identity what tools and materials I’d need for this project:
- Super glue and accelerator
- Hobby Knife
- Tape
- Sandpaper
- File
- Paint
- Satin clear coat (spray)
Old paint
The directions don’t touch on painting the kit. Having some experience using hardboard I knew that painting without sealing it first would not produce the results I wanted.
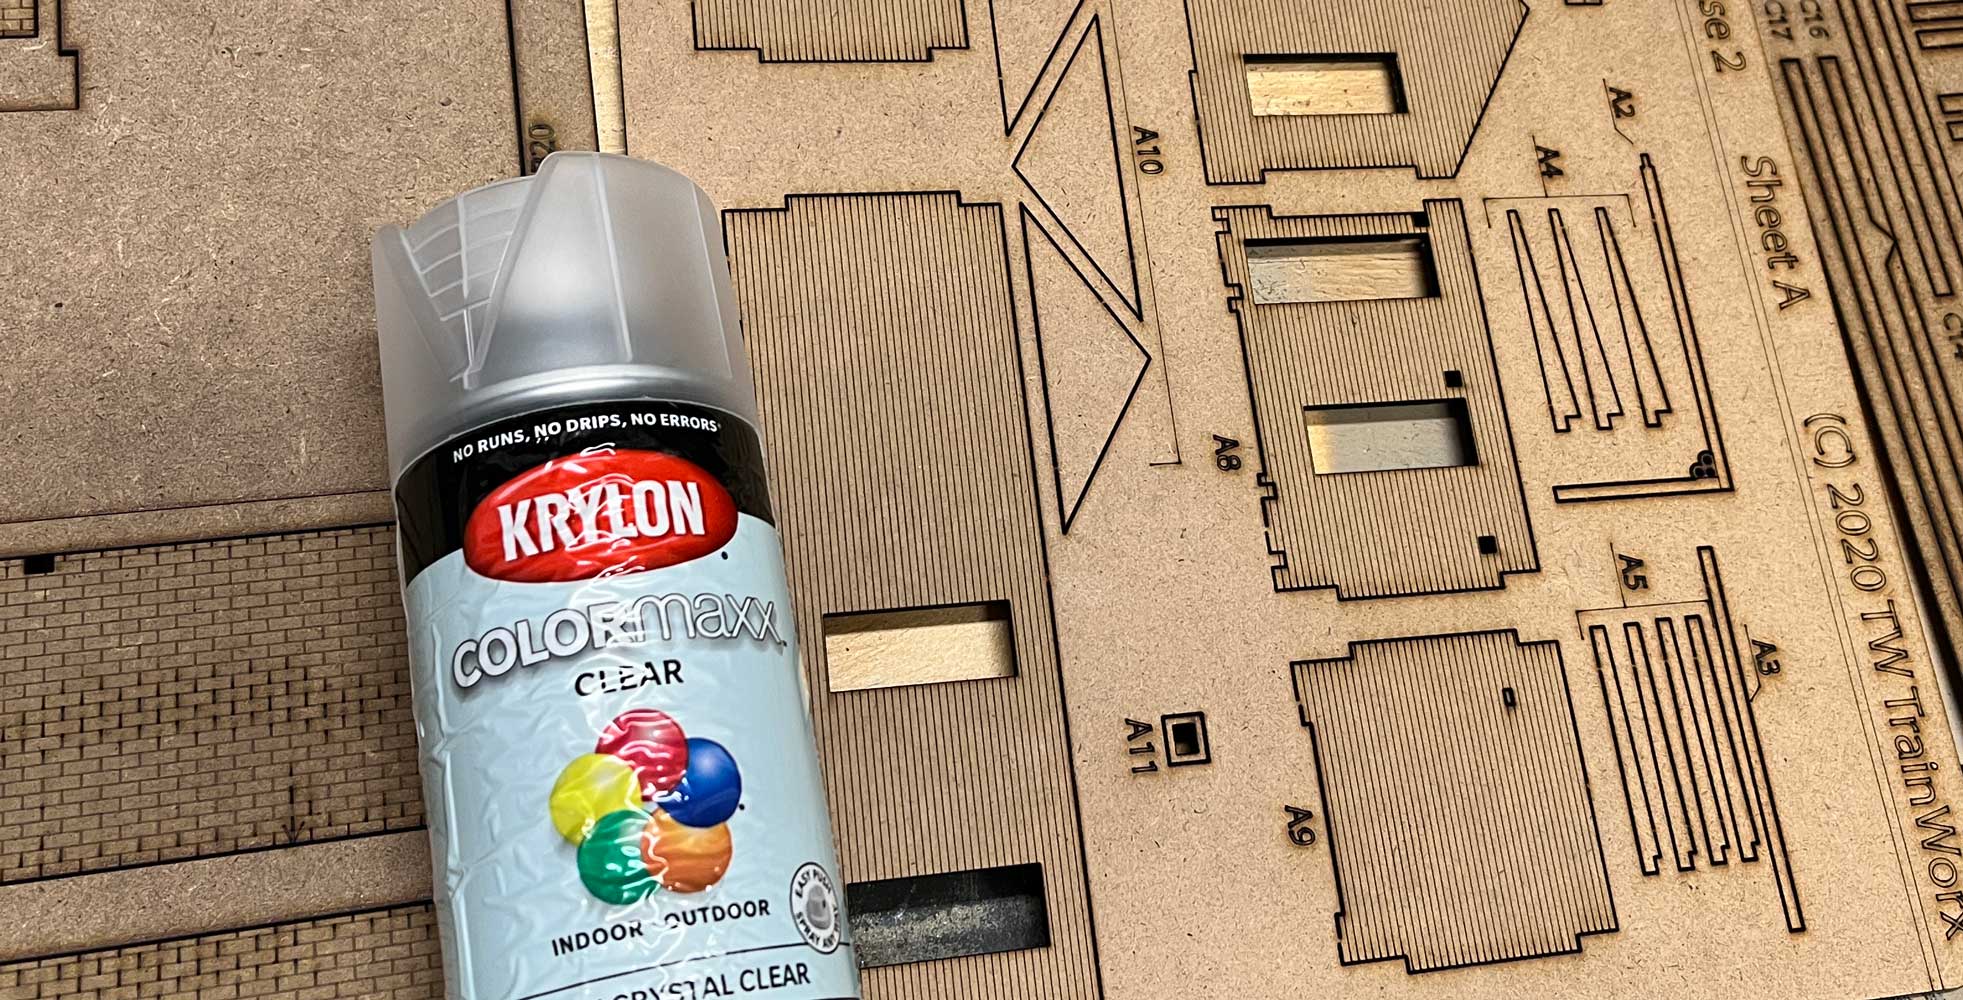
Before cutting the parts out of each board I took them outside and sprayed them with two light coats of a satin clear coat. Hardboard is so dry you can actually see the paint get sucked into the wood. If you are going to hand-paint the house after assembly you could wait and clear-coat it after everything is put together, but before applying color. I found my method to be easier and more efficient.
Once the second light coat was dry I masked off parts that were not going to be white and sprayed the walls with a flat white spray paint. I repeated this step for the roof, window and door trim, and brick parts. Each piece was given two light coats.
For colors, I used a flat sheen for each part. White for the walls, black for the roof with a light spray of the white holding the can about 3 feet off the wood to give it a grayish look.
Trimming it out
For the doors and windows I used Scalecoat railroad tie brown for one house and black for another. Be sure to use light coats so the paint doesn’t fill in the details laser etched into the wood.
I should note there are a few pieces you’ll need to paint both sides and the ends. If you’re like me, you hate working on a model project only to have progress stalled because you need to paint the part you need then wait for it to dry. The deck beams and fascia as well as the porch roof supports pieces are in this category. You may want to cut them out after their initial coat so you can paint each side.
Putting it together
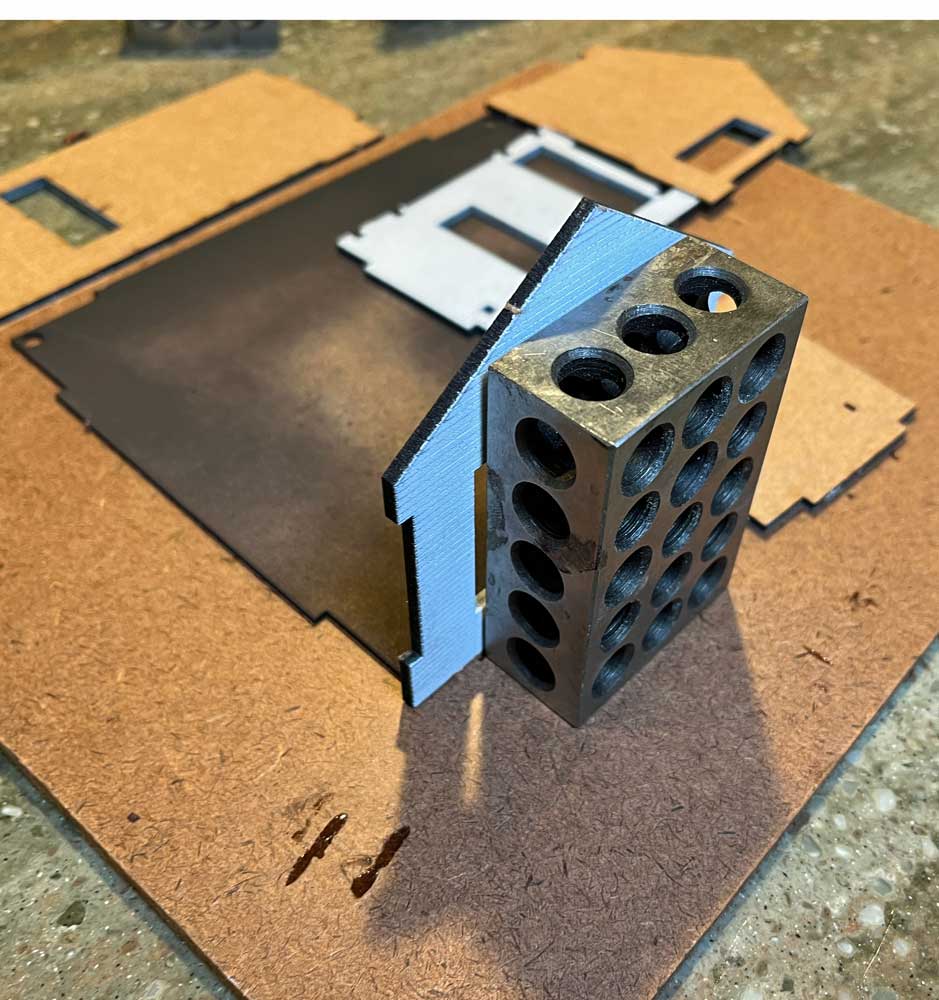
Now it was time to begin cutting the parts out and gluing the house together. Without a doubt, the most tedious part of these kits is the brick footers. There are 19 footers, plus the two chimney pieces. Each has four individual parts. I glued these up first, let them dry then hit them with another two coats of flat red anti-rust Krylon paint, then set them aside.
Construction of the house itself is fairly routine: walls up using cyanoacrylate (CA) and accelerator. There are trim pieces for the corners of the house. These trim pieces, along with the windows, window trim, doors, and door trim have an adhesive on the back which makes adding them to the house easier, however, you may need a spot or two of super glue.
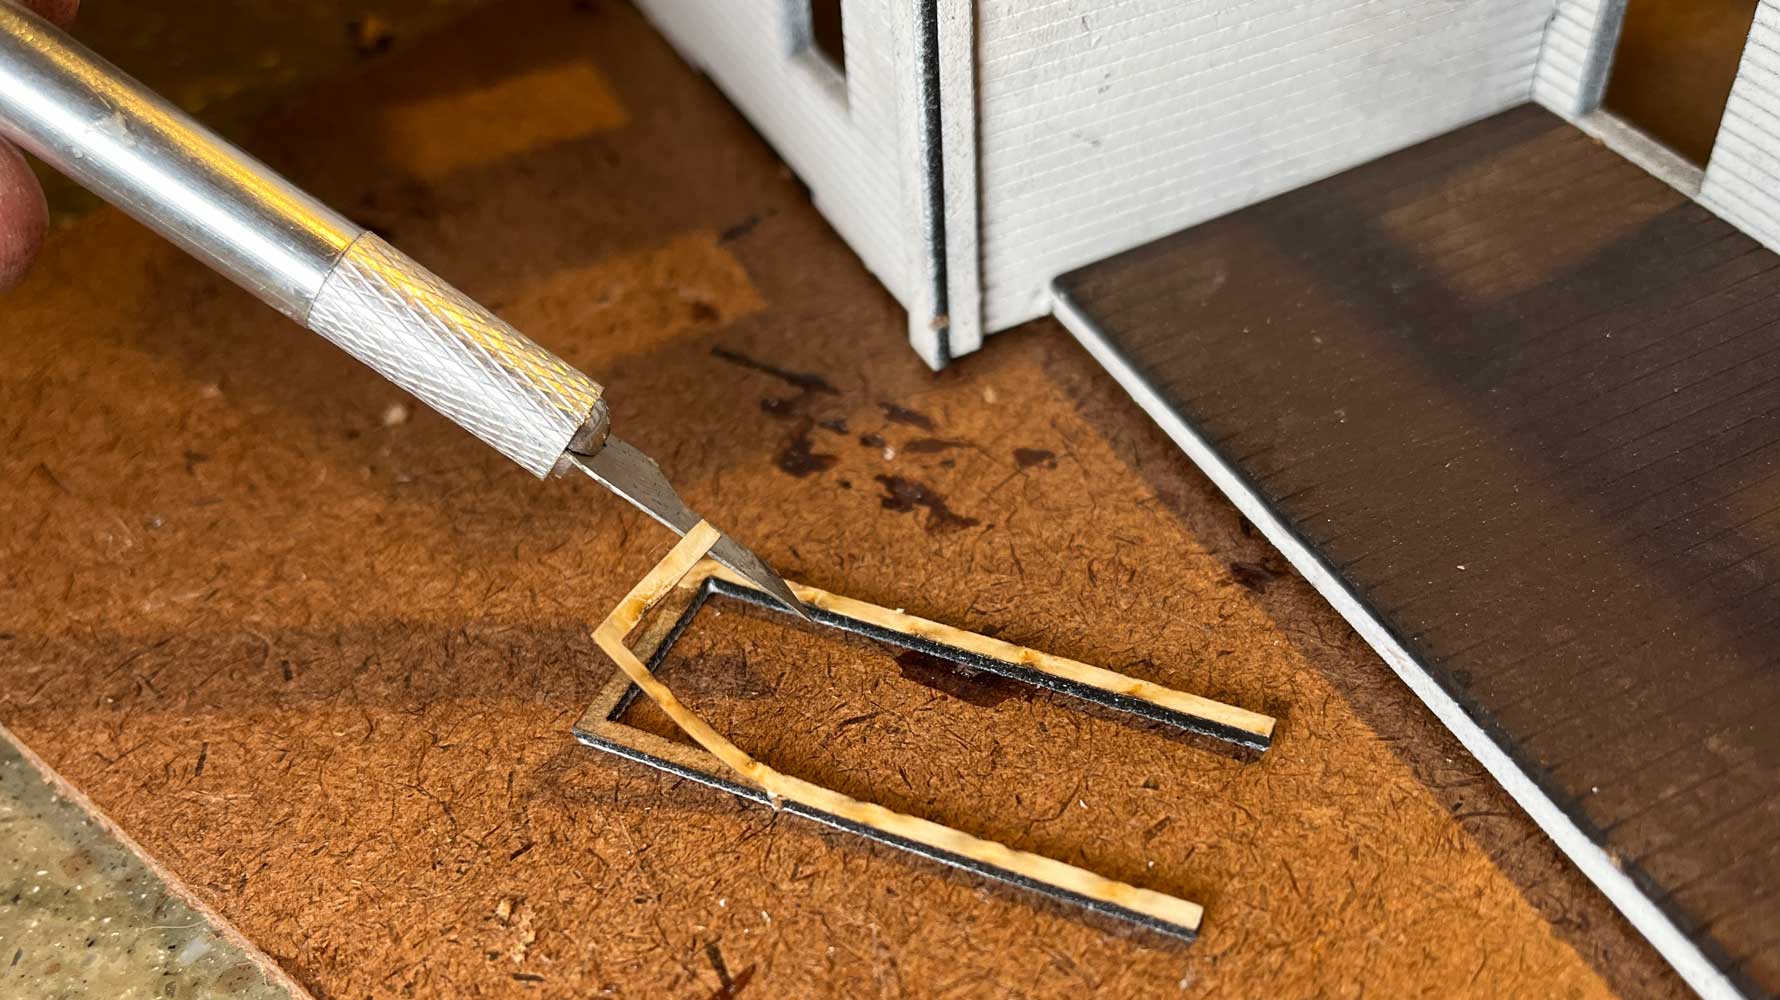
The directions then ask you to build the porch, which involves four “beams” glued to the front of the house. Then the decking is glued onto the top. During my first house build, this is when I realized how much easier this would be if I had painted it first!
I recommend adding the interior window glazing at this point. These are laser cut as well and are simply glued into place inside the house. You then add the window trim and the panes.
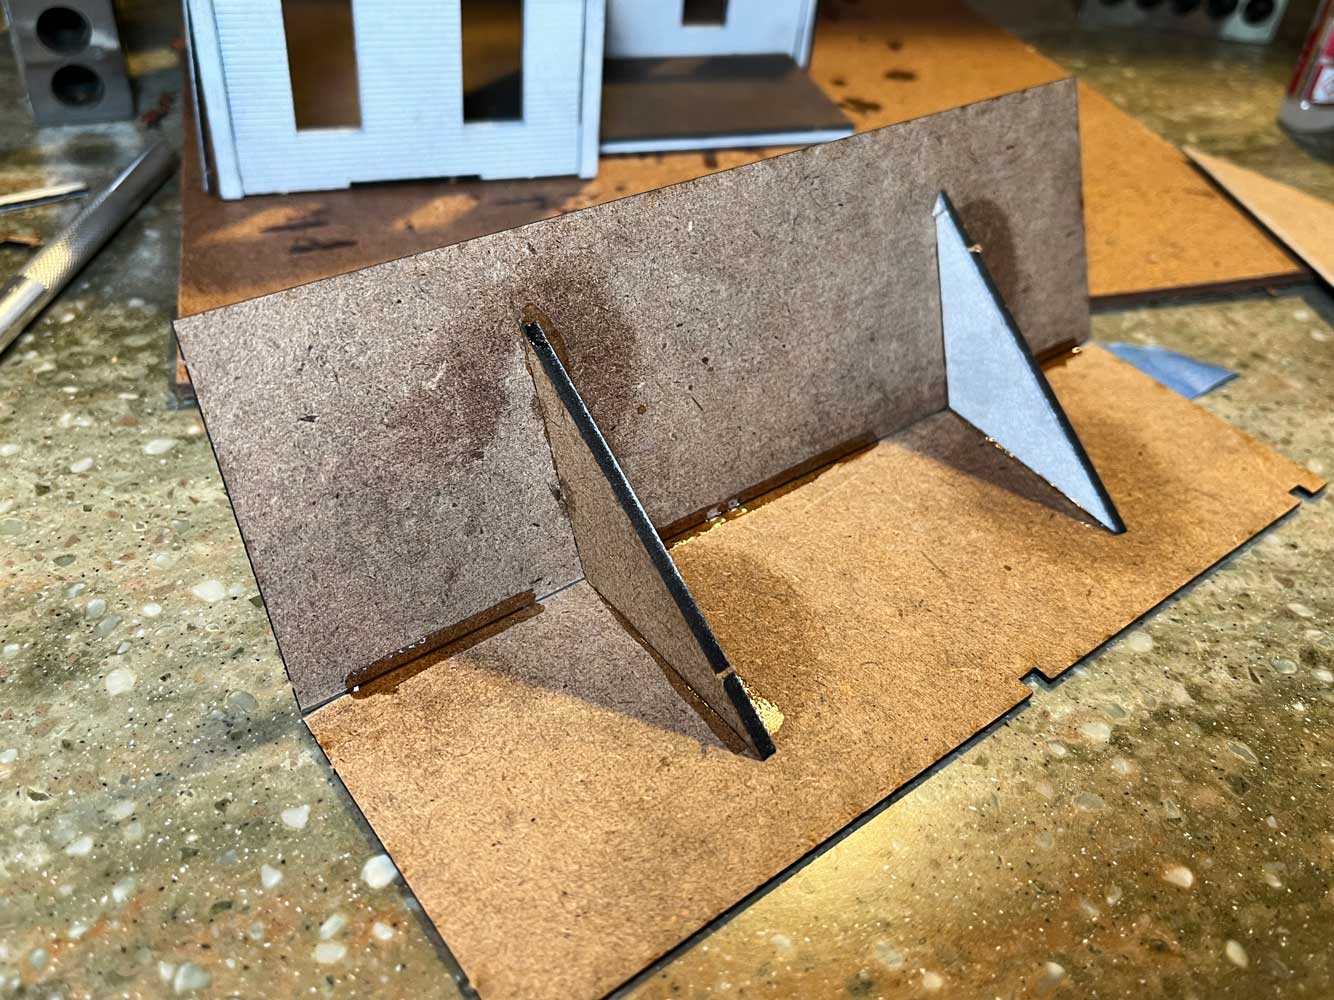
A little roofing
The roof sections need to be glued up. TrainWorx provides you with three triangle parts with edge angles that hold the correct roof pitch. The best way to put them together is to hold them in position with masking tape. The directions recommend you sand the joining edge of the roof for a tighter fit.
Once the roof is glued you can begin to dry-fit the front gable section. If you end up with glue on the top of the roof once you’re finished with the full assembly, don’t fret, just take the it outside and respray it with some paint again.
A few more details
At this point you only need a few final touches, including the porch steps and optional rear sunroom-kitchen extension. I found a few touch-ups on the paint here were needed. I was able to easily mask off specific areas and use a rattle can to touch-up where color was needed, specifically around the joints.
You can also add interior lighting at this point, before you secure the roof to the house (if you choose to do so). There are two holes in the floor for wiring to be easily snaked through. I haven’t gone this route yet, but I do think it’ll add a nice touch.
Once everything was done I took some weathering powders to it to make it look uncared for and run-down. I haven’t weathered the second house yet. I appreciate that each is slightly different, mainly with window placement. Using some Arttista rocking chairs and a dog, I was easily able to make the house look lived-in.
Moving in
Overall these houses provide a great scenery addition to any layout. They have a minimal footprint of 6.5 inches x 7.5 inches. Each house can be purchased separately for around $65 or you can buy the three-house bundle that comes with the optional summer kitchen addition for $199.97.

If you compare that price to others on the market it’s an excellent value. You can customize these to fit your needs and make them stand out against anyone else’s variation they may have on their layout. I give these houses a five-star review and would recommend them to anyone, even those with little model building experience.
TW Trainworx Company House kits
Individual houses: TWX-2210, TWX-2212, TWX-2214; $65.97 each
Bundle with bonus summer kitchen: TWX-2216; $199.97
twtrainworxstore.com
Get more O gauge action on the Chris’s Trains & Things channel on YouTube.