In 2020, I purchased Lionel’s No. 2028310 Milk Car With Platform. Unfortunately, I was never happy with this car’s operation. It kept shorting circuiting on my layout, especially when going through switches.
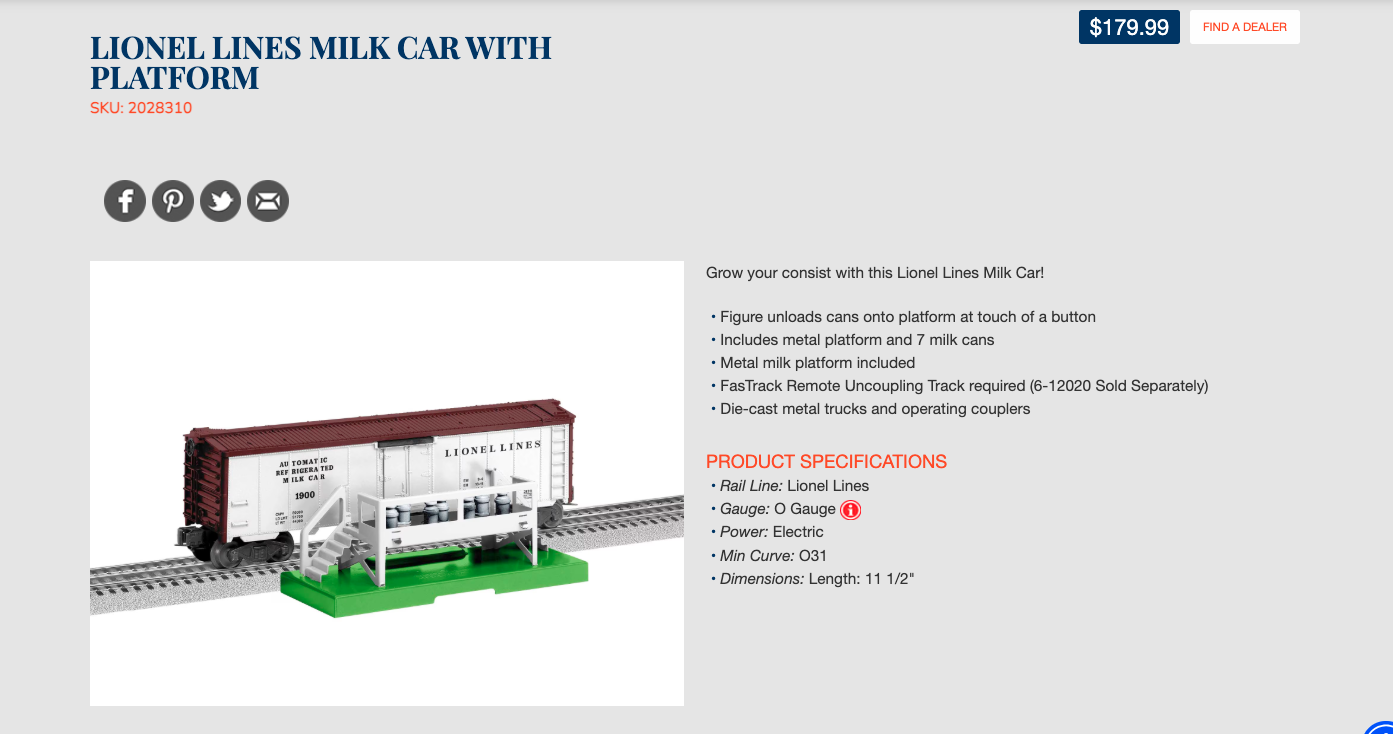
I sent it to several repair centers, but the problem was never found. After running the car at a low speed around the layout, I soon discovered the cause. The pickup rollers would wander a bit and strike the outside (ground) rail, causing a short.
I wanted a classic Lionel operating milk car on my layout, though, so I decided to upgrade the car. I replaced the pickup rollers with higher quality rollers, like the ones used on the sound boxcars. You too can install new rollers if you’re having the same problem.
First, remove the old rollers using CA debonder (available at any hobby shop), and cut the wires from the inner assembly to the rollers (hot), base plate (ground), and the two pickup shoes. Technically, you could cut only the wires to the two pickup rollers and leave the ground and shoe wires in place I also found it helpful to remove the truck assemblies from the car.
Take a scrap piece of 0.040” white styrene and cut two squares, each 1 cm (0.4“) wide by 1.5 cm ( 0.6“) long, using a pair of scissors. Stack the squares to make a “sandwich.” You’ll need two of these–one for each truck assembly.
Attach the styrene sandwich to the pickup roller protrusions using CA cement. After the glue dries, tap a 6-32 hole through both pieces of styrene. Also tap the new pickup rollers (No. CS-6805105057-P) for a 6-32 hole. Then, install a 6-32 screw (1/8” long) into the newly tapped assembly.
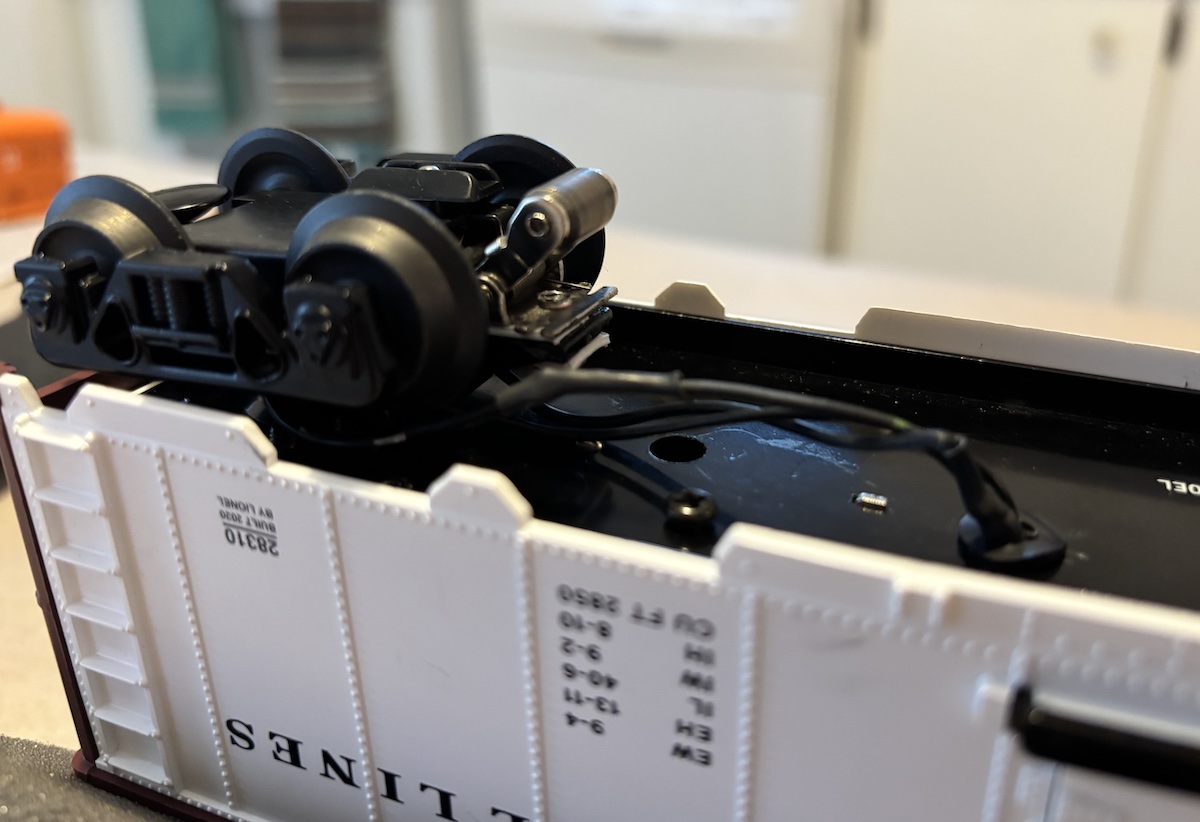
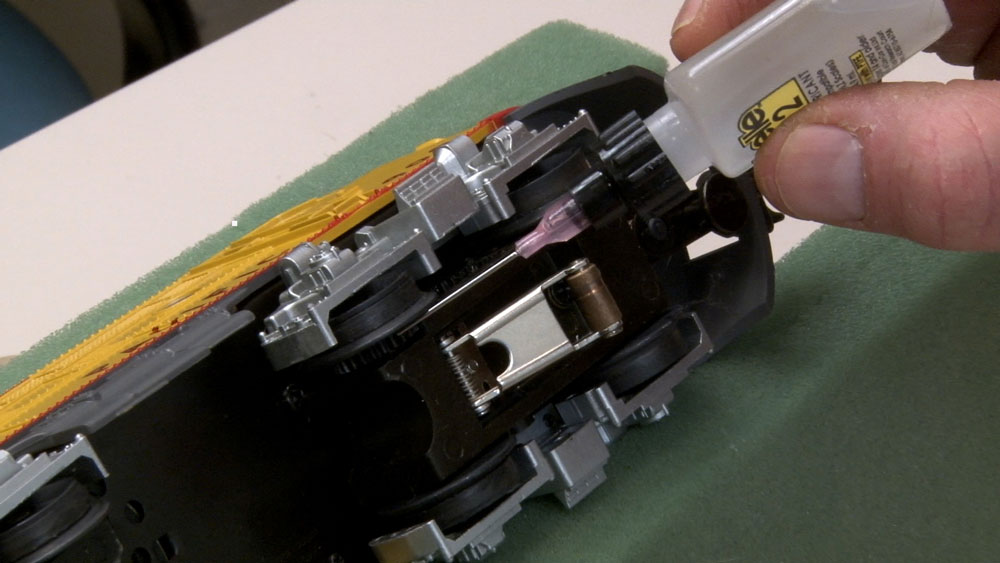
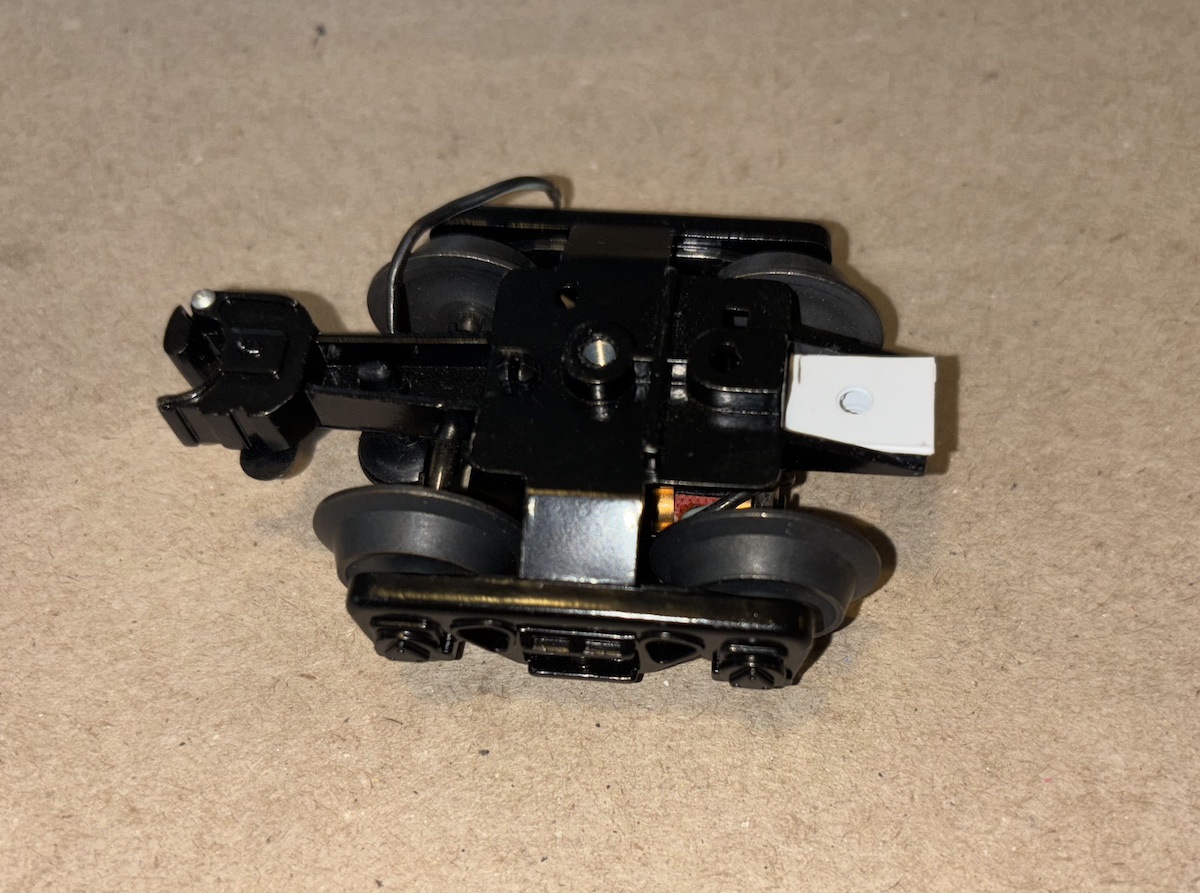
I re-attached the cut wires on my car using a solder gun. You could also use small plastic wire connectors. The wires connect the 4-wire JST connector on the inner assembly of the milk car. The first wire on the JST harness is the hot, the second is the ground, and the third and fourth wires go to the two pickup shoes on the trucks. With everything assembled and rewired your car underside should look like the photo above. (Note: I painted the styrene black to better blend it into the frame. You could also use black styrene instead of white if you can get it.)
Now all you have to do is operate your car! I have been running the milk car with its new rollers through switches for almost a month now, both forward and backward facing, and the car has performed flawlessly.
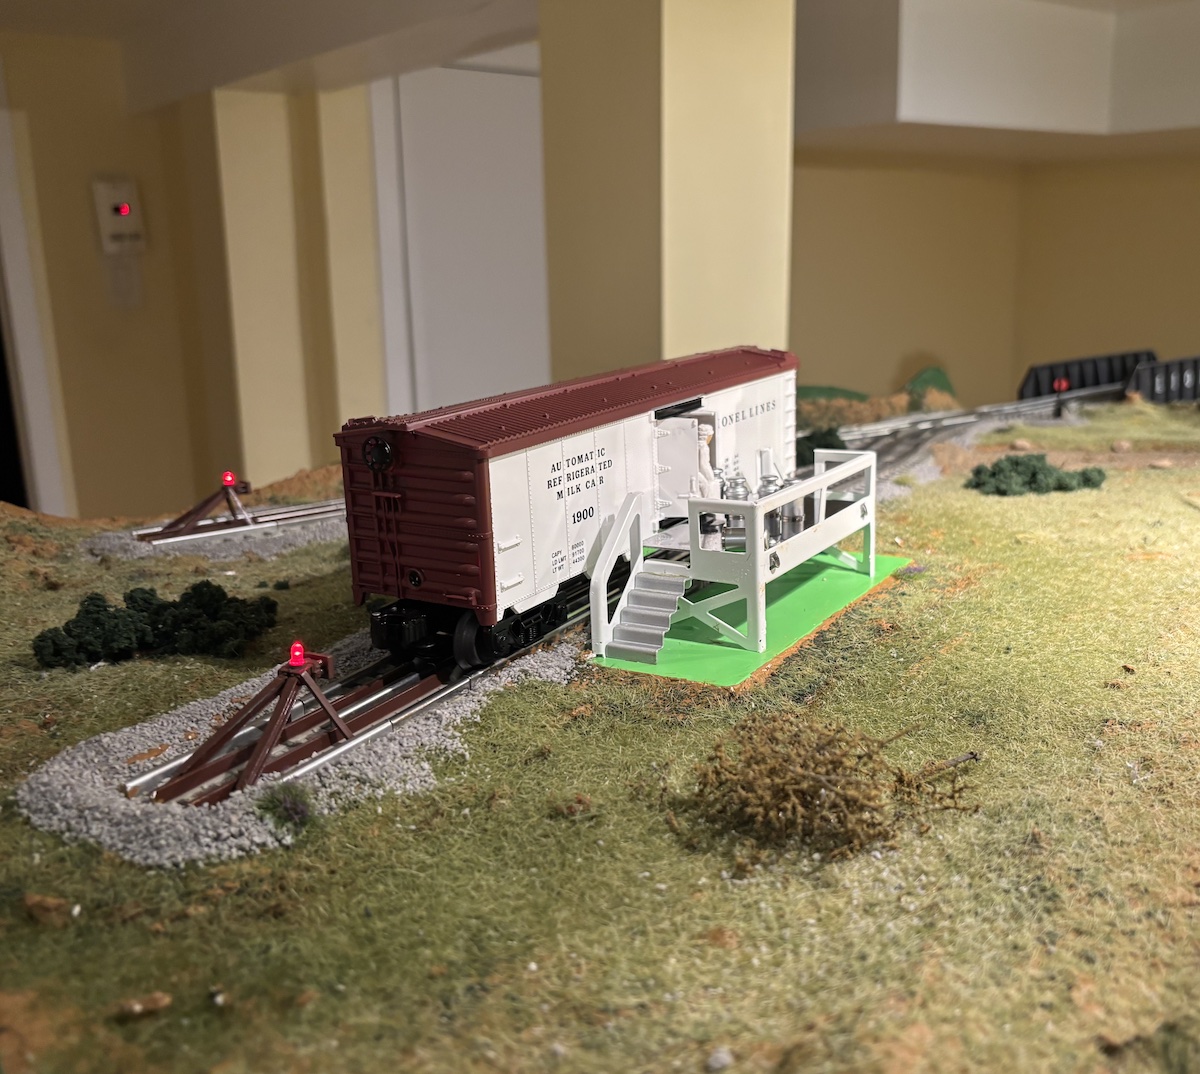
Bonus tip: the milkman’s aim in tossing the milk cans improves dramatically if the platform is set up correctly. There are two sets of notches, one higher than the other. If you have FasTrack, use the high notches in the platform.
Supply list
CA debonder
CA cement
.040” styrene scrap
(2) No. CS-6805105057-P pickup rollers from lionelsupport.com
6-32 drill tap and drill bit
(2) 6-32 screws, ⅛” long
Scissors
Soldering iron or small plastic wire connectors
Black paint (optional)