An easy Halloween project for your O gauge railroad is sprucing up a store-bought holiday item to add to your layout. With a few supplies, you can complete this project. It’s appropriate for all skill levels, too, so the kids can help!
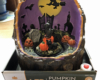
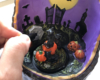
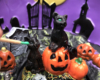
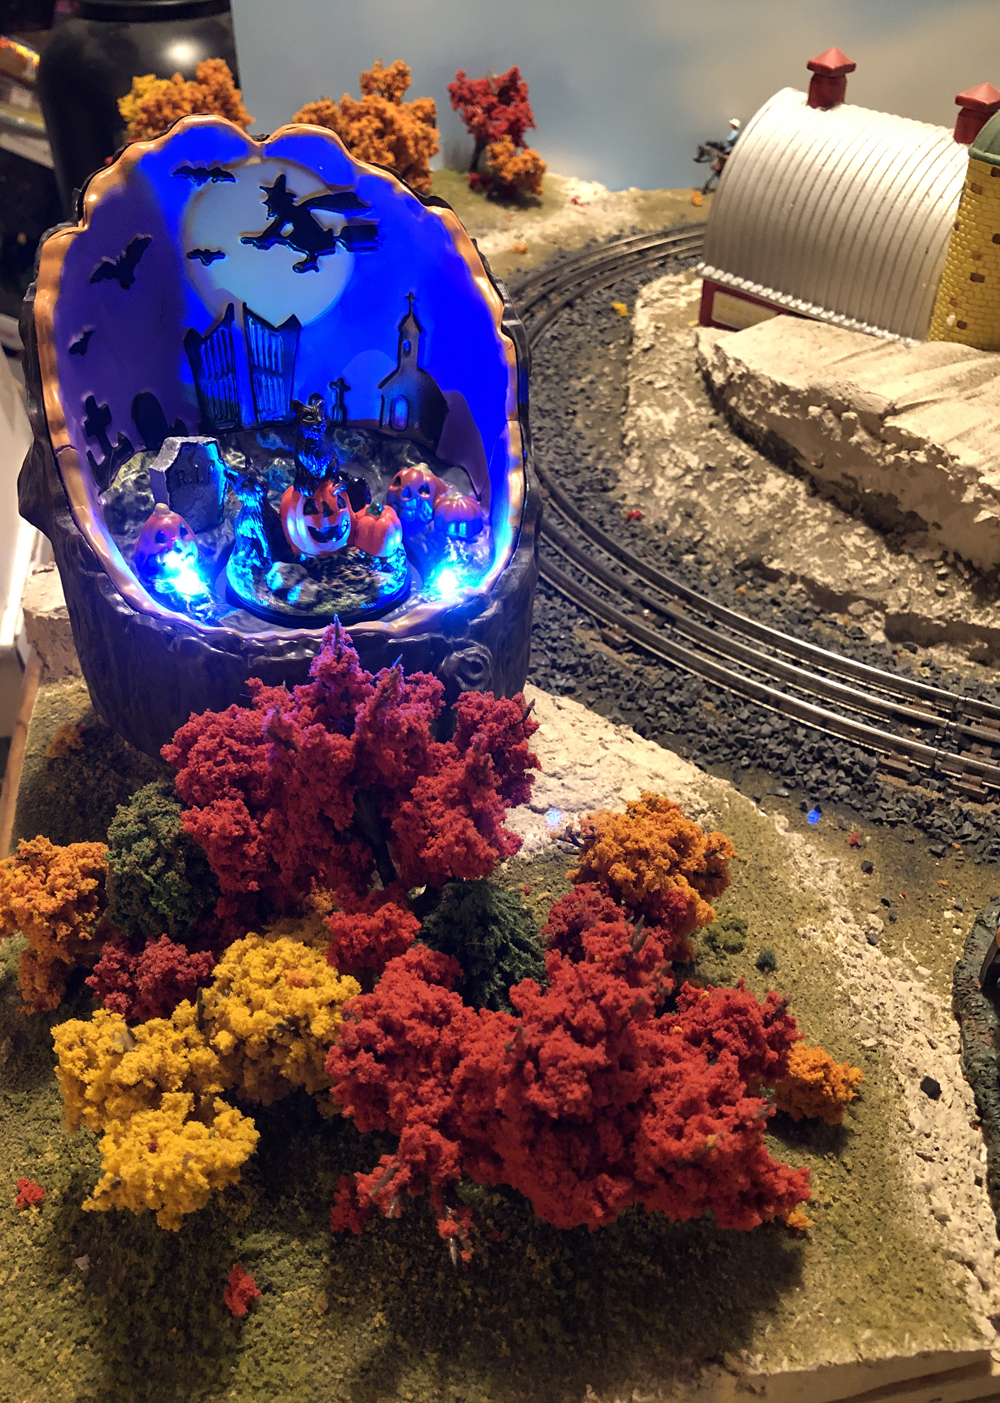
While browsing the Halloween section at Menards, my husband found some fun décor with lights and motion. We set up a Halloween village every year, but I realized this piece could be useful for toy-train layouts too. It’s compact, battery powered (no wiring skills needed), and easily removed after the season.
An easy Halloween project
You can easily use this technique on any holiday item including figures, detail pieces, and structures.
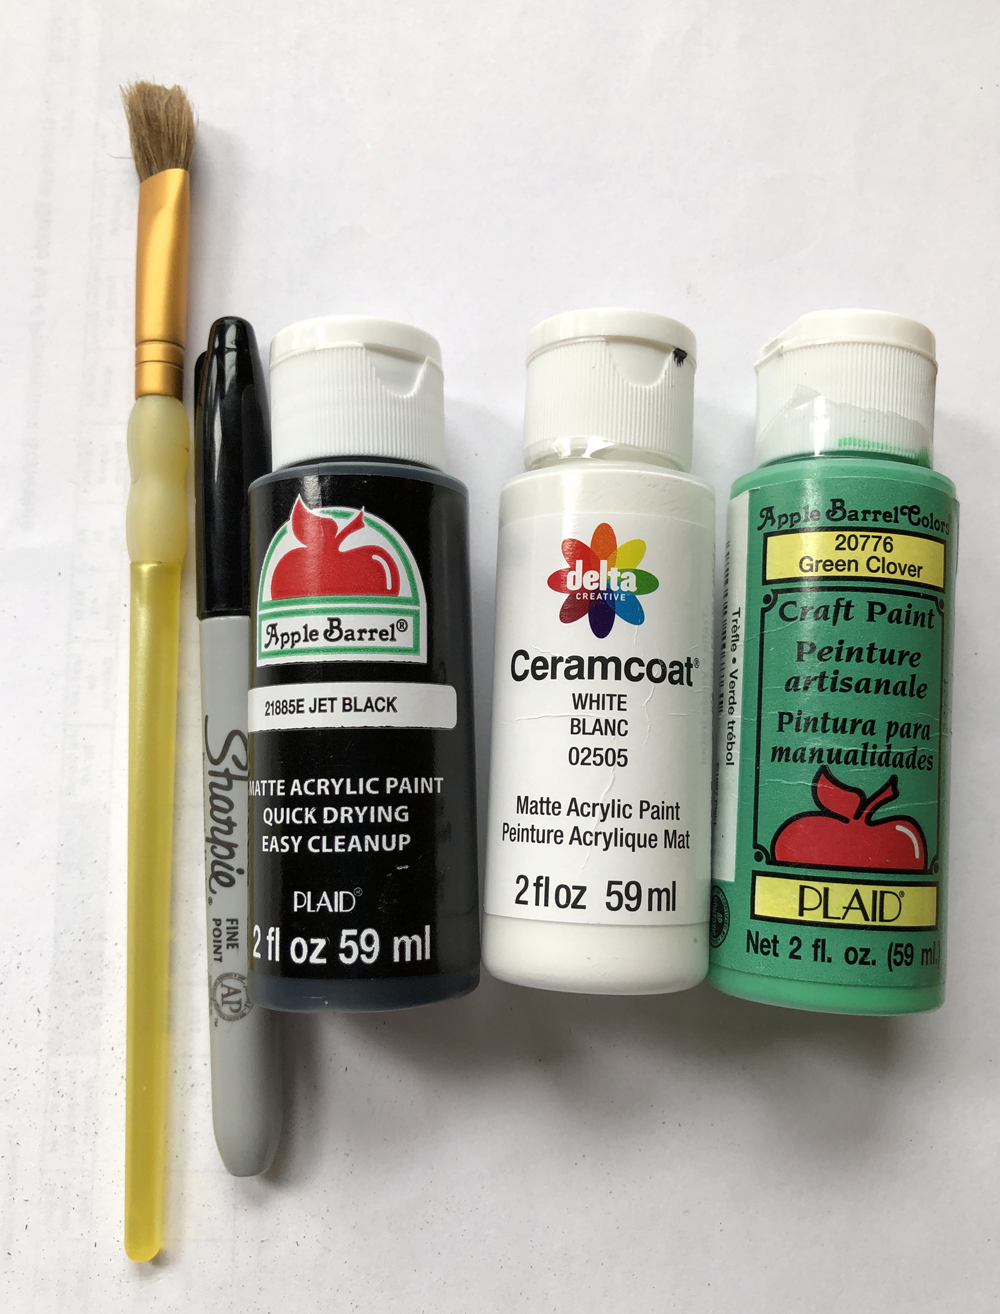
You’ll need a black permanent marker, a few colors of acrylic paints (green, yellow, black, white), a toothpick, and a few paint brushes. Optional supplies are a can of matte finishing spray (like Testor’s Dullcote) and masking tape.
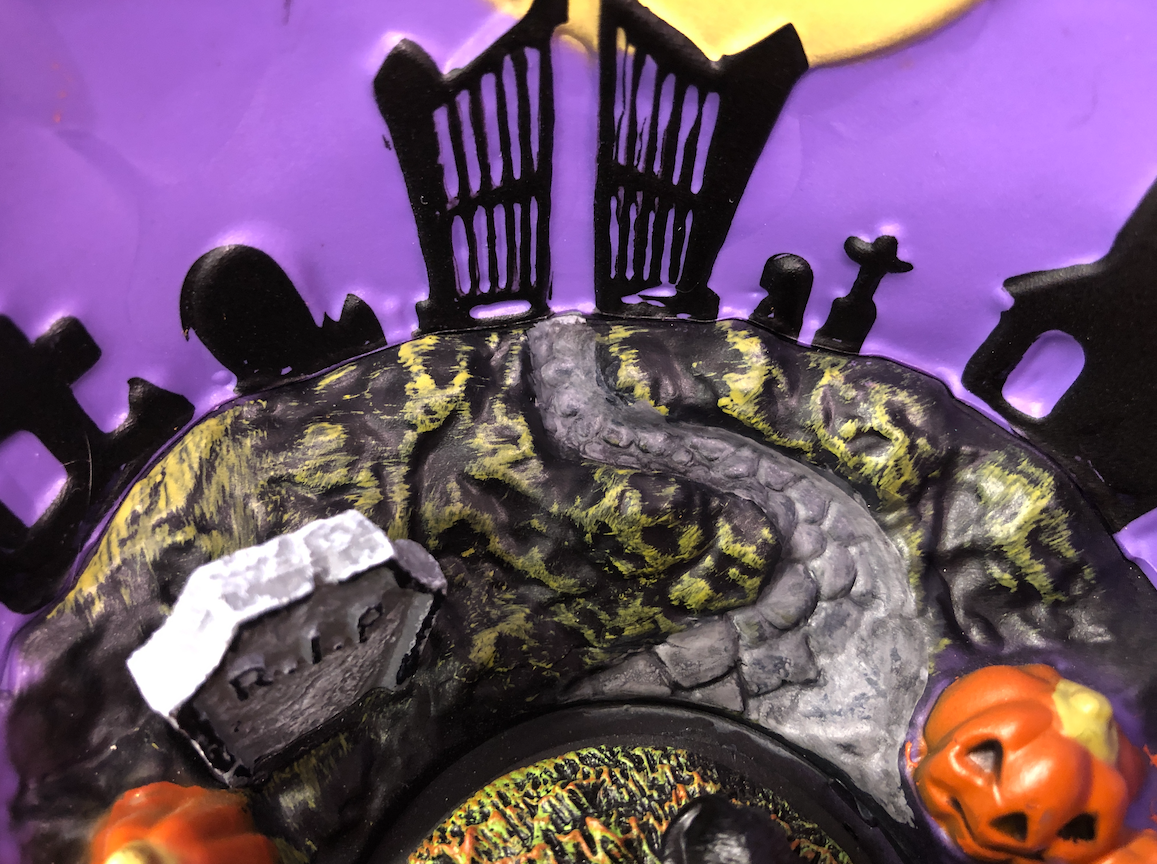
Improving tombstones, background, and pumpkins
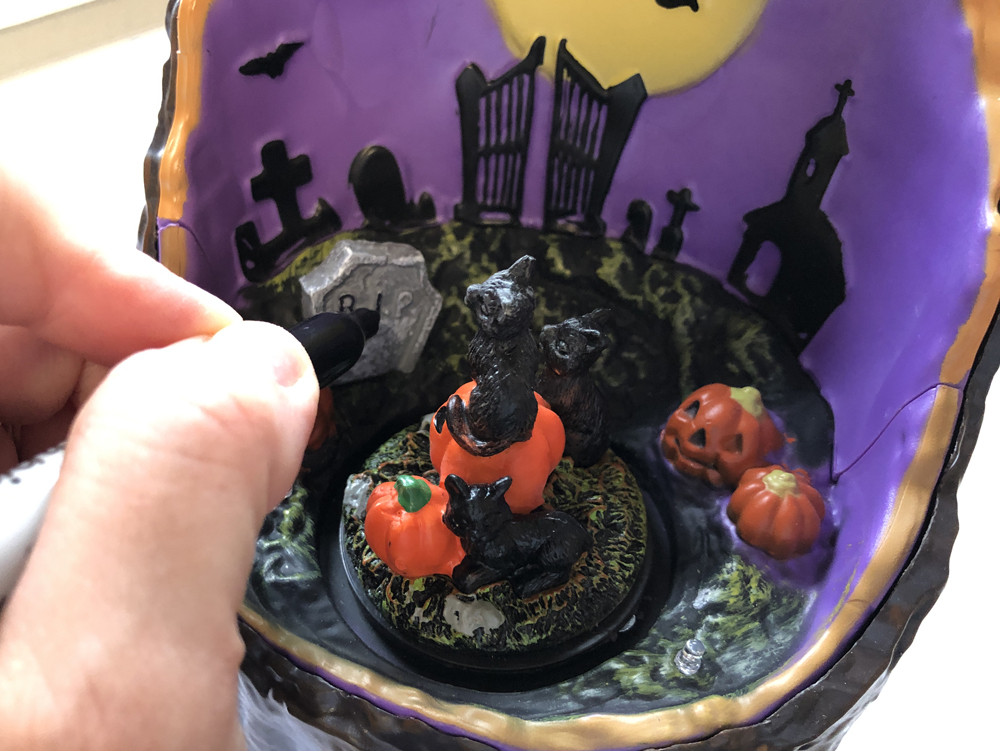
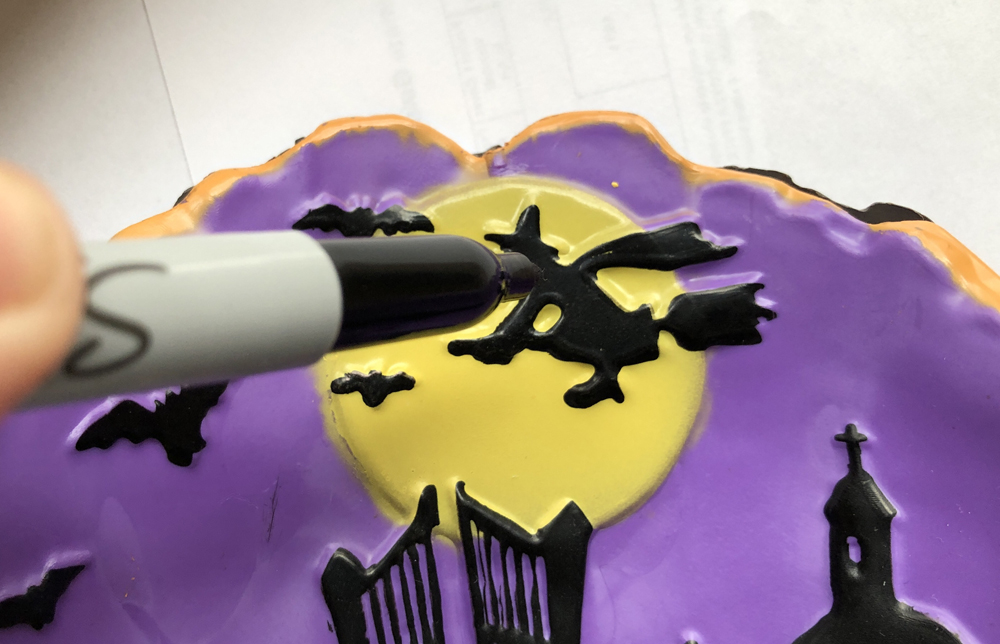
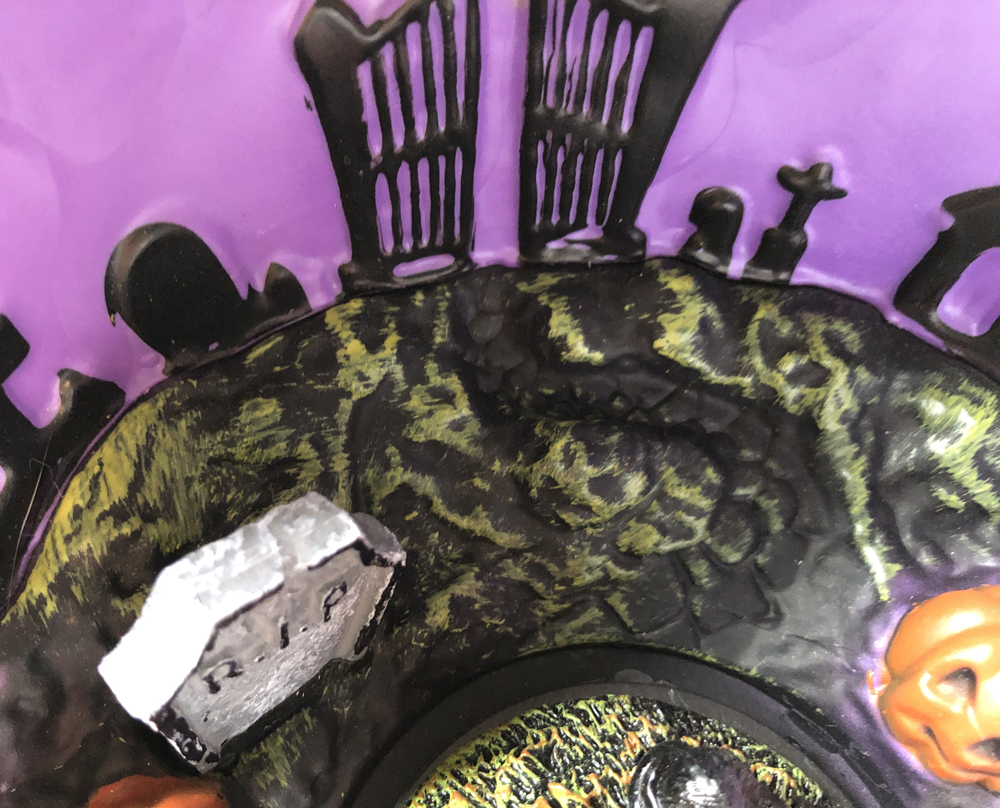
I started the project by using the marker to fill in the R.I.P. lettering and outline on the tombstone. Don’t worry if it’s not perfect; this tombstone is aging and a little defect only adds to the charm.
I filled in parts of the background designs, like the bats, and jack-o-lantern details (eyeballs and mouths) too. The center jack-o-lantern was missing a nose, so I added a triangle shape to fill in that area.
Painting cat eyes, a walkway, and tree bark
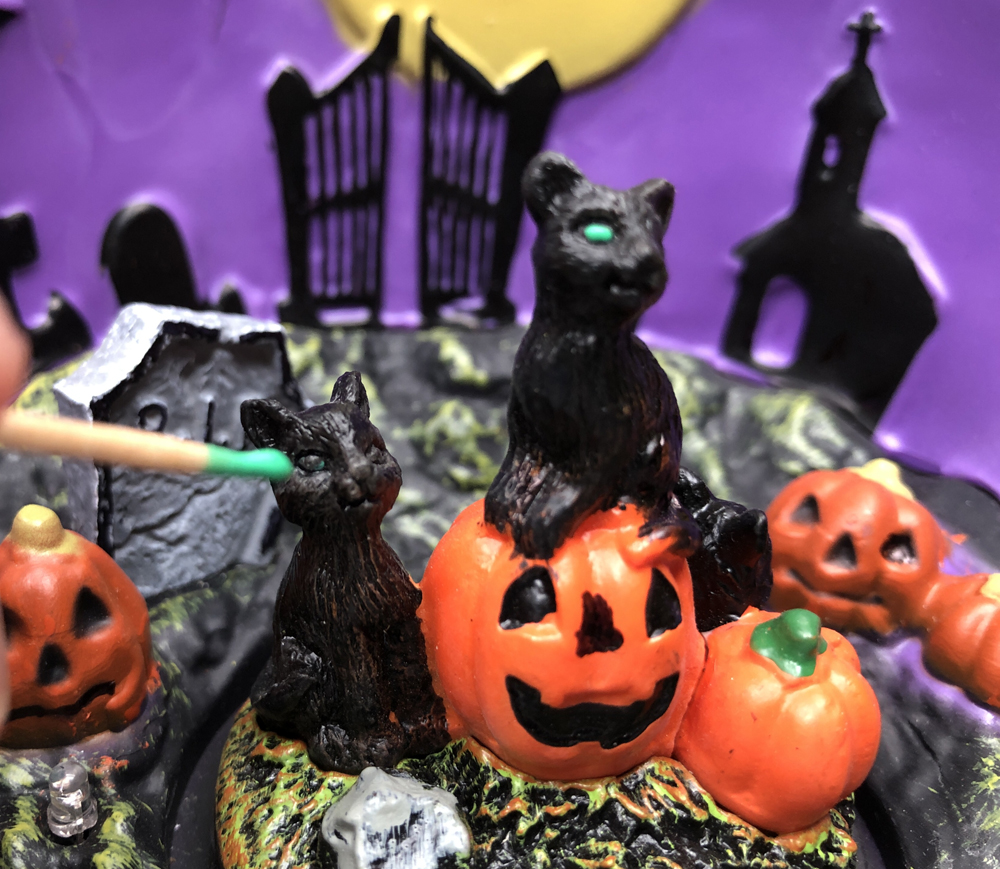
Now it’s time to open the paint. The ones I used are widely available at craft and big box stores and come in a variety of colors. I chose green to paint the cats’ eyes, but you may opt for yellow instead. Use a toothpick to apply a tiny amount of paint to each eye. If you don’t like the look, wipe it off with a baby wipe, let dry, and try again.
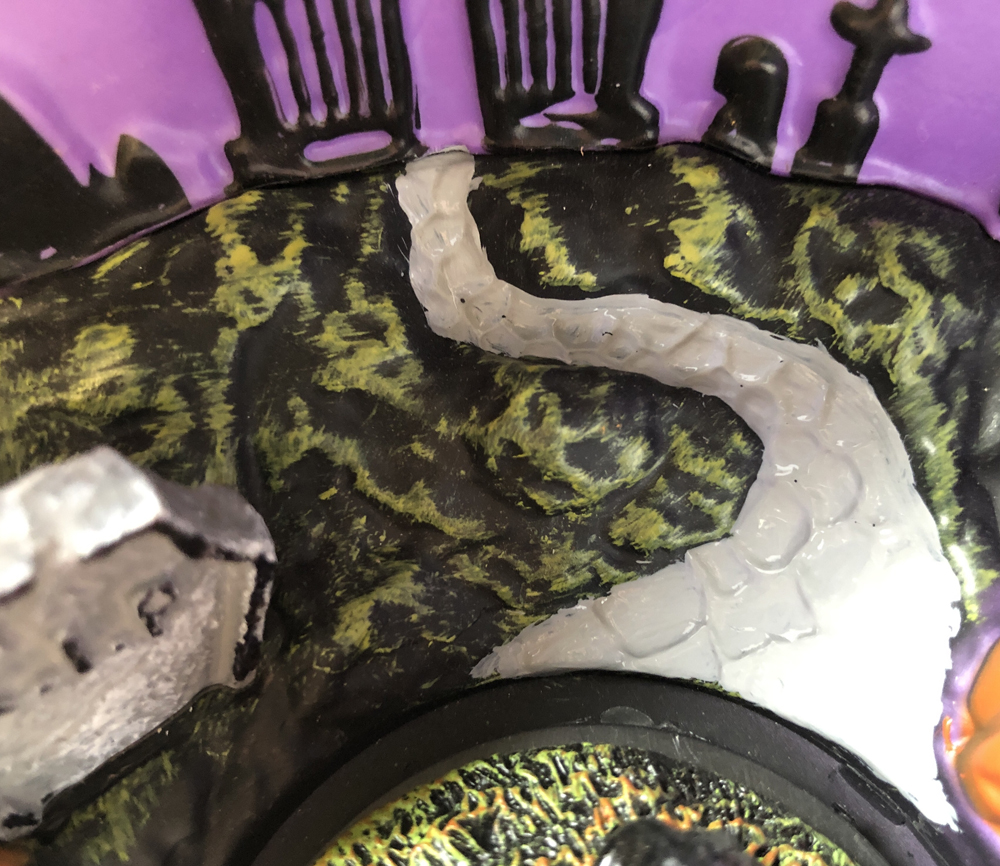
I painted the walkway using a paint brush and gray paint. I went back after the paint dried and added a wash using black paint diluted with water. The final effect looks quite nice.
The outside of this display piece is supposed to replicate tree bark. Using white paint and a paint brush, I drybrushed the outside to bring out the highlights of the “wood.” Cody Grivno shows more about how to drybrush in this video.
Final touches
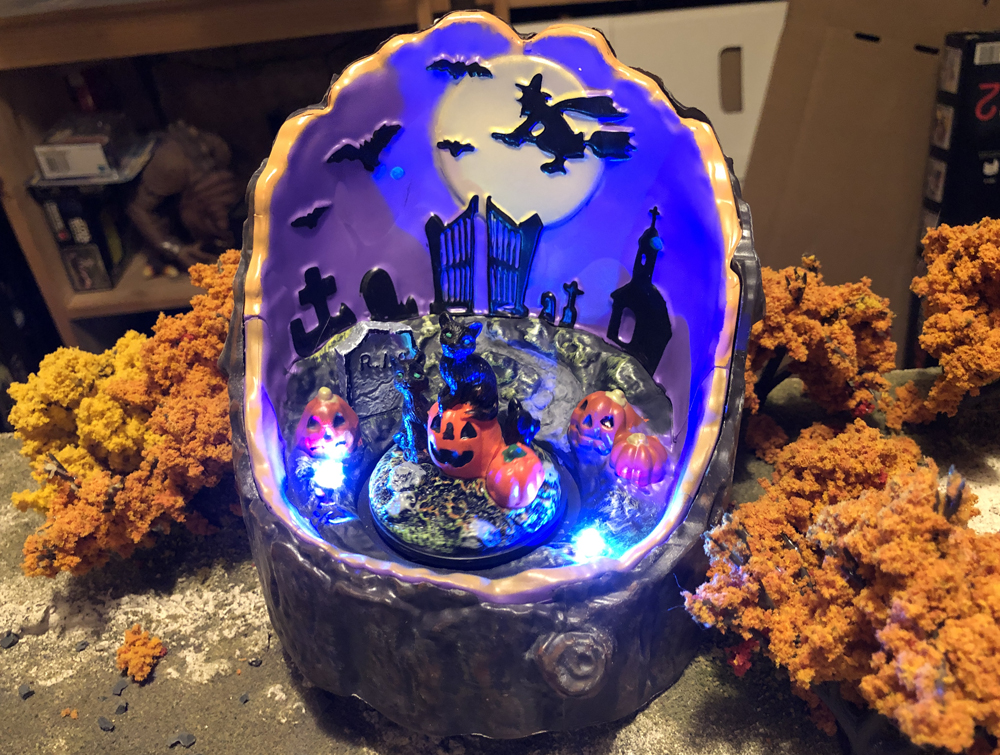
This step is optional, but it’s easy and adds a nice finish. I covered the grain-of-wheat LED bulbs with tiny pieces of masking tape and sprayed the entire piece with Testor’s Dullcote to remove the shine. Let dry completely.
You could do even more with this piece if you choose, like adding bits of groundcover or a small stick tree. I considered adding glitter to the yellow moon. The only limit is your imagination.
Now comes the fun part—adding it to your layout or display! I’m displaying it on my husband’s Halloween-themed layout, which was featured on the cover of the October 2002 CTT.
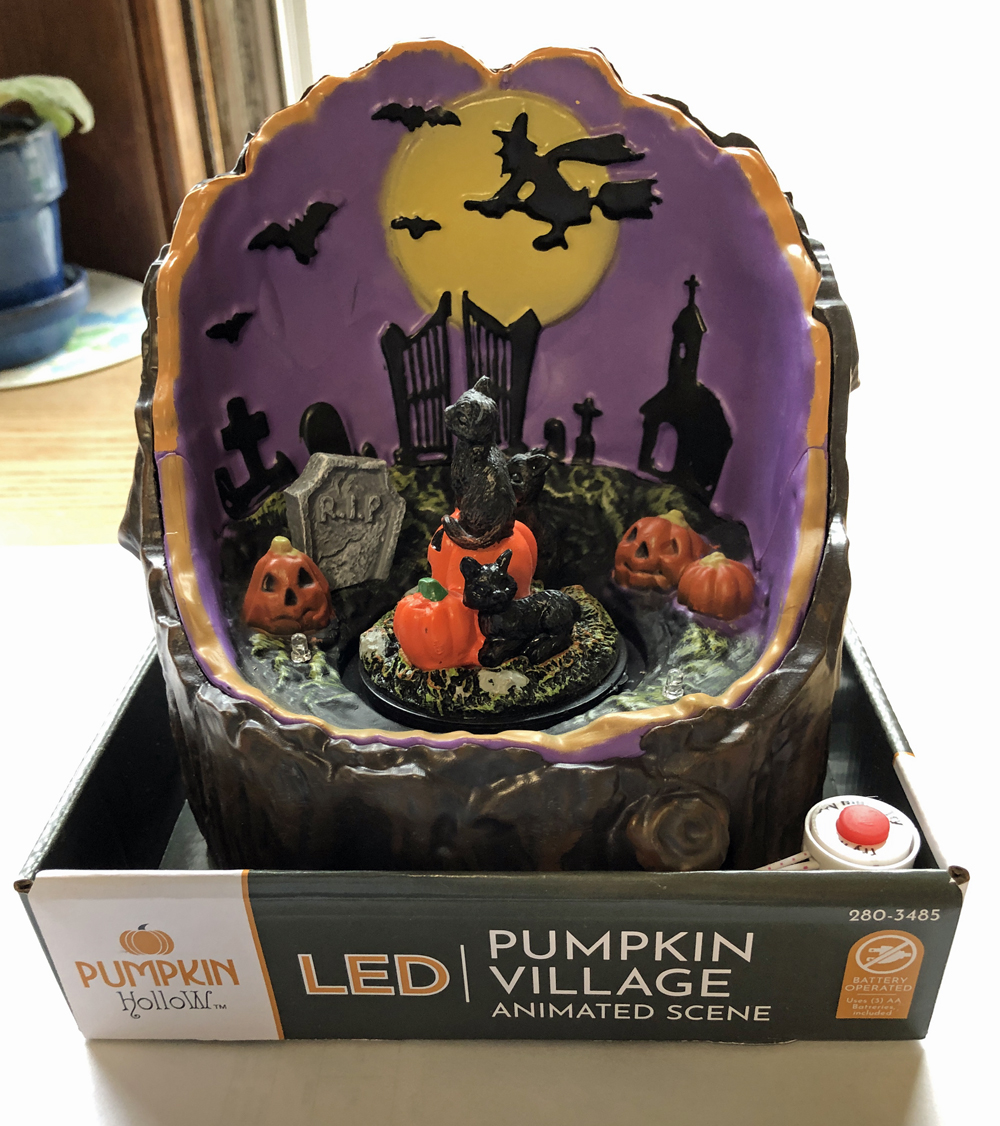
The author bought this Halloween piece at a local Menards. Photo by Rene Schweitzer