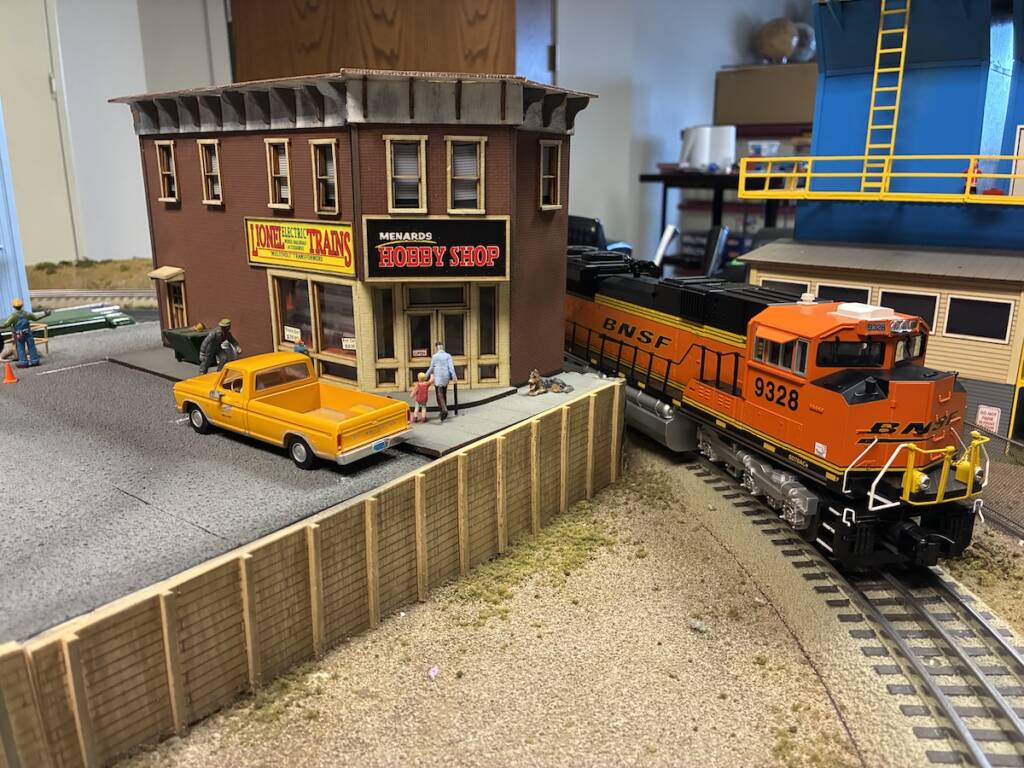
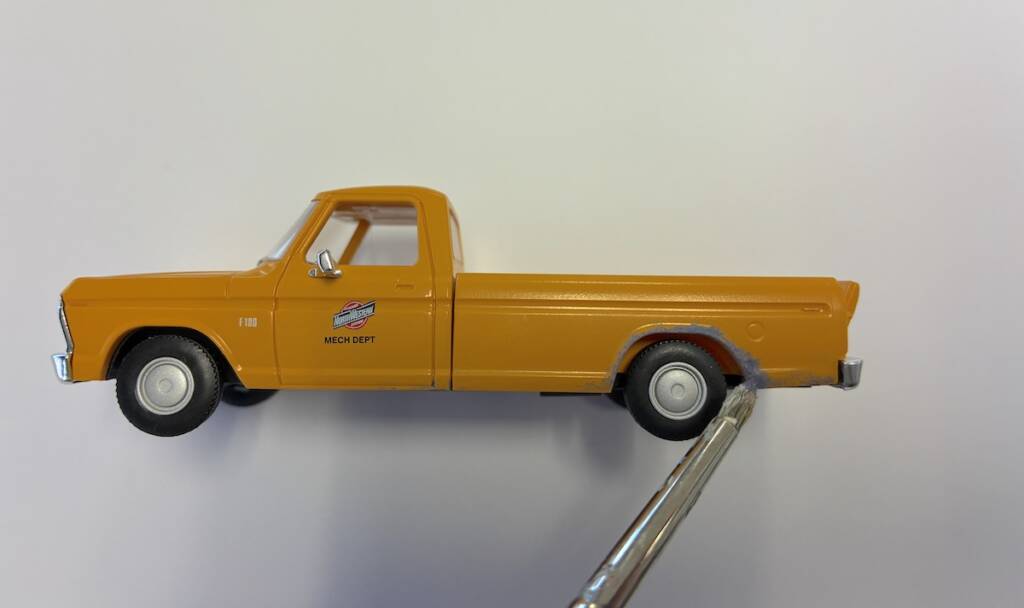
Most pickup trucks aren’t in perfect condition and show signs of wear. When I received the Atlas O 1973 Ford F-100 pickup truck, I had an opportunity to add weathering and custom features. Follow along as I explain what I did, and I hope it will inspire you to try some – or all – of the techniques.
Supplies:
- Acrylic paints (white, dark gray, brown, tan)
- Testor’s Dullcote
- Paintbrush(es)
- Hobby knife
- Seated figure
- Color printer/paper/cardstock
- Toothpick
- Tweezers
- CA cement
Mud
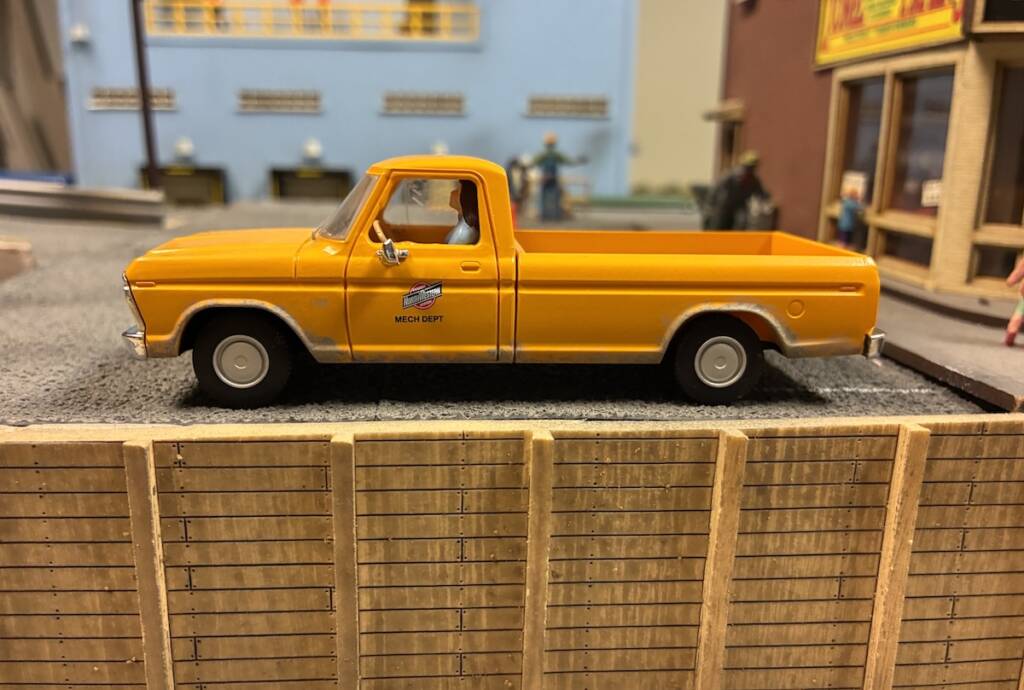
Depending on the region you’re modeling, you might change the colors to better reflect the soil’s mud — a more reddish for clay or more tan for sandy areas, for instance. I chose two mixtures: one of white and dark gray mixed together, and a second coat of brown mixed with tan.
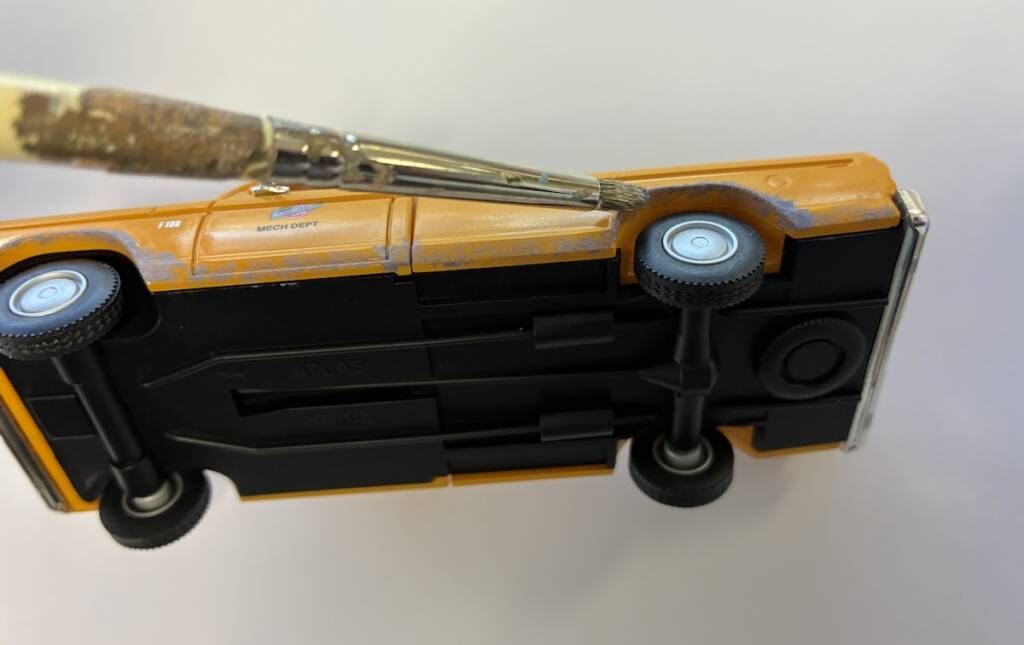
I suggest looking at photos of mud-splatter on trucks to get an idea of where to add the mud. Around the wheel wells, the base of the truck, and up the sides of the doors are good places to start.
First, I sprayed a light coat of Testor’s Dullcote over the body to give the paint better adherence. Then I used a stipple paint brush to gently tap on areas of mud with the gray/white mixture. Please note to use just a small amount of paint on the brush tip. If you don’t like what you’ve done, wipe it off with a damp cloth and try again. Also, make sure to flip the vehicle over and add paint both under and inside the wheel wells, as that’s where the mud would be the heaviest.
I then stippled on a tiny amount of the brown/tan mixture to add depth to the mud. This step is optional, but it added a nice look to the coloring. Take care to not paint the tires, but again, wipe off the paint if you do make a mistake.
Truck bed weathering
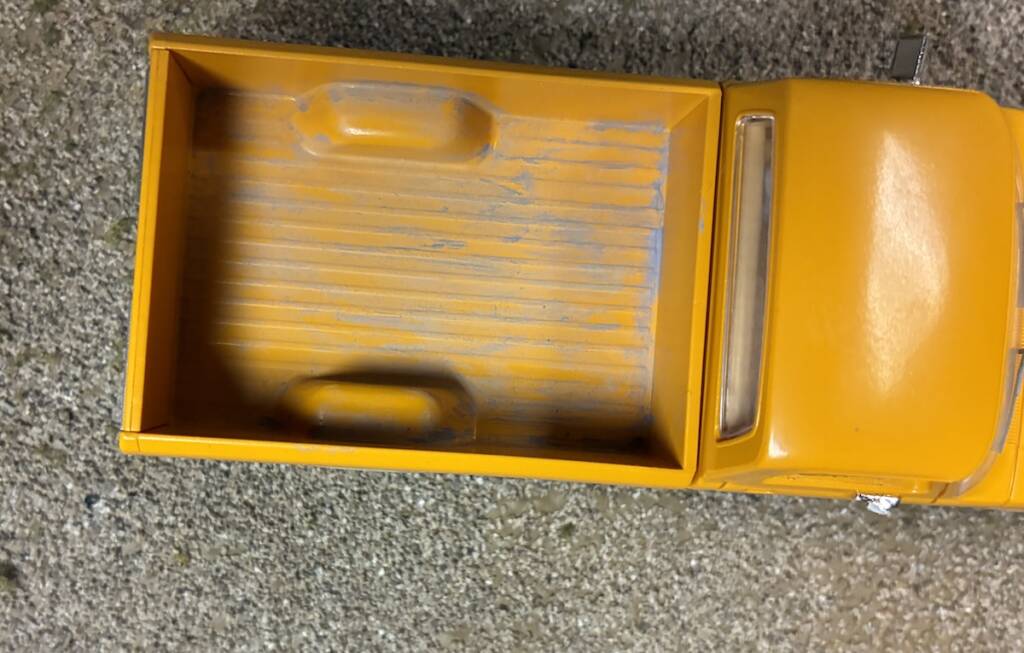
I added a small amount of the gray paint mixture to the tip of the brush and wiped some of it off on a rag or paper towel. Starting in the corner of the bed, I then made vertical strokes down the bed, almost like making lines. It’s highly recommended to add paint in the cracks and corners, since dirt would accumulate there first. Use the brown mixture to lightly drybrush over the bed.
Window cracks
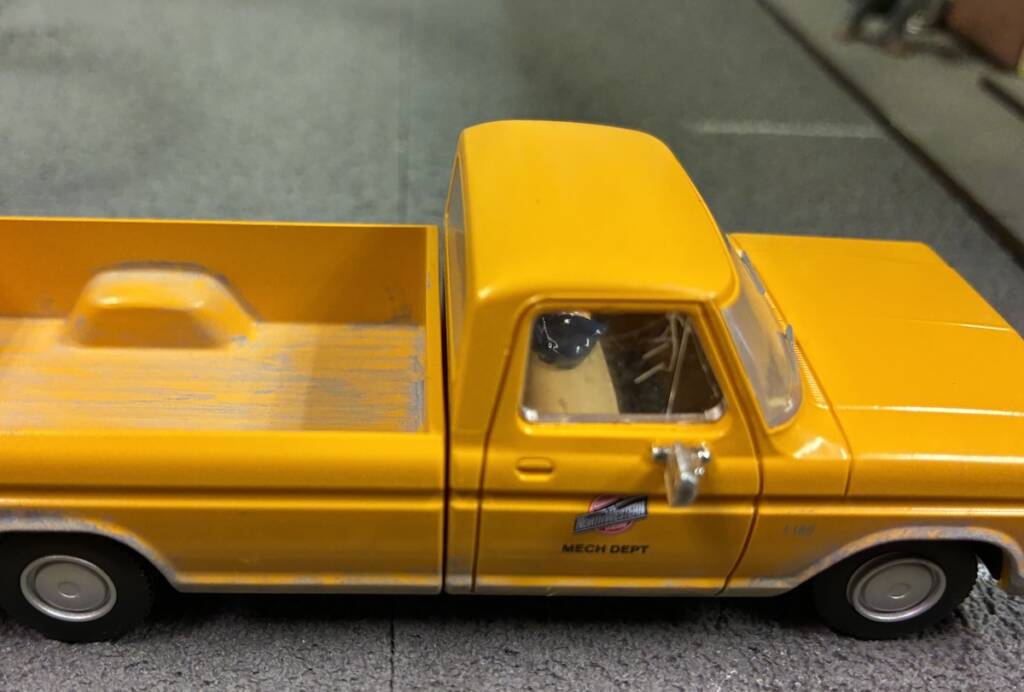
Adding window cracks was easy. Take the blade of a hobby knife and gently score the plastic window. Then use a light touch with the blade and add a second pass if needed.
Add a driver
Adding the figure was the trickiest part of this project, as there are several obstacles. The truck’s doors don’t open, and there are pieces of plastic that serve as windows. I had accidentally knocked out the driver’s side window during my product review of this truck, which actually gave me an excellent starting point. Use either your thumb or a hobby knife to gently pry out the window piece.
Finding a suitable figure may take some experimentation. I found a box of cast-off O gauge figures in our workshop and chose a seated female figure. It’s from the MTH Seated Passenger Figure Set (30-11068). The Ford’s steering wheel blocks most of the leg room, so I had to get creative and carve off part of the legs with a hobby knife. Then I realized that it was too tall, so I removed part of the figure’s bottom. I then used both my fingers and a toothpick to position the figure in the cab, then used a dab of CA cement on another toothpick to secure it in place.
Be careful when working around the doors because the side-view mirrors are delicate. I broke one off and fell on the workshop floor, but coworker David Popp found it the next day. It was easily re-attached with CA.
Add license plates
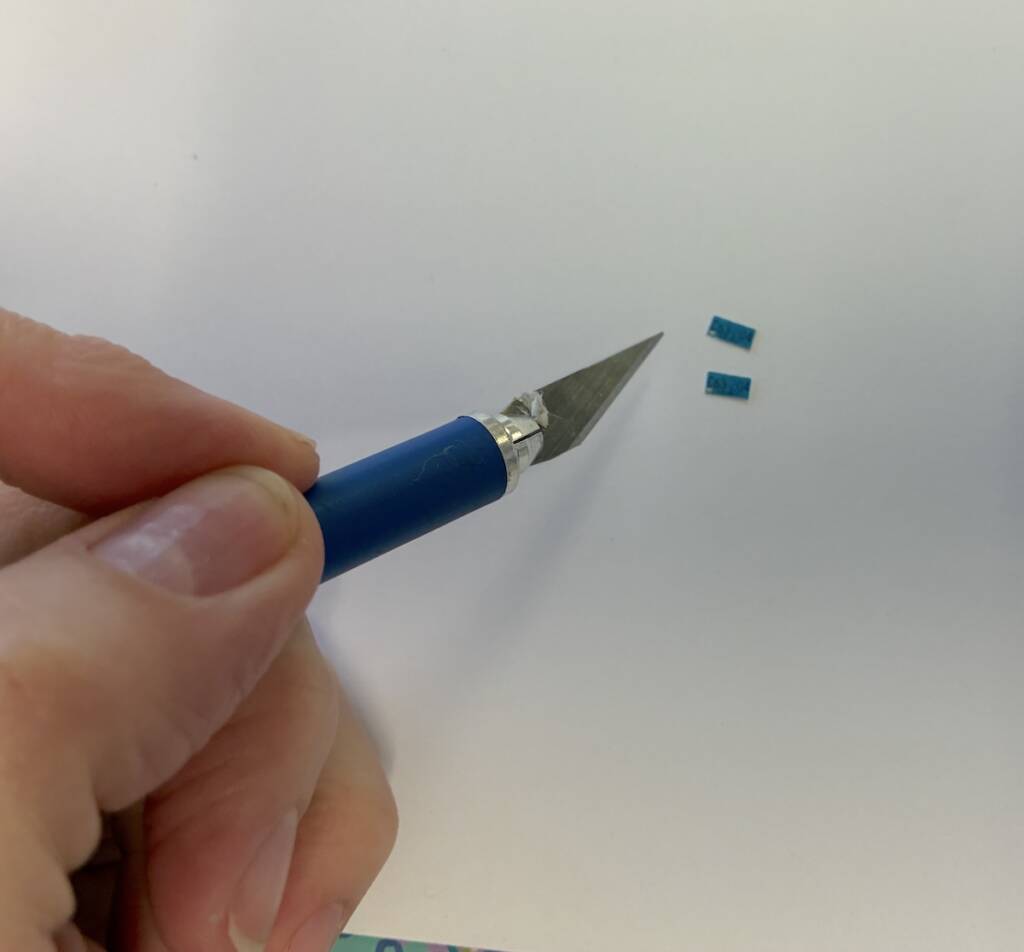
Years ago, I had customized a 1:12 scale Buick with license plates, and I wanted to recreate that effect with this model. Using a search engine, find licence plates for the time period and state you’d like to model. I searched “1973 Wisconsin truck license plate.” Save those images and place them in Microsoft Word, Google Docs, or your choice of software. I guessed on the size and got lucky the first time with the right fit. Since they’re tiny, you can place several different sizes on the page and see what fits best. Remember to make two of each plate (front and back of the vehicle).
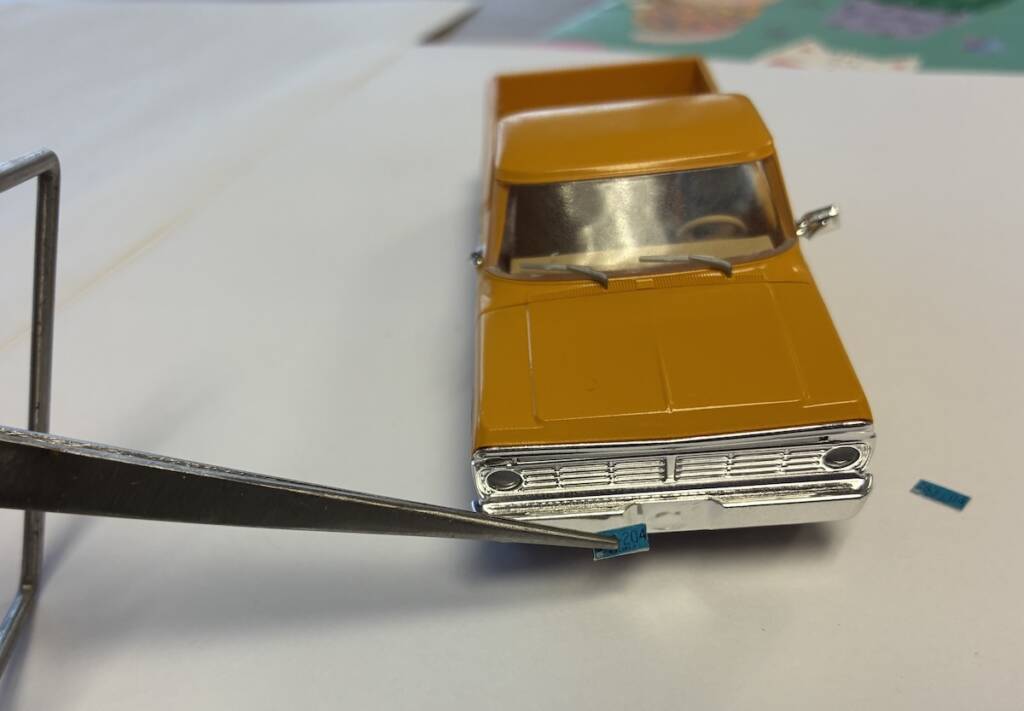
I printed the plates on regular white printing paper, but you could also use white cardstock. Note: I used a laser printer. If you’re using an ink jet printer, I’d suggest spraying the paper with Testor’s Dullcoat before cutting them out to protect the ink. I cut them out using a hobby knife, and added a tiny spot of CA to adhere them to the truck. The licence plates were my favorite part of this project!
Is this model perfect? No, but few working trucks are pristine. If you don’t want to experiment on Atlas’ model, find some less expensive vehicles (perhaps at a thrift or big box store). With a few supplies and a little time, you can customize your vehicles and improve the realism on your layout.