Like Robert Frost once wrote, good fences may make for good neighbors. I’ve learned that good fences also make for great models. With a little thought, fences can define and separate scenes and add considerable detail to your layout.
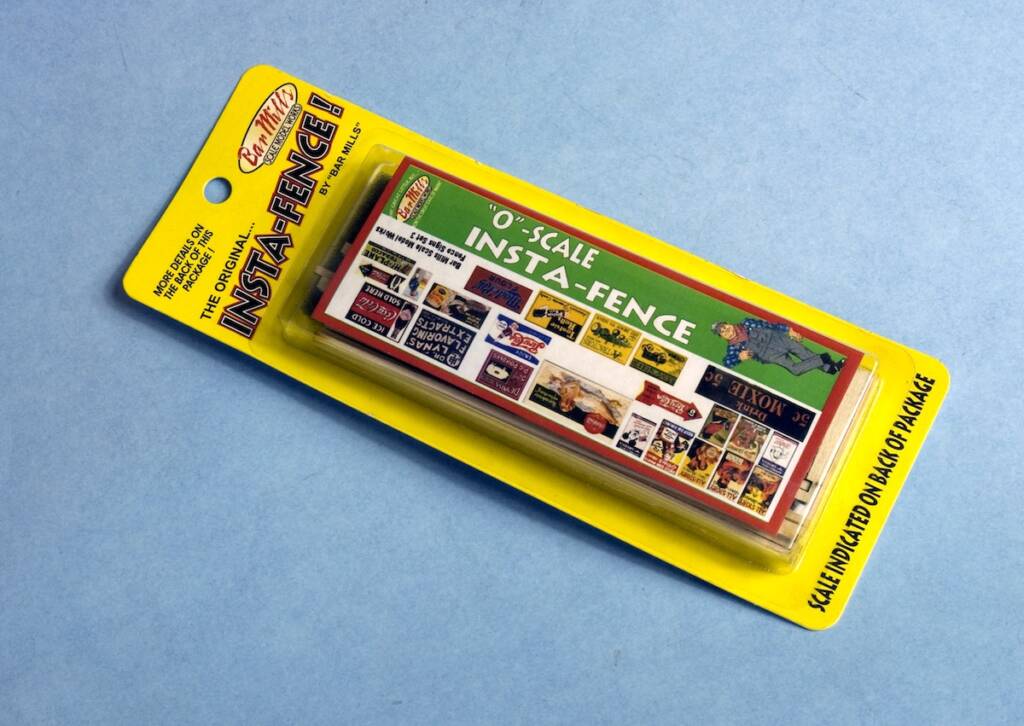
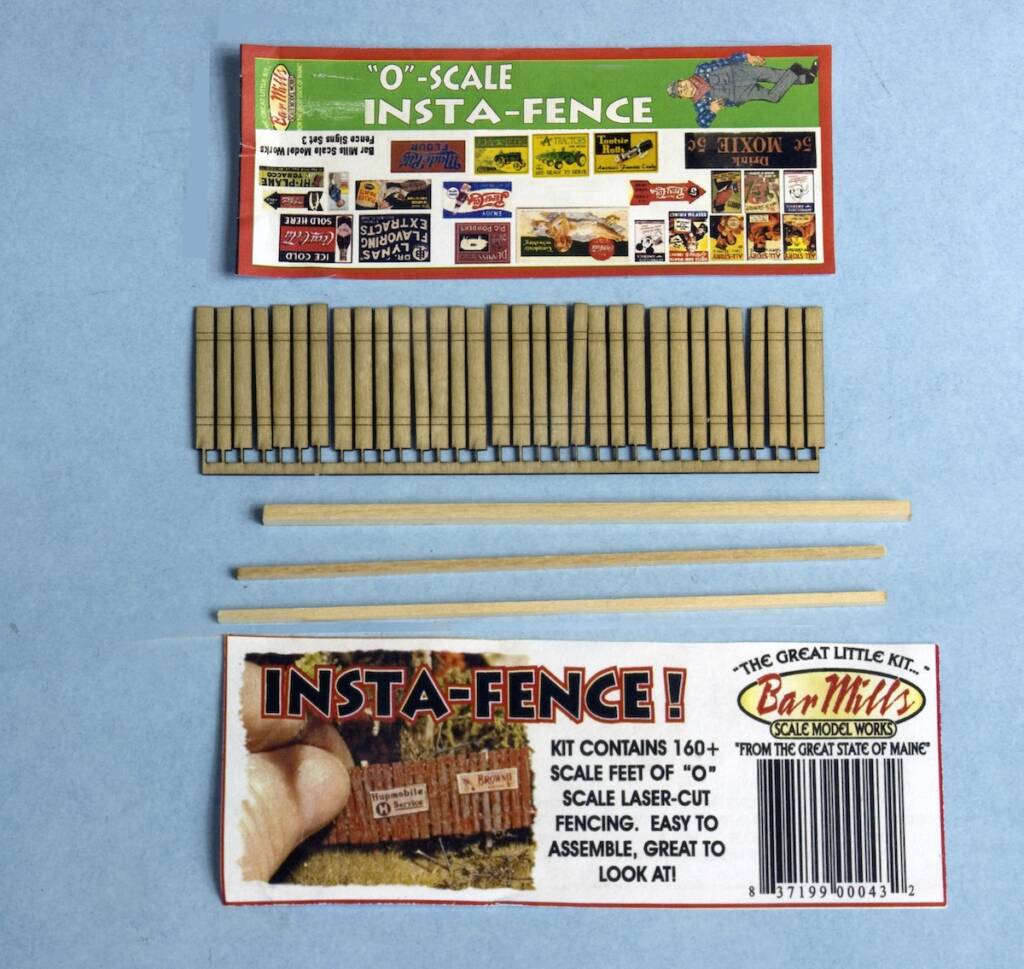
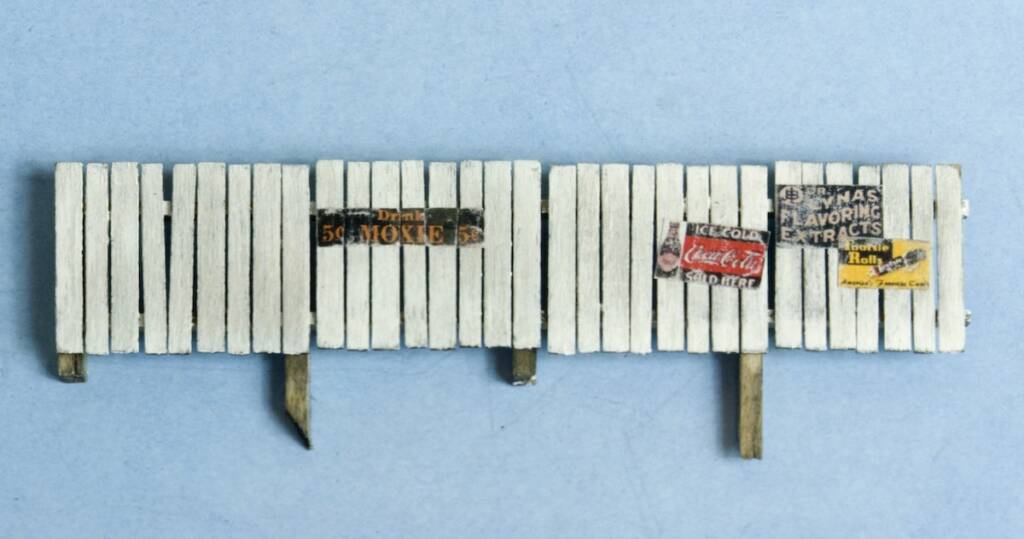
As packaged, the Bar Mills “Insta-Fence®” kit includes a sheet of suitable vintage signs to plaster over your “Post No Bills” admonishments. Michael Tylick photo
While there is a wide variety of interesting fencing available today, the old board fence is still an iconic part of a bygone American landscape. Fences were always an excellent surface on which to display our vintage sign collections and try our hand at graffiti. But they were always difficult to scratchbuild from an odd collection of sticks, straight pins, and glue so we’ve tended to avoid them.
Bar Mills Modelworks has eliminated much of the stress involved in replicating these fragile miniatures. Their Insta-Fence® is available in four scales (N, HO, S, and O). Don’t overlook the smaller sizes for background “forced perspective” scenes or larger sizes for taller fences. An excellent introduction to laser cut kits, they quickly and painlessly assemble into fine finished models with a minimum of time and effort.
Insta-Fence kits
O scale (0044), $18.95 for six pieces of fencing
S scale (0043), $18.95 for six pieces of fencing
Website: barmillsmodels.com
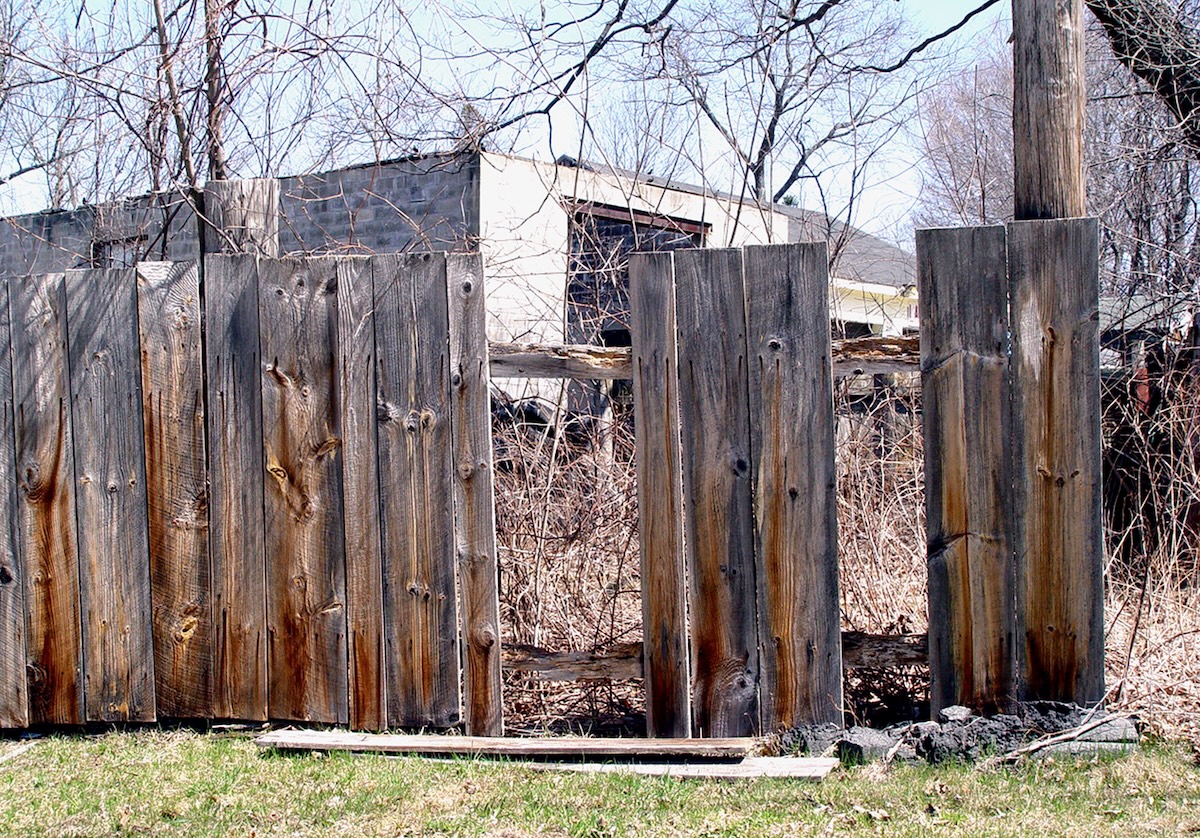
More than 20 years ago I needed a photograph of a board fence for a clinic. Much to my surprise I had a difficult time finding a prototype example. It seems age had caused many of them to collapse. They were usually replaced with more modern looking wood or vinyl fencing. Some had been taken down to use as home recreation room paneling. I did eventually locate this one in nearby Charlton, Massachusetts, but I have not recalled seeing a second one since then. Another bit of vanishing Americana. Michael Tylick photo
An Insta-Fence® back and gate on my home On30 model railroad (Marshfield & Old Colony). Michael Tylick photo
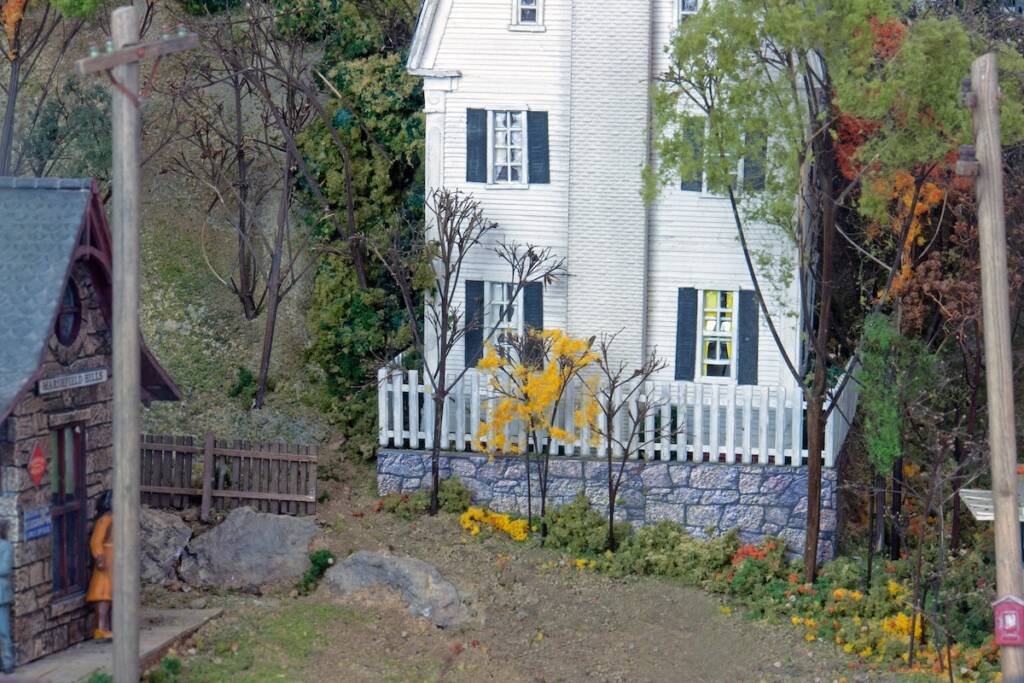
Since the fence is comprised of individual boards held in place by a “carrier” it was a simple matter to remove every other board from an S scale Insta-Fence® to make a picket fence for this nice home. To the left an HO scale Insta-Fence helps conceal just how narrow the road behind it really is. Michael Tylick photo
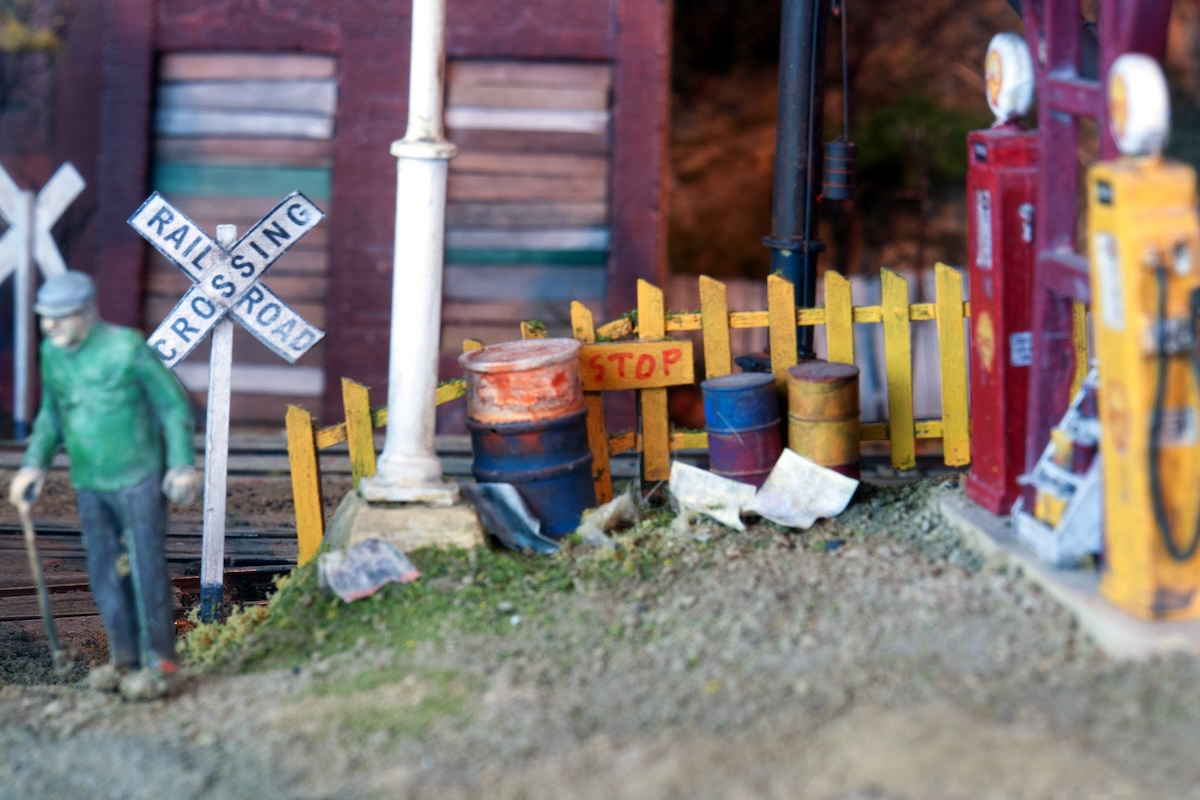
Made from another S scale fence, removing every other board and slanting the tops made this into an unusual garage safety fence. It also helps hide the very shallow space that is at the rear of the garage. Michael Tylick photo
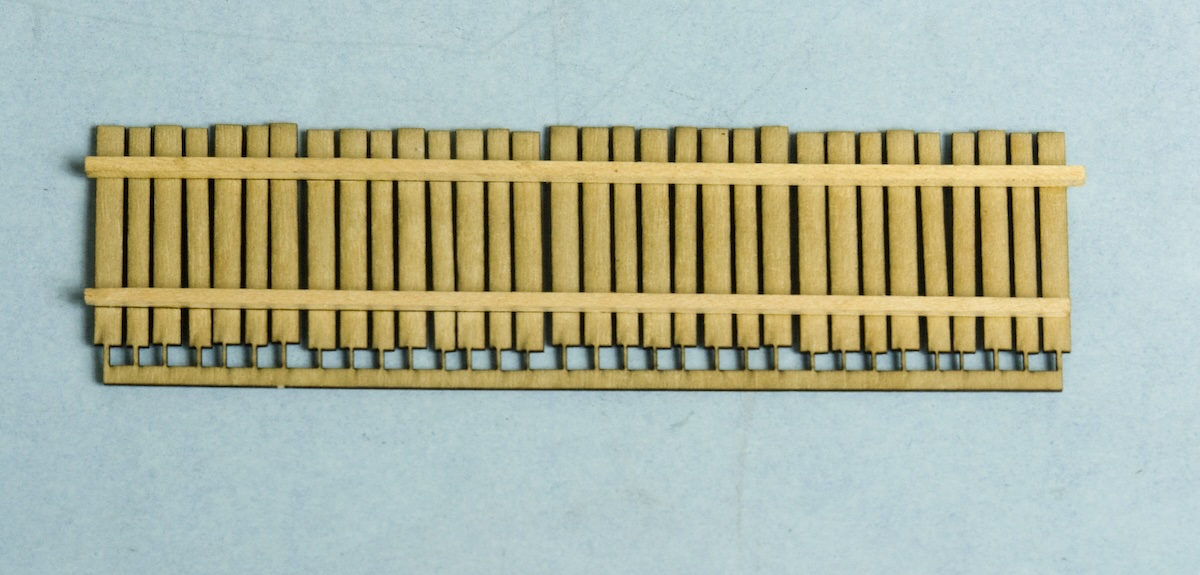
The kit contents include several strips of laser cut irregular board fencing (with the lower carrier strip holding the boards in place), stripwood for the supporting posts and rails, some printed signs, and an instruction sheet that includes installation and finishing tips. Michael Tylick photo
The horizontal rails are glued in place over the guidelines using any suitable wood glue- I used white Elmer’s. After the glue has set, a sharp knife is used to remove the carrier. Or if you have them, a plastic sprue cutter or a pair of cuticle scissors work even better. Michael Tylick photo
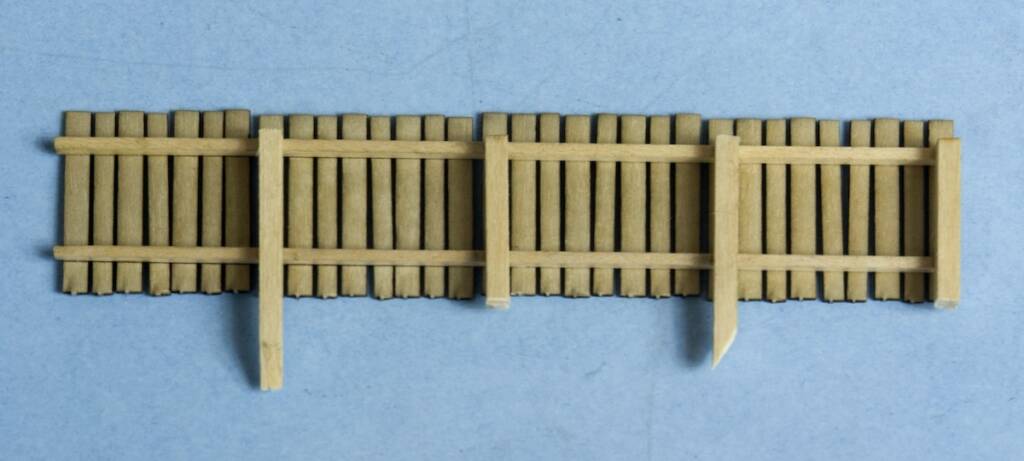
The vertical posts are installed. I made a few posts extra long to be inserted into holes drilled into the scenery base. Michael Tylick photo
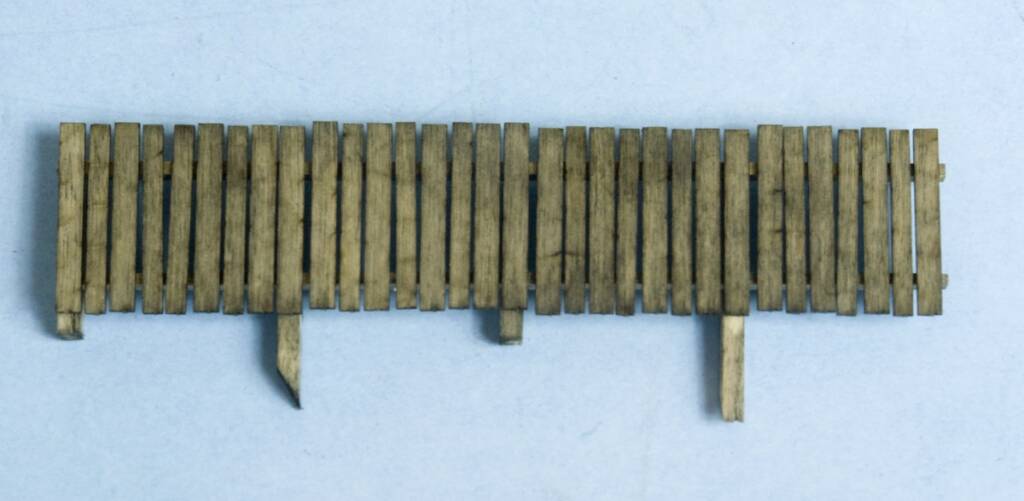
The completed fence is stained with a thin wash of India Ink and rubbing alcohol. It is generally wiser to pre-paint the pieces to avoid glue “spluges.” Michael Tylick photo
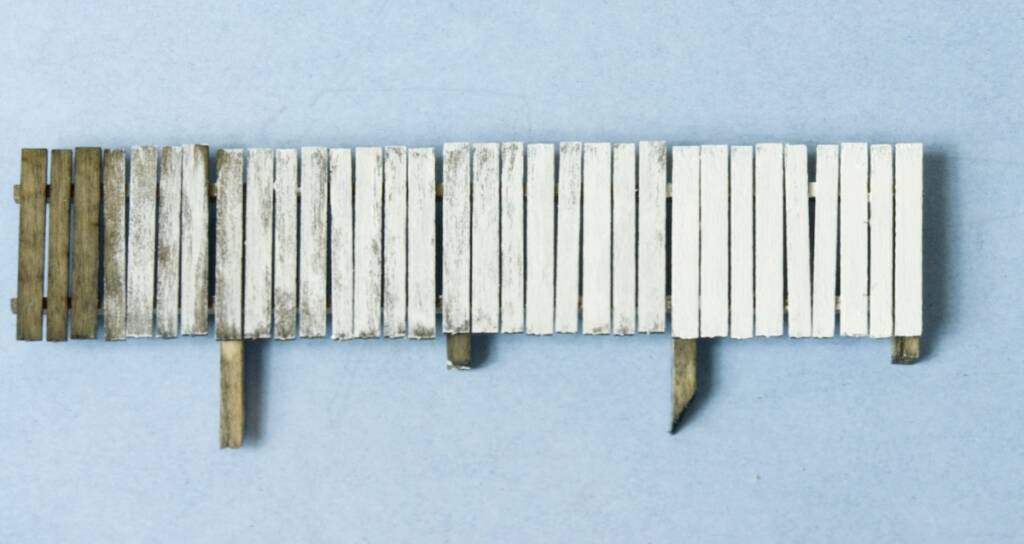
A drybrush technique is a simple way to age an old board fence. From left to right it shows the effect of zero to five thin coats of acrylic craft paint. Drybrushing is simple. Using a stiff brush, dip it into thick paint. Wipe most of it off on a paper towel and rub the remainder into the fence surface. Only a little practice is necessary to become proficient at this. Michael Tylick photo
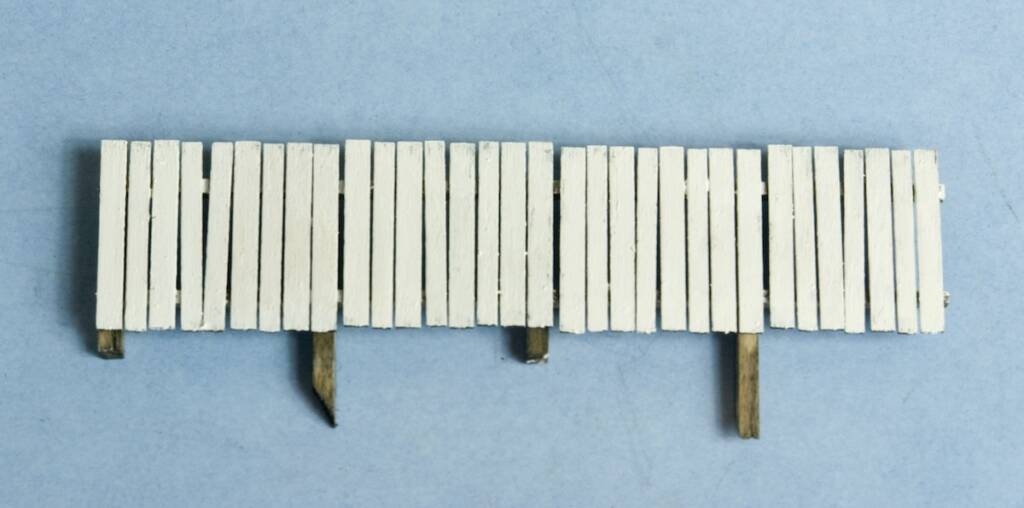
A freshly painted fence. Although any color could be used, white and green seem to have been the most common. Michael Tylick photo
A few signs are added to the fence. Another rarely used “weathering” technique is to apply a few signs before each new coat of paint, thus making some of the signs appear older than others.