Christmas is just around the corner so it’s time to make sure seasonal train displays are ready to deliver holiday fun – toy train style!
Let’s start with locomotives and rolling stock.
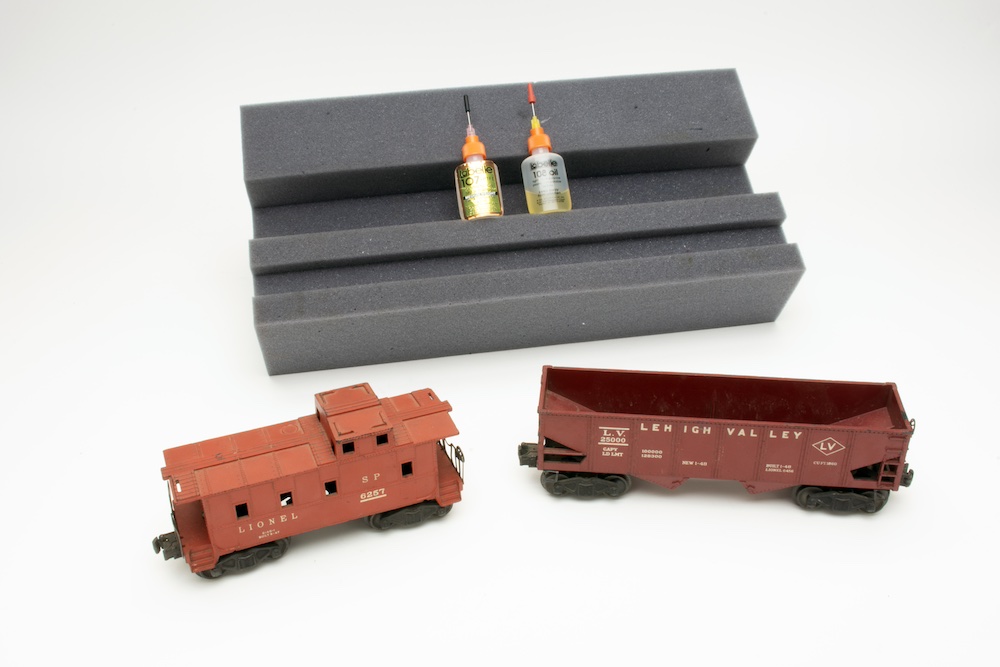
Inspection, oil, and grease

Before trying to run anything, I recommend doing a preliminary inspection. Now is the time to replace broken or missing parts. Find a list of parts suppliers.
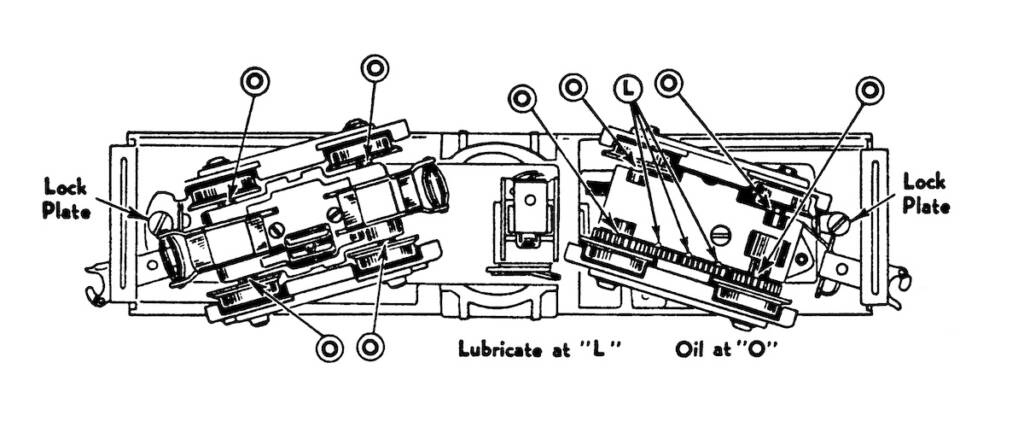
The next step is a general lubrication of each locomotive. The basic rule of thumb is to oil anything that spins within something else and use grease on gears.
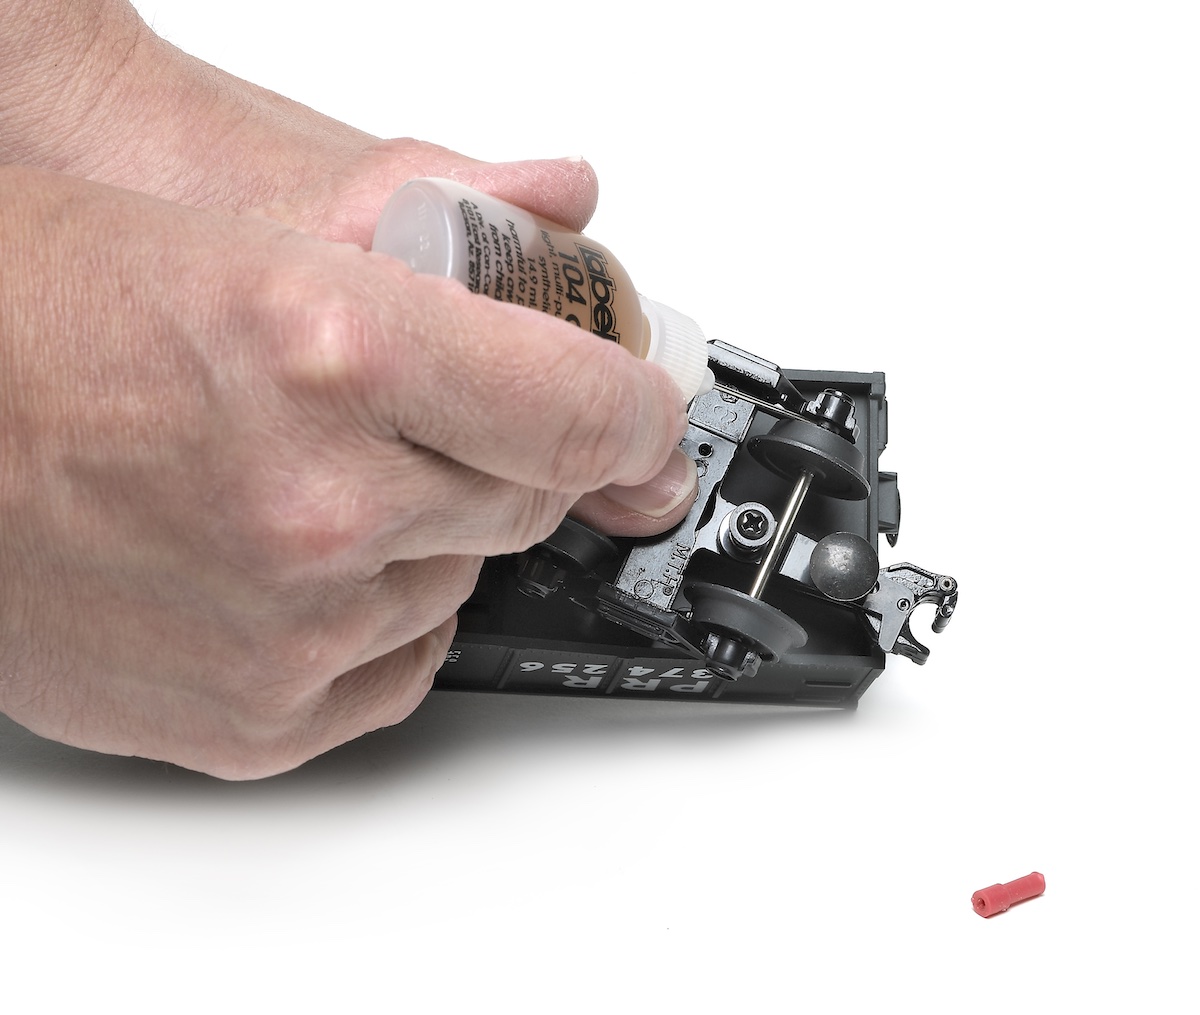
Specifically, I oil the ends of the armature shaft on the motor while trying to avoid getting any oil or grease on the brushes or commutator. In addition, I lubricate the axles where they pass through the truck frame or motor frame. The tiniest drop you can manage is plenty.
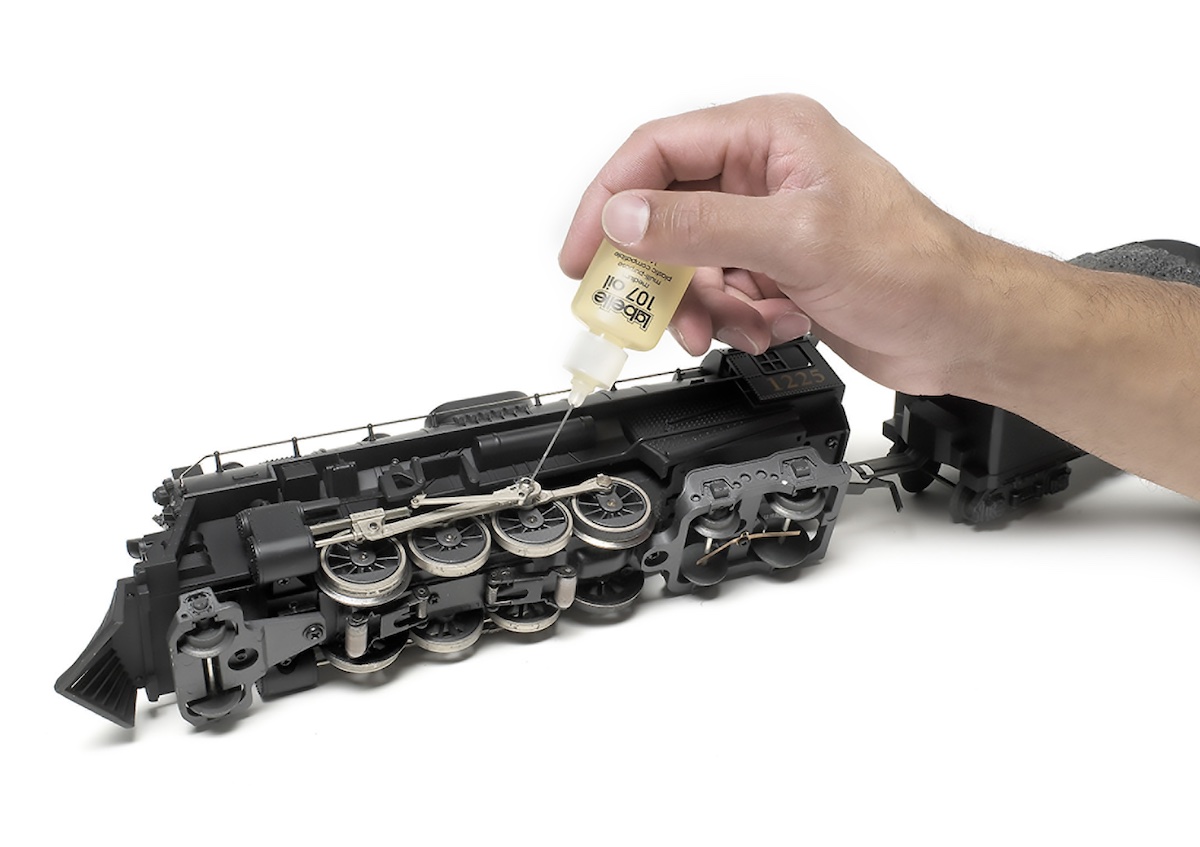
Then I apply grease sparingly to the gears and rotate the wheels to distribute it around.
On some models the wheels cannot be rotated by hand. In those cases, I set the engine on the track and apply a little power to rotate the wheels.
Another good tip is to pay attention to rollers and slide shoes. The first thing to do is simply make sure they are present. Then take a closer look for distortion, excessive wear, or corrosion. Repair any major issues you encounter.
Now it’s time to try out your locomotive! Place it on the track and turn up the power slowly. If all goes well, your steamer or diesel will move along as it was designed.
Vintage steam engines with whistles have the mechanism installed in their tenders. To be sure that whistles continue to work reliably through a season of running, check the tenders for missing or broken wiring and make sure all the wheels and rollers are clean.
Car inspection
Before coupling any freight or passenger cars behind the engine, look over all the couplers to ensure they are intact and not broken or bent or are missing any parts.
Next, lubricate the wheels on each car at the point the axles pass through. Give the wheels a spin to work the oil inside. In the case of rolling stock with illumination, check the wiring and rollers. Of course, check the bulbs also.
Add the cars one by one and then operate your train. Sometimes a derailment of one car is actually caused by an adjacent car, so try turning the offending car around after making note of which of its trucks derailed.
If the same truck derails again, you’ve found the likely culprit. If the same car derails but on the opposite end, you can likely blame the car to which it was coupled.
Sometimes a coupler can become slightly bent during storage or a spring breaks or something has seized up. Be on the lookout for all of these.
Most toy trains from the middle of the 20th century were built well and seldom require extensive repair to get back into operation. Better still, when maintained properly they will remain operational for many holidays to come.
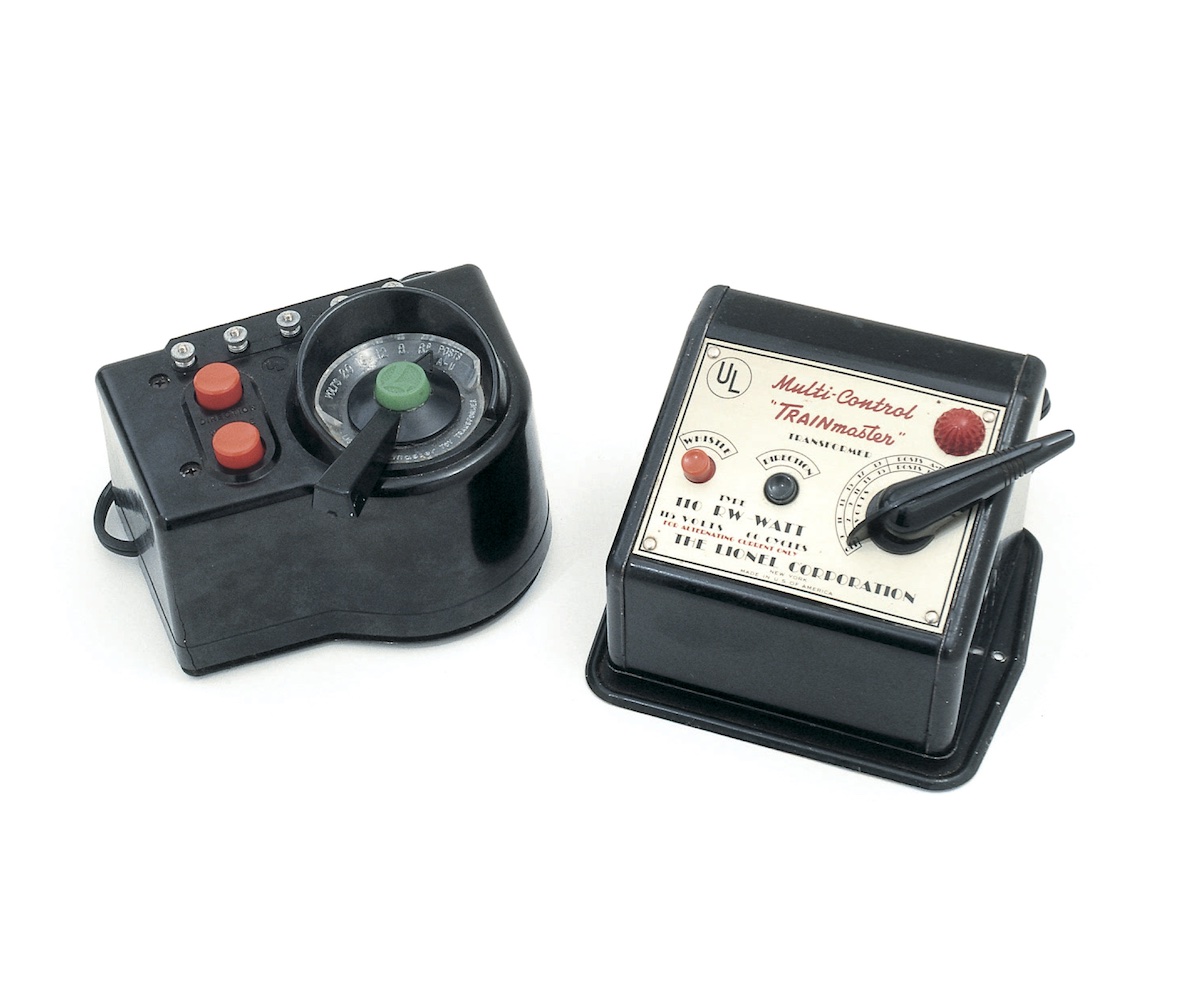
Inspect cords
First and foremost, check the line cord on your transformer.
Before plugging it into a wall outlet, bend the cord all along its length to check for cracked insulation. Be especially careful inspecting the plug and the area where it enters the transformer case. If you detect any cracks or frayed wires, and I can never stress this enough, have a qualified hobby shop replace the cord.
I have seen too many old, brittle transformer cords cut short of the case and a new cord attached with wire nuts.
If the outside portion of the line cord is bad, the inside is likely just as bad and just as much of a hazard.
The cord needs to be replaced all the way to the primary coil by an expert who knows how to route the cord through the case so it doesn’t interfere with operation, chafe on sharp parts, or get pinched during reassembly.
I’ve seen some cords added to transformers that come dangerously close to the transformer baseplates or contact arms. This can result in a 110-volt potential to the rails or the steel portions of the transformer. That in turn can result in either an unhappy train or an unhappy operator. Worse yet, both of them! Jobs like this are best left to experts.
Check your track
The rails must be clean! If you find they’re heavily rusted, just replace the track sections. Otherwise, you will end up with a maintenance nightmare in the future.
Attack slight corrosion with a Scotch-Brite abrasive pad or a similar product. Never use steel wool! Although it may do a great job of cleaning track, pieces invariably find their way into motors. Lionel locomotives equipped with Magne-Traction, along with gears and rollers, become fouled by bits of steel wool.
Next, make sure all the track pins are in place and tight. Examine them for any rust inside the rail ends, a place most people neglect to inspect. Since the electrical path depends on the pin and the open end of the rail in the mating section, both of them need to be absolutely clean and electrically conductive.
Now check the ties. Sometimes a builder using the wrong size screw or even a nail can bend the ties and cause the rails to be misaligned.
Check the insulation on the rails. Lionel and other brands of three-rail tubular track have the center rail insulated from the ties. American Flyer two-rail track has both rails insulated. The crimped part of the tie can penetrate through the insulator and cause a short.
Want to save some grief? Check each section of track before installing it on a layout. I’ve had brand-new track cause a short. Then I learned to my dismay how long it can take to find that section after laying down an entire holiday display. Not the most enjoyable way to spend Christmas!
Test everything! I attach wires to the transformer and turn up the voltage. Then I hold one wire on the center rail of three-rail track and brush the other wire on one of the outside rails. There should be no sparks.
To check two-rail S gauge track, follow the same steps but place one wire on one rail and brush the other wire on the other rail. If you notice sparks, check the insulation between the rails and ties. If you have an electrical multimeter, set it on continuity. The section of track is good if the meter shows no continuity.
Watch a video showing how to clean track and wheels.