Print overhang
FFF (Fused Filament Fabrication — new acronym due to Makerbot trademarking FDM) is an additive process, printing without support material (material underneath the print path) it will create stalactites, which is something that you do not want. You can ask your printer to create support material that will add supports for the part but then you have to remove the supports from the article. However, if you have a dual-extruder printer, you can print the supports with water-soluble material, which allows you to remove the supports by soaking the article in water. (Unfortunately, I do not have a dual extruder machine.) Below are the URLs so you can download these fire hydrants.
Parts to be printed
I did not create these parts but decided to download them from www.thingiverse.com. You can download the parts for free. Thingverse is one of my go-to sites to search for parts that already have been created.
Chicago Fire Hydrant: https://www.thingiverse.com/thing:790325
Fire Hydrant: https://www.thingiverse.com/thing:26002
Fire Hydrant Keychain: https://www.thingiverse.com/thing:2204680
Printing
All of these parts were printed on my Robo3D R1+ using ABS material and the high-quality settings. I used no support material.
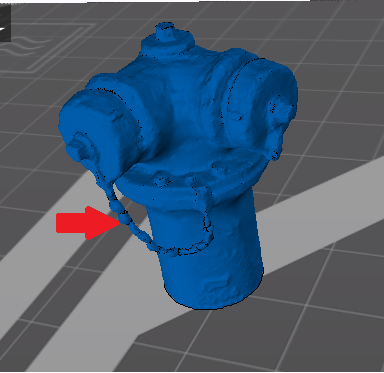
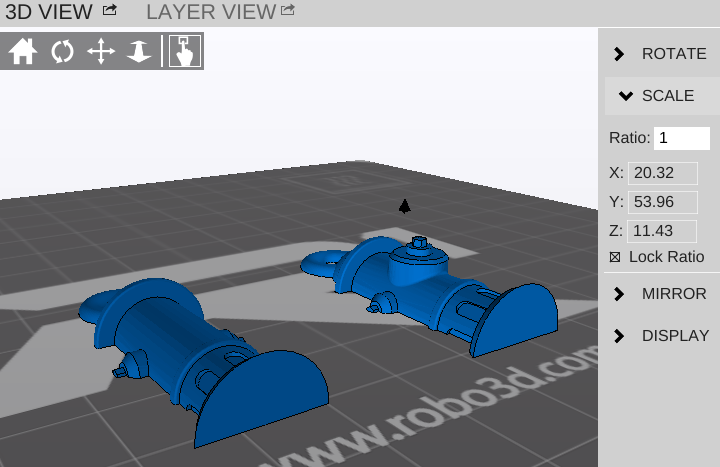
I chose this printable article because it just looks good. Photo 1 is what it looks like in my printer software. The RED arrow shows my concern. What is going to support this and where is the material going to go?
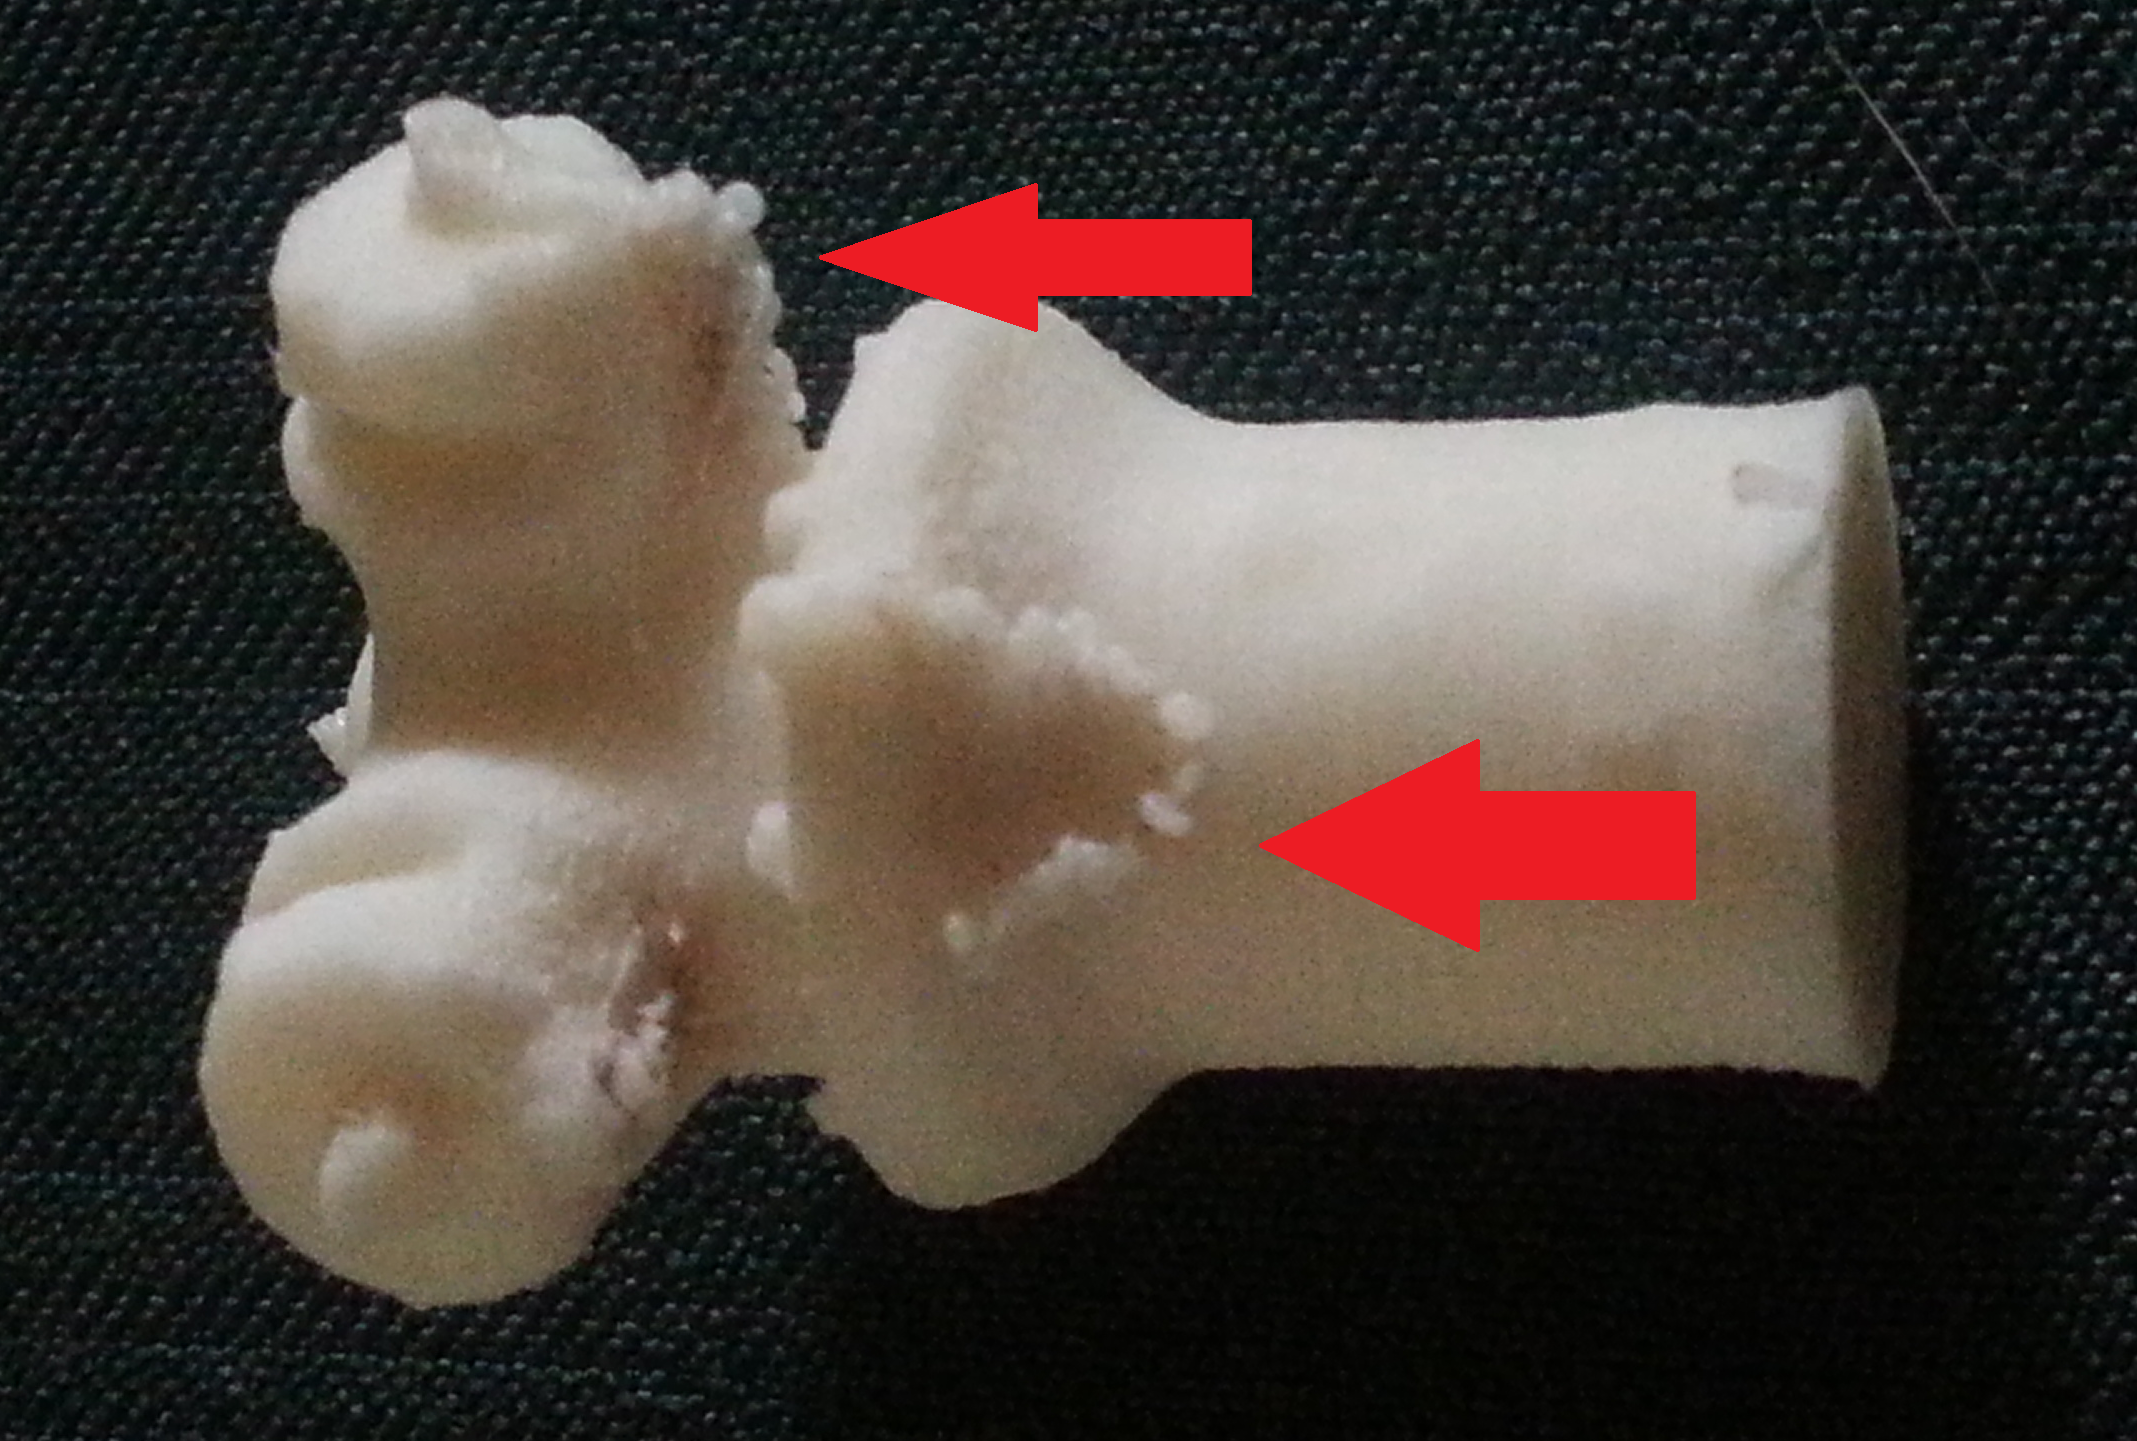
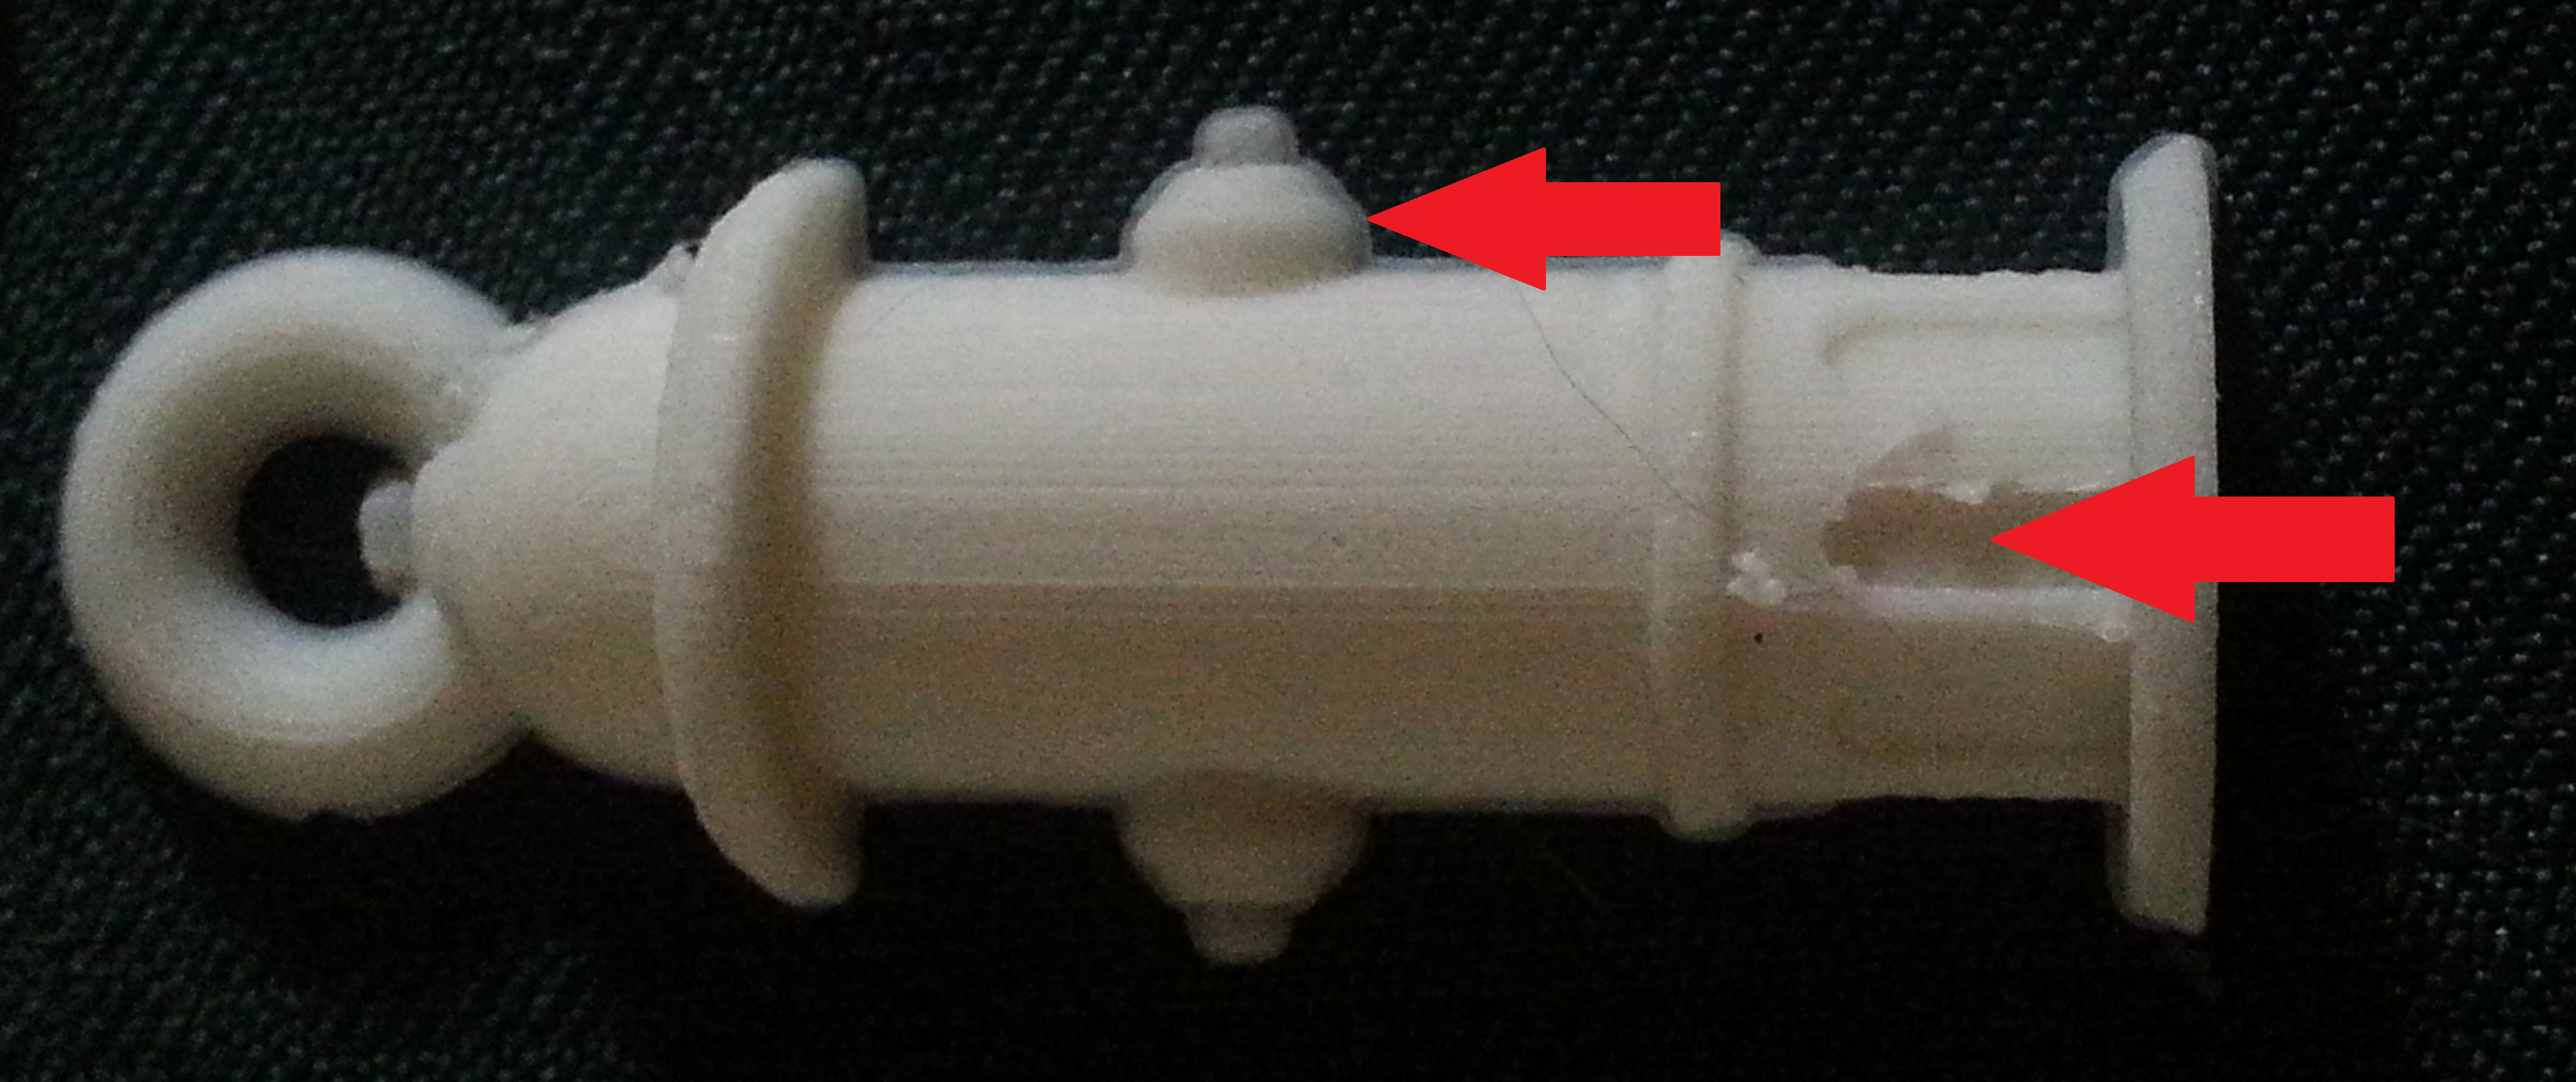
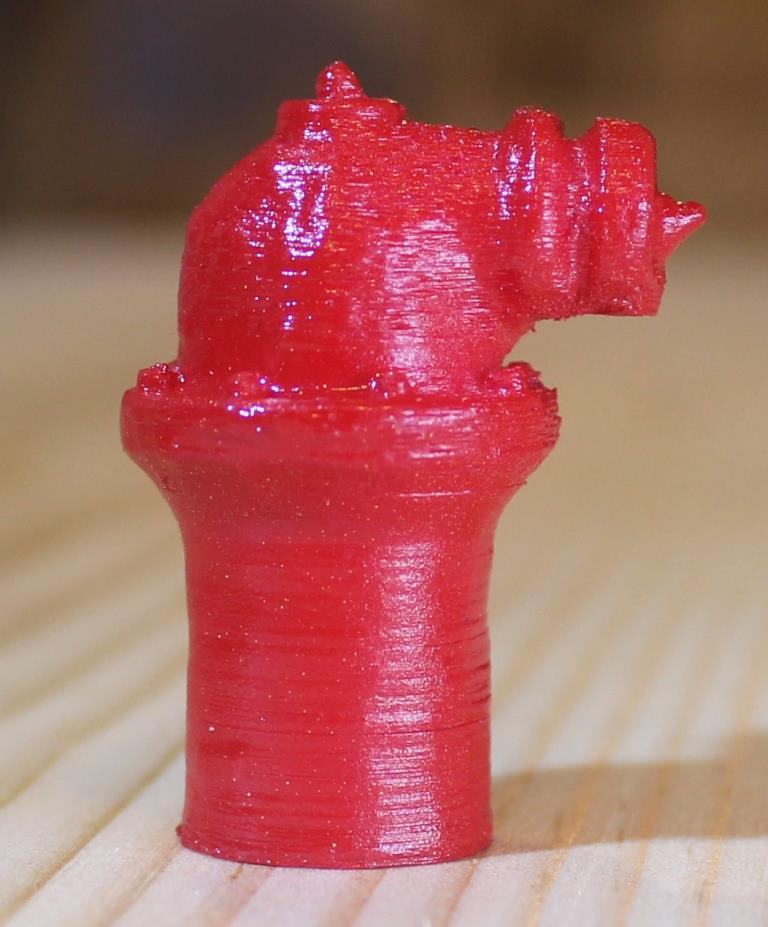
Well, it did not turn out too bad, but you can see that, where there was no support material, the filament is very ragged and not smooth. The chain is there but not in the proper position. We can fix most of this but it will take some work with the file and sandpaper. I will go ahead and do that, just to see how it turns out.
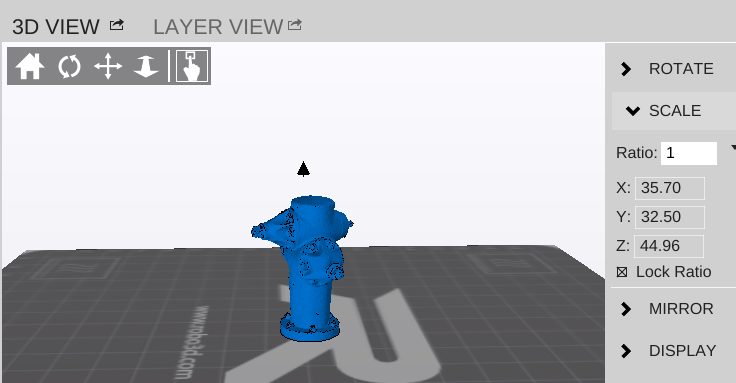
This article was larger than I wanted so I scaled it with my printer software so it was about 45mm high. Photo 3 shows the way it looks on my printer software.
Again, we might have a problem with supports. Let’s see how it printed out.
This part is split in half, so we have eliminated the overhang. These were huge parts when I imported them but, again, just scale them down to the size that you want. Photo 5 is what it looks like in my printer software. I will have to cut off the keychain circle and glue the pieces together. Let’s see how they printed.
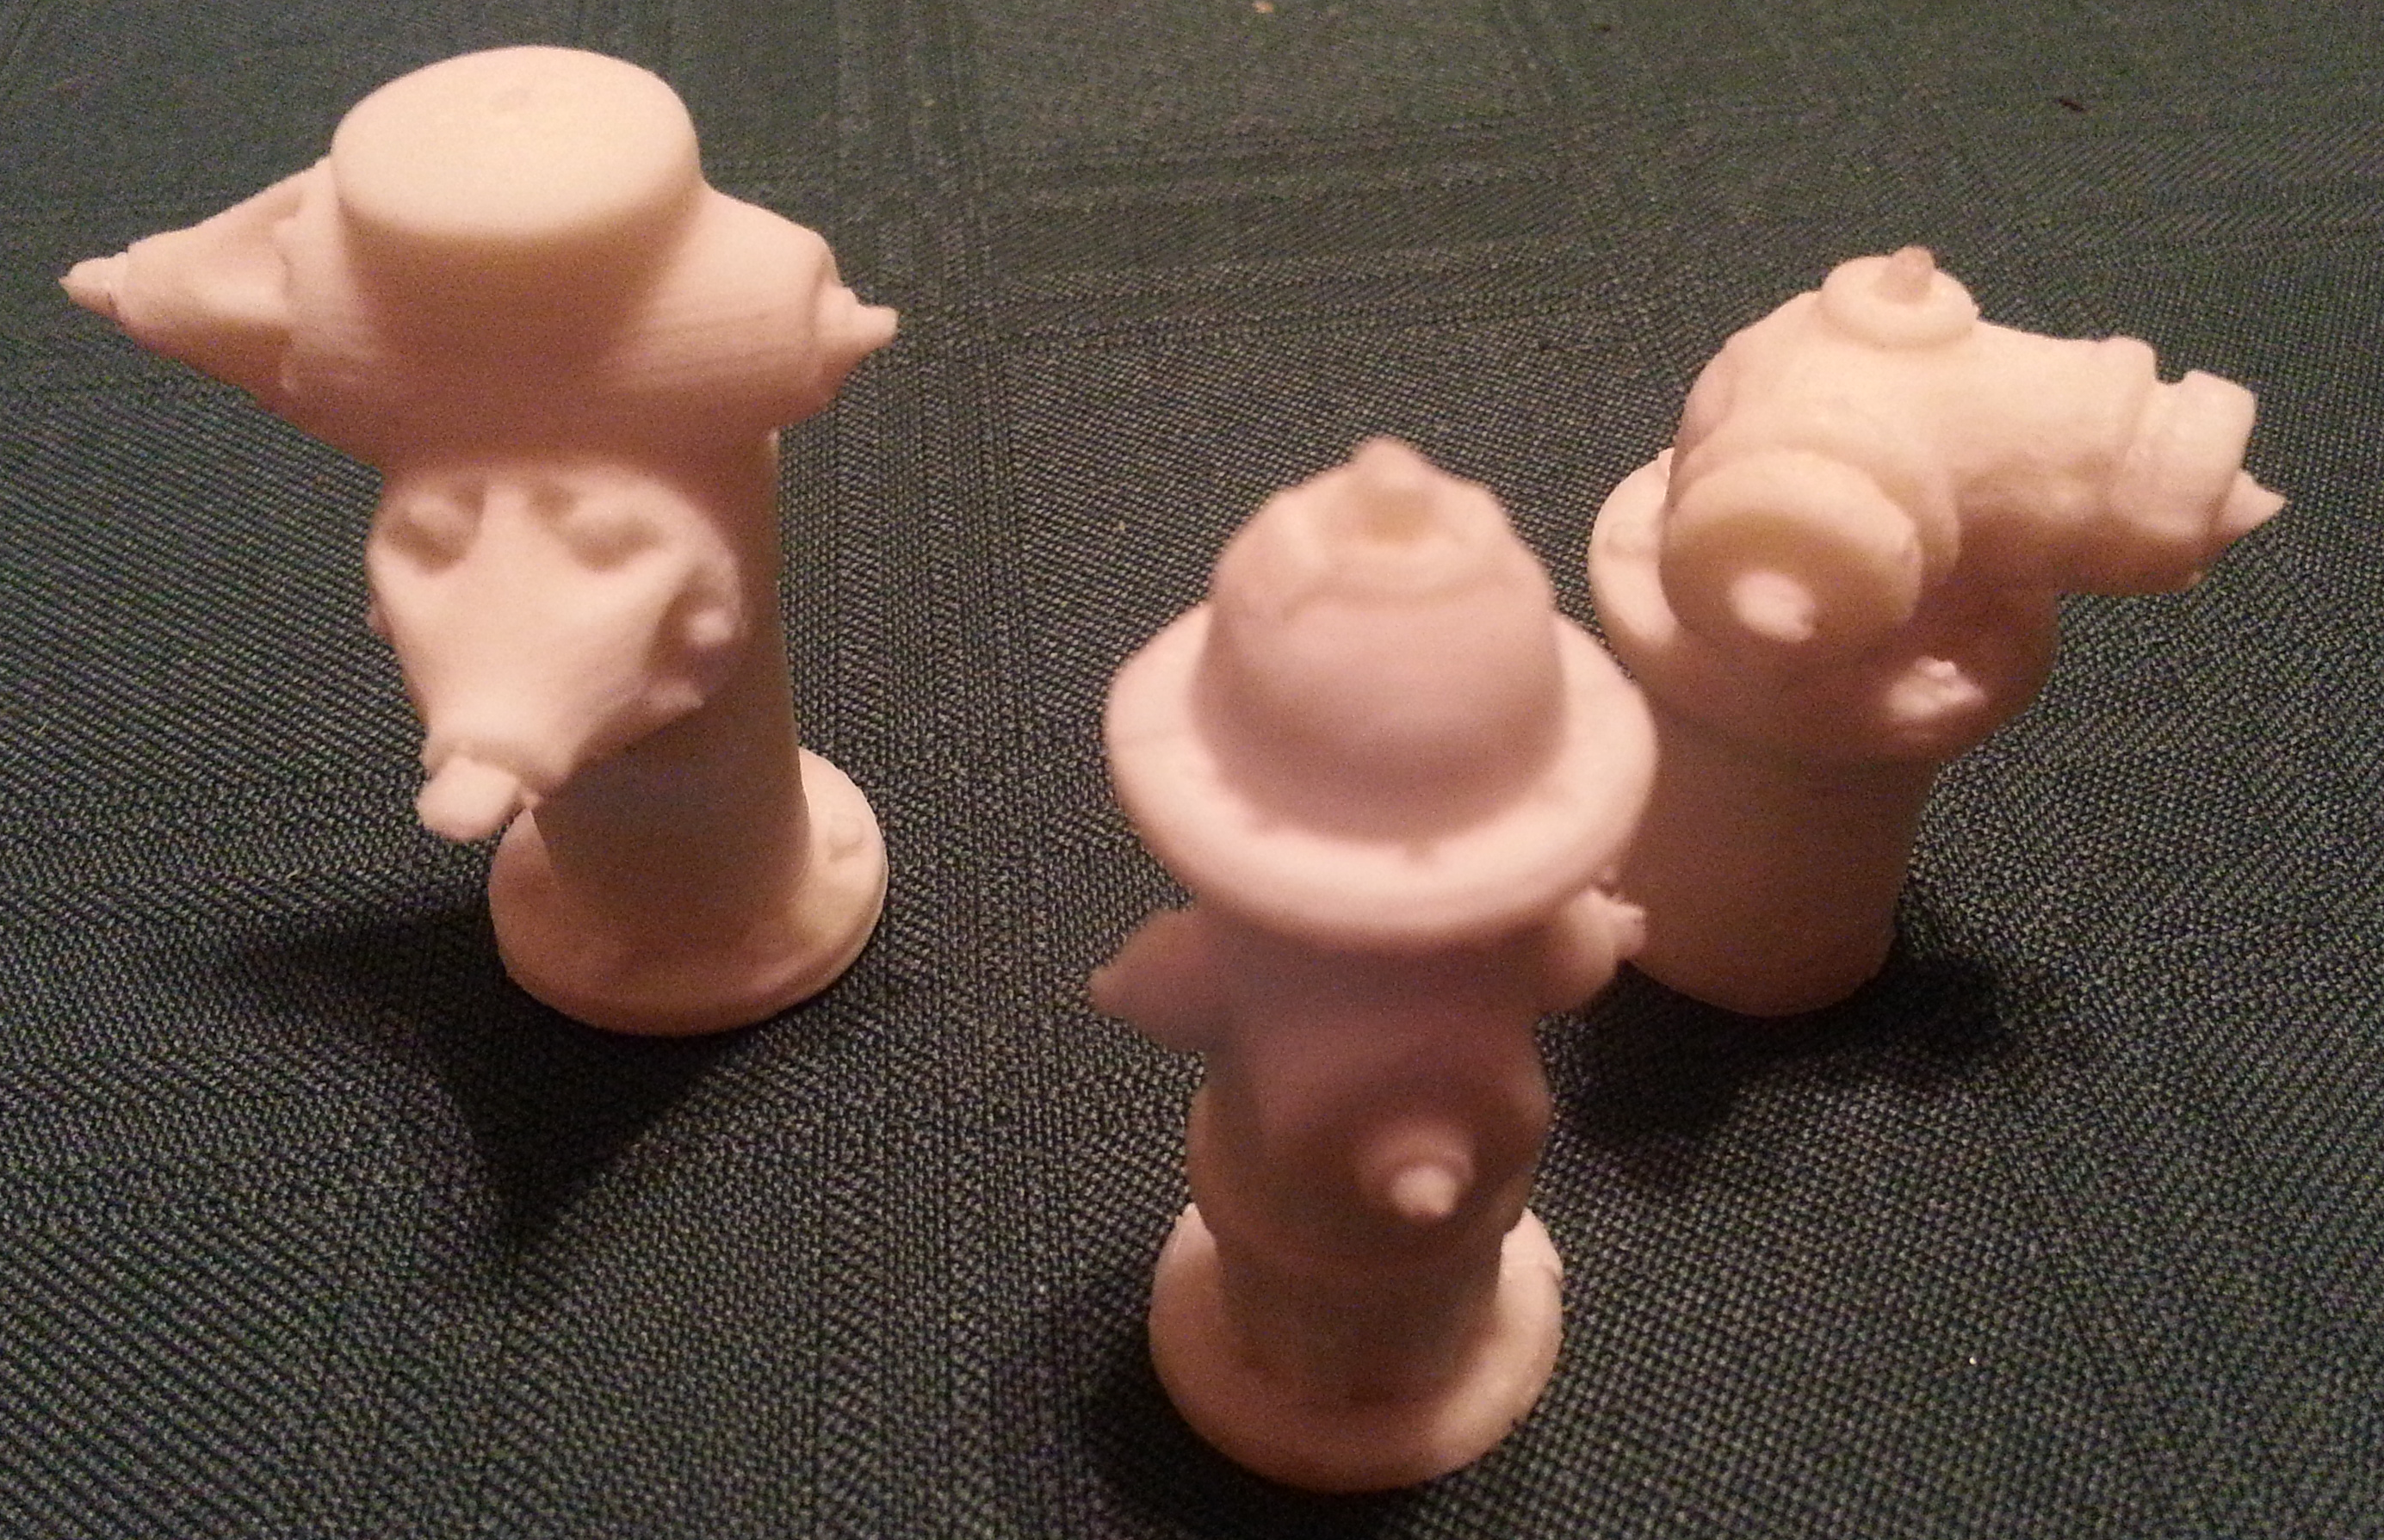
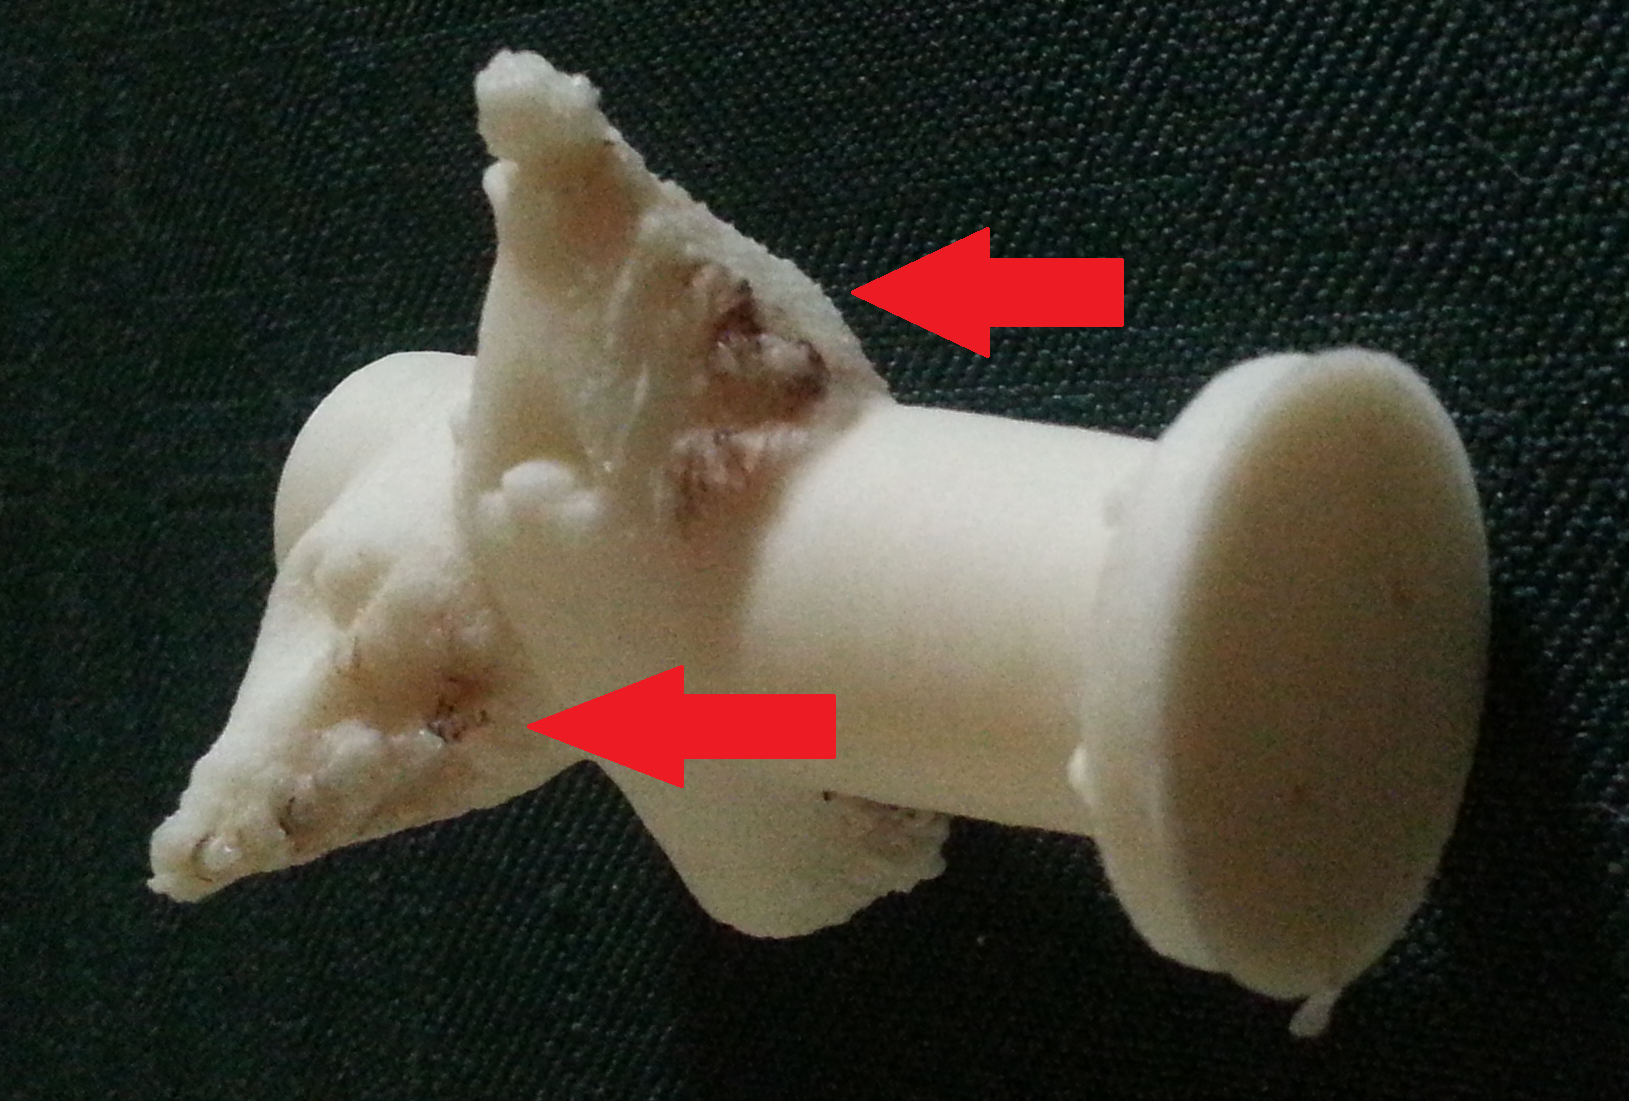
Now I have to clean the articles up as best I can by filing, scraping, or using sandpaper — whatever tool is needed for the job (photo 7).
I did some filing and used some sandpaper, now I will give them an acetone-vapor bath to further clean up the articles. Since it is a warm day, about fifteen minutes should do it.
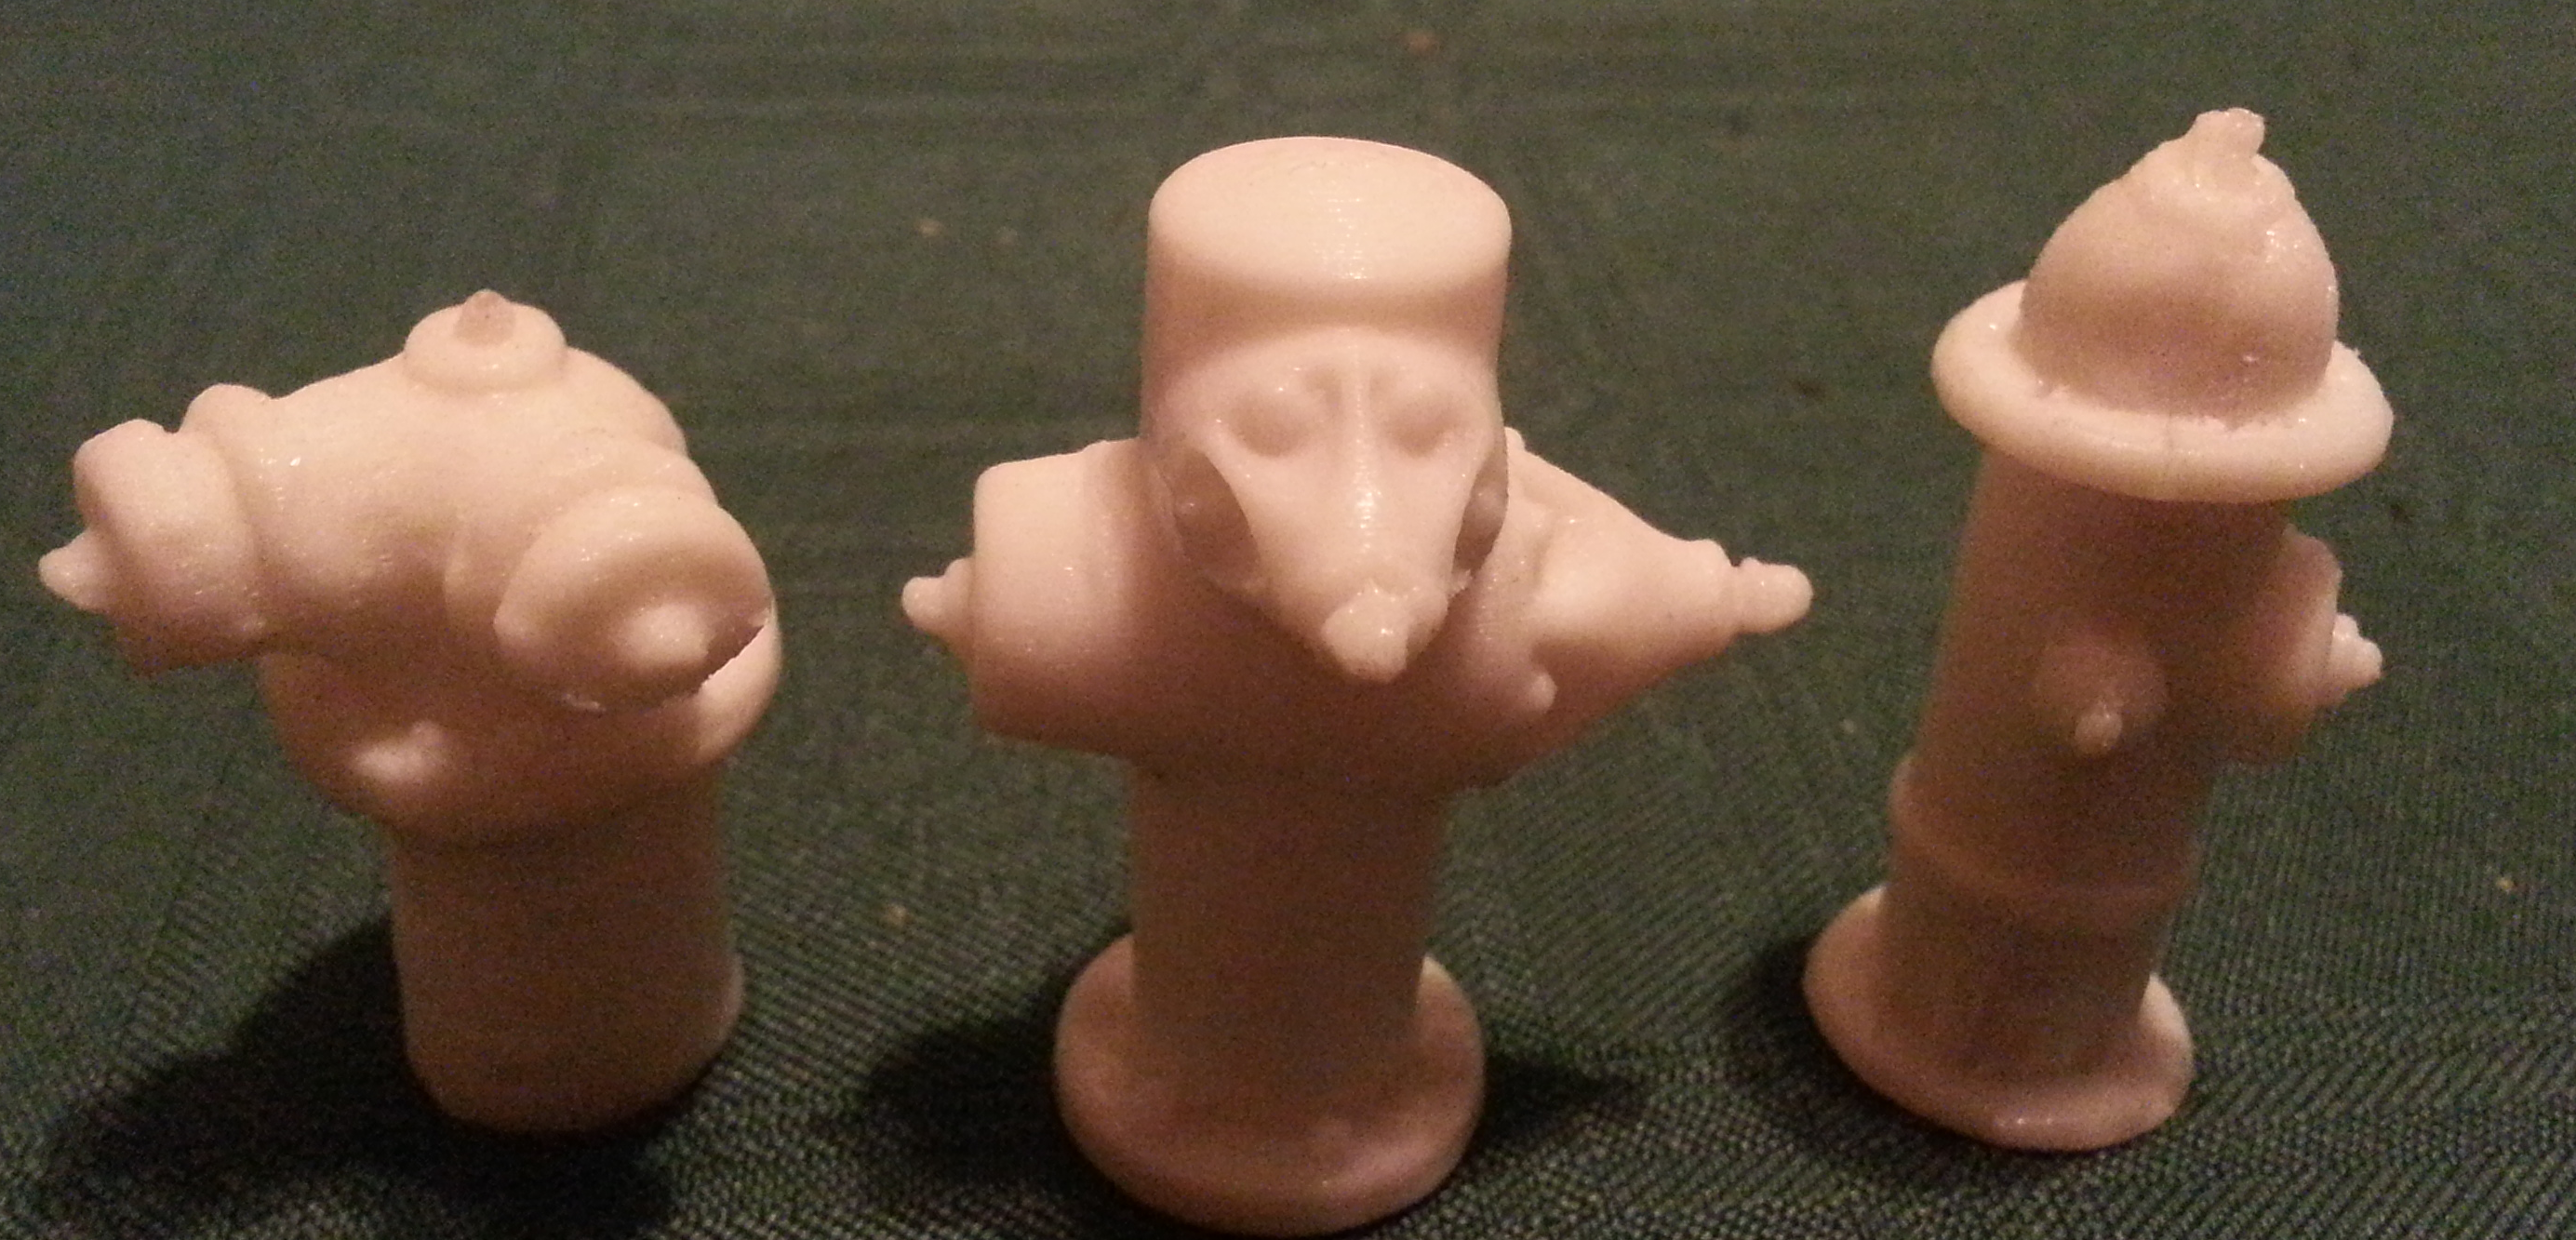
Hydrants have cleaned up nicely (photo 8). Just a couple of extra file swipes made them all look good. To my surprise, even the hydrants that did not have support look great as long as you do not look underneath.
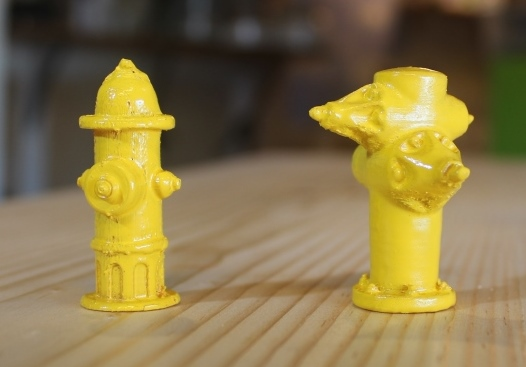
I do not do the best paint jobs. I have not mastered the airbrush yet. I need a lot more practice. However, Photo 9 and 10 shows how they came out.
All in all, the printed articles that had overhang did well, mostly because they will not be seen from our high vantage point when viewing the railroad. All the overhang problems are hidden underneath. I need to practice a little more in painting these items.
I hope that you have enjoyed this article. If you have any comments, please leave them on the website or in our forum thread. I look forward to hearing about your experiences.