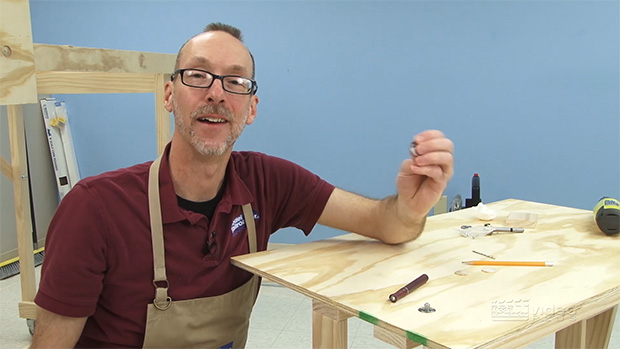
Having trouble viewing this video? Please visit our Video FAQ page Gerry Leone started this all-new MRVP mini-series by creating a virtual room for a new model railroad using computer-aided design (CAD) software. In Part 2, he keeps things rolling by showing how to add, arrange, and even adjust track components for your layout. […]
Read More…
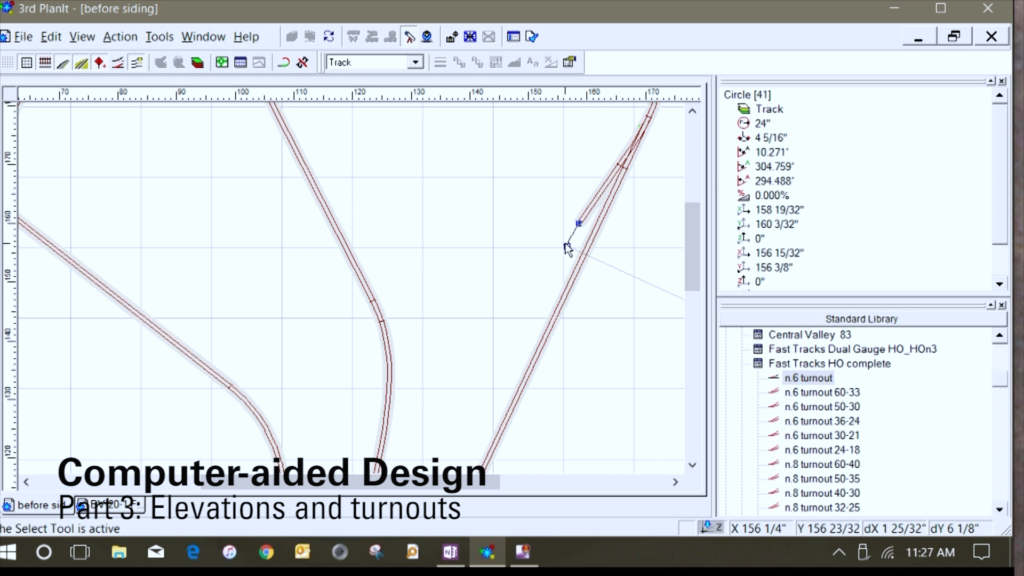
Having trouble viewing this video? Please visit our Video FAQ page Modeler Gerry Leone wraps up his track-planning mini-series on computer-aided design (CAD) software with a tutorial on adding elevations and turnouts. Working with the simple plan he drew in part 2, Gerry shows you how the software figures distances and grades, and how […]
Read More…

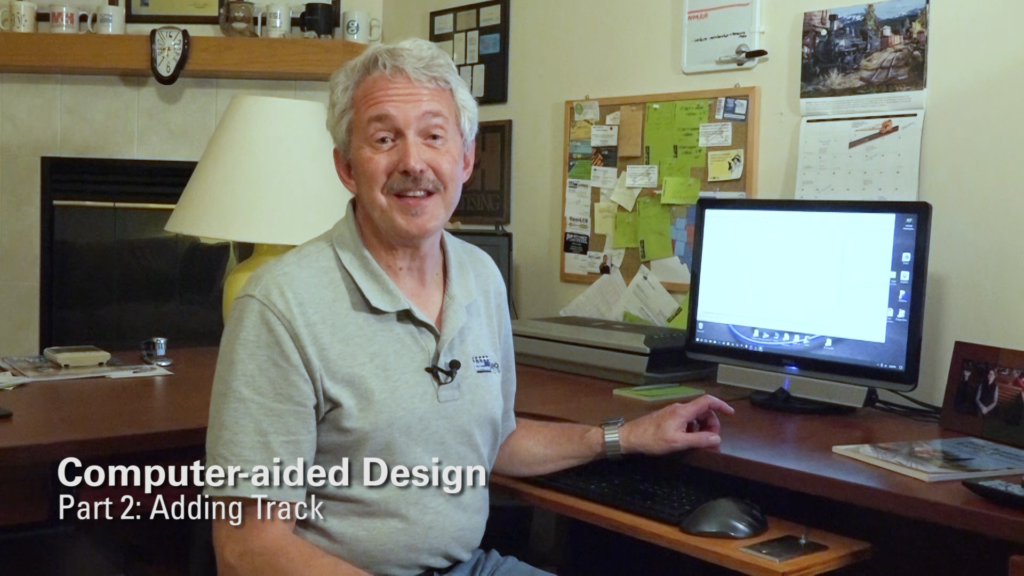
Having trouble viewing this video? Please visit our Video FAQ page So you’ve got a plan in mind for a new model railroad, but just can’t seem to get it out of your head?!? In an all-new MRVP mini-series, helpful handyman Gerry Leone walks you through the steps for turning a layout idea into […]
Read More…
Having trouble viewing this video? Please visit our Video FAQ page David dives into laying track in the staging yard on our N scale project railroad, but before he even opens that brand-new box of flextrack, there’s a lot of other work to do, including painting the roadbed, drilling holes for the switch motors, […]
Read More…
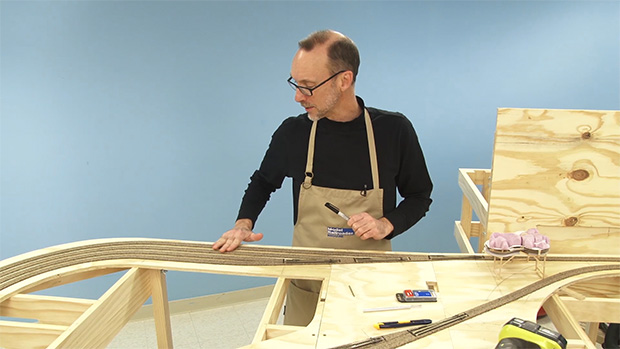
Having trouble viewing this video? Please visit our Video FAQ page The plywood panels are now in place, and the track centerlines are all marked! In this episode of the Canadian Canyons series, it’s time for David to begin the track laying effort by first installing cork roadbed. Follow along, as he demonstrates tips […]
Read More…
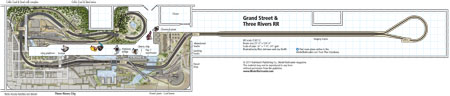
Name: Grand Street & Three Rivers RR Layout owner: Rod Stewart Scale: HO (1:87.1) Size: 23′-0″ x 124′-4″ Prototype: New York Central and Pennsylvania RR Locale: Pennsylvania Era: mid-1940s Style: walk-in Mainline run: 900 feet Minimum radius: 40″ Minimum turnout: no. 6 Maximum grade: 3.5 percent Benchwork: box grid Height: 391⁄2″ Roadbed: Homasote Track: code […]
Read More…
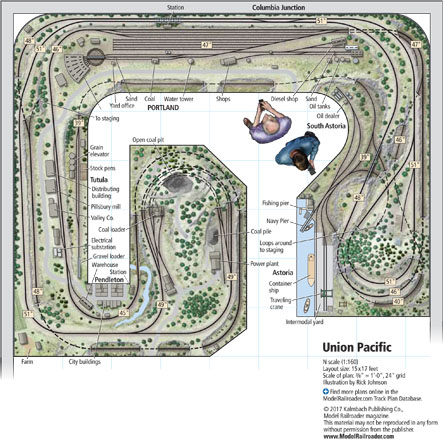
Name: Oregon Middle Division Layout owner: Gary Randall Scale: N (1:160) Size: 15 x 17 feet Prototype: freelance, based on Union Pacific Locale: Pacific Northwest Era: none specified Style: walk-in Mainline run: 150 feet Minimum radius: 16″ Minimum turnout: no. 5 Maximum grade: 3 percent Benchwork: L-girder with spline subroadbed Layout Height: 39″ to 42″ […]
Read More…

Having trouble viewing this video? Please visit our Video FAQ page To prime or not to prime…that is the question FineScale Modeler senior editor Aaron Skinner addresses in this episode of Airbrushing with Aaron. It really is a tale of two tanks, as Aaron demonstrates techniques for applying primer to a model railroad […]
Read More…
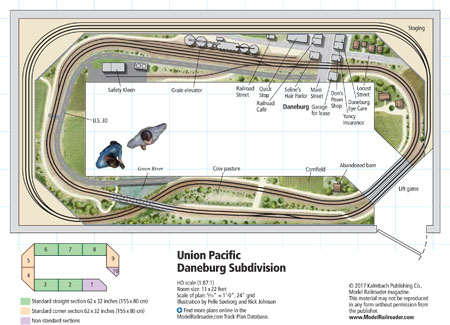
Name: Union Pacific Daneburg Subdivision Layout owner: Pelle Soeborg Scale: HO Size: 11 x 22 feet Prototype: Union Pacific Locale: Freelanced, based on eastern Nebraska and western Iowa Era: present-day Layout style: around the walls Mainline: 60 feet (excluding staging) Minimum radius: 33″ Track: flextrack: code 83 (main), 70 (sidings), and 55 (spurs) Turnouts: no. 6 […]
Read More…
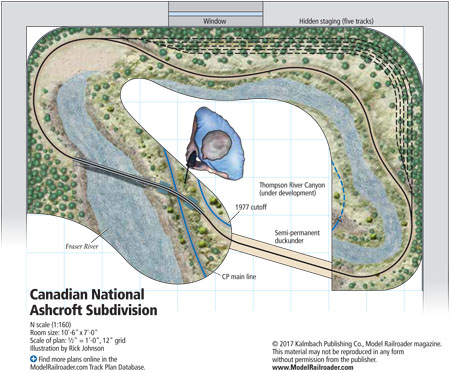
Name: Canadian National Ashcroft Subdivision Layout owner: Scott Lamoureux Scale: N (1:160) Size: 7 x 10 feet Prototype: Canadian National Locale: British Columbia Era: modern Style: around the walls Mainline run: 28 feet Minimum radius: 15″ Minimum turnout: none Maximum grade: none Benchwork: open grid Height: 46″ Roadbed: Woodland Scenics foam Track: code 55 Scenery: […]
Read More…
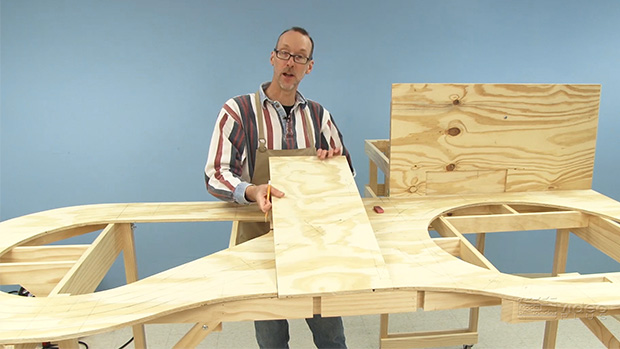
Having trouble viewing this video? Please visit our Video FAQ page Connecting plates and frame sections are in place. Now watch as David shows how to install the steel alignment pins that make it possible to attach the removable section perfectly every time! As a bonus, David also shares a way to reinforce floppy […]
Read More…
Having trouble viewing this video? Please visit our Video FAQ page Here’s proof that even the best-laid plans can (and do) change! In this episode, David comes to realize that the layout really can benefit from one additional foot of real estate. He’ll show you how to amend the benchwork, and then install a […]
Read More…
