Cedarleaf Custom Railroad Decals
Prescott AZ
Prices: See text
Website: http://cedarleafcustomdecals.com
Custom-made-decal service based on your own artwork; design service available; 81/2″ x 11″ standard sheet size; printed on standard decal paper; any color, including opaque white, silver, and gold, is available
Pros: Lightning-fast turn-around time; excellent communication; online proof of final artwork provided; good color accuracy; good resolution; application no more difficult than any other decal
Cons: None
This review is a little unusual in that it not only looks at the product (the actual decals) but at the service that provides them. Stan Cedarleaf of Cedarleaf Custom Railroad Decals (CCRD) has been in this business since 2005. Before now, I’ve never had occasion to try his services, so I was curious to see what it was all about. I like to scratchbuild my own stock, including locomotives, but have lettered few of them due to the difficulty and my lack of skill in that department.
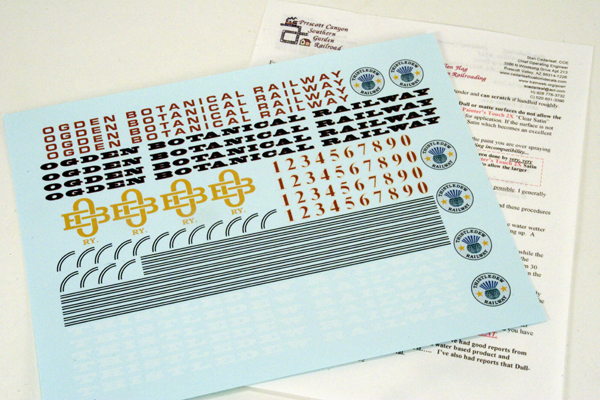
For those not artistically inclined, CCRD offers a design service, examples of which can be seen on the company’s website. I prefer to do my own design work, which I do in Adobe Illustrator. However, virtually any Mac- or PC-based drawing program can be used. I wanted to push the boundaries a little, so did artwork in black and a variety of colors, including white. I submitted my designs in PDF format via e-mail. Within hours I received a letter asking some pertinent questions about my artwork and telling me that some pre-production work would have to be done to my files to make them compatible with the Alps printing process used to print the artwork on standard sheets of decal paper. I also received a quote. Once that was approved, I next received a PDF proof of my artwork as modified for printing. Without getting into the nitty-gritty of the preproduction or actual printing process, I would just say that all of the changes made to my work as submitted were technical—nothing about the final look of the artwork would change. I approved the changes and the decal sheet was printed and shipped via priority mail within 24 hours.
Pricing for these sheets varies, based on a number of considerations. These include the density of the artwork on the sheet, the number of colors involved, how much prep work is necessary, etc. A sheet containing black only starts at $34.50; color pages start at $36.50. File prep starts at $15. Logo design starts at $25 plus the cost of one sheet of decals. Please keep in mind that these are starting prices. The price of my sheet was $83.45, which included the sheet itself ($42.50), prep work ($34.50), and postage ($6.45). I might add that you can get a lot of graphics onto a single 81/2″ x 11″ sheet—easily enough for several pieces of rolling stock.
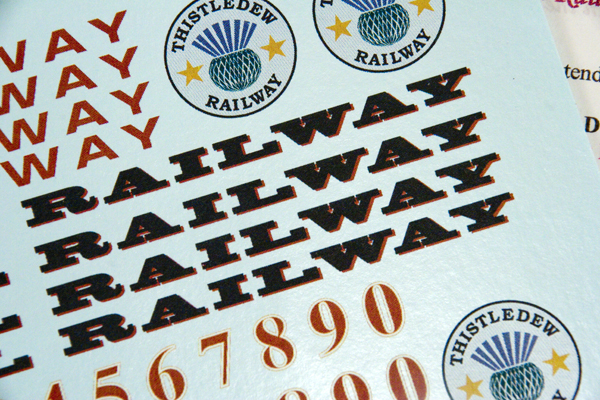
I sent my original artwork on a Tuesday. The following Friday I had the decals in hand—impressive. The decal sheet looked great right out of the envelope. The lettering was crisp and sharp and the colors well matched those that I had submitted. The decal sheet was accompanied by a page of application instructions.
Those of you who are experienced in applying decals will have no trouble with these. If you lack experience, I suggest that you incude in your artwork some practice pieces, then start with those, following the incuded instructions very carefully. I don’t think I’d applied a decal since my plastic-model-airplane days, sometime in the last century, so I made a couple of practice runs first. My first attempt was not satisfactory. This was no fault of the decal, just pilot error. Once I got the hang of it, I applied some light-colored decals to a very dark surface. The white substrate was not 100% opaque and darkened slightly when applied to the dark background. I didn’t mention this in the “Cons” above because the effect was still very good—certainly good enough for most applications. I’ve been told that if truly opaque white is required, there is a process the company can do to achieve it, at small extra cost.
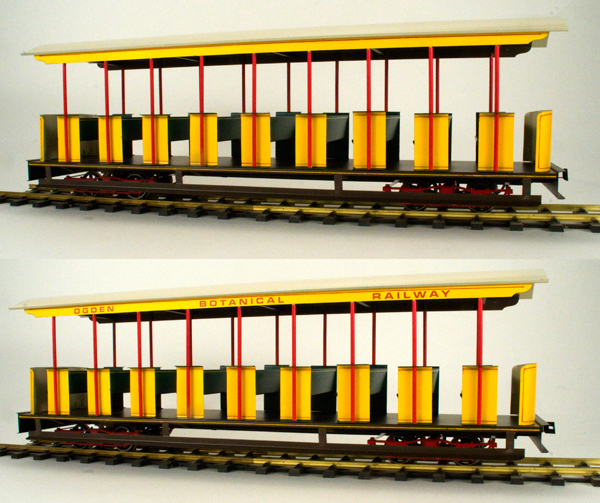
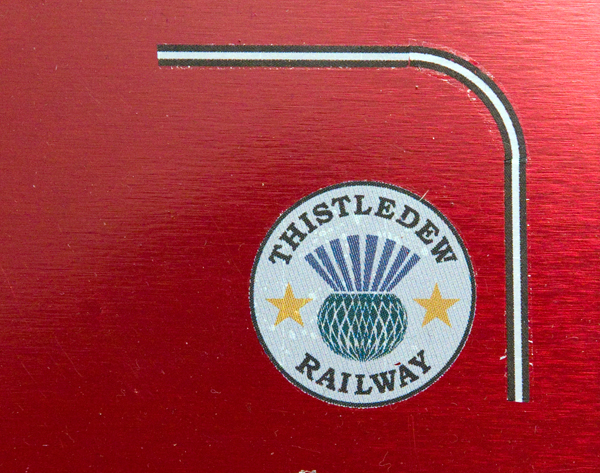
I then applied decals to some tinplate coaches that I had built (see GR August 2015), which really needed some lettering. This involved transferring relatively long, thin decals, once they were cut out of the main sheet. Following the instructions and my new experience, I had no difficulty. The end result was quite satisfying. The surfaces to which I applied the decals were smooth and glossy. I had to look hard to find a decal edge when they had set. (The company recommends going over the decals with a light clear coat.) It really is pretty cool, seeing the name of your own railway applied to your rolling stock. It really dresses up the piece and gives it a greater sense of creditiblity.
If you’re looking to spiff up or personalize your rolling stock, I highly recommend Cedarleaf Custom Railroad Decals. I found both the service and the product to be excellent.