


Large 3D prints can be tricky, difficult and/or frustrating. Hobbyist 3D printers have certain capabilities that allow for low cost, quick turn, and easy 3D prints. But sometimes you need to rely on the professionals to get the job done.
I ran across an article on www.instructables.com about a 3D-printable locomotive for LEGO gauge. (http://www.instructables.com/id/3D-Printable-locomotive-for-LEGO-gauge/) It supplied .stl files for printing the locomotive and gave scaling information to make a large-scale locomotive. I decided to give it a try.
My prints
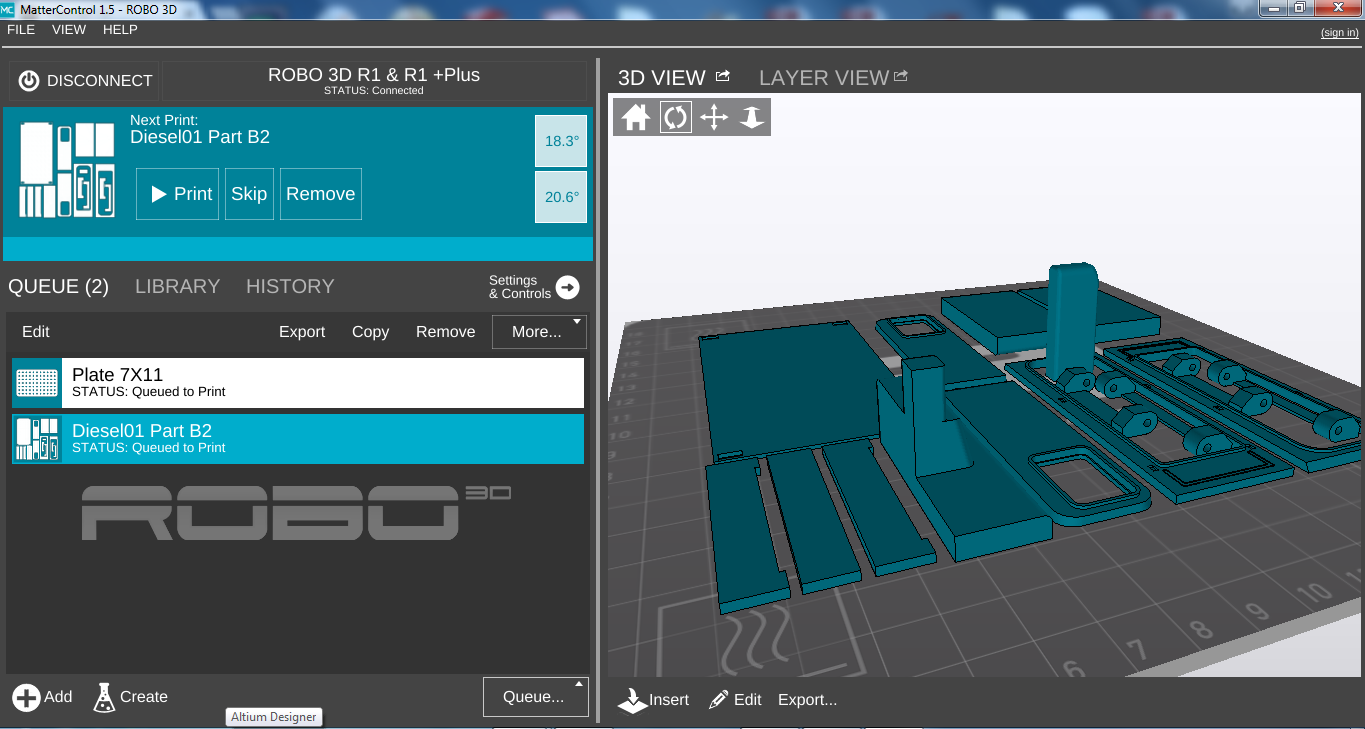
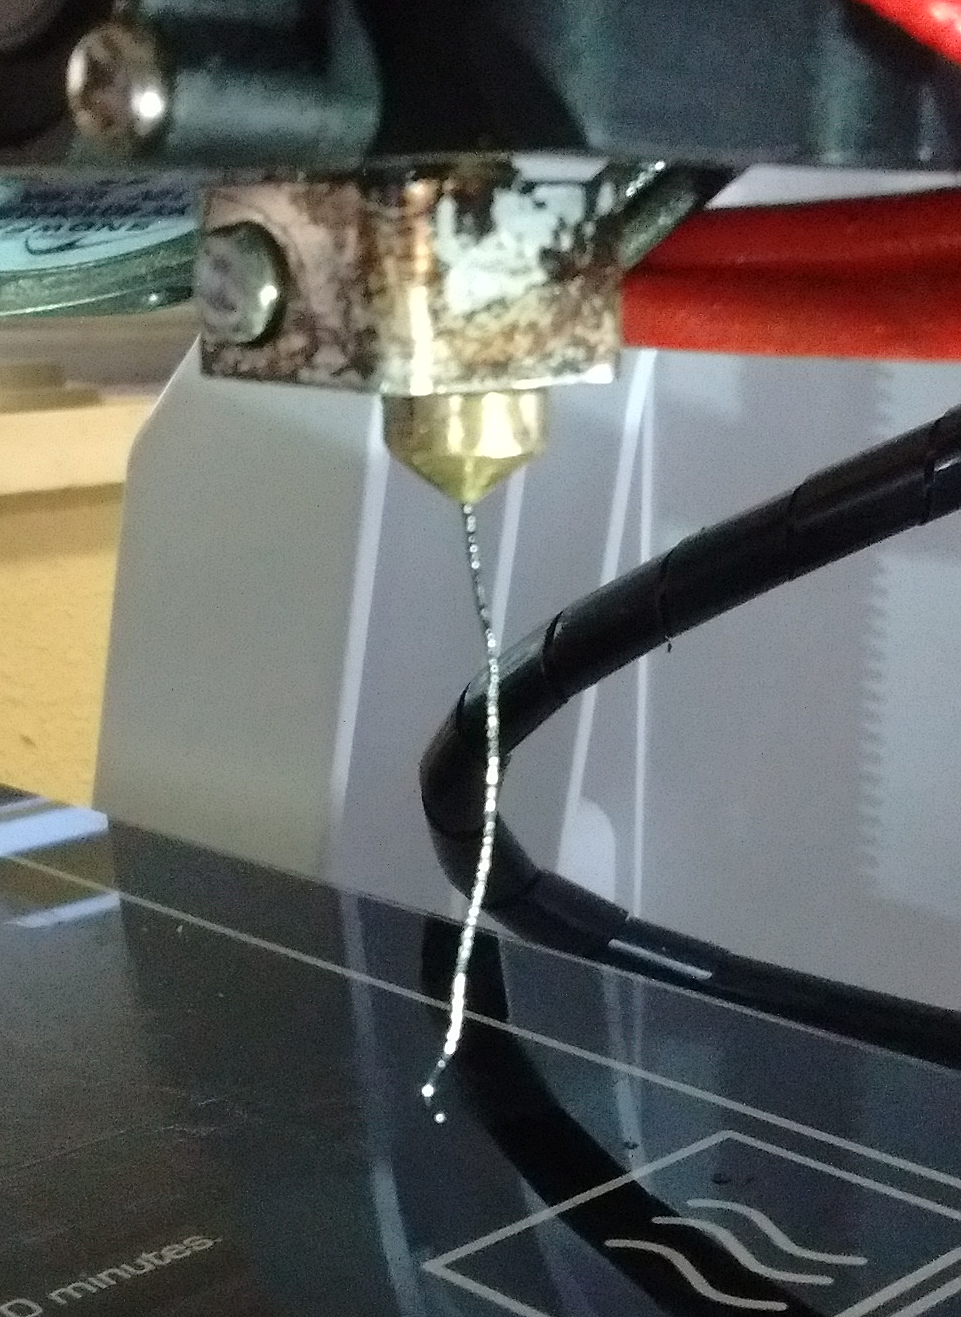
I took one of the LEGO .stl files and attempted to print out the 3D article. I scaled it to 1:19 to make a large-scale print, then sent it to my printer (photo 1).
The printout
The printout done on my machine was a disaster. Parts warped uncontrollably, I found large holes in the print (I guess the printer was getting tired; 24 hour print time), and, in summary, the parts were unusable. My printer would not do the job.
There are companies that specialize in all types of 3D printing and they have the equipment to do as perfect a 3D print as you are going to get with today’s technology. It was obvious that I needed the better technology to print out the locomotive.
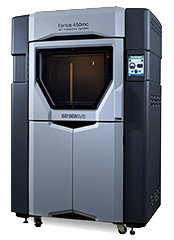
I contacted Michael Armbruster of incept3d (www.incept3d.com) to see what it would take to print out these parts. Since incept3d does 3D printing for many high-visibility companies, I was sure that he could print out the locomotive parts. It was decided that the Stratasys Fortus 400mc FDM machine, running with 0.01” layers, would be able to do the job and all the parts would be printed at once (photo 2). We would use white ABS material.
This is a truly professional machine. It is fully enclosed and heated, so warping of material is minimized. Parts can be produced to an accuracy of ±0.005 inches and the operator has control over the speed (thus the quality) of the print. If you are interested, you can learn more at: http://www.stratasys.com/3d-printers/production-series/fortus-380-450mc If you want a quote on a machine, be sure that you are sitting down when you see the price. It is not for the hobbyist or the faint of heart.
There are several advantages to having a professional print made. Finished parts go together without any modifications or extra work. You can customize the parts to suit your railroad and even your railroad name. You will not have to sit there and watch the printer and you will get the parts all ready for assembly. The downside is the price; this print cost me $600.
When the box full of parts arrived some time later, I sorted them out and compared them to my parts—those that were at least recognizable.
The parts from the professional printer were dimensioned and found to be within a couple of thousandths when compared with the original dimensions of the part. The parts that I printed were within 75 thousandths of the original dimensions. Needless to say, I had to work to get many of the parts that I printed to fit properly.
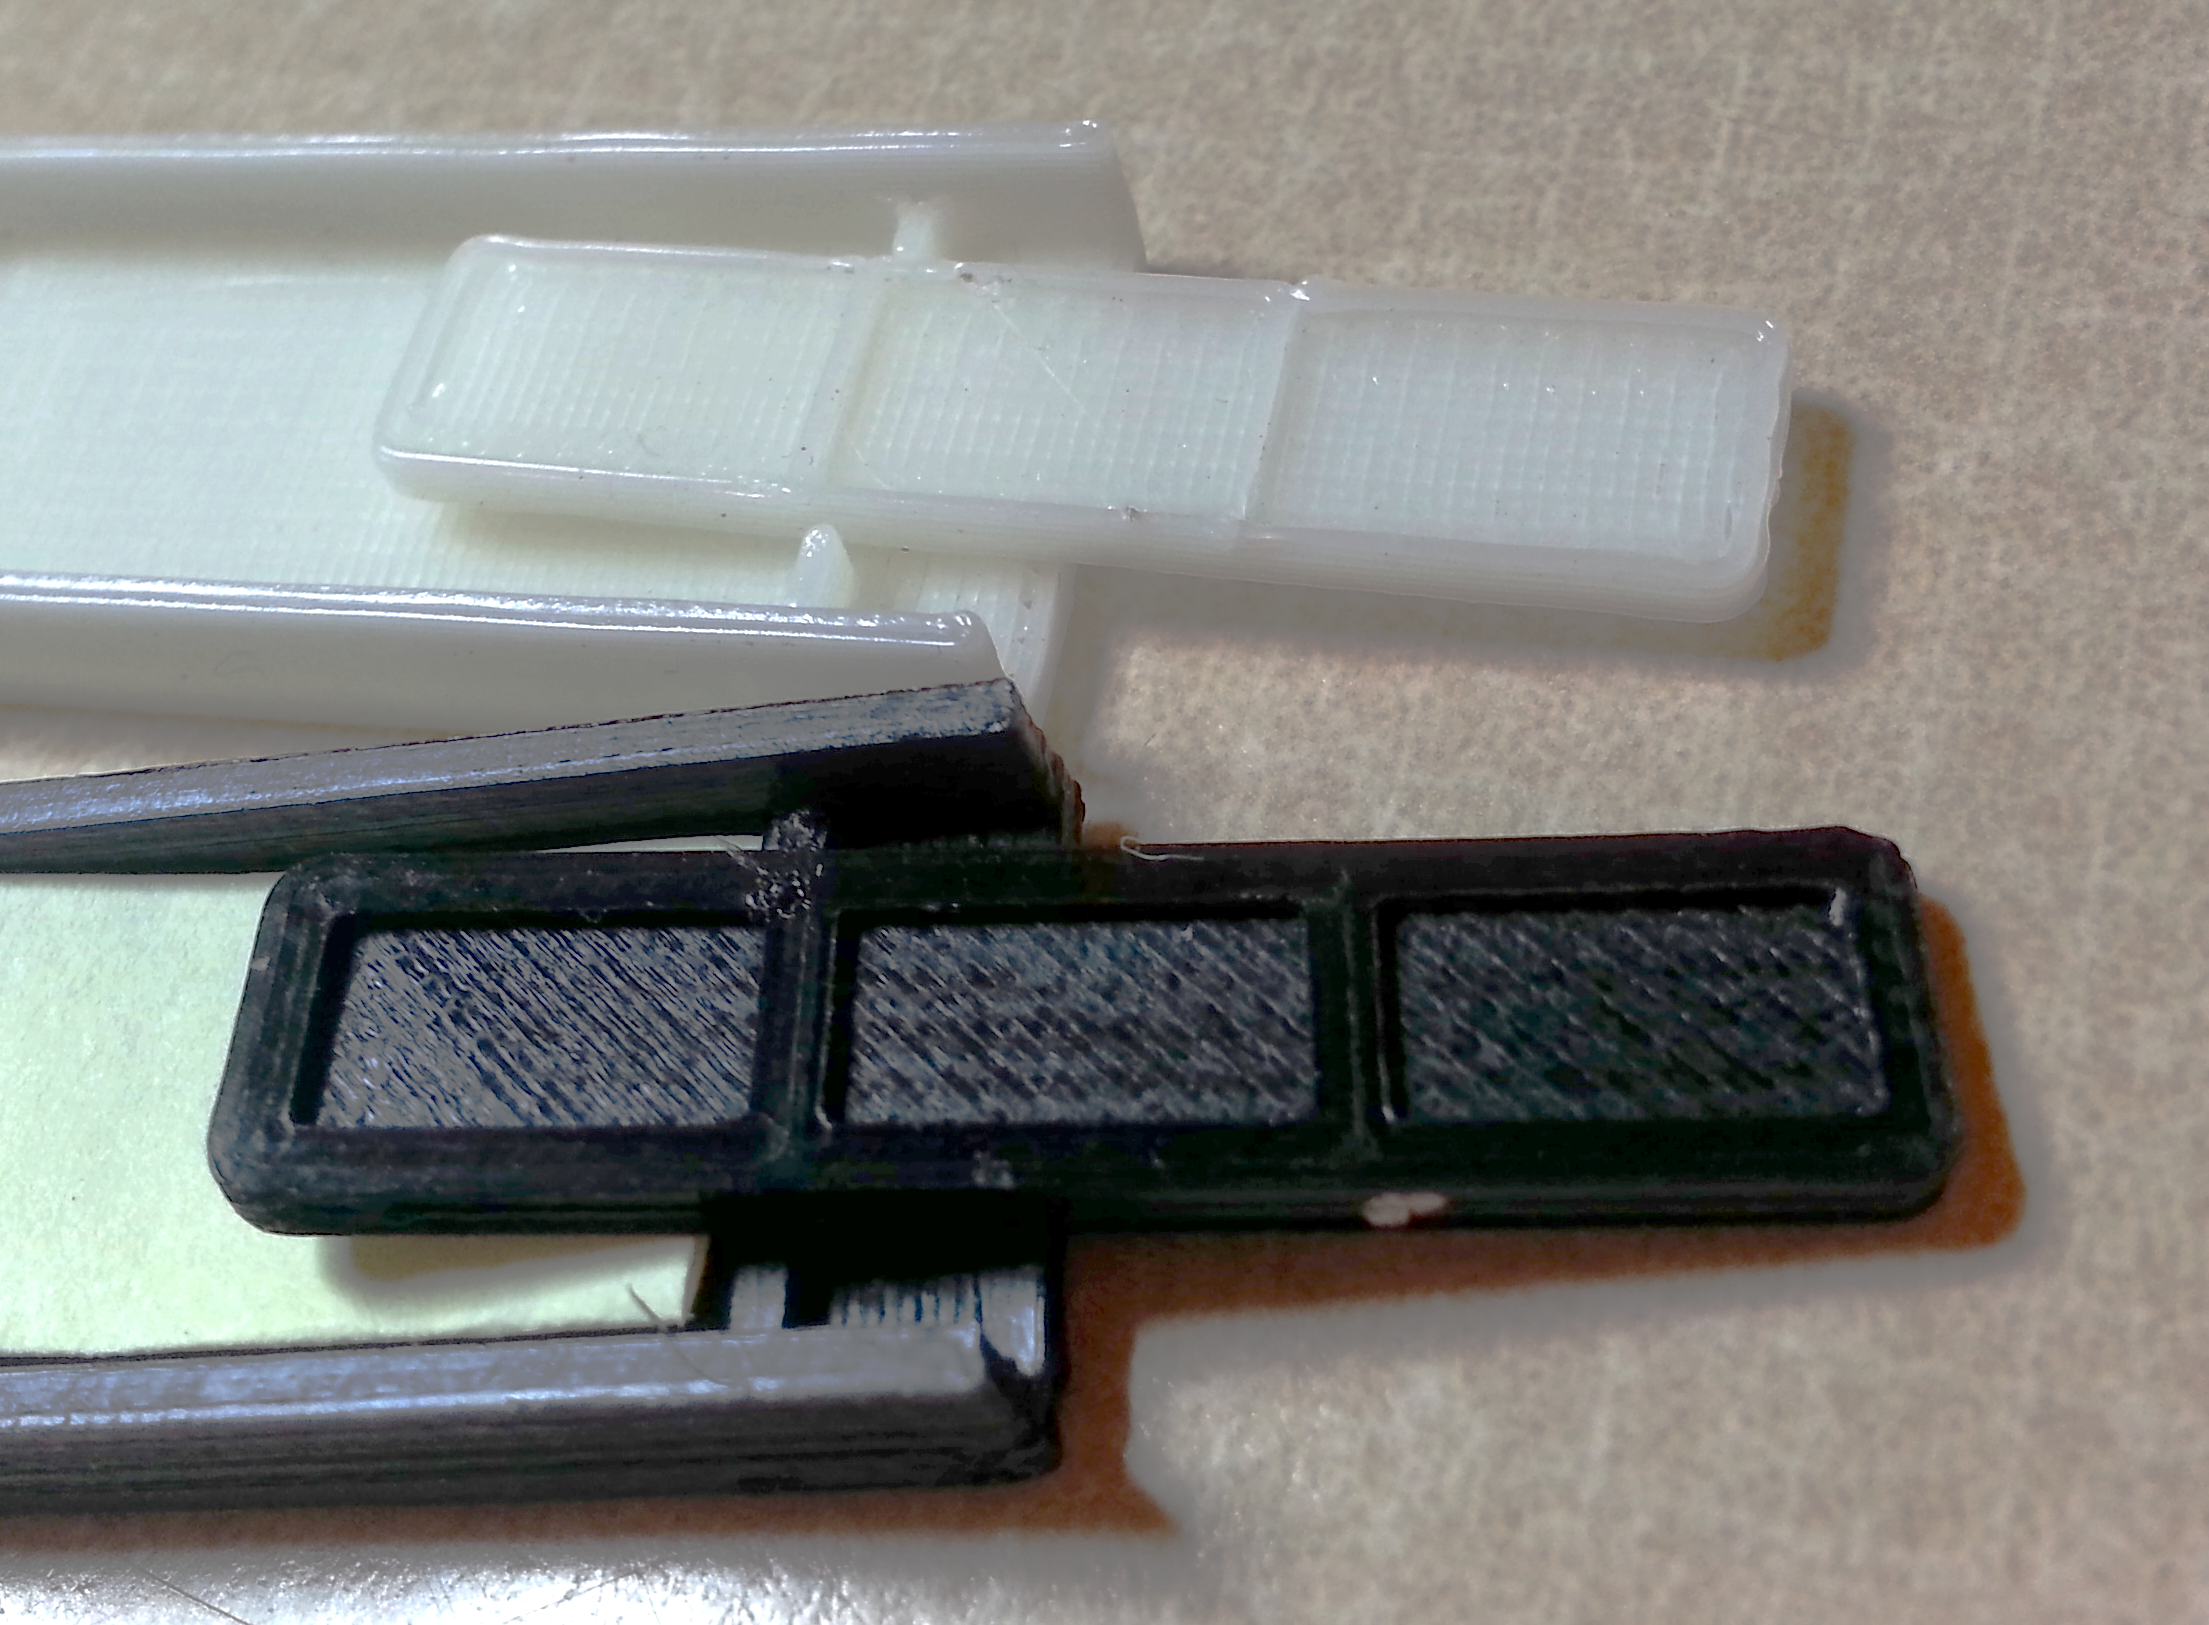
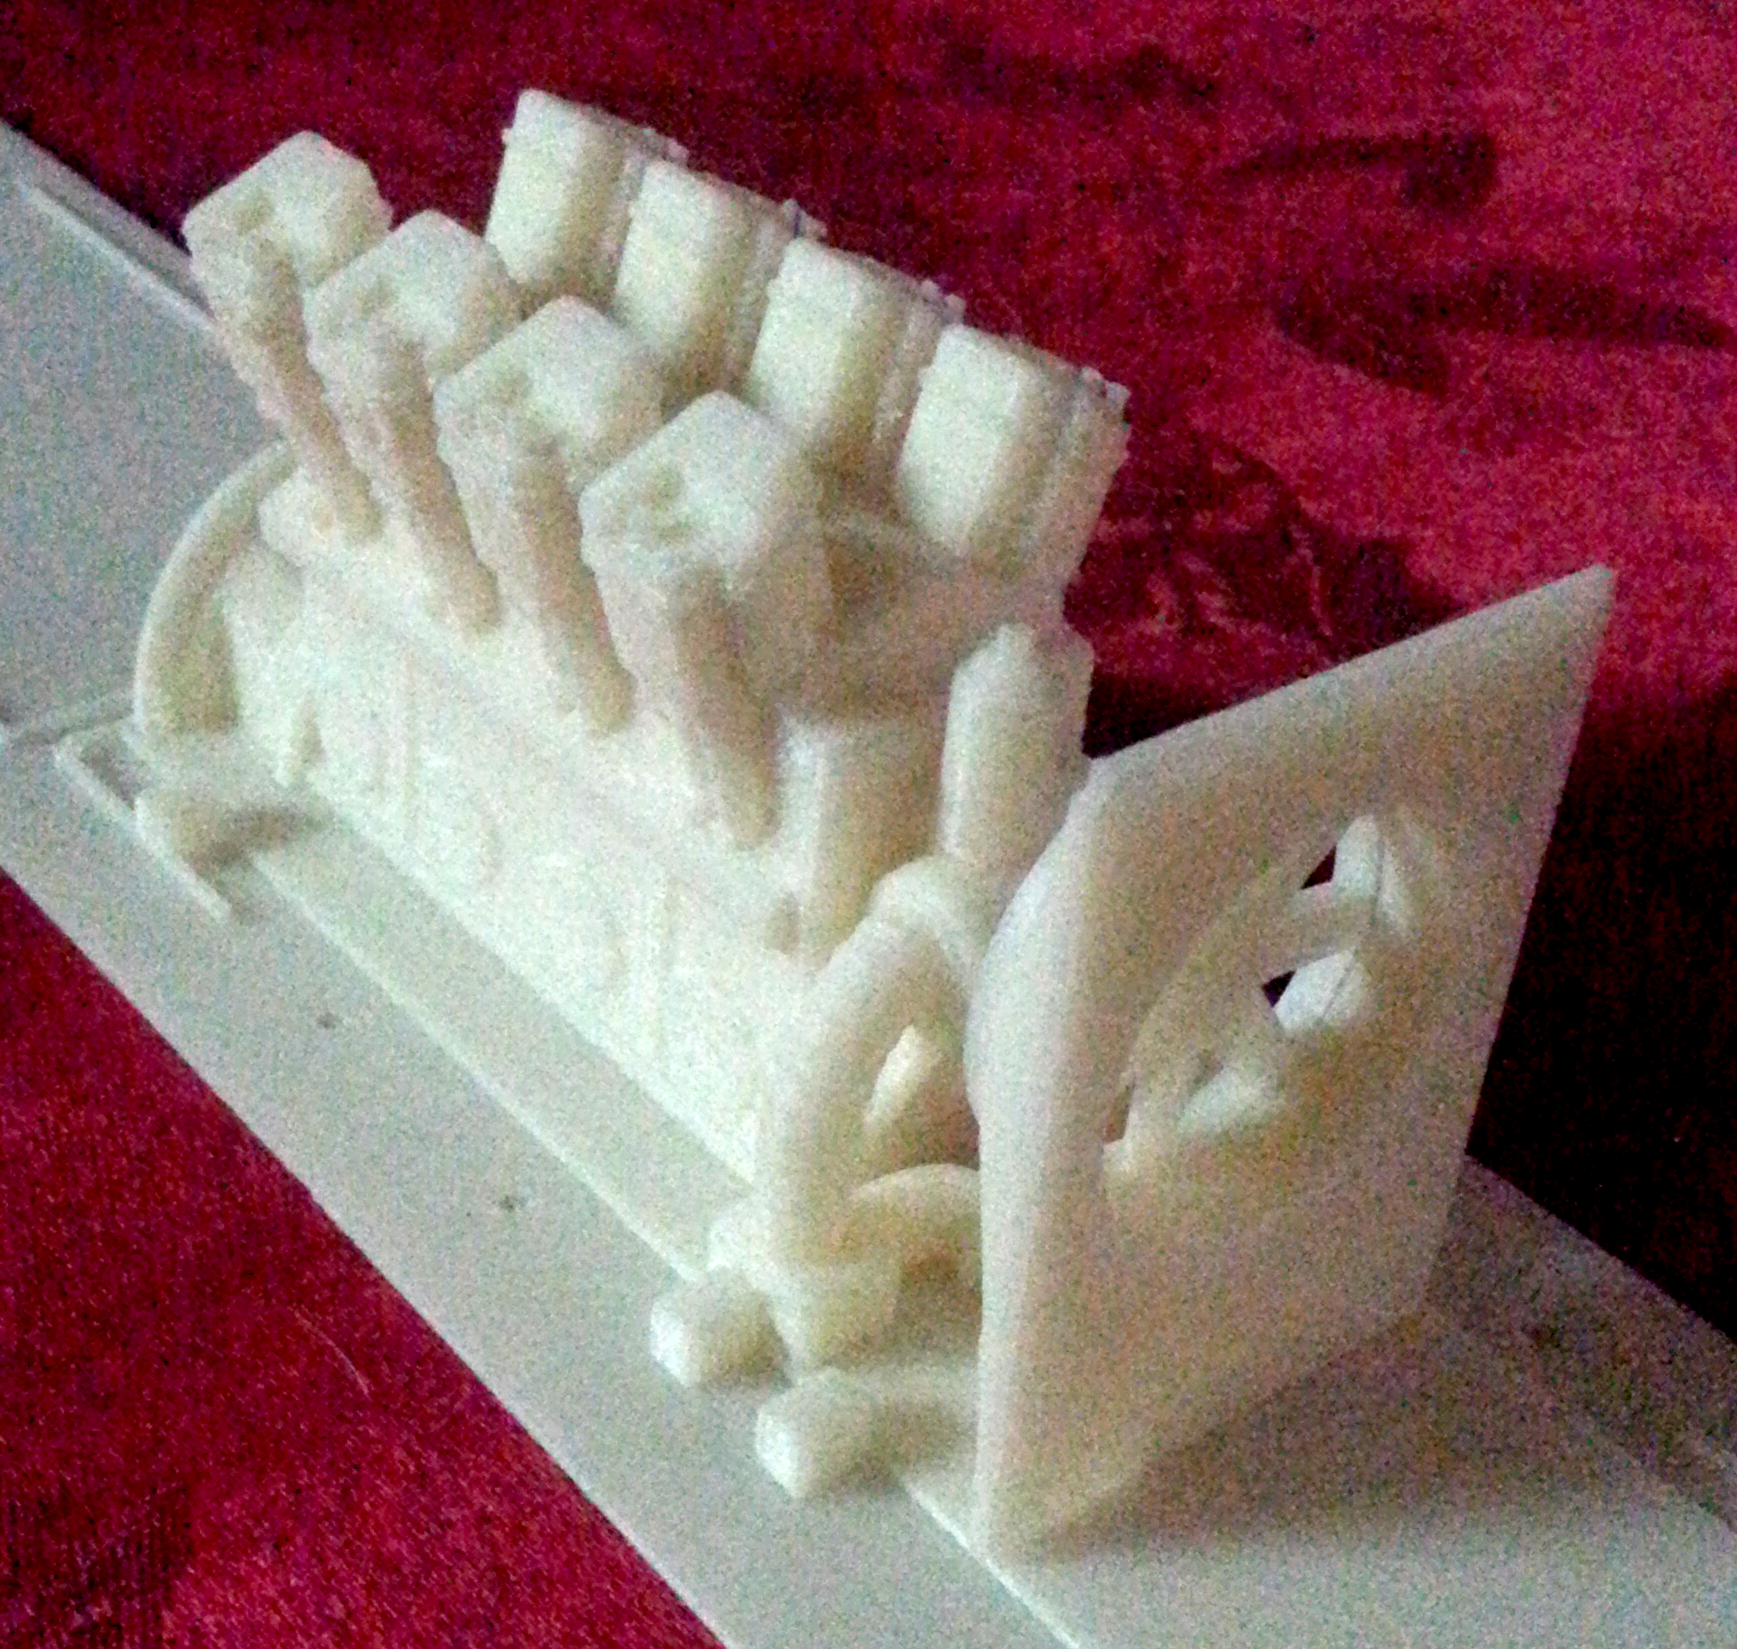
Shown is one of the support beams and the spanning part that will be used join the two halves of the beam. The black is the one that I printed, while the white one is from the high-quality printer (photo 3).
As you can see, the spanning part from my machine does not fit. In fact, I had to sand the spanning part and cut off some of the support material to make it fit properly. The professionally printed part fit just fine right out of the box.
Acetone is a good solvent for ABS plastics, so I used acetone to put the parts together. This takes some experience because you have to learn how much to use. Too much, and the details in the part will melt before your very eyes: too little and the plastic will not melt enough and the joint will be poor at best. Acetone is also very volatile, so do not use it near an open flame. It is also not good to breathe the vapors, so use it in a well-ventilated room. I do all my work outside.
Print times
I got the parts back from the professional printer in a couple of days. It could have been faster if I’d paid more.
After I modified the files, it is going to take a while for me to print them all out. Just printing one of the floor panels takes three hours. I do not let the printer run overnight while I am asleep or when I cannot be around and check on it, so this is going to take a couple of weeks.
The next step(s)
After working with these files for some time, there are things that I would do differently. This is the result of my years of experience with 3D printing and learning, after many of my files failed to print properly. I am in the process of taking many of these files and redesigning them with the hobbyist-3D-printer flaws in mind. This is going to take some time and experimentation. That is the good thing about 3D printing; you can quickly make a model, print it out, and see how it came out. If it is not to your liking, you can modify the original file and try again.
Making parts printable
So, what modifications to the model do I recommend?
First, avoid printing very large parts unless you have the printer for it. Most hobbyist printers need modifications to properly print physically large parts. (I will cover this a little later.) Making smaller parts minimizes warping due to heat stresses because of the temperature differences between the first layer and the layers above it. If you must make a large part, do what you can to minimize its thickness. The thicker the part, the larger the temperature differences. I try and limit the thickness of my parts to 0.05″ – 0.1″ max.
There are reasons H-beams and L-beams where invented: they are stronger. The same applies to printing parts. A large L-beam being printed will react to temperature differences differently than a solid beam being printed. Try to include thin vertical supports in your parts. In some cases, these can be easily removed when the part is finished printing. It is not perfect, but I have found greater success using these techniques.
Minimize the use of sharp corners in your part. I use small rounded corners in my part wherever possible—at least 0.025″ radius: the best is at least 0.075″. Rounded corners reduce the mechanical stresses created at the corners of a part. My doors and windows all have at least the minimum radius. If I want sharp corners, I sand these down after the print to create them.
I have written an article on printer techniques and modifications before (see part 4 of this series), but I will again cover some of the highlights that are related to printing some large objects.
If you want to make the highest-quality part possible with your machine, there are some preventative-maintenance steps to take. First, make sure you have high-quality filament. There is a lot of inexpensive stuff out there; my success with the inexpensive stuff is 0%. You cannot get a quality print. If you want to print things with less than the highest definition, less possibility of warping, and fewer headaches, spend a couple of dollars more and use high-quality filament. The two sources I use are http://www.matterhackers.com/ or https://store.robo3d.com/collections/filament-abs
Once you remove a problem extruder from the machine, following the manufacturer’s instructions, put it in some acetone and let it soak overnight in an enclosed jar. The next morning (or sometime thereafter), remove the extruder from the acetone jar and blow out the extruder with some canned air. Check that everything is clear, then clean off any left over material. You might also use a Q-Tip and clean out the inside of the extruder. You may have to repeat this several times. Don’t forget to use eye protection when doing this; you really don’t want to have acetone blow back into your face. I use a full-face mask and gloves to clean my extruders. I cannot stress safety enough. Think about what you are doing before you do it.
Be sure that you have either blue tape, hairspray, or water-soluble glue on the printer bed to ensure that the extruded filament will stick to the bed. Sometimes it takes a little more hairspray or glue than you expect for the part stick to the printer bed and minimize warping.
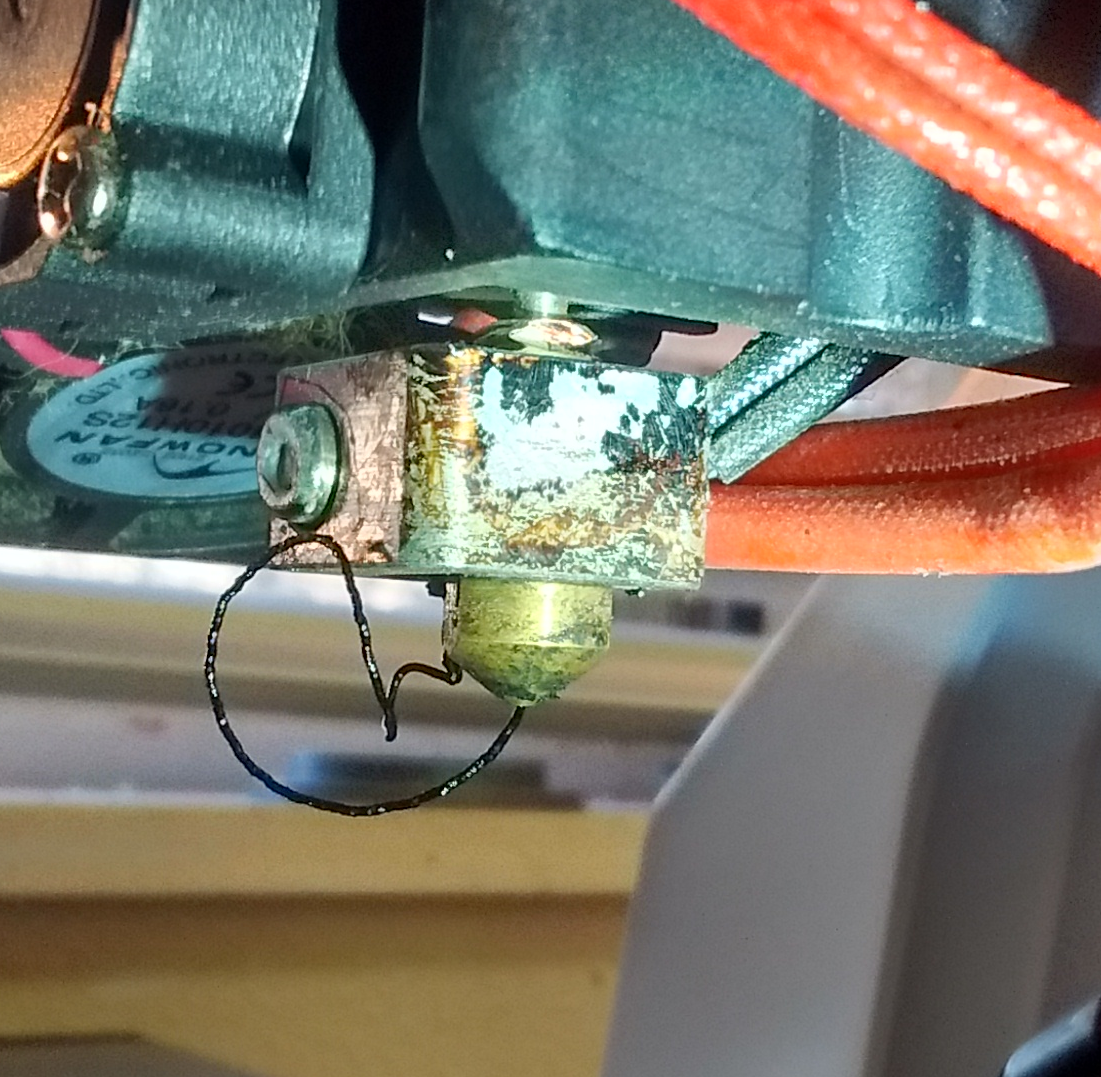
When I printed the motor, I ended up with a pile of goo. The professional print turned out much better, with good details (photo 7). I could never expect to do this with my hobbyist printer. I would have to print separate parts, then glue them together and, even then, it would not look like the one from the professional printer.
At this point I usually invite you to take the files to www.3dhubs.com and find a printer near you, print your own if you own a printer, or try your local library to see if they have one that you can use. In this case, I am not going to recommend that unless you have years of experience successfully using a 3D printer. Find your nearest professional 3D printer or contact www.incept3d.com and have them print out the model for you. As an alternative, you could also try www.shapeways.com. They advertise various scales of trains and have a large selection of trains and train parts available. They also have the professional-type machines that will do a good job.
Summary
I will keep all of you informed as to the progress of my locomotive-building project. I plan to bring this model and most of the models that I have made using a 3D printer to the Garden Railway Convention in Tulsa in July. I hope the locomotive will be assembled by then! The 3D printer will also be making an appearance at the convention. Hope to see you there.


