Have you ever considered making rocket component loads for your flatcars? Over the years I’ve seen some interesting flatcar loads on full-size trains, but I wanted to build something I’ve never seen before. I’m interested in watching rocket launches, so I decided to scratchbuild SpaceX rocket component loads.
The rocket I built isn’t modeled after an actual SpaceX rocket, or for that matter any rocket at all. It loosely resembles a Falcon 9 rocket, as that’s the kind of lettering it has. My goal was just to make sections that fit onto my flatcars.
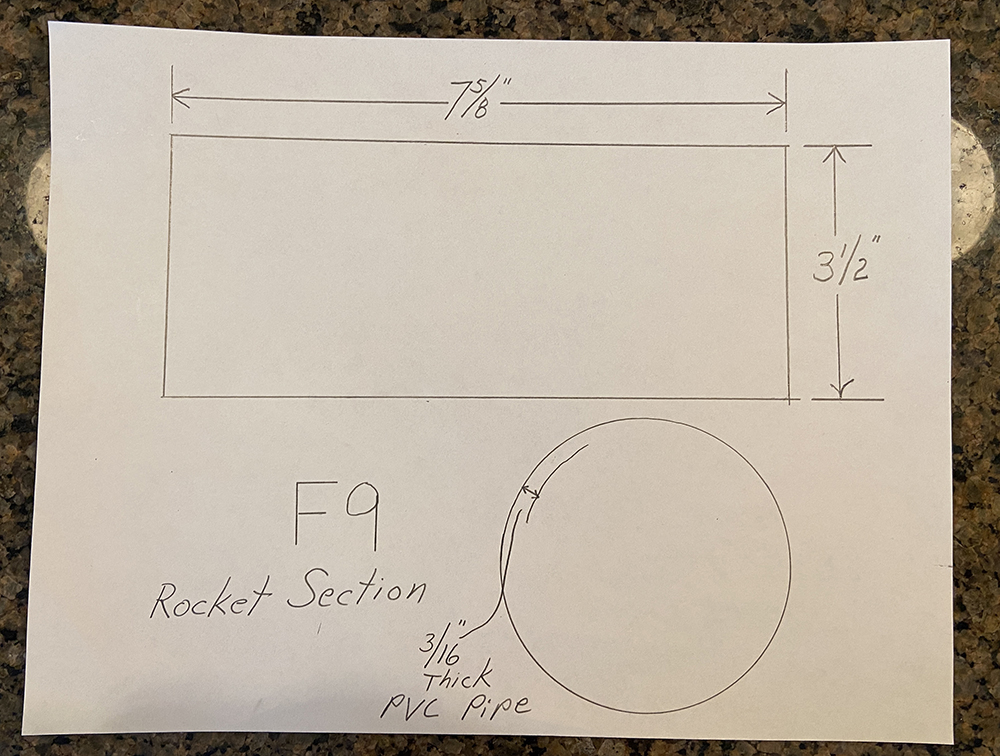
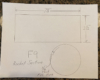
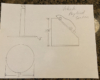
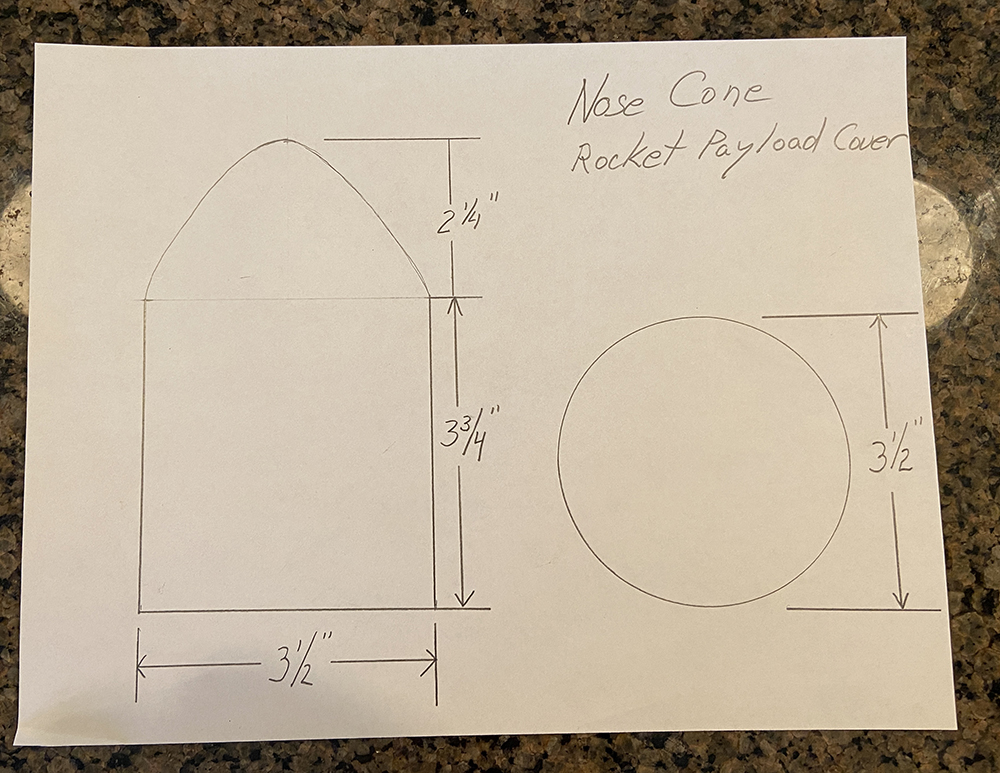
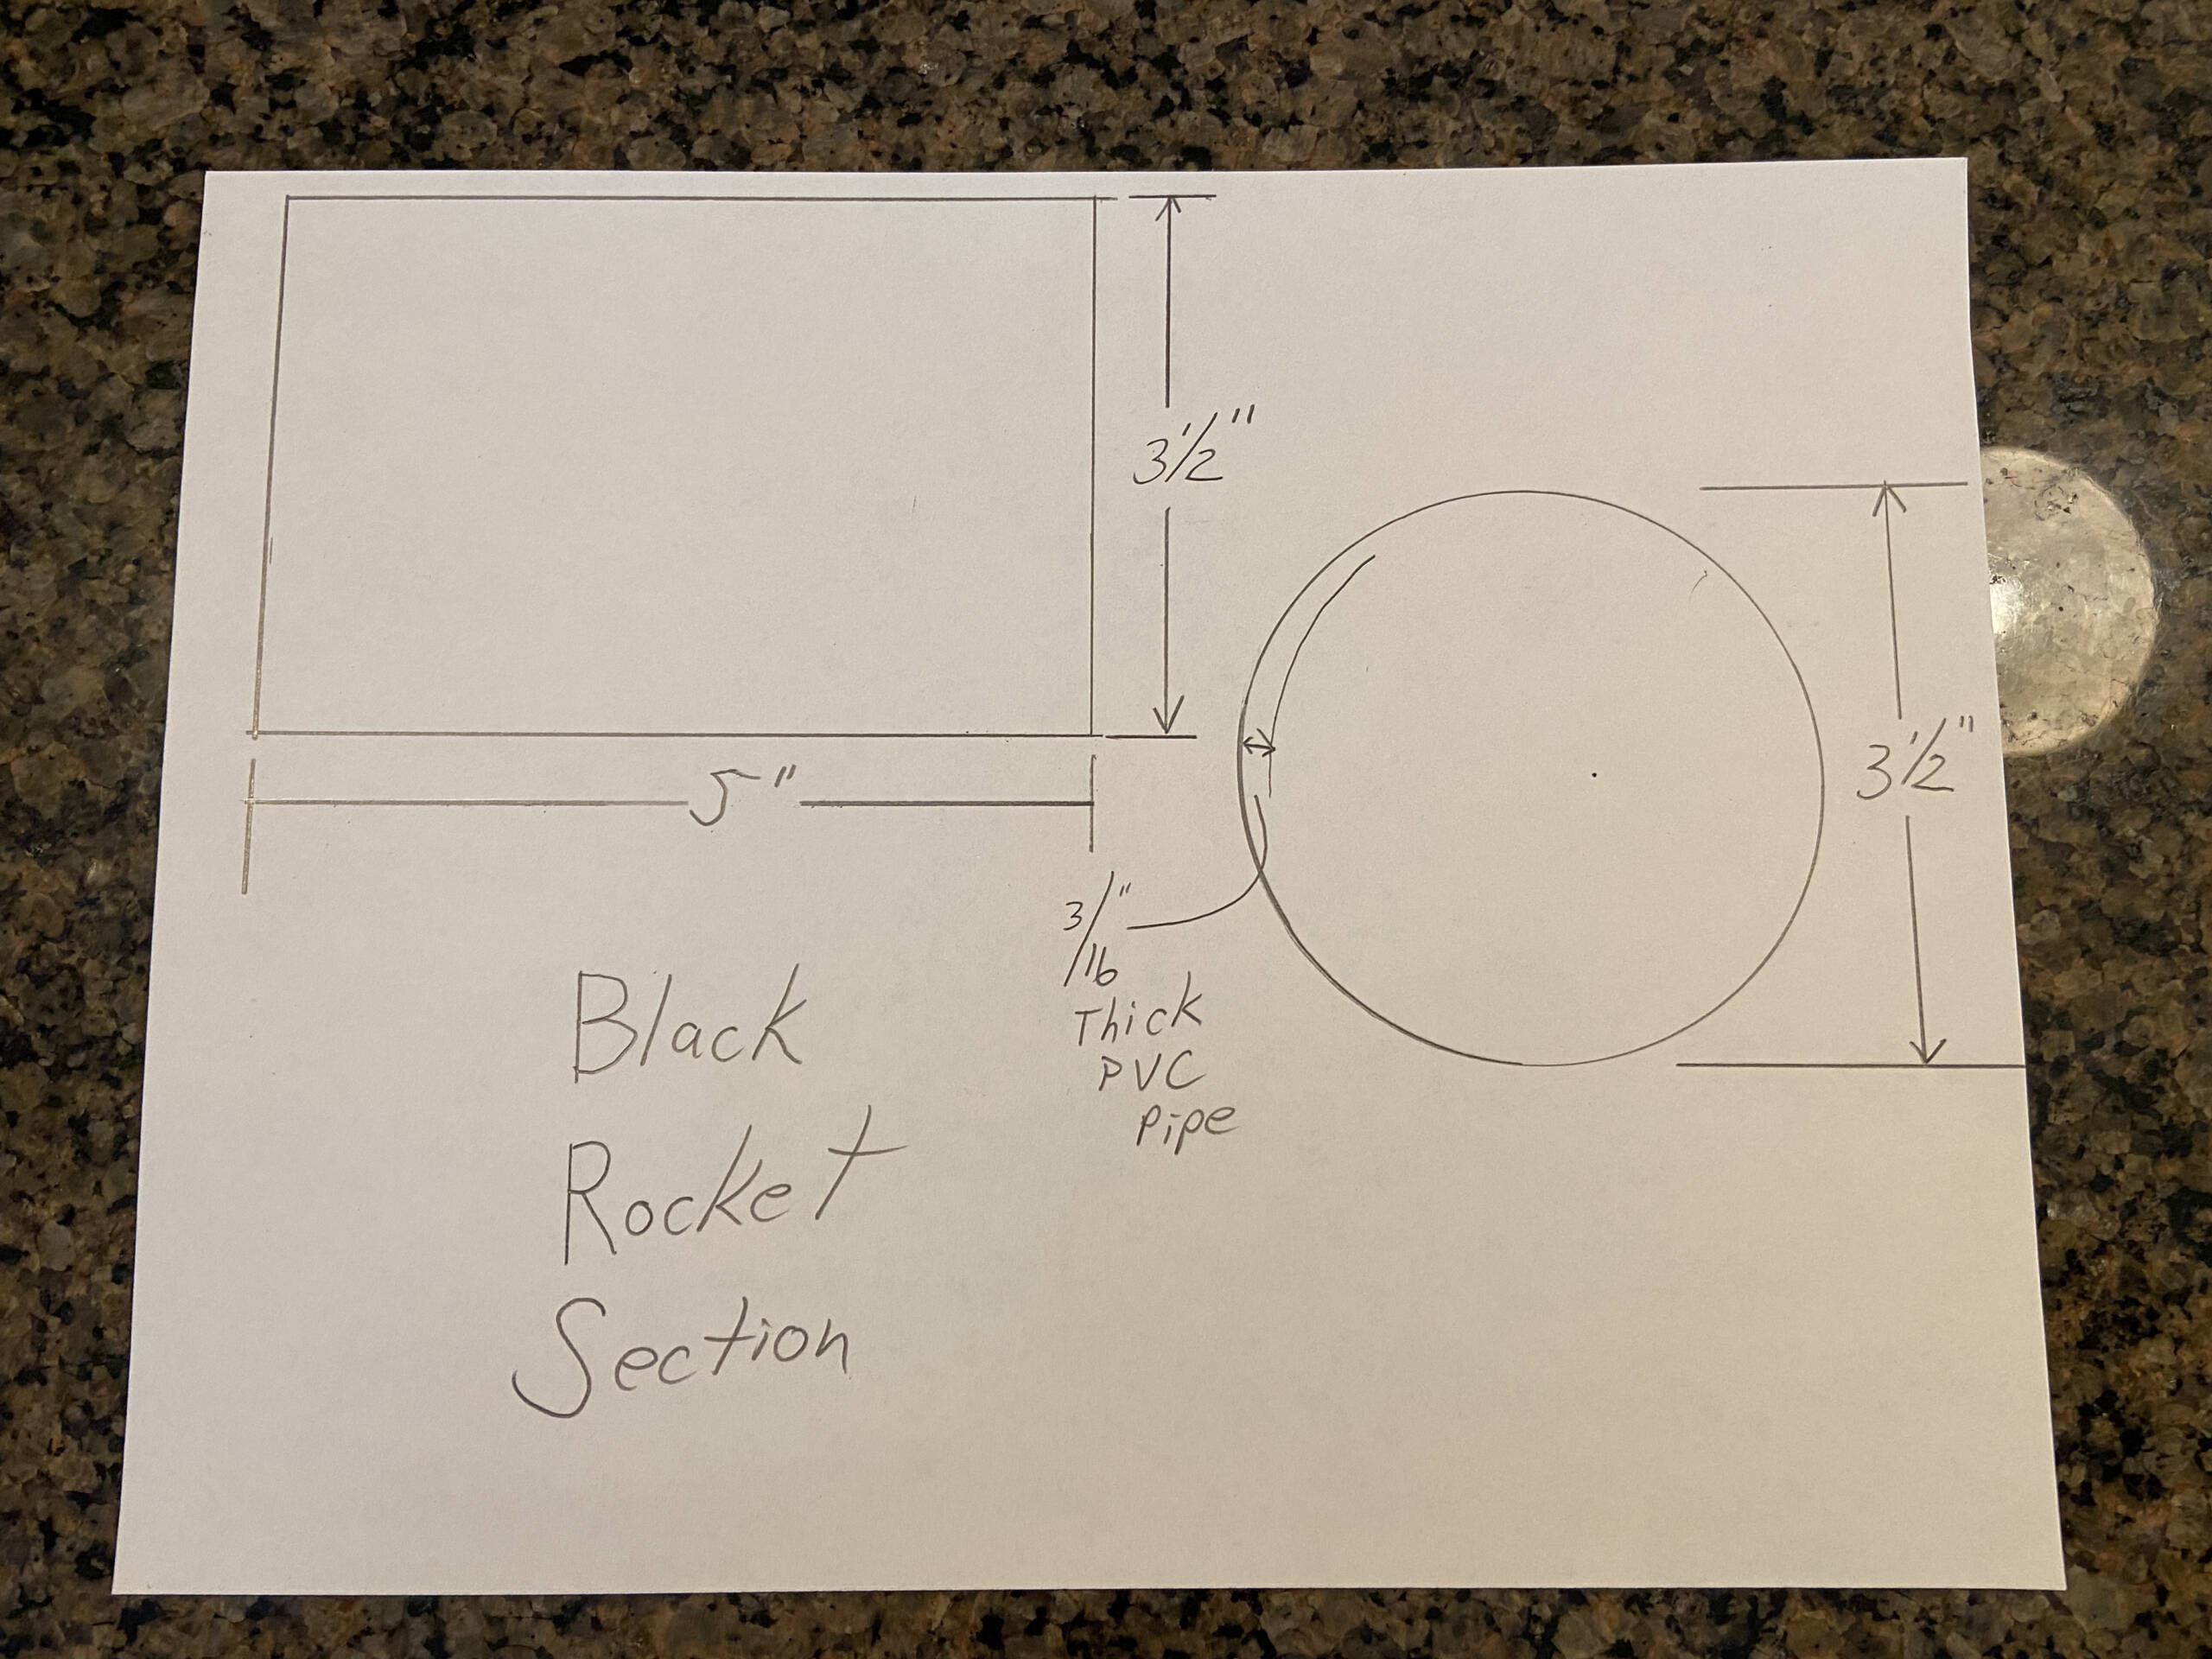
I’ve provided photographs of the drawings and dimensions I used for my project below.
Jerry Paladino drawings

Jerry Paladino drawings
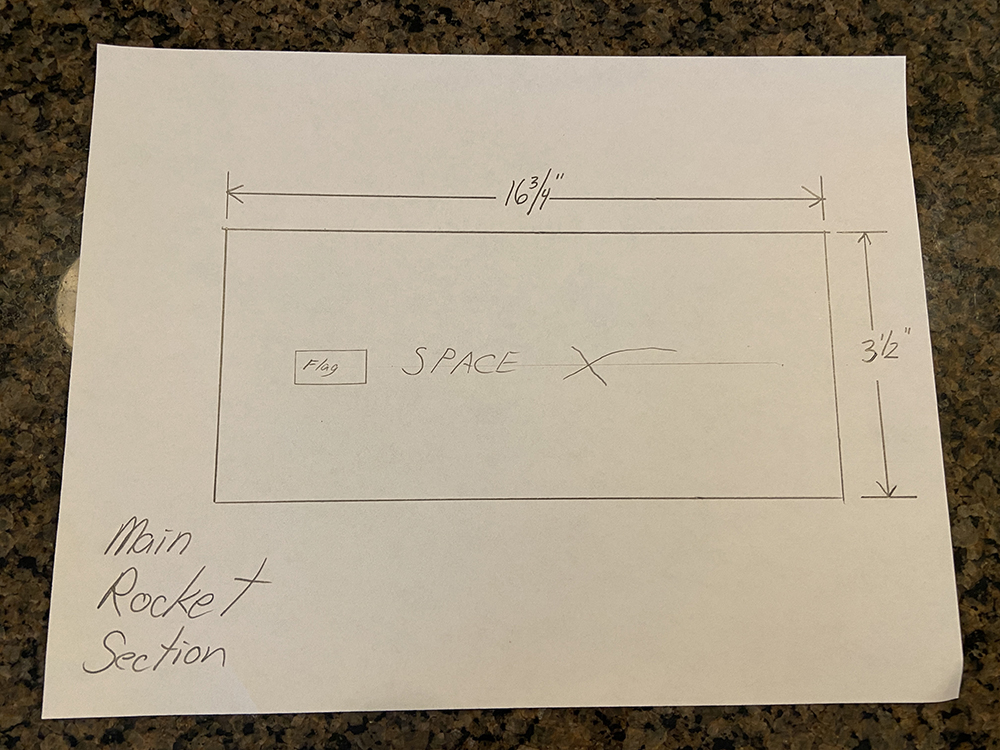
Jerry Paladino drawings
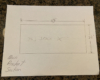
Jerry Paladino drawings
Jerry Paladino drawings
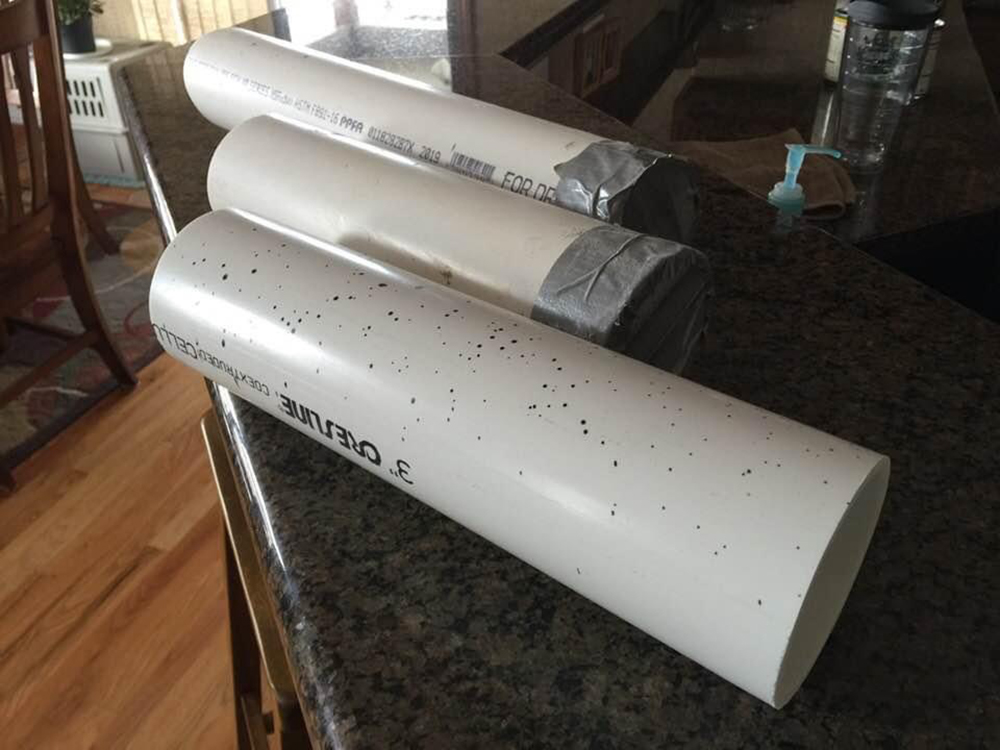
I used a 3½” diameter PVC pipe purchased at Home Depot for the primary component. I also used a sheet of styrene to cap the top and bottom of each rocket section. I cut the pipes on a band saw as accurately as possible, then hand-sanded each section to ensure a smooth finish.
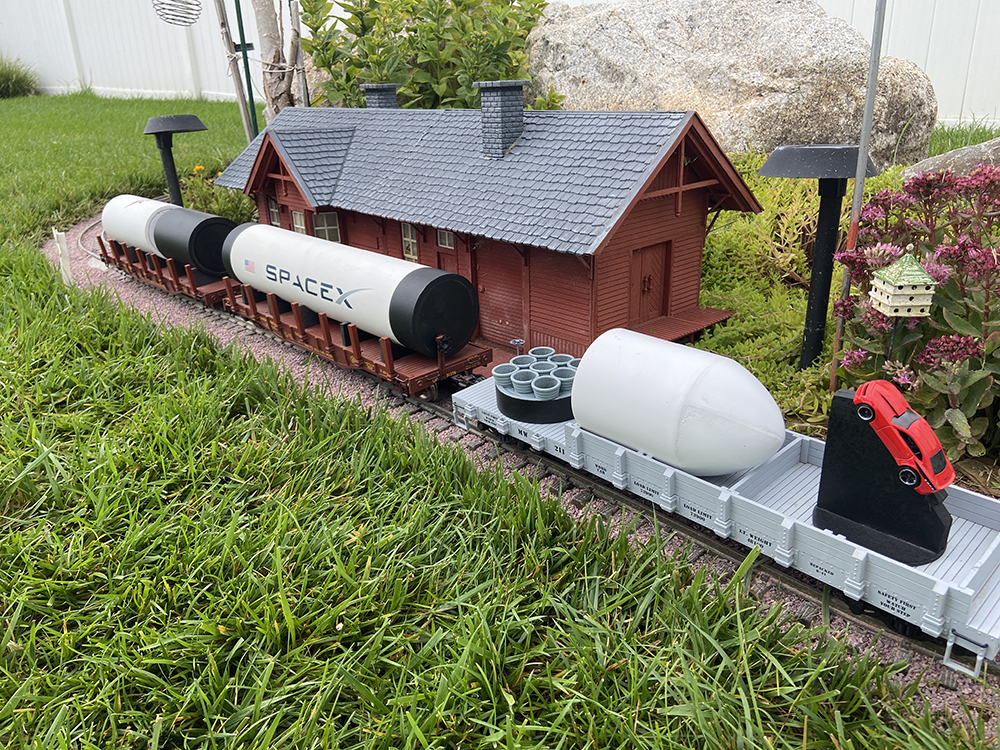
The main rocket sections were quite easy to make. The rocket’s nose cone, payload carrier, and rocket nozzle section were a little more challenging. For the nose cone, I used two halves of a large plastic Easter egg. I cut the shells in half and reduced the height to get the correct diameter to fit the PVC pipe. I then sanded the egg’s edges, then glued each half together to create a smooth seam. I used E6000 adhesive for the entire project.
The payload doesn’t have a Tesla Roadster in it (I couldn’t find one), so I used a late model Camaro for the load instead. I made a carrier for the car that fits inside the nose cone. For the rocket motor nozzles, I used cake decorating tips, spray-painted light gray.
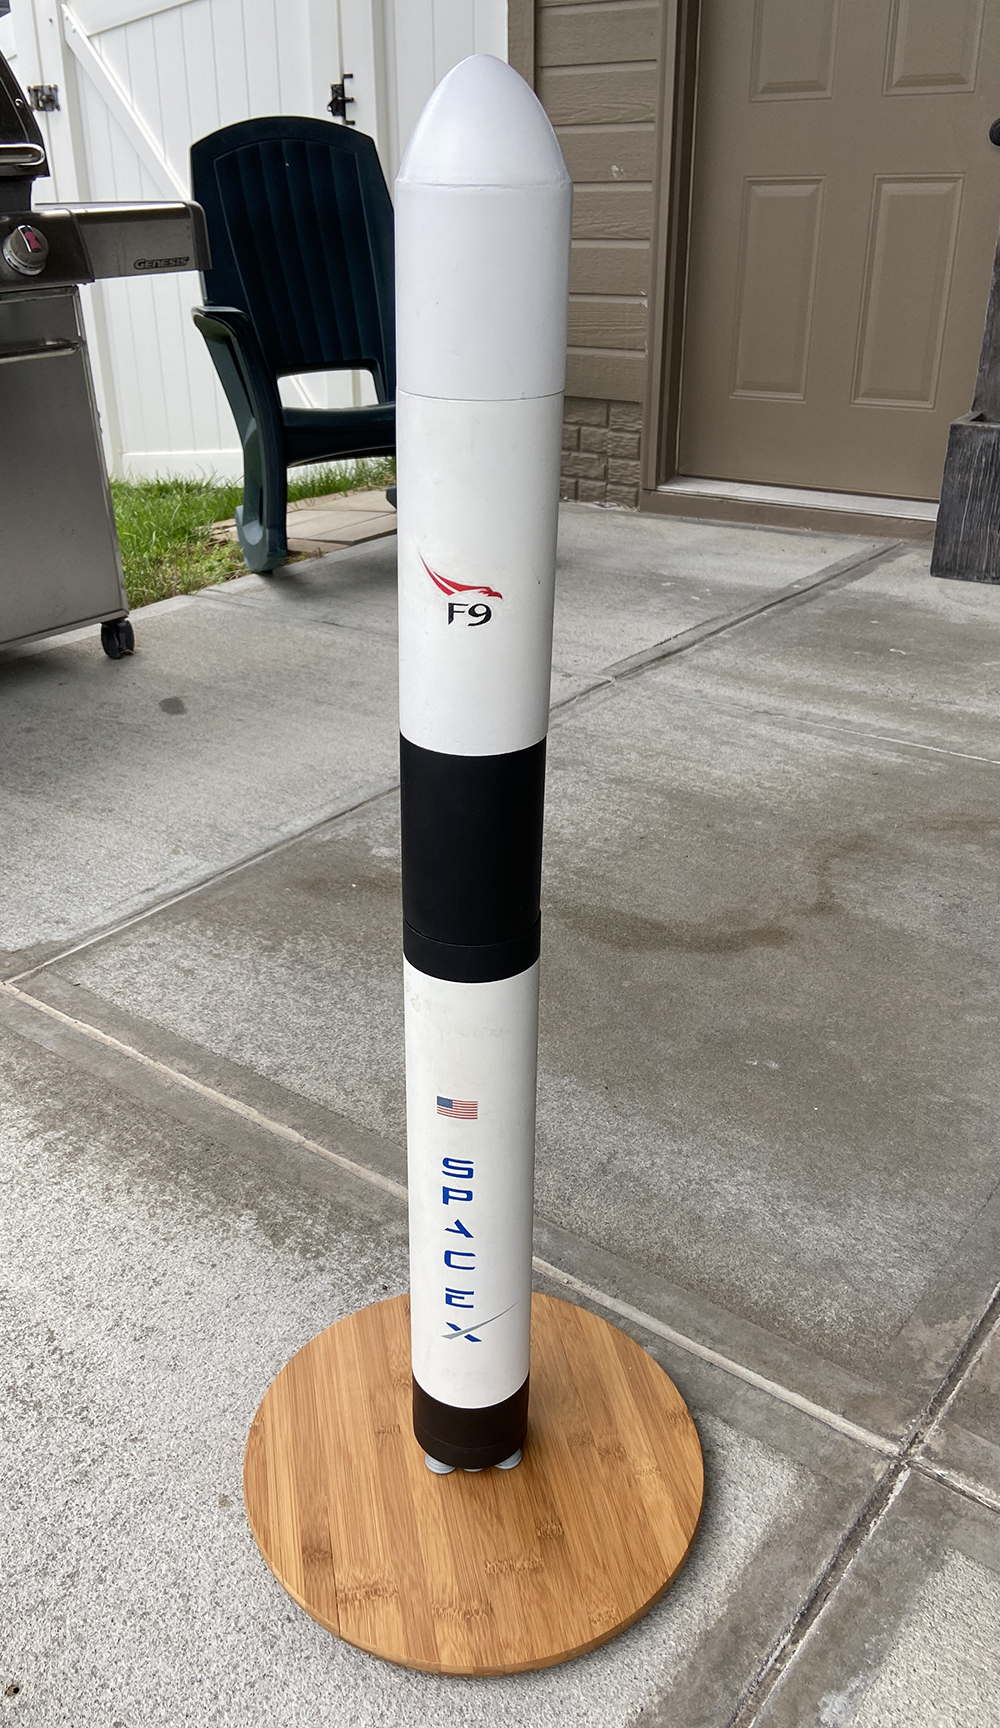
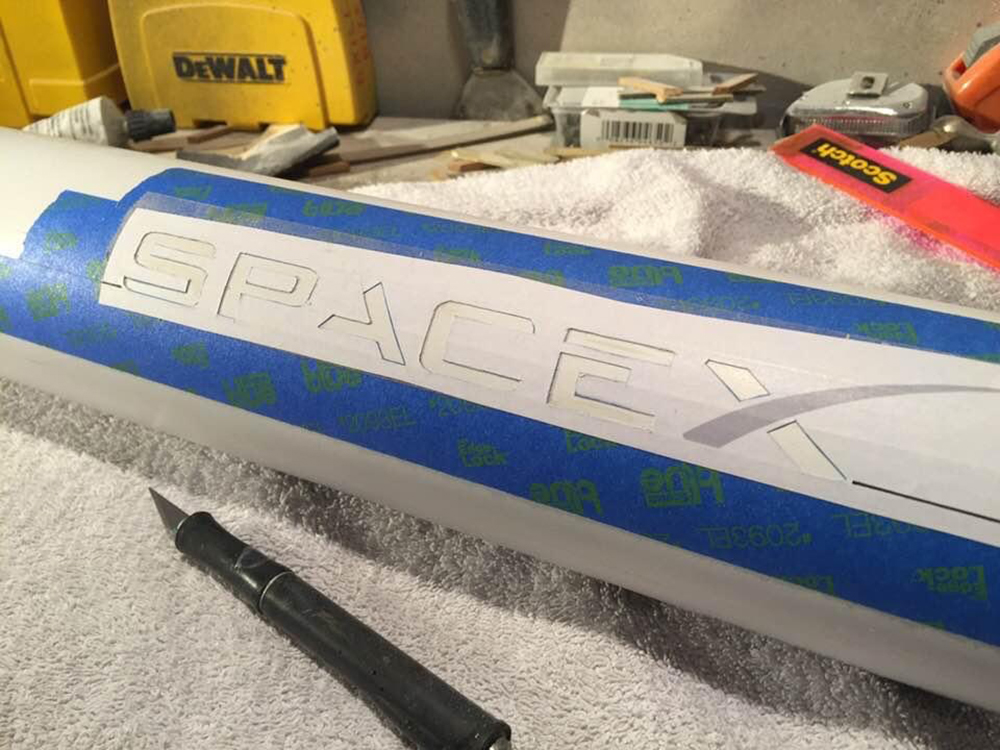
I spray-painted the sections flat white for two of the rocket components and flat black for the center section, rocket nozzle section, and ends. For the main rocket section’s SpaceX logo lettering and Falcon 9 logo, I used a sheet of 100 lb. printer paper to print an image found online. I cut out the lettering using an hobby knife to create a stencil, then tightly taped the paper to the rocket. I lightly spray-painted the images onto the rocket.
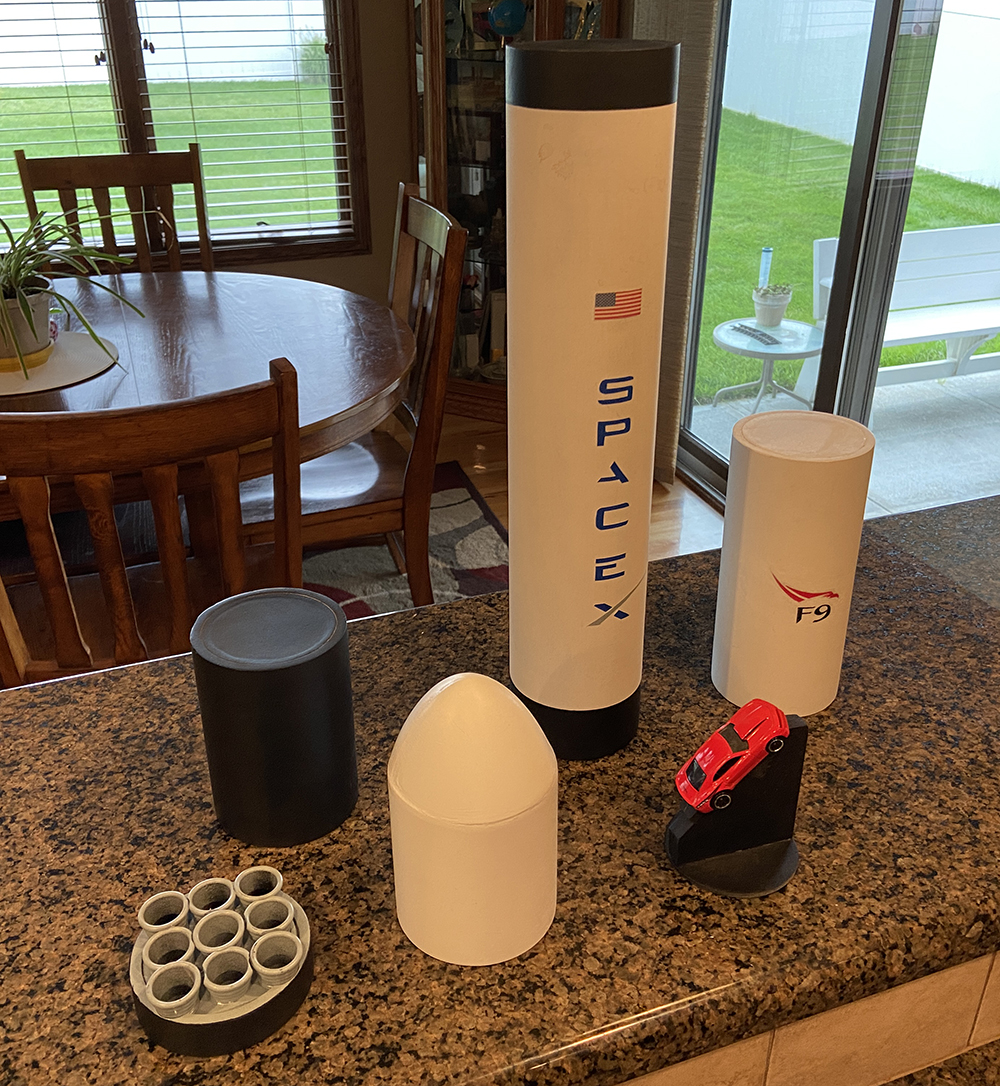
For the U-shaped rocket component supports, I used black styrene plastic. The U-shaped carriers supported the loads so well I needed nothing else to secure the rocket sections. You could add straps or chain if desired.
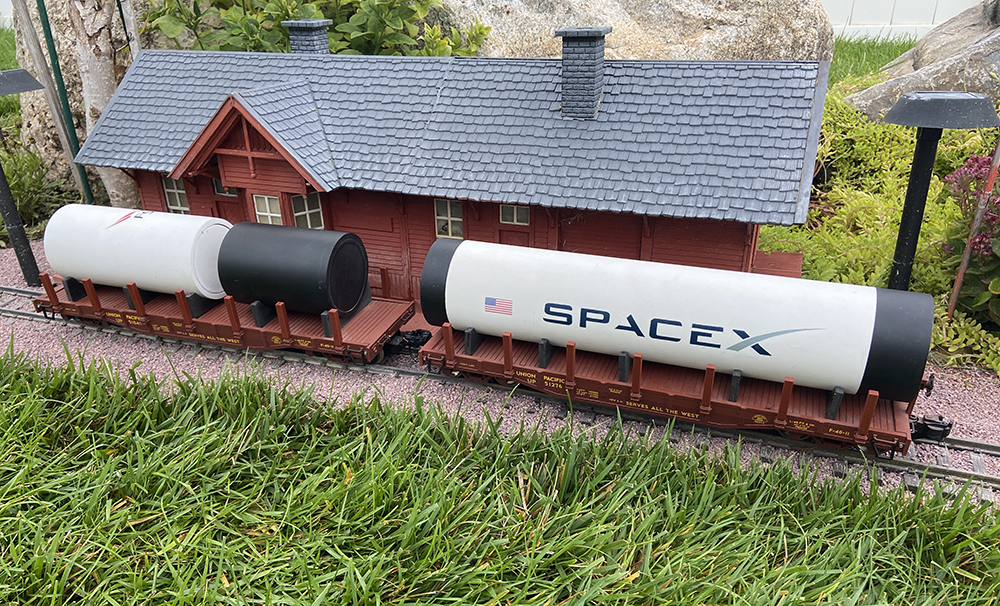
Overall, the project was fairly simple and created a unique and interesting flatcar load. Now it’s up to the rail carrier to safely transport those rocket components to Cape Canaveral for an upcoming launch!
Other projects by Jerry Paladino