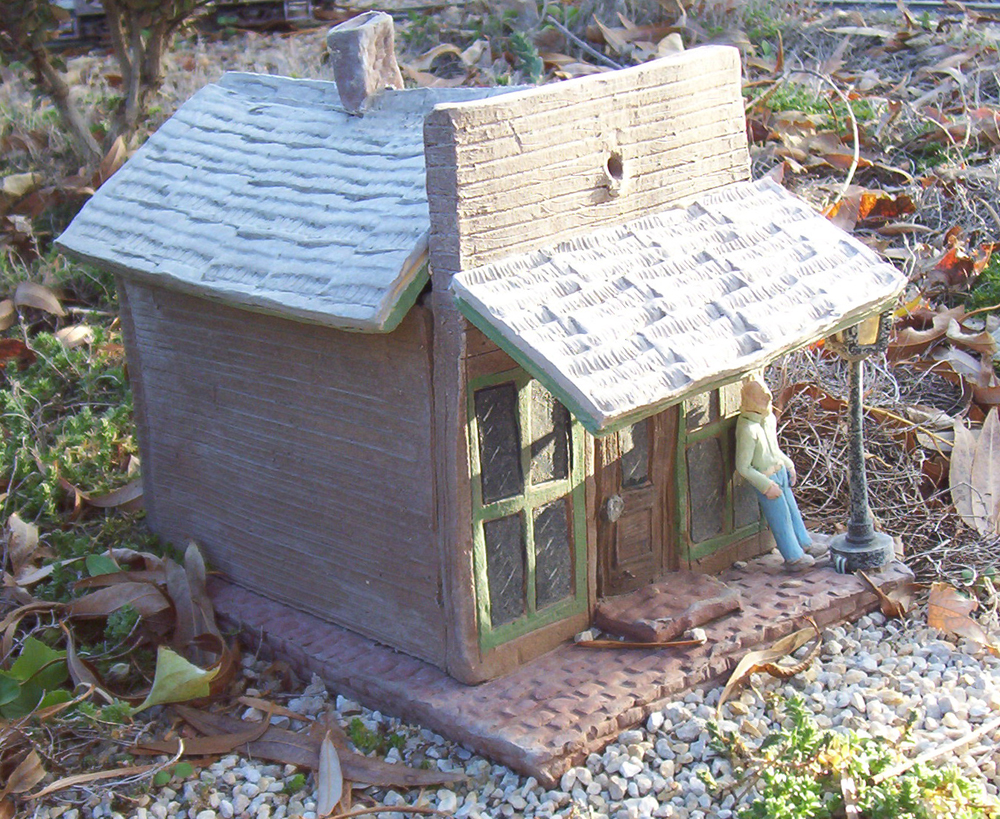
If you want a structure for your outdoor layout that will hold up to the elements, consider using clay. I’m an art teacher and when I began my outdoor railroad it was my first choice of materials for my buildings.
You can buy clay from local sources or online. Most catalogs sell it in 50-pound boxes, which is how I get it for my classroom. But before you order any, first find a local ceramics shop or an art teacher about firing a completed house in a kiln for you. They will likely have a preferred temperature and clay body to work with.
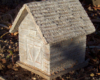
Clay comes in several colors, like white, red, buff, and brown. Keep in mind clay will fire to a different color than when in its raw state. I’ve used different colors together, such as a brick red for brick areas, sponging in the buff for stucco areas, and a different color for the roof. You can also color the finished house in acrylics or glazes.
Tools and stencils for your structure
Basic tools for working clay can be made from popsicle sticks and tongue depressors. Any thin bladed knife is good, but it does not have to be sharp; anything will cut moist clay. A toggle wire cutter can be made with fishing line and a couple of dowels. I find a thin wire loop tool to be versatile, and a rounded wood tool for blending is helpful. Most clay tools can be purchased inexpensively from a clay supplier. It’s also likely shipping will cost more than the clay.
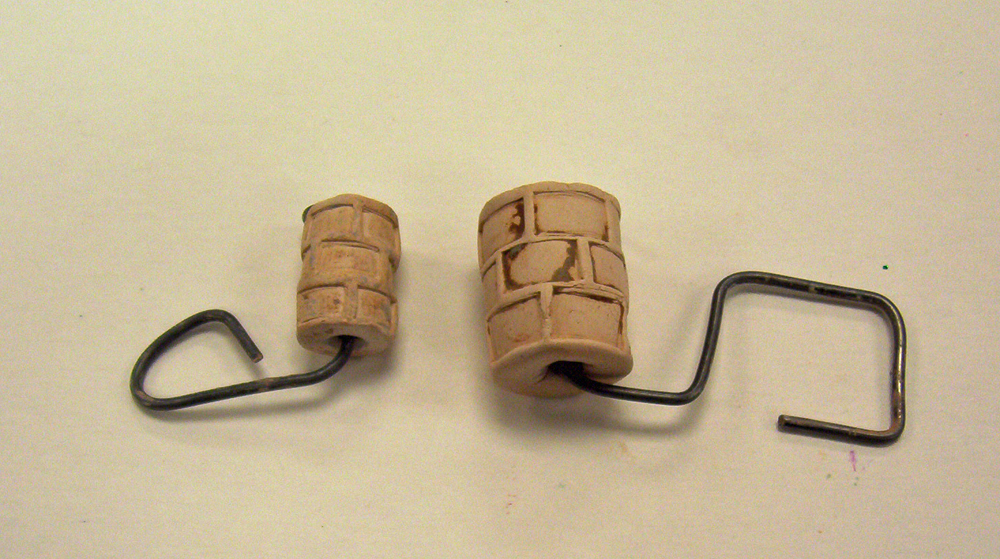
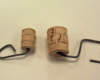
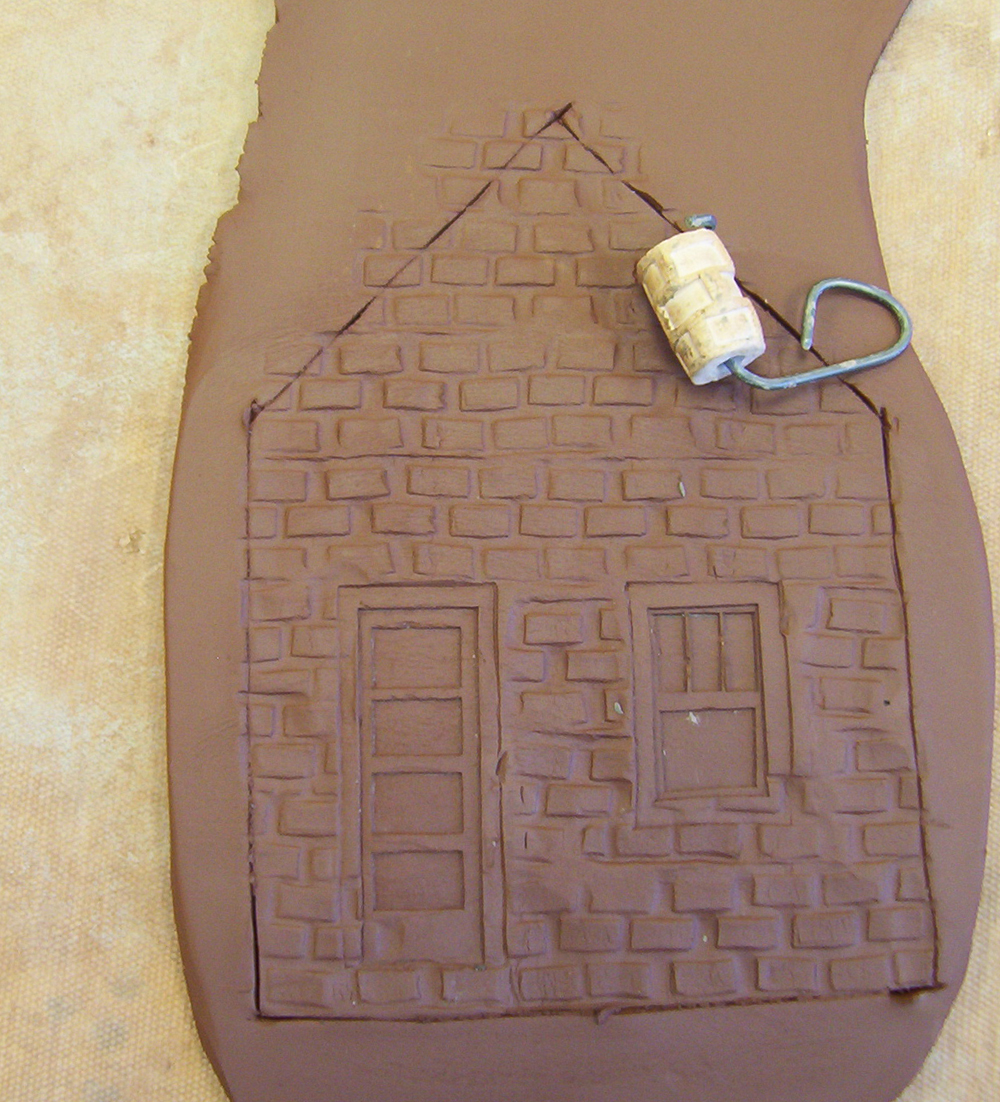
I make embossing tools from clay to help design my pieces. The round brick tool (see photo gallery below) was made from a coil of clay I impressed a brick pattern into with a square piece of wood. I have them in several sizes. I make a hole is made through the center, and after it’s fired, add a wire so I can roll on the textures.
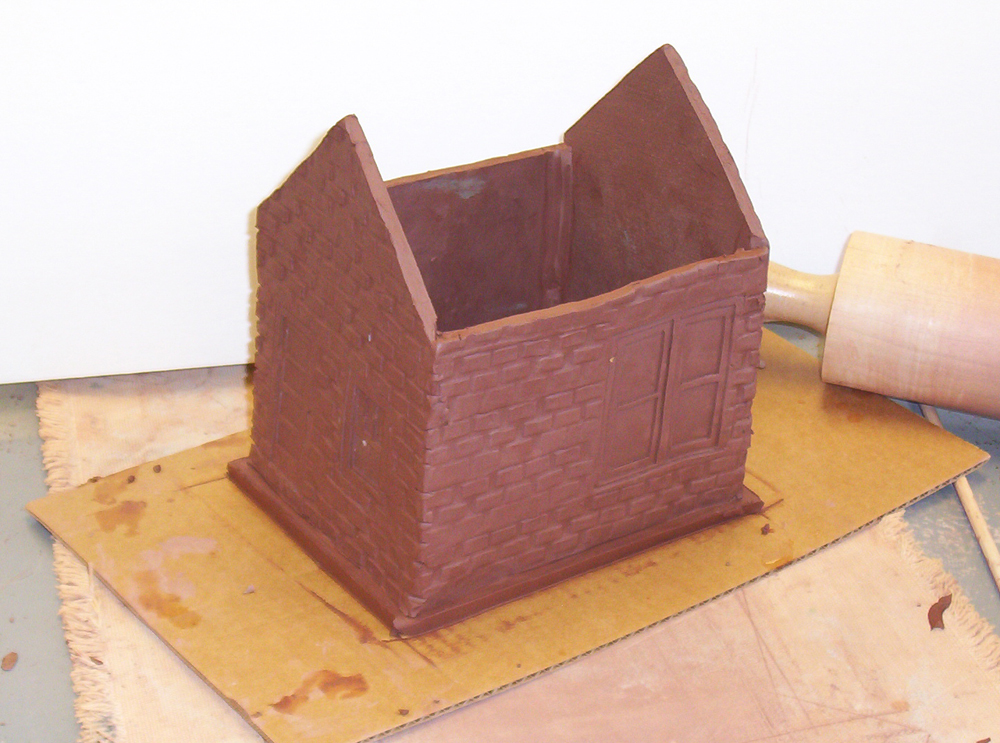
You can make a brick tool the same way out of a square piece of clay, impressing in the pattern with the piece of wood. I also made tools to impress a rock texture, by pressing small gravel pieces into the clay to form a rock impression into the clay. After it is fired, press the tool into the wet clay and you get bricks, rocks, or any other texture you might like.
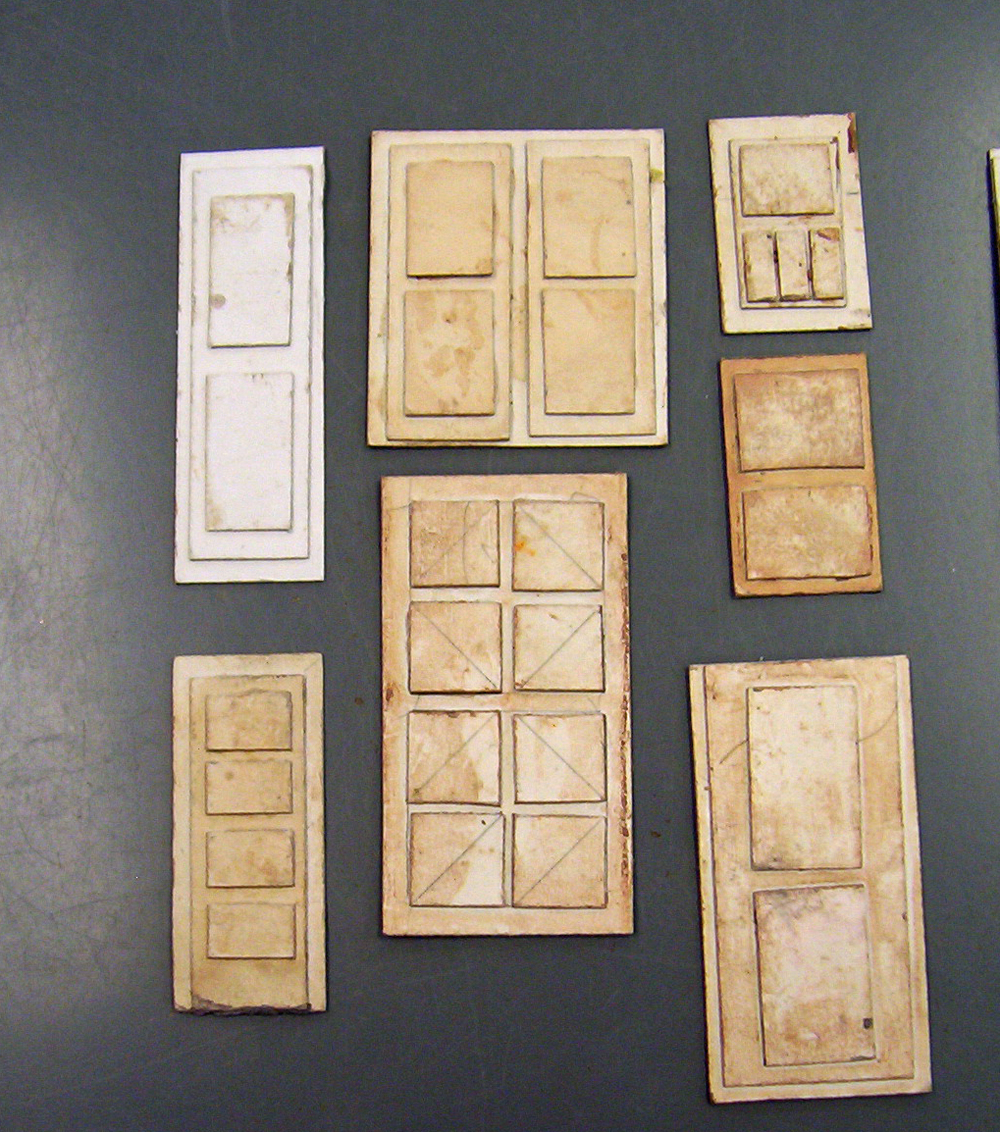
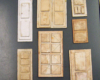
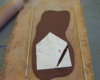
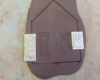
I make stencils for the windows and doors and wall shapes out of thin cardboard. I start with a base piece that will be the trim, then build up for window panes or door panels. You can make any type of window or door; just remember the piece built up the highest will be pressing down onto the clay at the lowest point, so plan accordingly.
Roll and shape the clay pieces
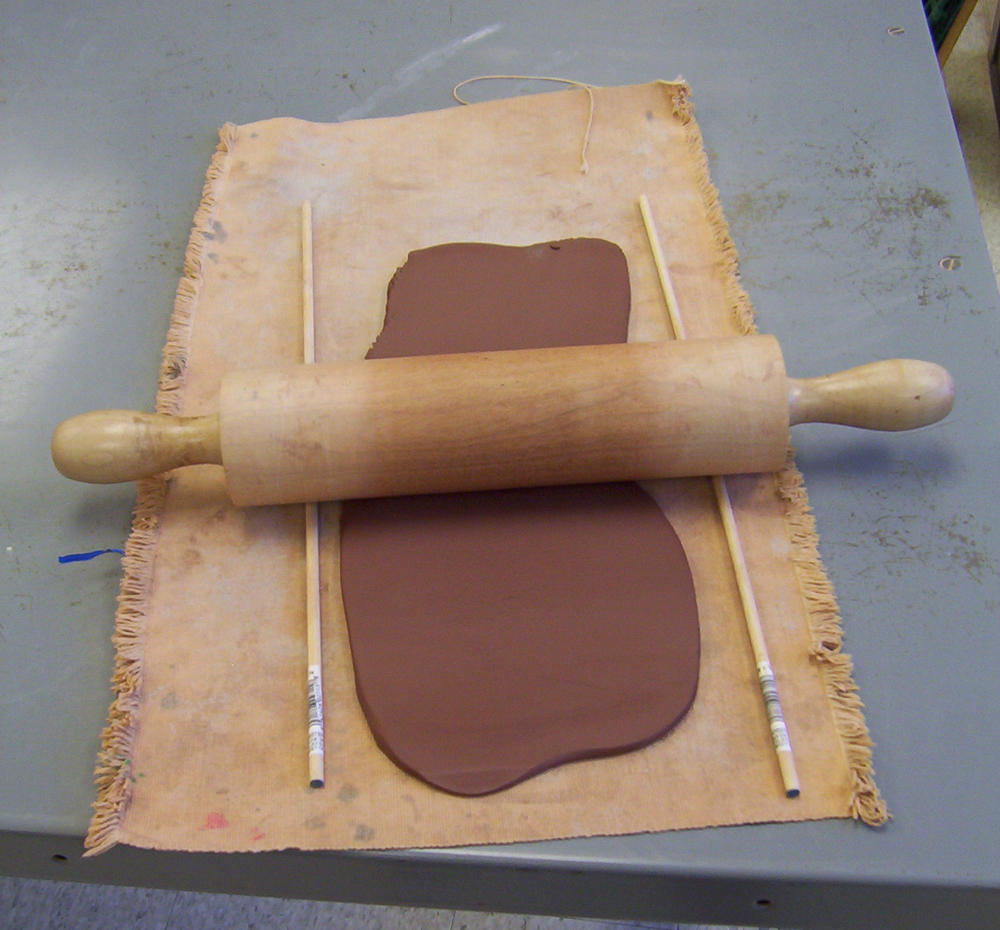
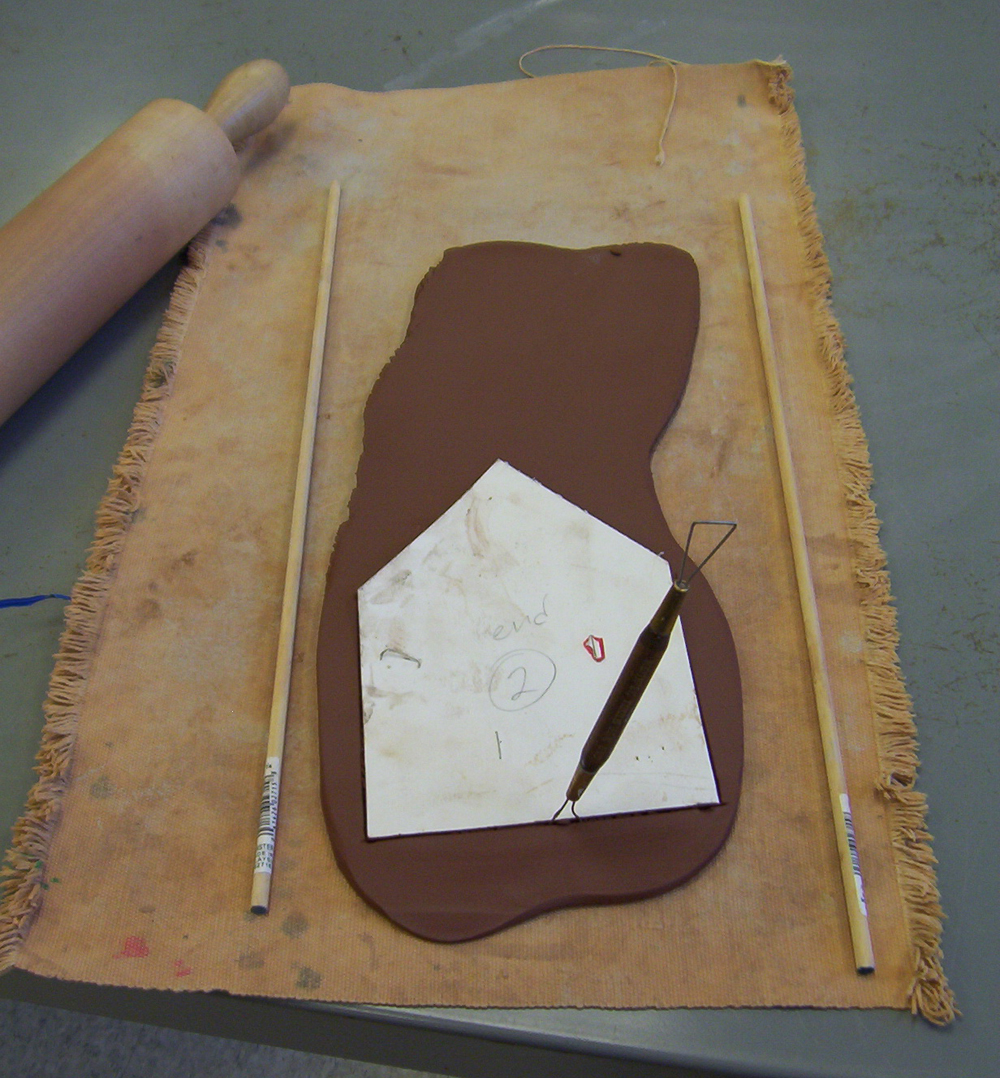
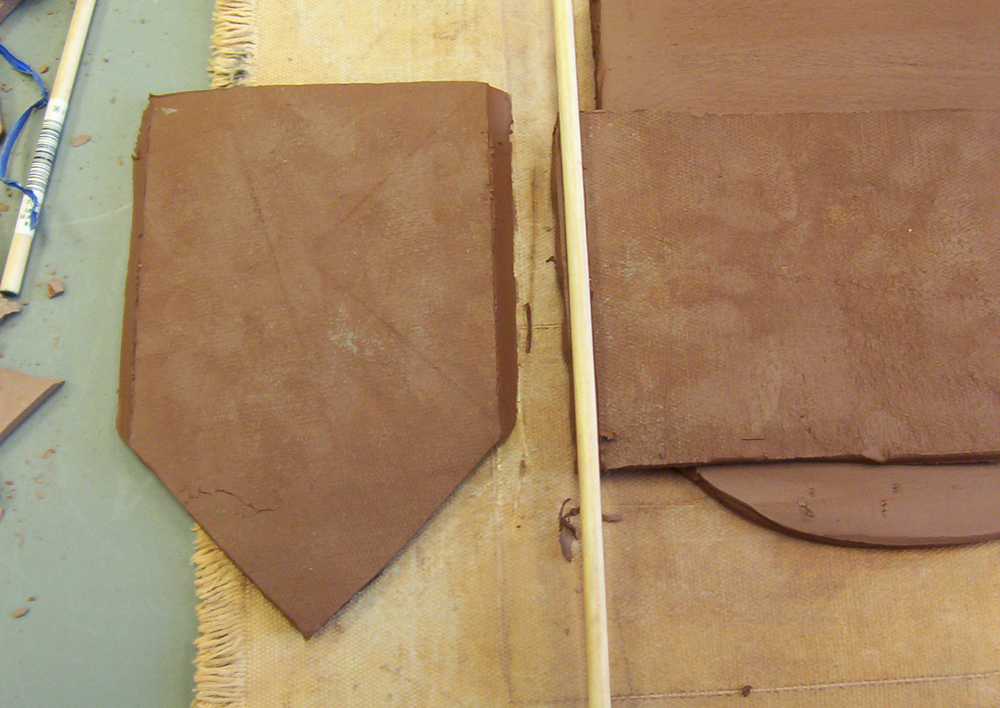
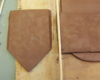
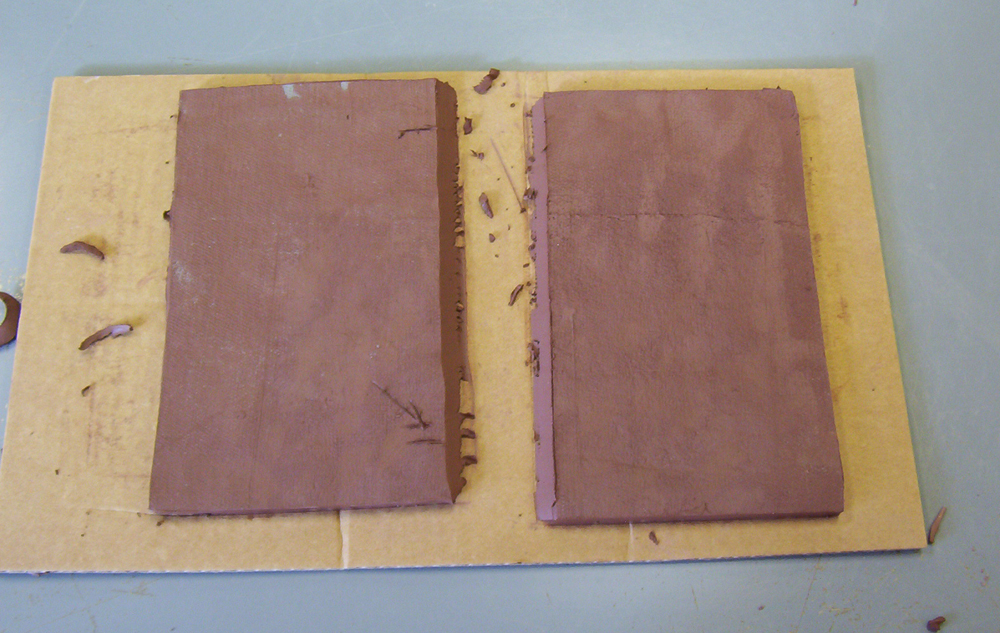
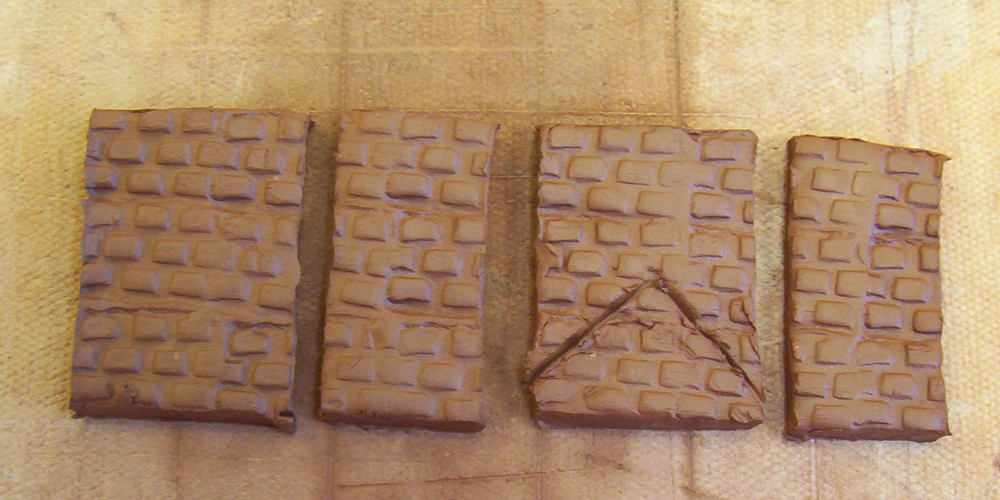
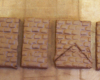
Cut a piece of clay and roll it out on a heavy piece of canvas with a rolling pin. The rolling pin should be supported by two ¼-inch dowels, one on either side of the rolling pin; you can go up to as thick as 3/8-inch if you wish. Note: It’s important all your clay pieces are the same thickness. It shrinks slightly as it dries, usually under 10% for most clays. The shrink factor is usually listed in the catalog.
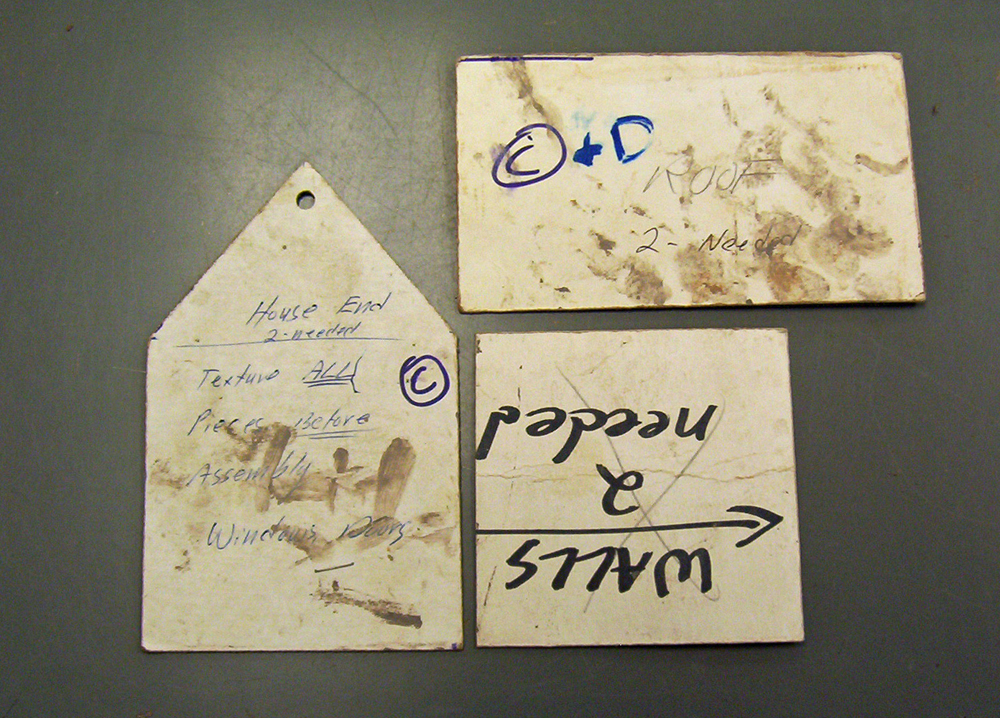
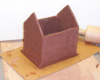
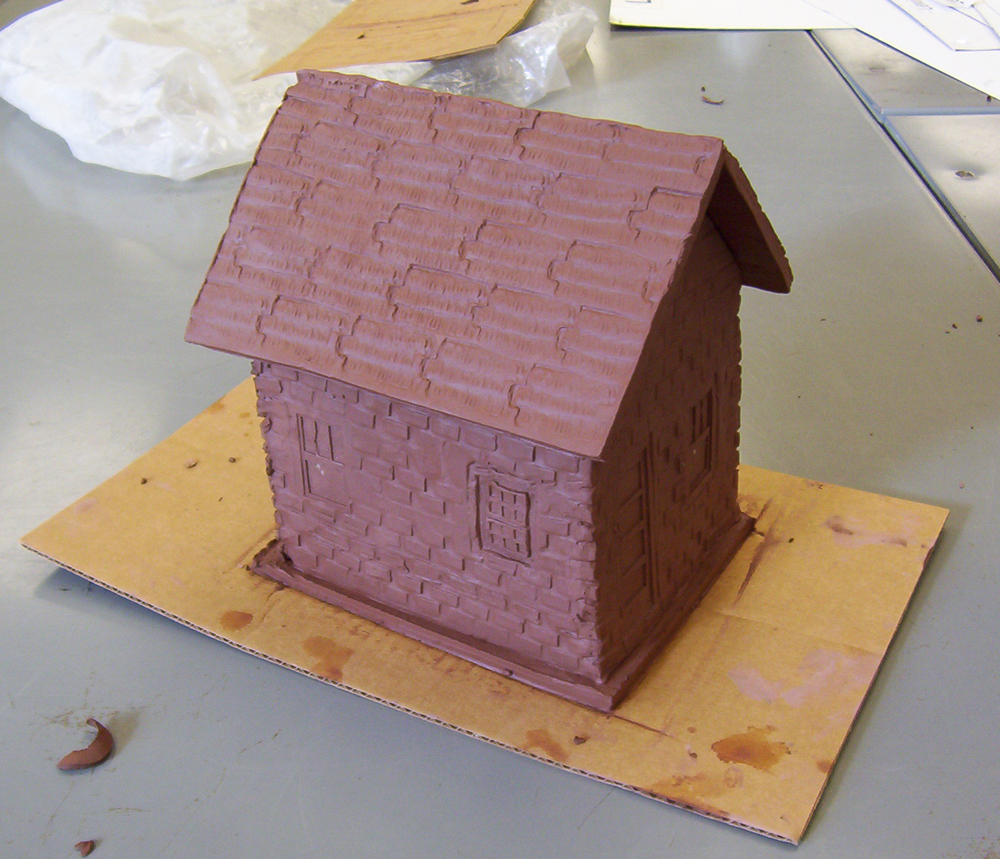
For a simple house, you only need one wall pattern, one end pattern and one roof pattern use each pattern twice. For the base, I have discovered it is generally best to not have sidewalks or a long edge around the house’s perimeter, as this often gets broken. I recommend making a concrete base on your railroad and setting the house on it instead.
It is best to texture the walls right after cutting, while the clay is still laying on the canvas. Pressing in the various textures and windows and doors will distort the pieces somewhat, although you can re-trim them using your pattern. Sometimes it will seem that the clay will not come up off the canvas. If this happens, lift the canvas and peel it back from the clay.
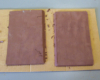
After all the pieces are cut, place them on a piece of cardboard, layer paper towels in between pieces, place them in a plastic bag, and allow to set overnight. You want the clay to firm up a bit before assembly.
Assemble the structure pieces
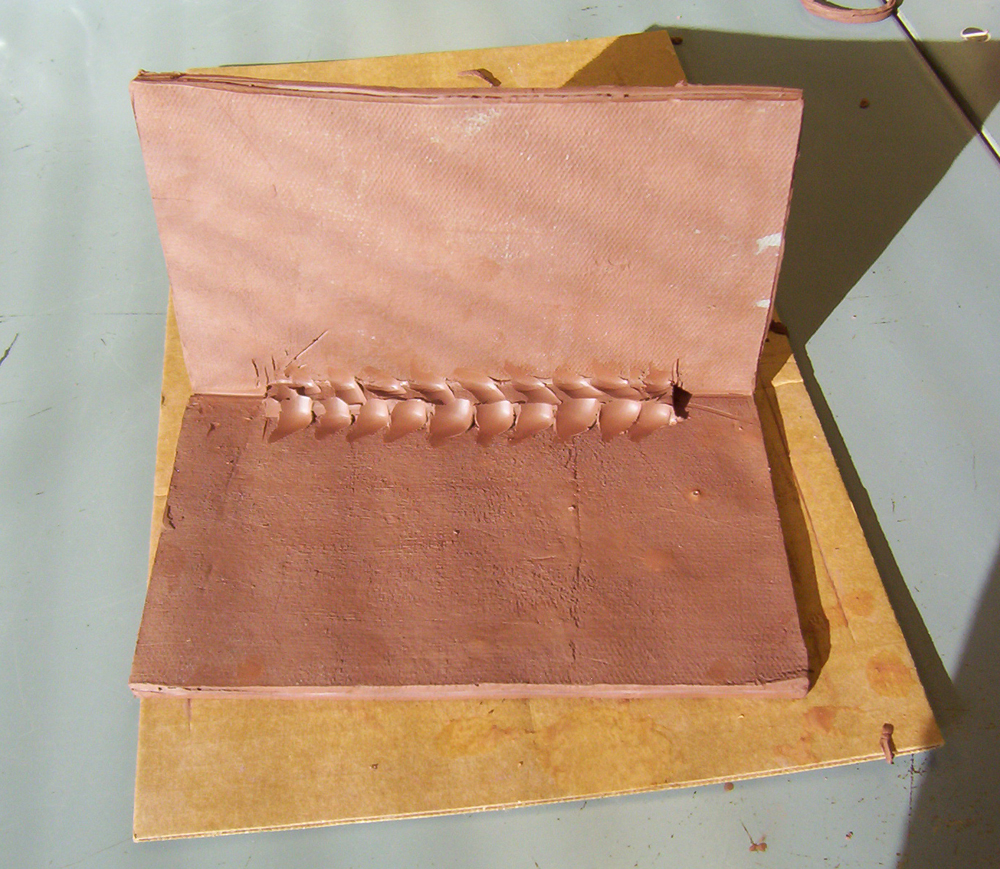
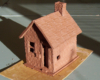
Before starting assembly, it’s best to bevel wall ends at a 45-degree angle, so you do not have an unfinished end showing on the corners. I use a dowel to draw a line on the edge, then make the bevel cut using a thin wire loop tool.
When you assemble the walls, rub water on the base and the edges of the wall, press the piece onto the wet clay and apply a thin coil, (or the bevel piece you cut off into the inside of the corners to hold the pieces together) and reinforce the joint. Do this on all vertical and horizontal seams.
Blend as you see in the photos–this is VERY important! This is true of any pieces you add on. For blending small pieces, such as signs, steps or mailboxes, draw around it with a pencil and that will “weld” it on fine; as long as you don’t see a black line, you are okay.
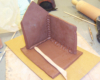
Trial fit the last two walls in to make sure you get the 3D piece in square. Once it is assembled, you may cut out window glaze for later insertion of glass/plastic. I’ve been leaving the holes cut open with no glass, since our hard water soon renders the glass opaque. Be sure to cut a hole in the bottom for running wires inside; use a fine wire to make holes for any exterior lighting you plan to attach to the building. You don’t want to be drilling holes in the walls after they are fired.
Remember, this will be brick hard when fired, so smooth any rough edges now. A wet finger or brush now can save a lot of work later.
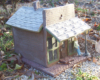
You want to dry the finished house slowly. Put a plastic bag loosely over the house, leaving the bottom open a half-inch. After two days raise it up a little more, and slowly continue to raise the bag every few days. Then drape the bag over the roof to finish drying. Remove the sack completely after a week or two. The house is dry when it is all the same color and temperature. You can then have it fired.
If you are transporting your piece to get fired, you may want to move it while it is still a bit damp, perhaps after it has dried a day or two; it’s less fragile that way. I fire most of my buildings to Cone 05. Confirm this with the location that is firing your piece.
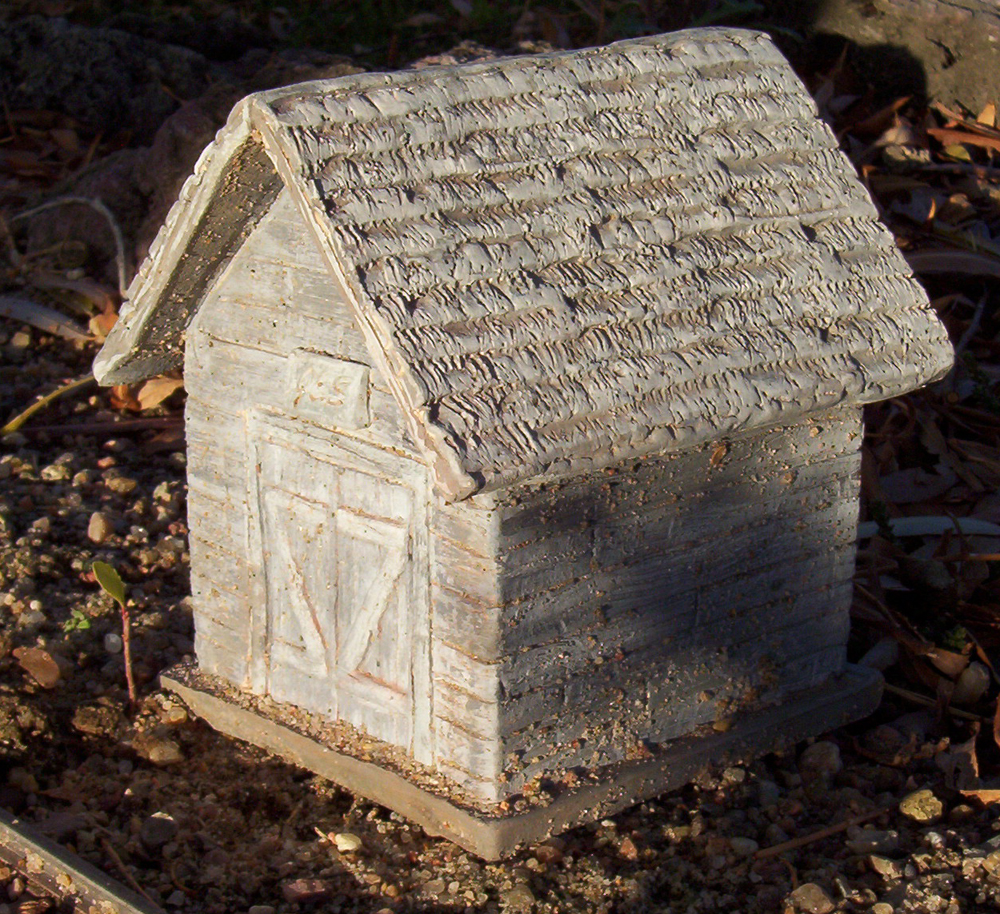
Once fired, you can leave the structure as it is, or paint it with artist’s acrylics. (Glazes are better left to the experienced potter). Set the building in your railroad upon a layer of gravel for drainage, or on top of a concrete paver or another foundation. I usually leave my buildings out all year; we have heat up to 110 and down to -40 with snow, etc. They are quite durable and have held up well.
Sources:
Minnesota Clay Company, 2960 Niagara Lane, Plymouth MN 55447800-252-9872, mnclay.com
Bracker’s Good Earth Clays, Inc. 1831 E 1450 Road Lawrence, KS 66044, 888-822-1982, www.brackers.com


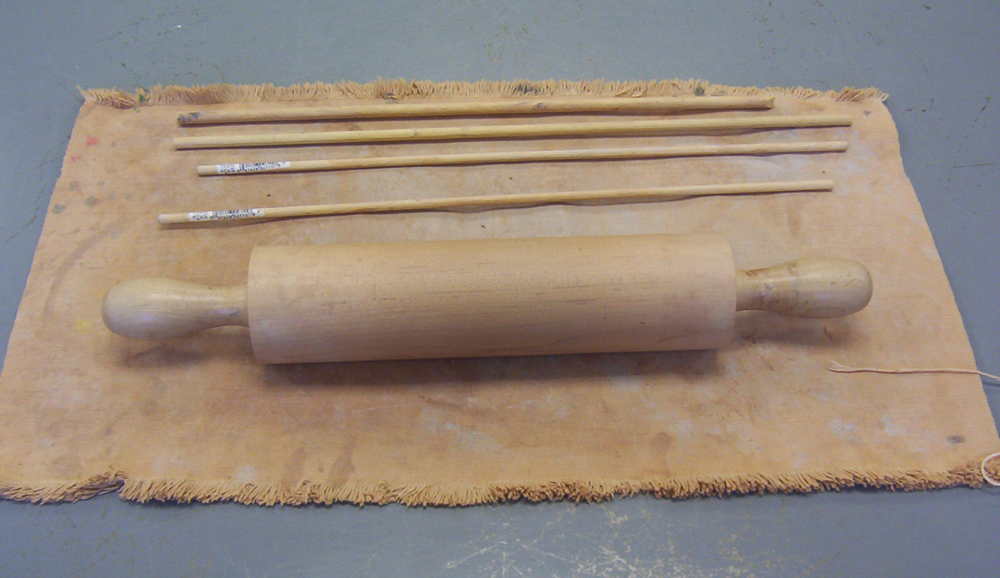
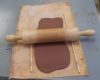
You’ll need a piece of canvas, a rolling pin, and dowels (1/4” or 3/8” diameters) to roll your clay. Photo by Jerry Barnes
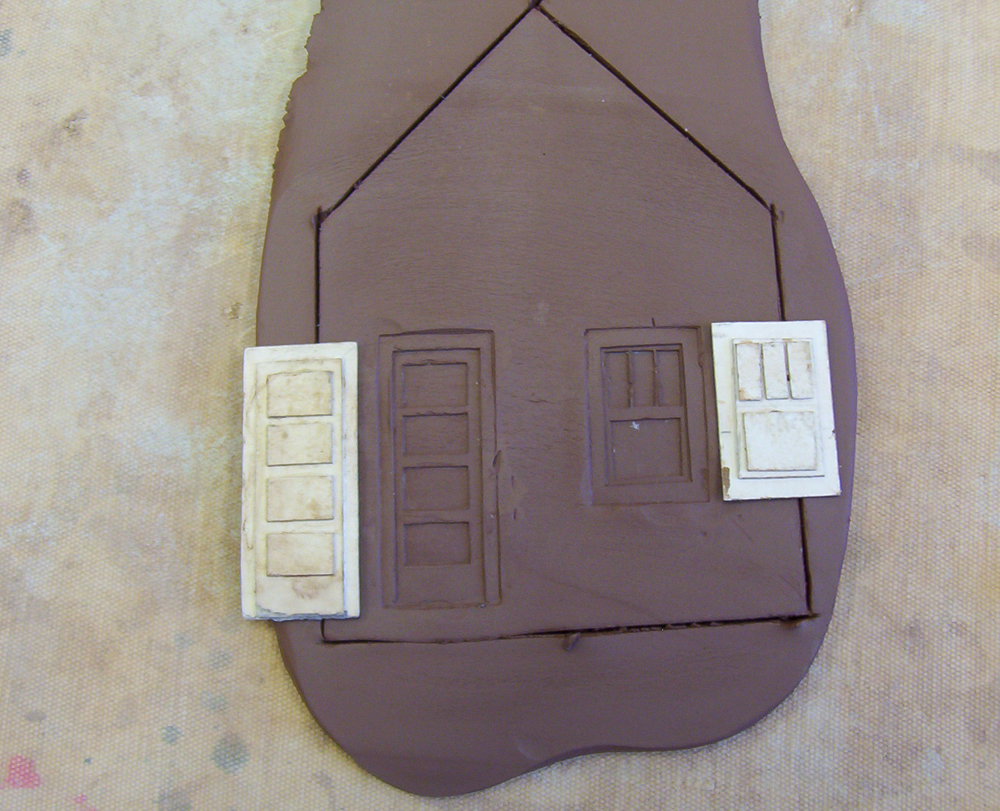
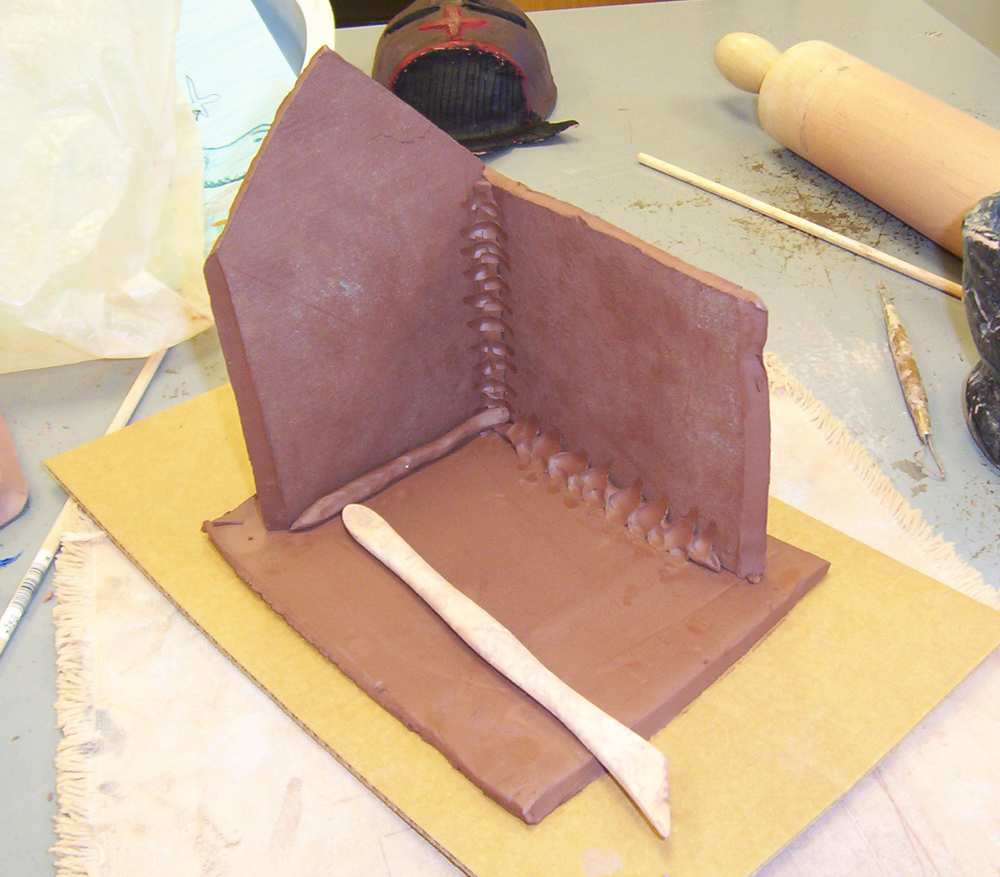
To attach the pieces, wet the edges and apply a coil of clay along the ridge. Use a tool to blend as shown. This step is VERY important to ensure the pieces remain together after firing. Photo by Jerry Barnes

Share this article