Modeling Series Spaces To Places Spaces to Places VII | Within yard limits, part 1

Spaces to Places VII | Within yard limits, part 1

By Kent Johnson | December 23, 2024

Tips and tricks for adding realistic details to an urban rail yard.

Email Newsletter

Get the newest photos, videos, stories, and more from Trains.com brands. Sign-up for email today!

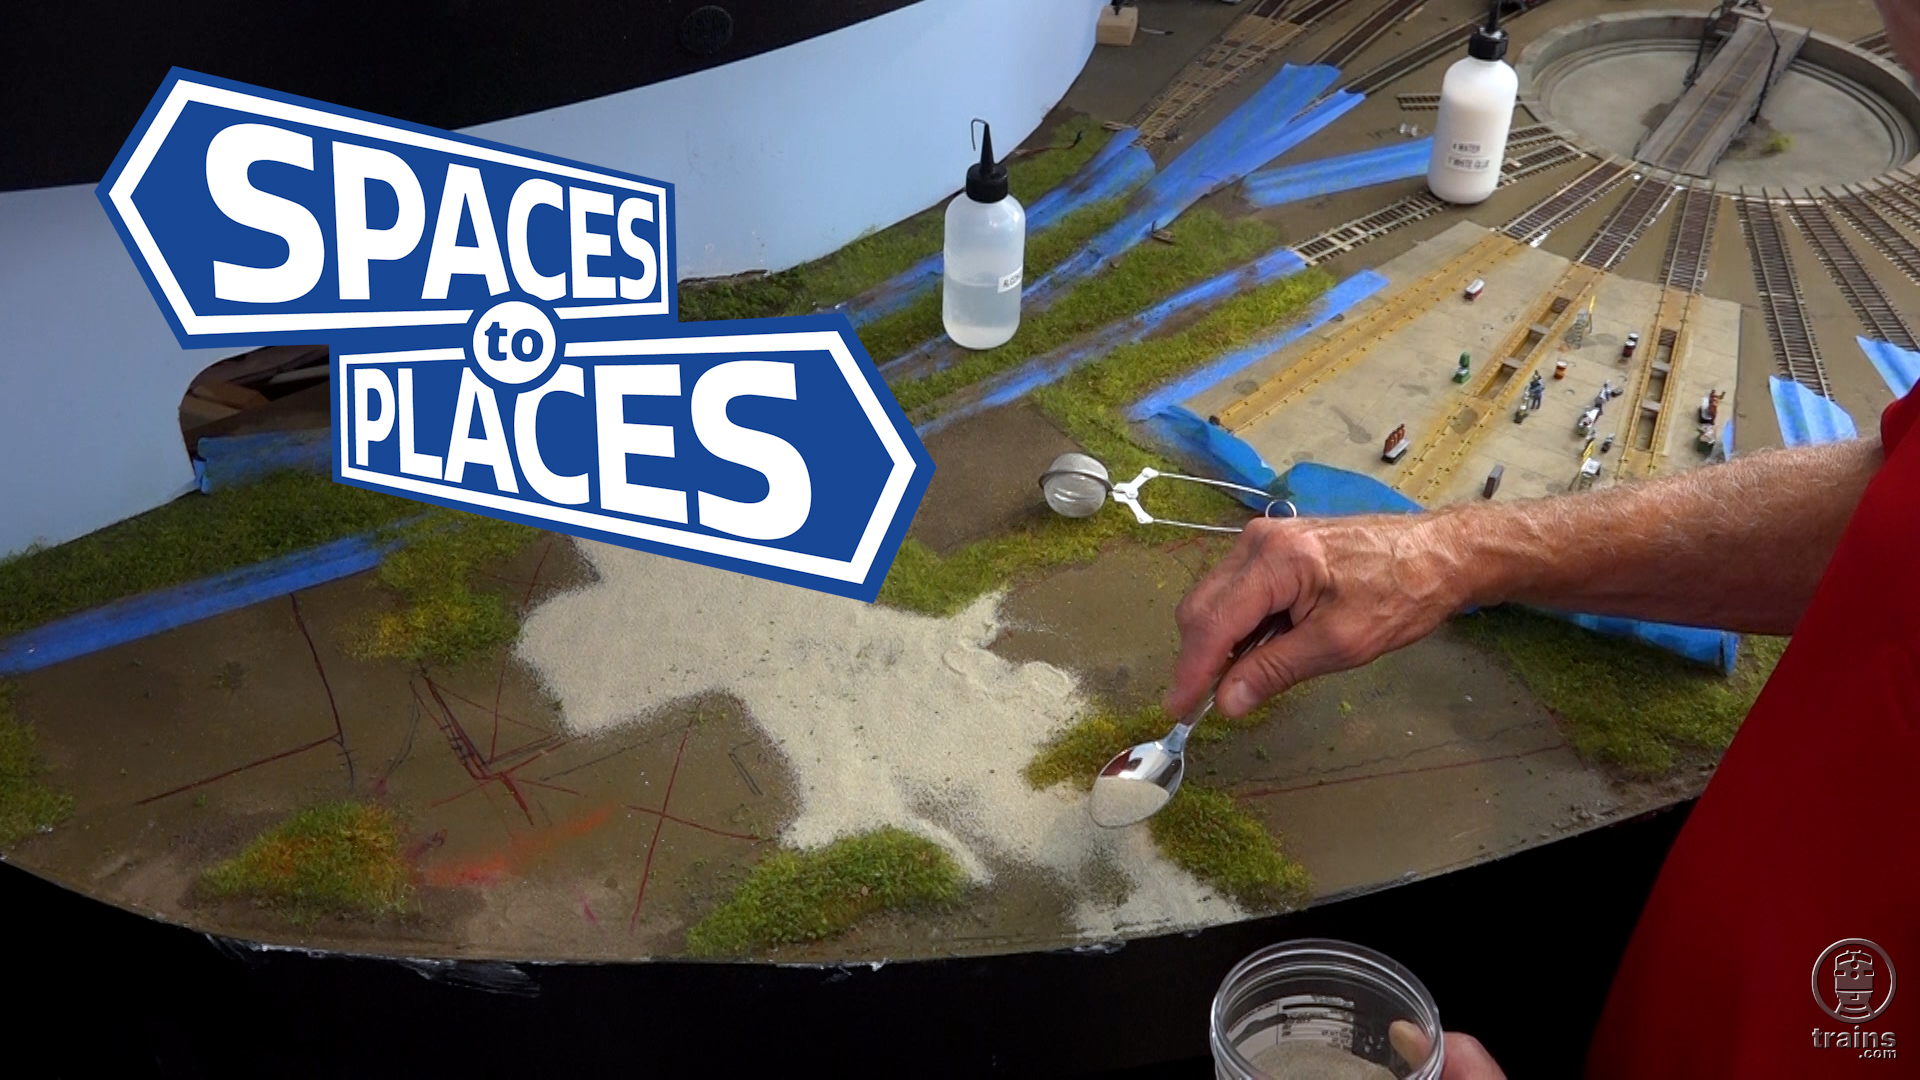
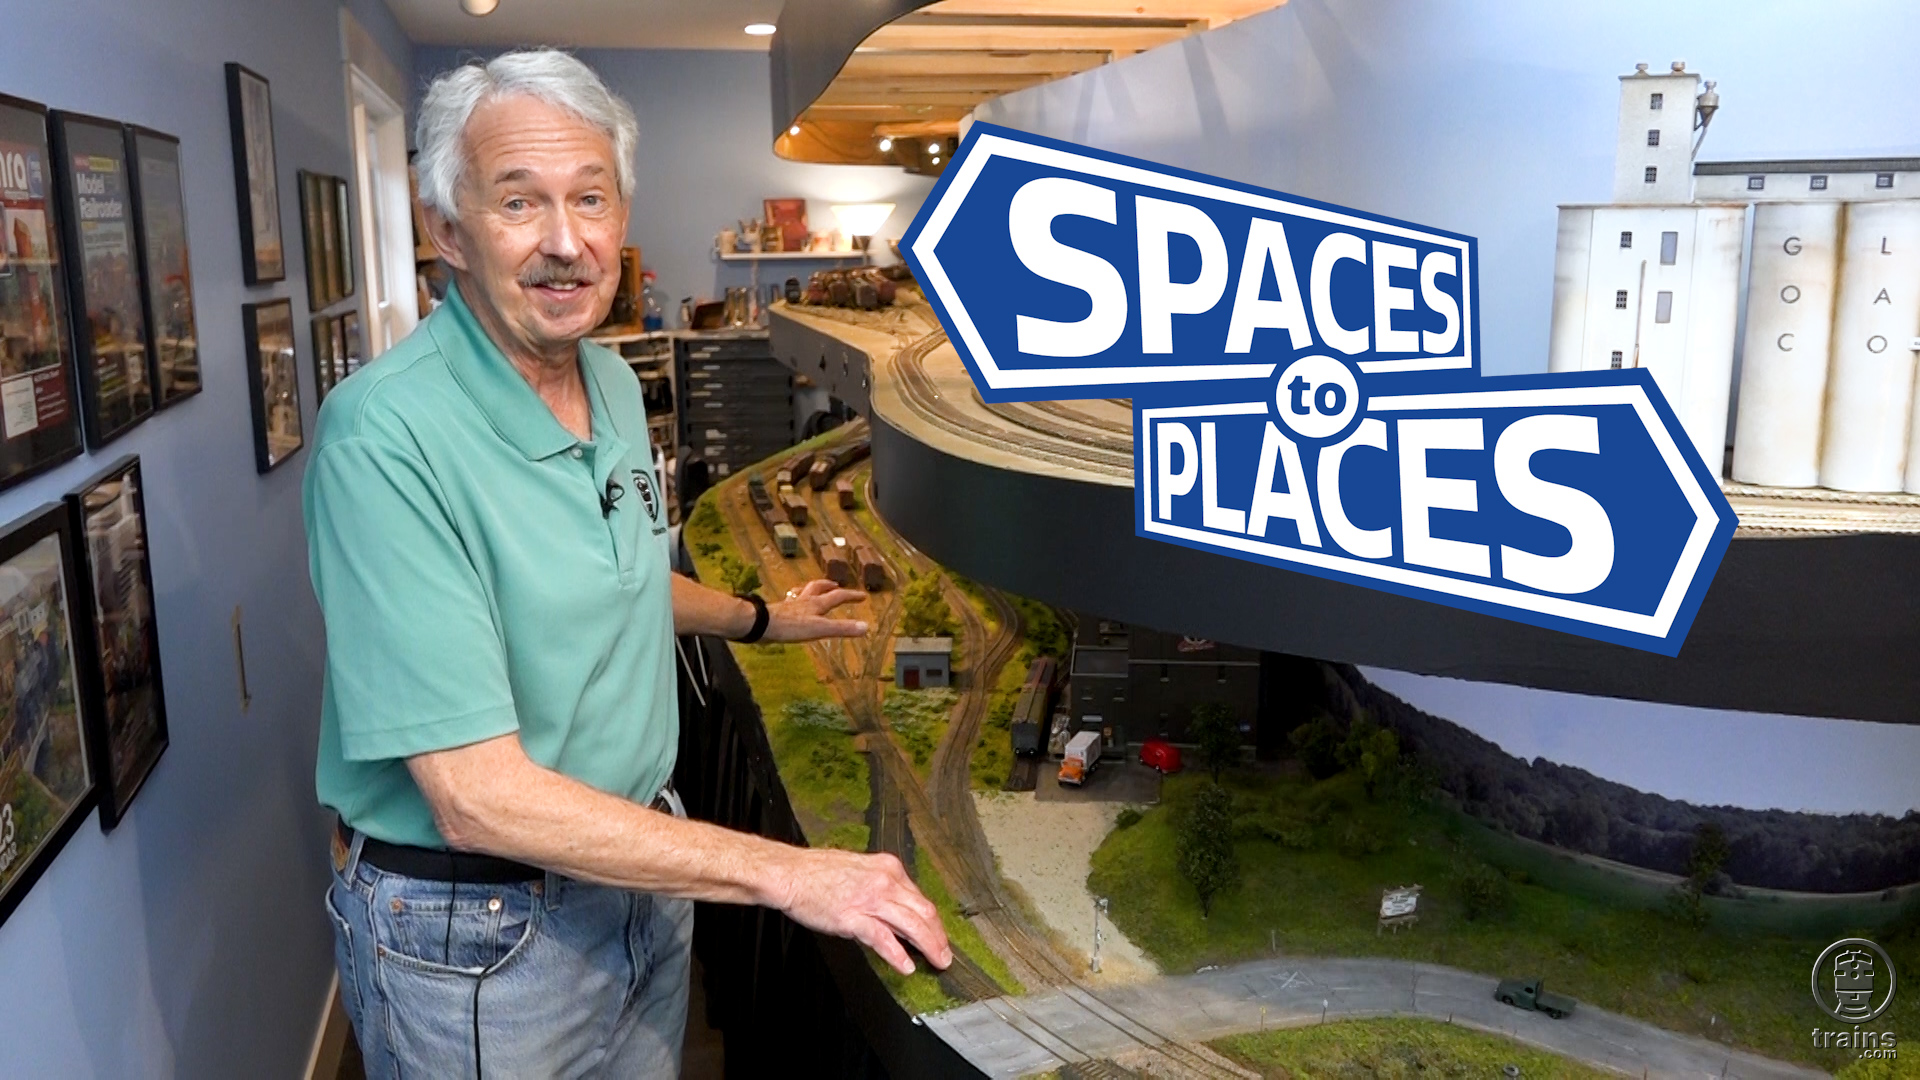
Host Gerry Leone returns to the lower level of his HO scale Bona Vista HO scale double-deck model railroad, with the intent to complete the yard adjacent to the scenes featured in Spaces to Places V. Follow along as he first plans, and then adds urban scenery and structures, plus plenty of gritty, attention-getting details, to the layout setting!

Want to see more of Gerry’s work on a classic, familiar format? Look for his Turning Spaces into Places Vol. 1: Rural Scenery DVD, available from the Trains.com Store!

4 thoughts on “Spaces to Places VII | Within yard limits, part 1

  1. Good episode, Gerry; quite informative. I like your explanation of how you keep your points and throw rods from getting glued down. I have a similar technique but am using silicone from an aerosol can. By using the spray tube, I can direct the silicone where it is needed. After ballasting, and with a slight bit of “coercion”, everything works without a hitch. ?

  2. A nice counterpoint to the scenery development would be a few shots of trains actually moving purposefully across the layout. Or some brief classification of cars on the “finished” yard. You could show off the types of cars and locos, both freight and passenger, that will live and work on this new layout. Think about it.

  3. Gerry, To give the yard ballast a wear, tear and worn look I mix a combination of white, brown, some black powder tempera (Crayola powder paint is one brand) and I will spread/springle it around the yard. I then wet agent it and then give a coat of Elmer’s glue/water to bond it. It provides a nice variation and mild color in the yard. Of course the mixture etc. can be to your liking or blend with or compliment your yard ballast. I also slightly dig our some spots and add gloss or something similar to give and impression of wet spots. I don’t spread heavy material in the yard since the railroad likes to keep fairly clean so switchmen do not trip and get injured.
    For the center of my main line track I use a blend of black with very small mix of white tempera . I use a small brush and spread it lightly down the middle of the main line track. I then use the same bonding approach. I believe this gives a nice appearance of oil droppings etc left by engines and cars as they roll down the track. I have even used just black tempera around turnouts to show oil or lubricant residue.
    The tempera settles into the ballast nicely.

  4. Another great episode Gerry – lots of good tips and techniques. Finished classification yard looks awesome!
    Merry Christmas, Happy Holidays and Happy New Year to you and your family.
    Are you heading to Springfield again at the end of January?
    Artie

You must login to submit a comment