Modeling Series Spaces To Places Spaces to Places VI | Fixing a wayward waterway, part 2

Spaces to Places VI | Fixing a wayward waterway, part 2

By Kent Johnson | August 15, 2024

| Last updated on August 19, 2024


Gerry works to revamp a river scene along the top deck of his layout.

Email Newsletter

Get the newest photos, videos, stories, and more from Trains.com brands. Sign-up for email today!

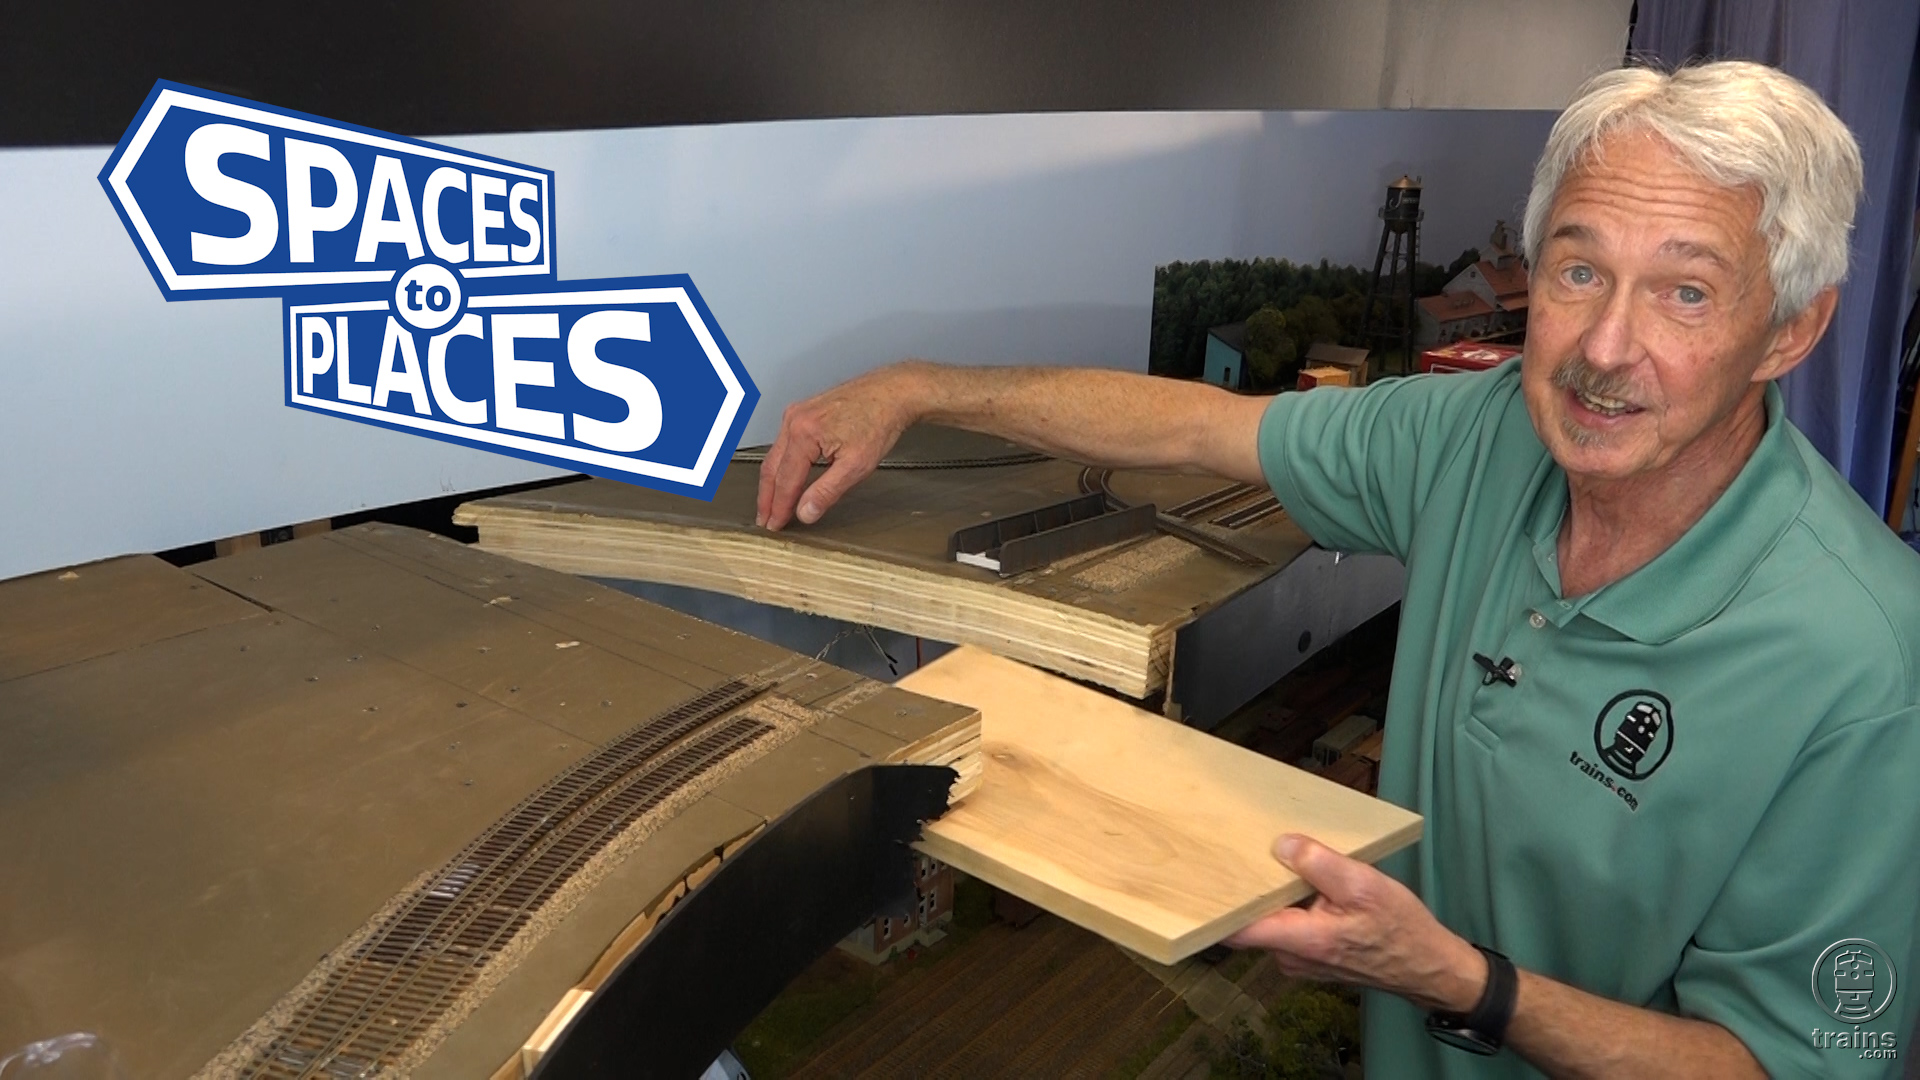
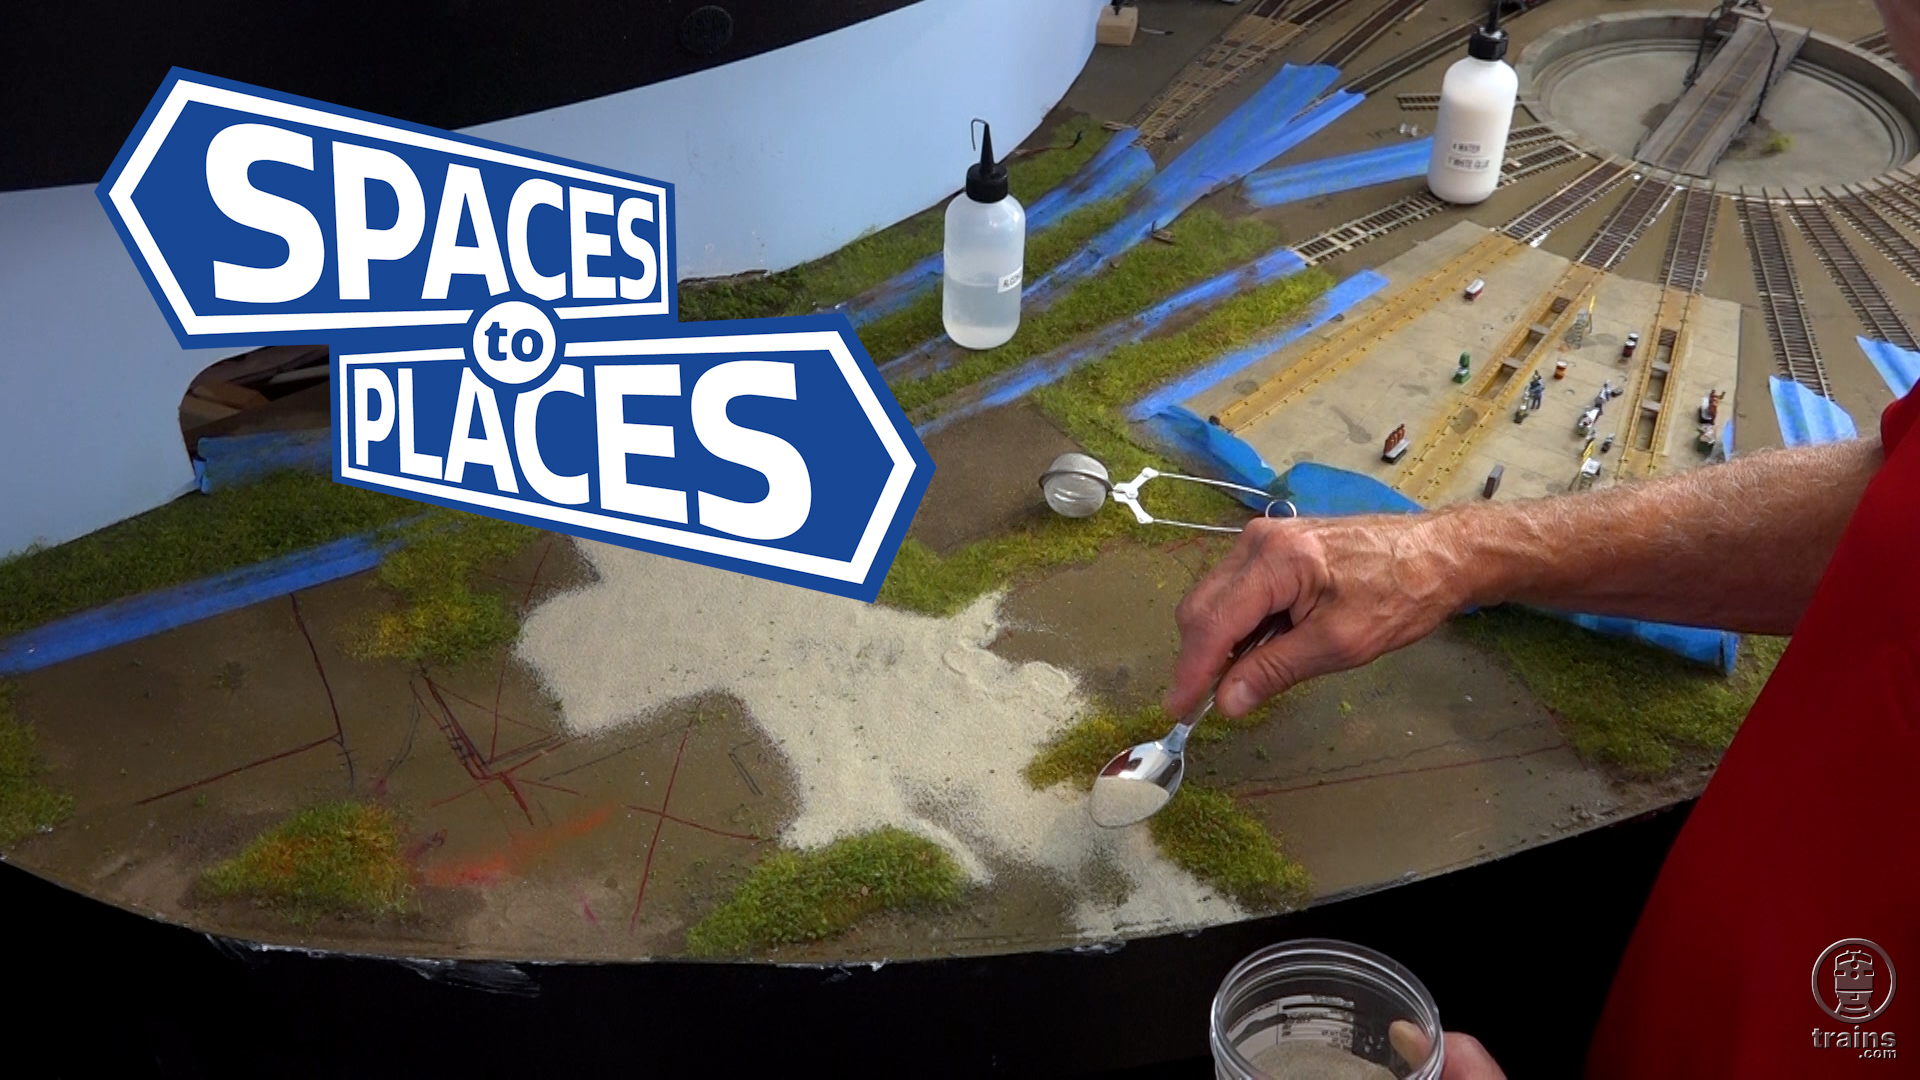
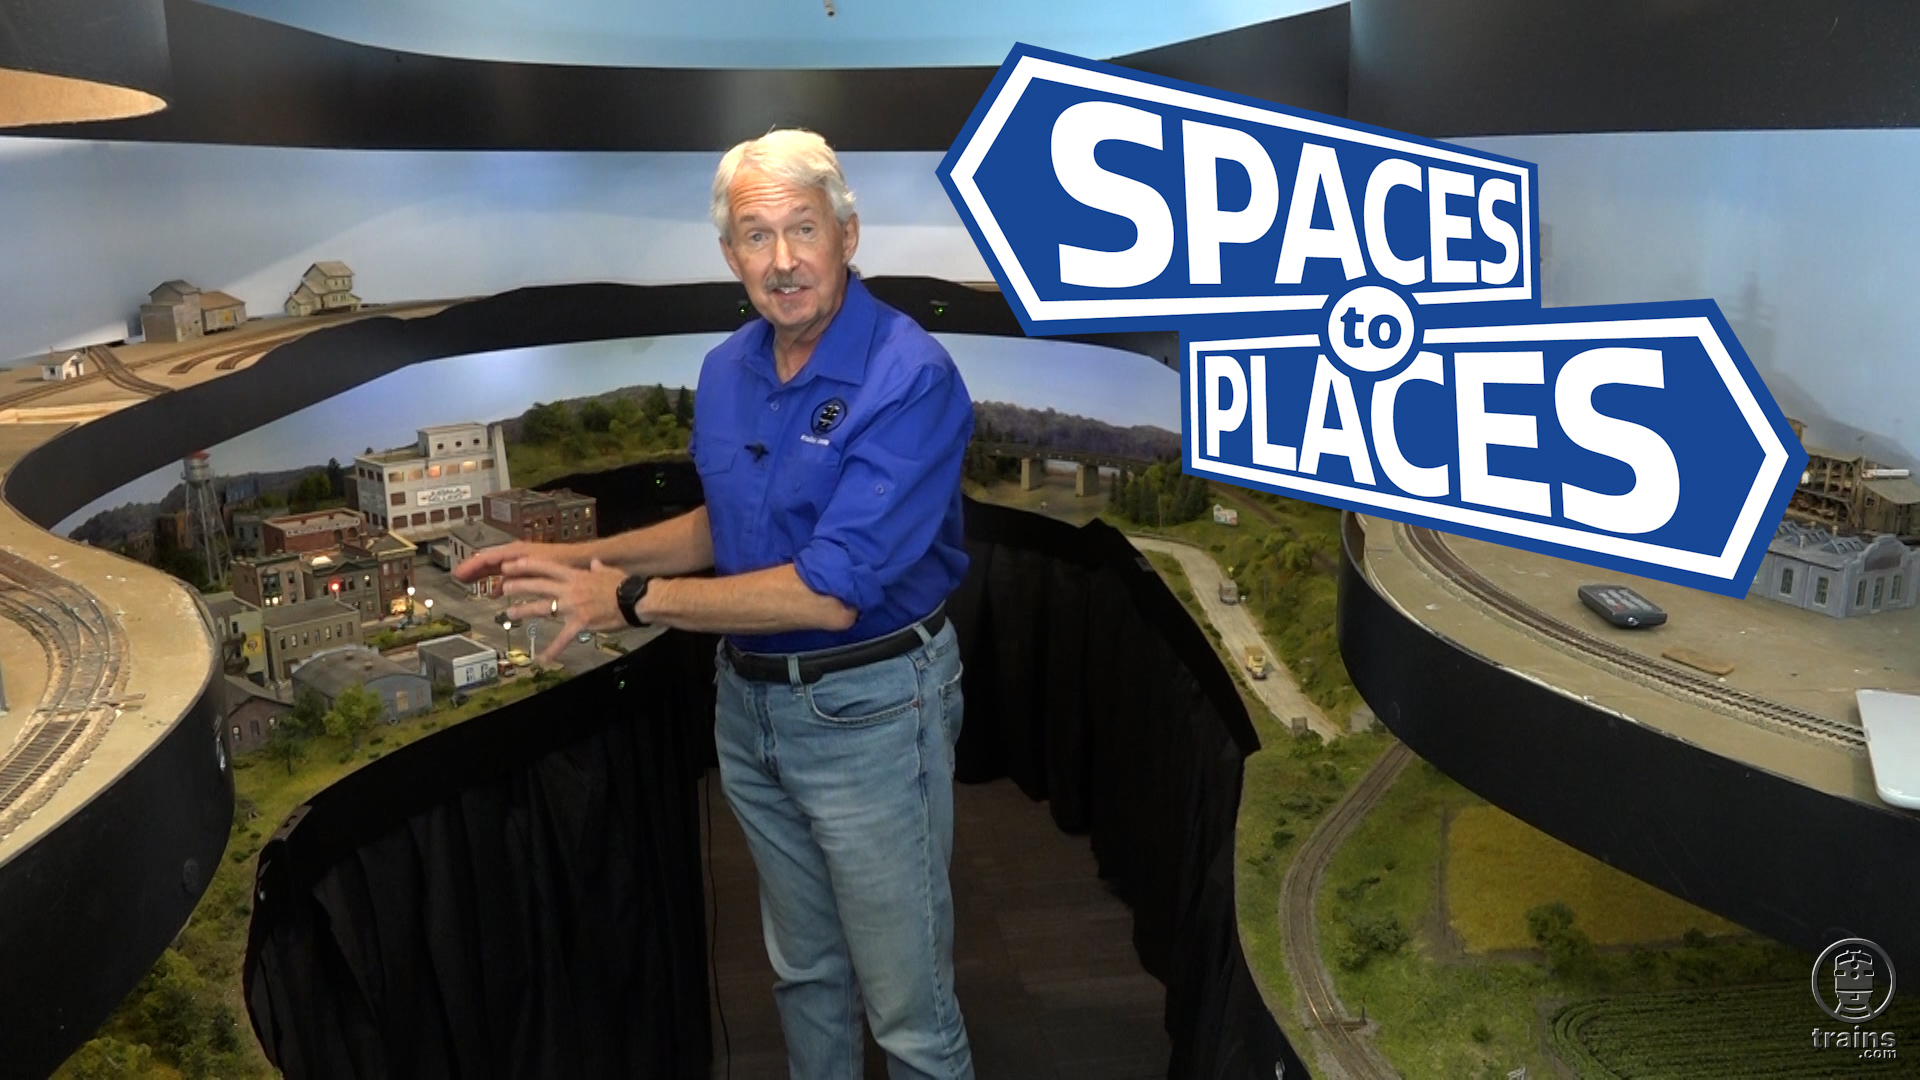
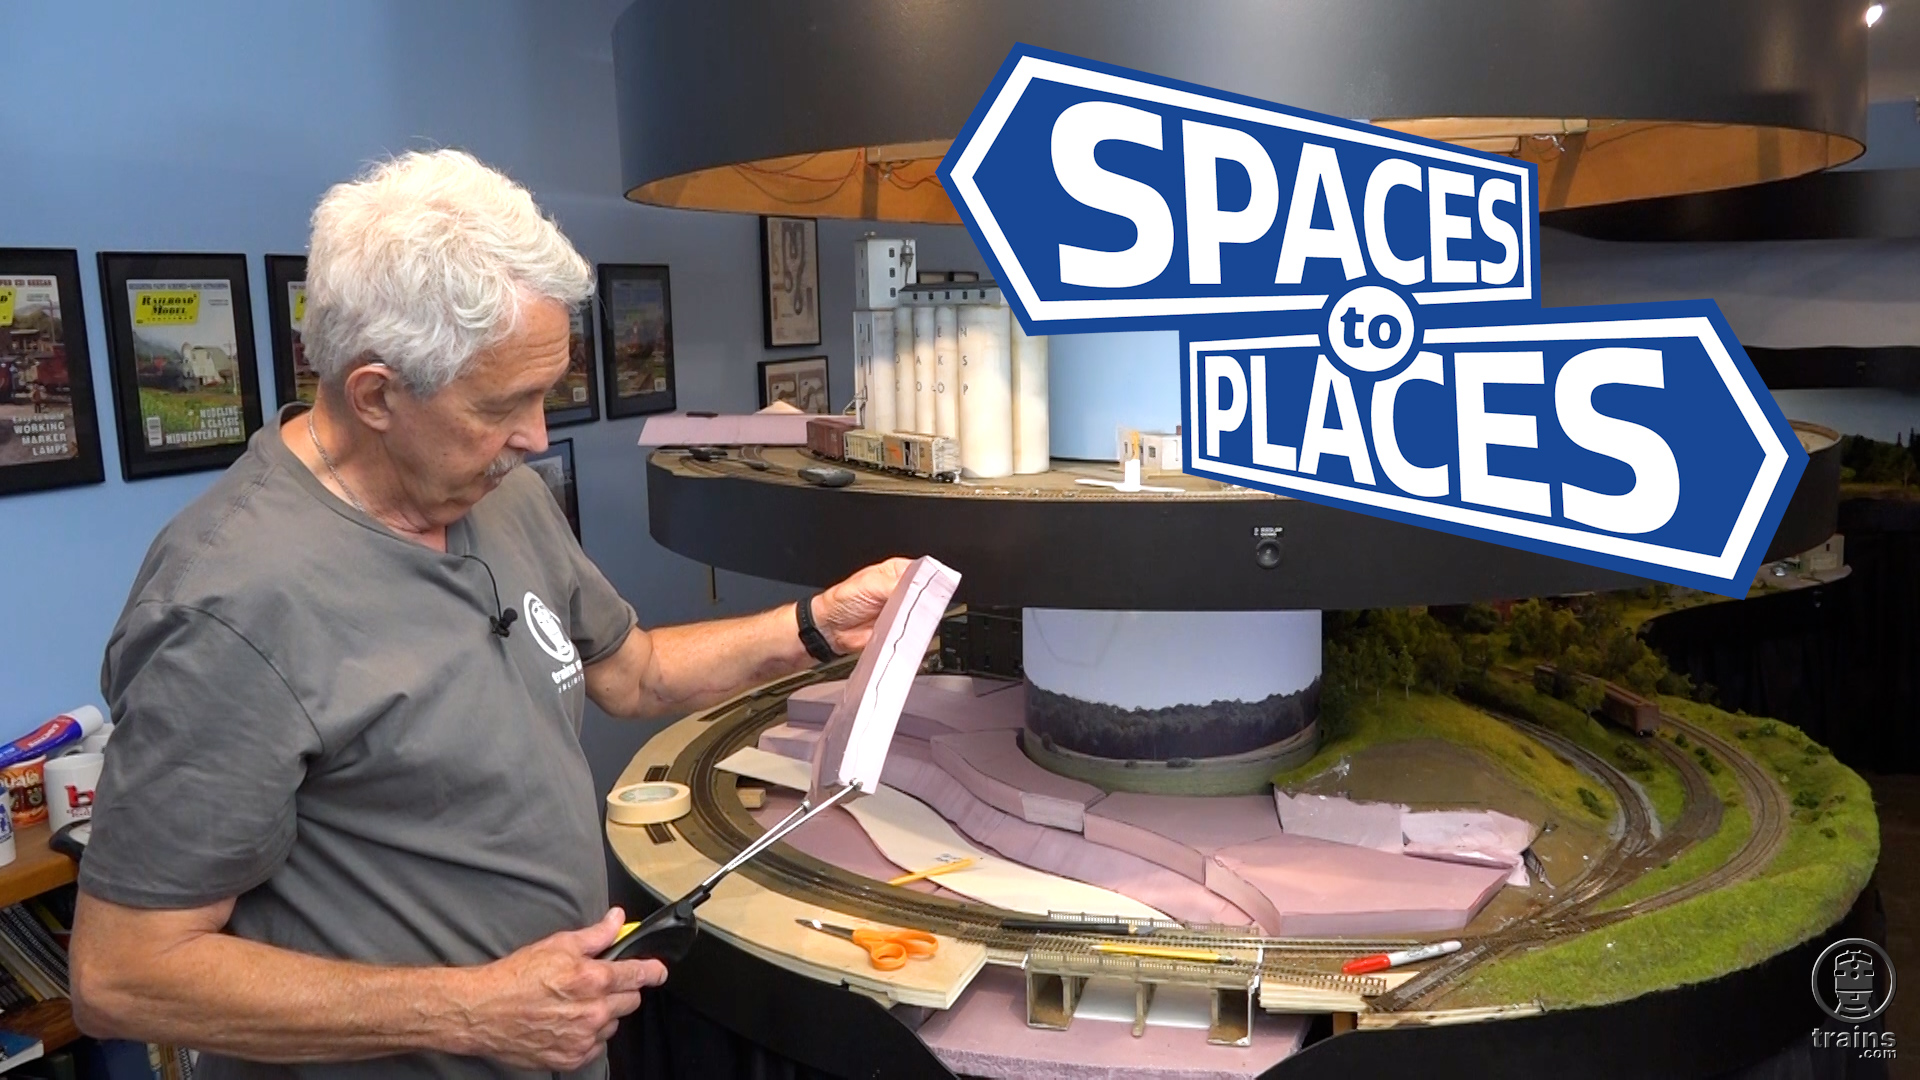
Host Gerry Leone left us with a bit of a cliffhanger in his quest to remake a wider, curved river for his Bona Vista HO scale double-deck model railroad. In this episode, he shares the plan and his efforts to move forward with the required deconstruction and reconstruction (…and even re-reconstruction — don’t ask, you’ll have to watch)!

Want to see more of Gerry’s work on a classic, familiar format? Look for his Turning Spaces into Places Vol. 1: Rural Scenery DVD, available from the Trains.com Store!

7 thoughts on “Spaces to Places VI | Fixing a wayward waterway, part 2

  1. Gerry:

    I would wager that those air holes on the side of your jig saw are to keep the motor cool. I wouldn’t keep those holes blocked long-term.

    Hope this helps,
    Dave

    1. True, Dave, and the tape came off as soon as I was done. It wasn’t that tough of a job for the saw, so I wasn’t worried about overheating.

  2. LOTS of cutting and shaping going on Gerry! I’m curious if you had considered using plywood for ONLY the river bottom, and using extruded foam along the sides? So much easier to cut and contour the foam as opposed to thick plywood… and cheaper.
    Also, gotta ask…. When you were using the jigsaw to do your original cuts, cutting across the back parallel to the backdrop (about 6:13 into the video)… how did you avoid hitting the shelf bracket with the saw blade?

    1. Second question first: rewind to about 5:20 and you can see the green lines where I made the cuts. And even tho it looks like I’m cutting the plywood parallel to the backdrop, I think I just cut a little piece of it, since the back edge of the plywood is only an inch or two behind the backdrop, so the plywood could just slide out.

      As for the foam river sides, yup I could have used foam there. HOWEVER, the sides of the river are STRUCTURALLY important because they — along with the river bottom — are what’s holding the left side of the plywood and the right side of the plywood together and keeping the top of the plywood on both sides even with each other. Good question, tho!

  3. Question Gerry – since the riverbed is made up of separate pieces of plywood have you ever considered applying some kind of sealant to the bottom of it before attaching to the upper deck – something to further prevent any of the river pour leaking through?

    1. Good question, Artie. No, I never considered sealing the underside, I guess mostly because the river “water” would have to seep through 3/4″ plywood, which, I think, is pretty unlikely. In the next episode you’ll see how I seal the bottom of the TOP side of the river with two layers of material to keep the “water” from leaking through the plywood seams.

  4. Another enjoyable lesson by the maestro! Unlike us mere mortals you run into and tackle the unexpected obstacles with a calm demeanor (although I bet there is some serious editing going on behind the scenes) 🙂
    And I “enjoy” the fact that you, like many of us, make changes to existing parts of the layout before the whole layout is even finished (if any layout is really finished!)

You must login to submit a comment