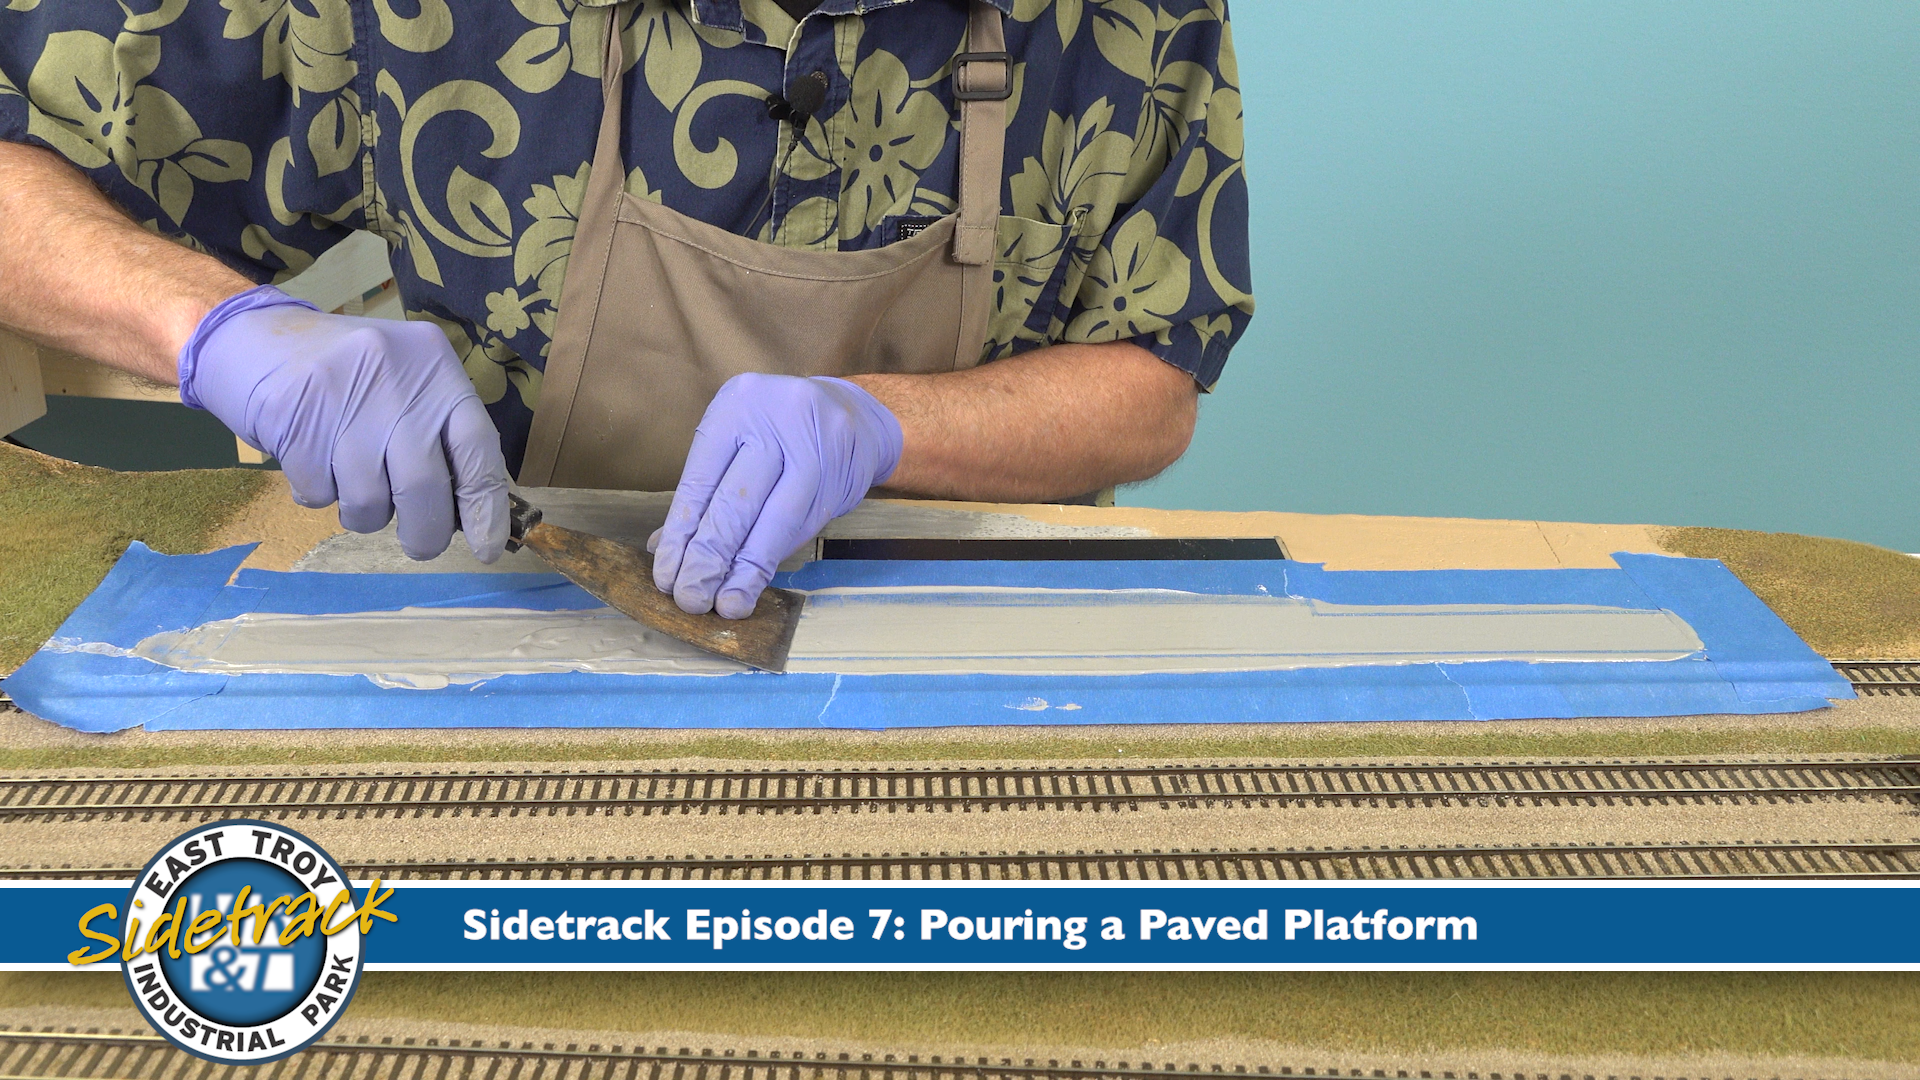
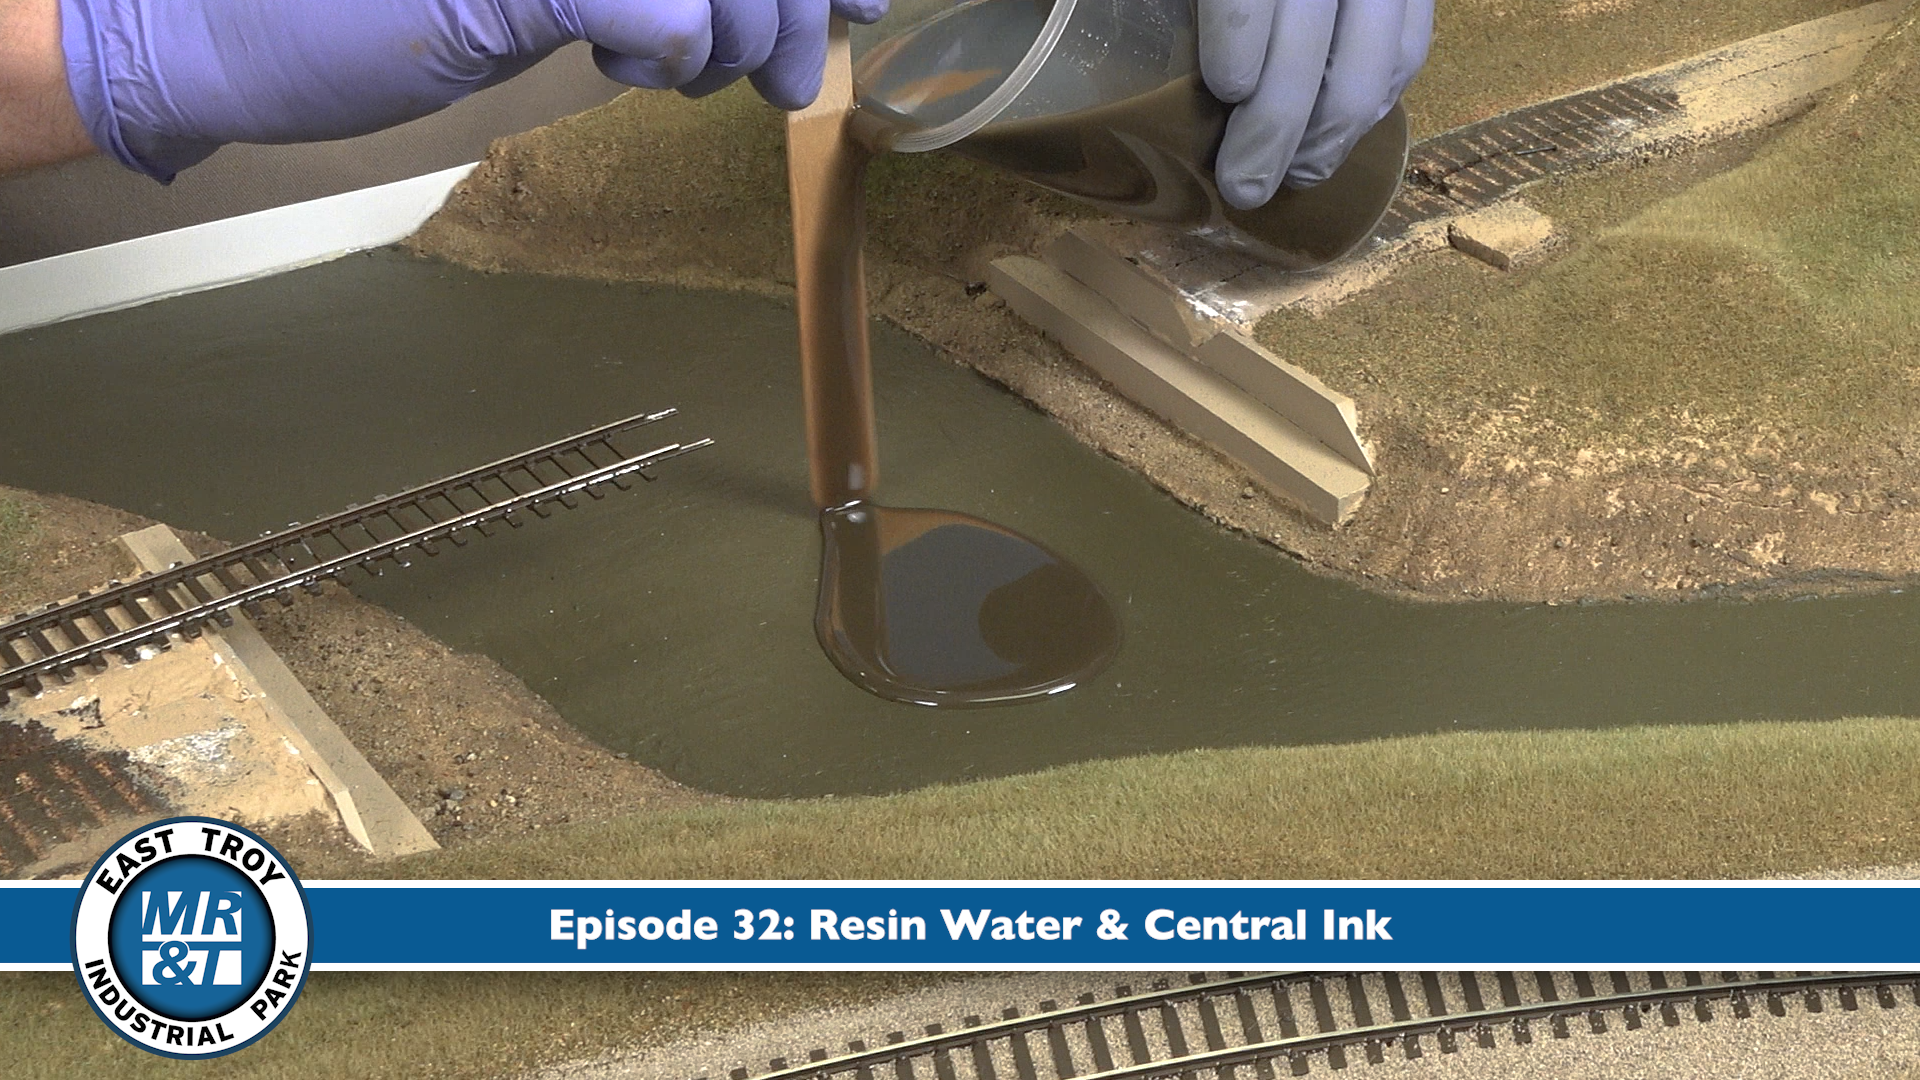
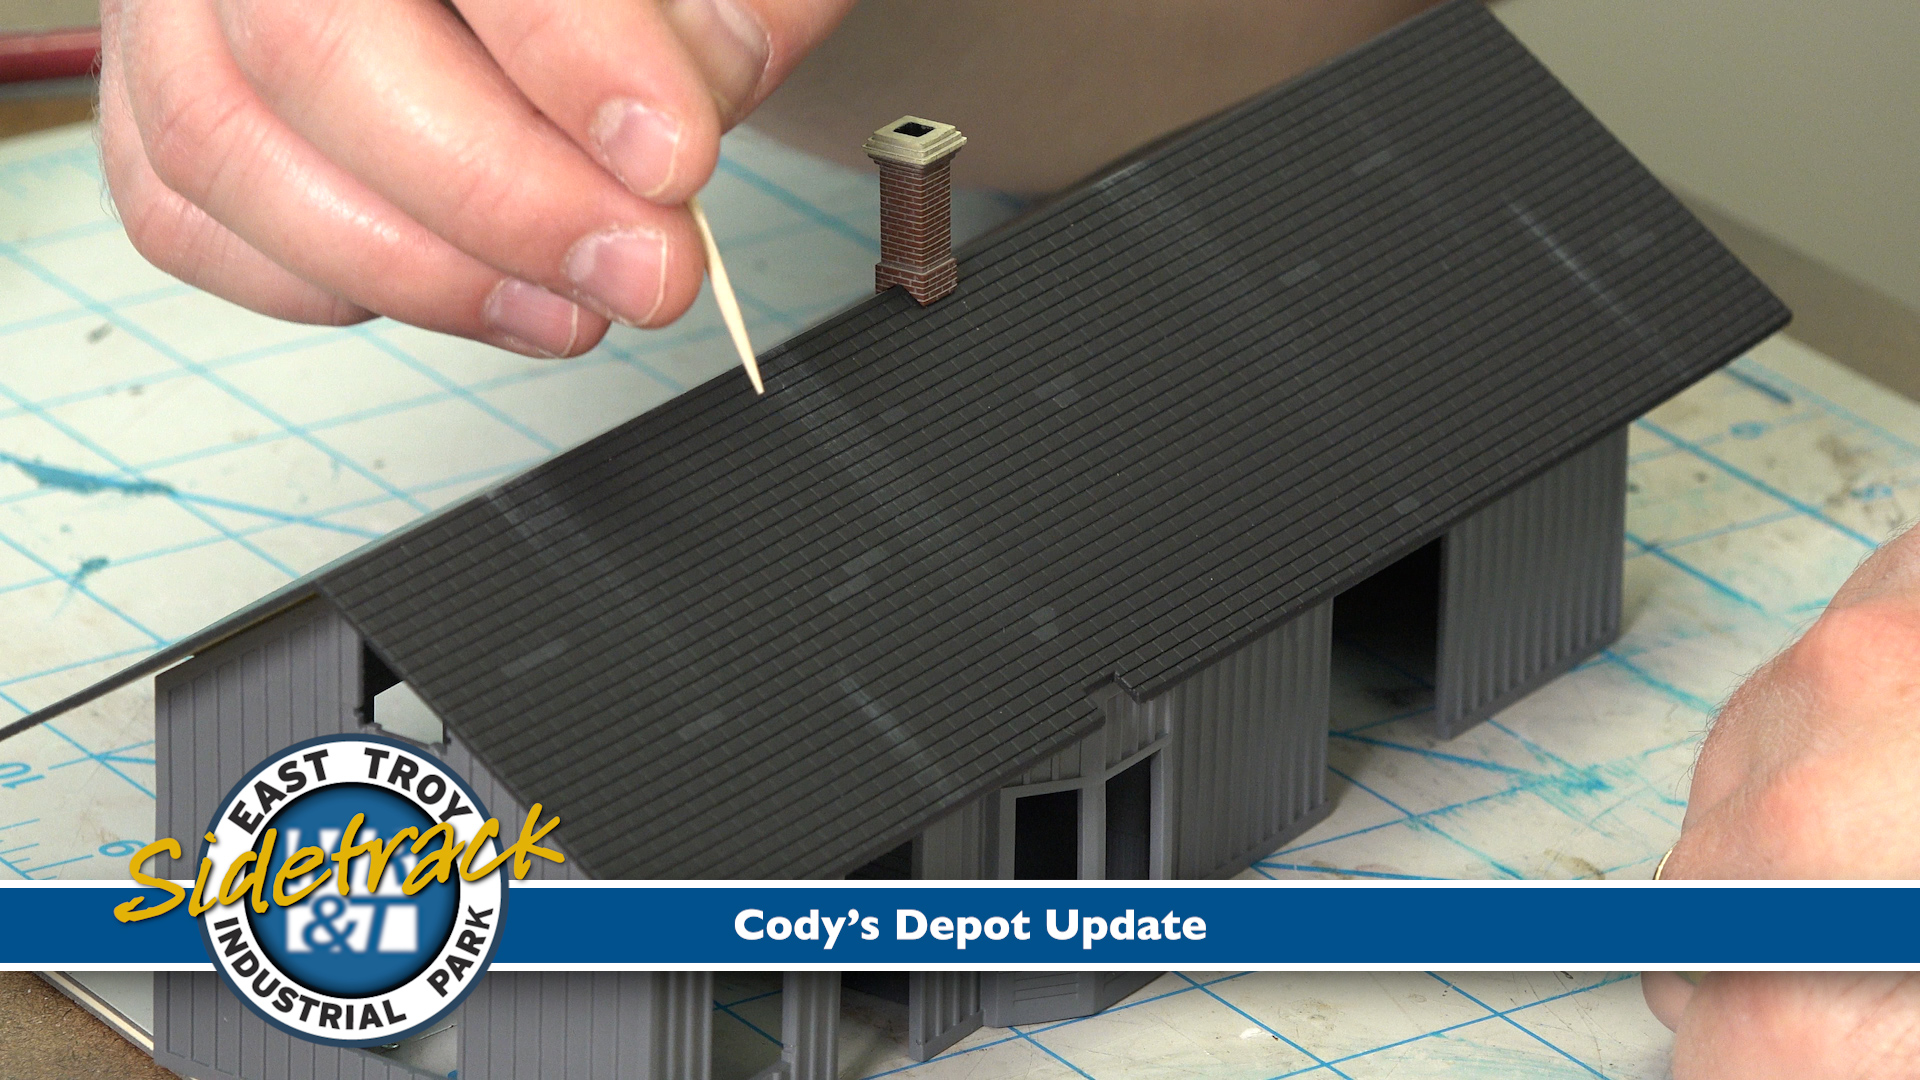
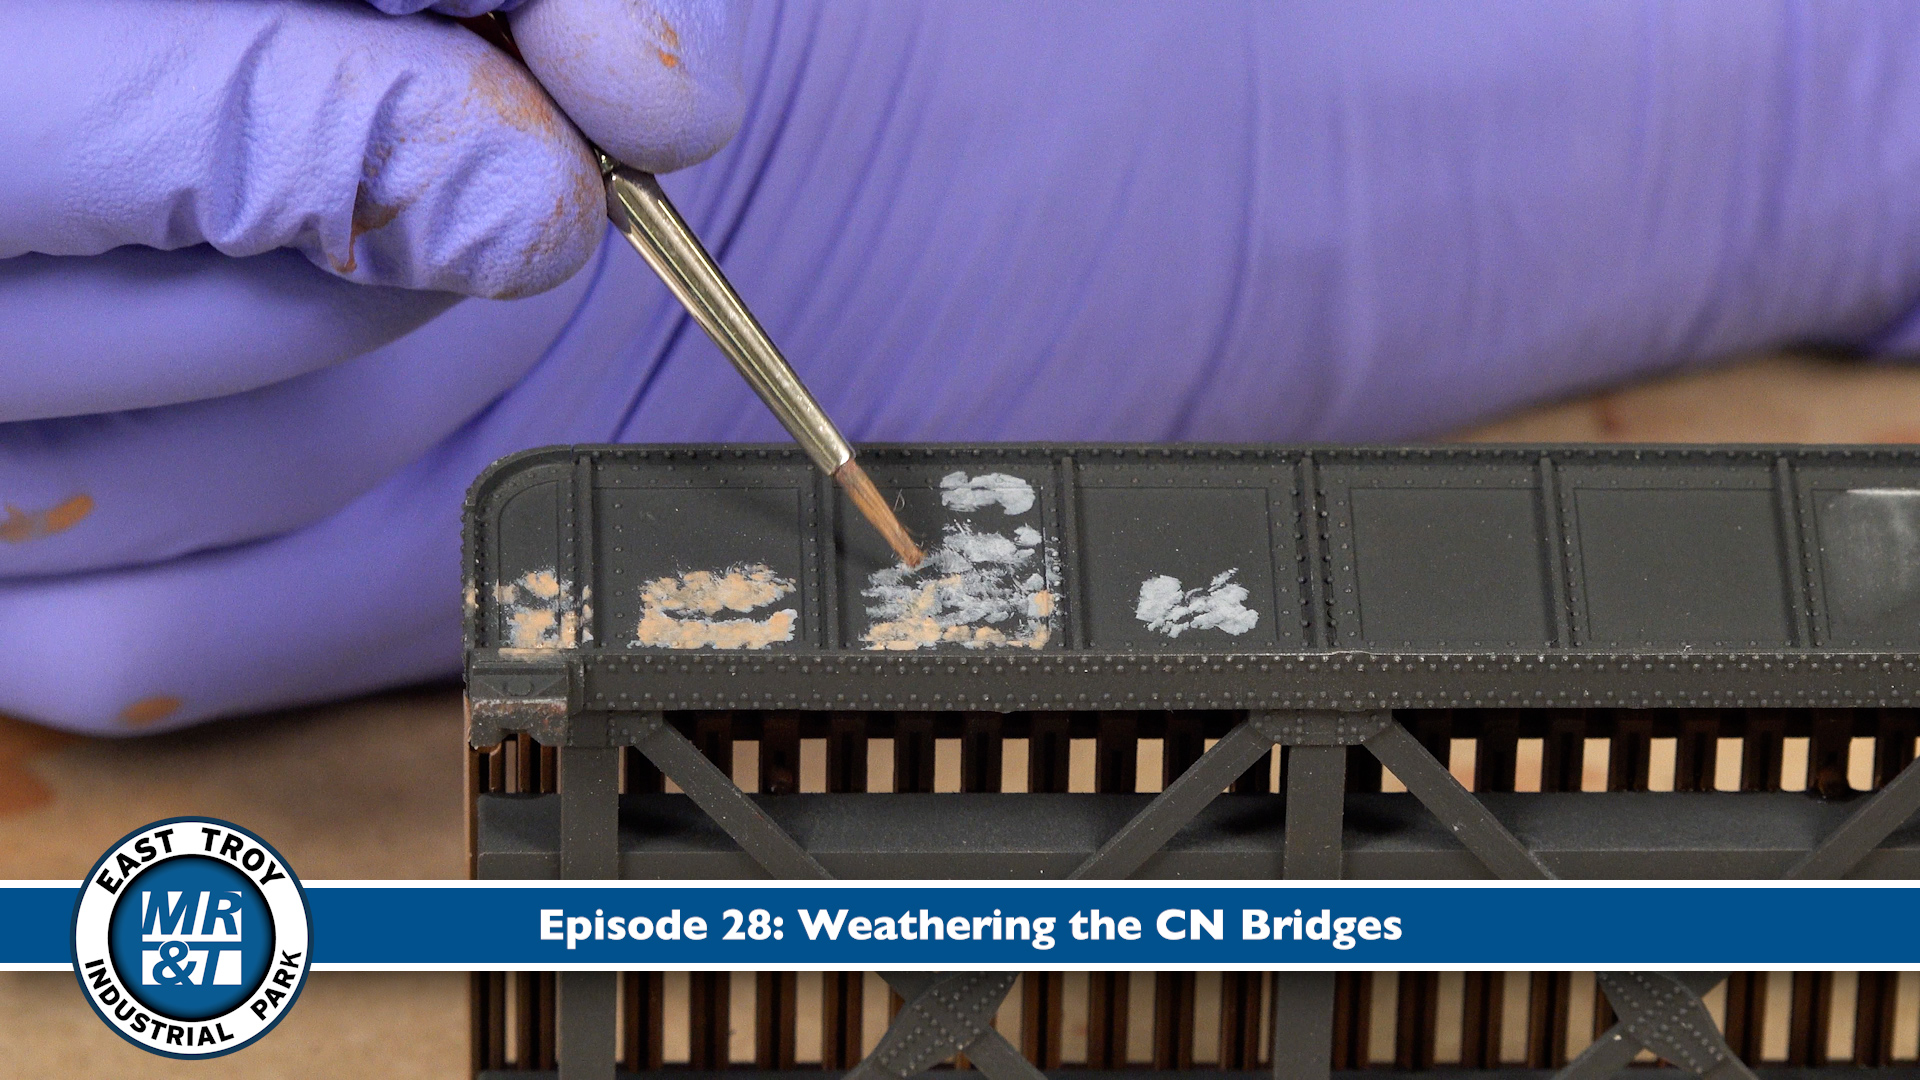
Now that trains are running on the HO scale East Troy Industrial Park (ETIP) project layout, David Popp hosts this BONUS video to share some of the behind-the-scenes efforts and design considerations the MR crew still needs to tackle. As so many model railroaders can attest, there’s no such thing as “finished” layout…especially when structure and scenery construction have yet to begin!
Be sure to keep up with the construction progress by linking into the Trains.com Workshop Webcam (available 24/7), and the full series of helpful, instructional videos rolling out every month until the effort concludes. Even then, the fun will continue in frequent Trains.com articles/updates and Model Railroader print features, beginning with the January 2026 issue. You won’t want to miss the Expert Tips and Techniques the crew will share with you along the way, as they have a bit of fun bringing the ETIP into fruition!
I wonder why people continue to use these small bits of track to pass the gap between two modules. It requires a lot of work, can kink the track alignment and they are likely to loose power as they aren’t feed with proper wires.
European modelers have successfully proven that soldering the rail to a few cooper ties, they cut flush the track at the module joint, is a bulletproof solution for exhibition layouts that are constantly on the road. We even have pieces of copper-plated epoxy, machined to resemble sleepers (the piece is 1 foot long and represents several sleepers), specially made for this purpose. Have you heard about these?
Isn’t it about time to show a track plan update, with the various changes and additions displayed for our review. And including the building outlines for each spur. This will emphasize that an original plan for any layout often needs revision as your ideas grow to improve operations and new insights override the original plan. Also to handle situations where you were too optomistic as to how real track will fit a space.
Hello Roger,
Yes, I’ve drawn a revised plan to show the layout as it is now. We’ll run that plan in the January 2026 issue of MR with the main story. I may also post it to Facebook for you this week if I get a chance.
Actually, I was too conservative on my track and structure placement on the original version. We’ve added three more spurs and a passing track since starting the layout. But yes, sometimes you need to scale things back when you get into building. I don’t think I’ve ever built any model railroad exactly as the first design had indicated.
When I added a slot rail track to train room I used Rust-oleum spray paint on my side boards. Didn’t know they sold it in cans but was pleased with how the finish came out. Looking good. I had curtains under mine and wondering what if anything is going under yours (or maybe you already said).
Thanks, jkelty
Thanks for the note, John. We saved some of the black curtains from the original MR&T and will use them here when the layout is finished. The eventual plan is that this layout will move into the neighboring storage room and I’ll install shelving under it. The curtains can then hide our modeling supplies.
Just curious about whether it’s necessary to prime or size the fascia before painting it. I don’t believe I’ve ever seen reference to this point in any MR videos, but I do remember Tony Koester making a passing reference to sizing his fascia in one of his “Trains of Thought” columns in MR. Thoughts?
Hello Wallace,
I’ve done fascia both ways, with and without primer. Usually the fascia will take two coats of paint regardless, so primer just added another coat to the process. Also, I didn’t find that it really made much difference to the final finish on the tempered hardboard, so I’ve stopped using that step. Many paints include something of a primer in them already anyway.
I’ll have to ask Tony about his thoughts on fascia sizing. I usually work with what looks good to the eye, yet provides enough space for buttons, DCC ports, and operating tools (waybill boxes, etc.). 12″ is my default if there is no real change in the scenery contour, as I can get four strips from one 4 x 8 sheet of material. You’ll note that on the end of the layout with the elevated CN main line, I used a taller piece.
Before we can move on to the next phase some things have to be fixed. One track mistakes have to be fixed, two D-ties have to be cut out, three crossovers have to be cleaned up, and for siding turnout had to be set. Along with this foundations have to be laid, track has to be set below grade, and building work areas have to be paved. Now that all this is put in next comes the good part it is time to put in switches.