Q: I have an HO scale plastic bus. I want to cut out a section in the middle in order to shorten it. I’m looking for suggestions as to what tools and techniques will give me the best results when cutting out the sections of roof, sides, and undercarriage. I’m also looking for suggestions as to the best glues to use to glue the remaining sections back together and what types of sanding/smoothing techniques to use in order to try to achieve a seamless-looking joint. Do you have any tips for kitbashing a vehicle? – William Lightfoot
A: We’ve run numerous articles over the years about kitbashing a vehicle that may give you some helpful tips for your project. Some recent ones include “Model a propane delivery truck” (January 2022), “1940s cement mixers from 3-D printed parts” (June 2017), “Model a typical 1950s tractor-trailer” (April 2013), and “Improve delivery trucks” (February 2012).
The kind of modifications you say you want to make to your bus model, though, suggests you might glean more insights farther back in our archive, when we used to run stories about kitbashing locomotives more often. The techniques for cutting and gluing styrene shells laid out in those articles would probably be of more help.
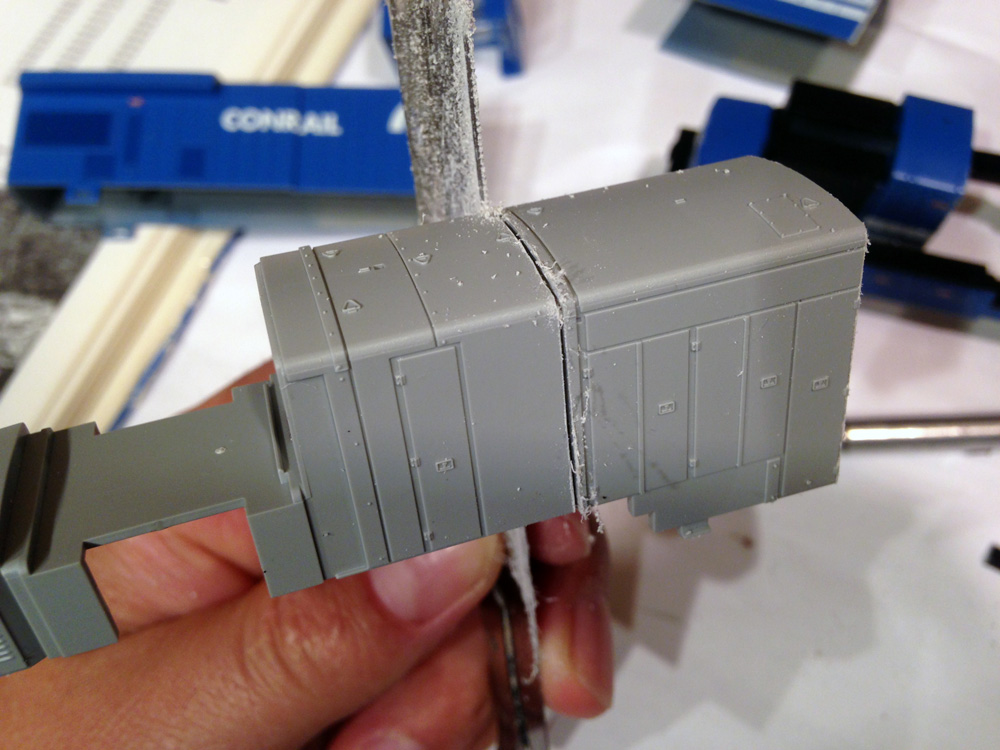
The most crucial step of your bus bash project will be ensuring straight, square, clean cuts. You don’t want to end up with gaps in your joints or a swayback bus when you’re done. So a miter box and razor saw are vital tools. These will ensure that the two ends of the bus will match up squarely after you remove the middle section.
The best glue to reassemble the bus depends on the material it’s made of. There are many kinds of plastic, and if your bus wasn’t sold as a model, it might not be made of the kind of plastic that hobby plastic cement works well on. If you can lay hands on an extra bus, try gluing some test joints with various cements to see what works best. Try out a solvent cement that works on many kinds of plastic, like Plastruct Plastic Weld or methyl ethyl ketone (MEK). Solvent cements are great for projects like yours because they melt the joint together into a single piece of plastic. But if your bus turns out to be made of cast resin or acrylic, you may have to use cyanoacrylate adhesive (CA, or “super glue”).
(Note that in general, the more effective a solvent cement is, the more volatile and toxic it tends to be, and the more safety precautions you should take. Wear a respirator mask, work in a wide-open area, and turn on a fan to clear the air. A spray booth with an exhaust fan to the outdoors is best for stuff as nasty as MEK.)
For cleaning up those glue joints afterward, get some ultra-fine-grit sanding films (such as those made by Testors) and sanding sticks.
Good luck on your project. Consider taking process photos as you go and submitting it as a how-to article for Model Railroader!
Send us your questions
Have a question about modeling, operation, or prototype railroads? Send it to us at AskTrains@Trains.com. Be sure to put “Ask MR” in the subject.


