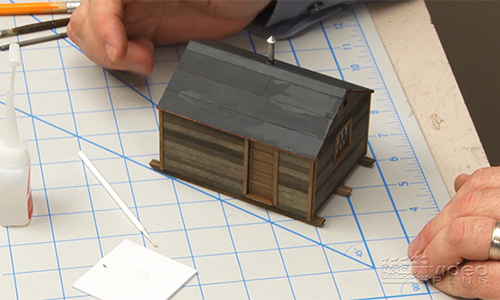
In this video, Ben Lake completes the assembly of a laser-cut wood structure for MRVP’s On30 Olympia Logging Co. display-style layout. Ben shows viewers just how easy it is to build up a basic kit and add the details that make it look like an authentic structure for the mountain scenery we’ll prepare next! […]
Read More…
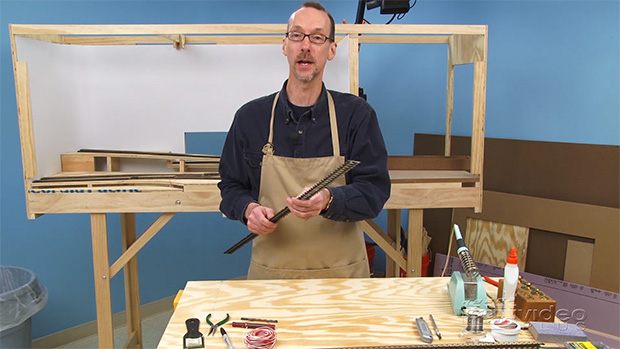
MRVP’s Ben Lake steps out from behind the camera and settles down at the workbench to assemble a laser-cut wood structure for our On30 Olympia Logging Co. layout. In this first of two videos, Ben shows how to prep and stain the parts from an American Model Builders skid shack kit, before starting on the […]
Read More…
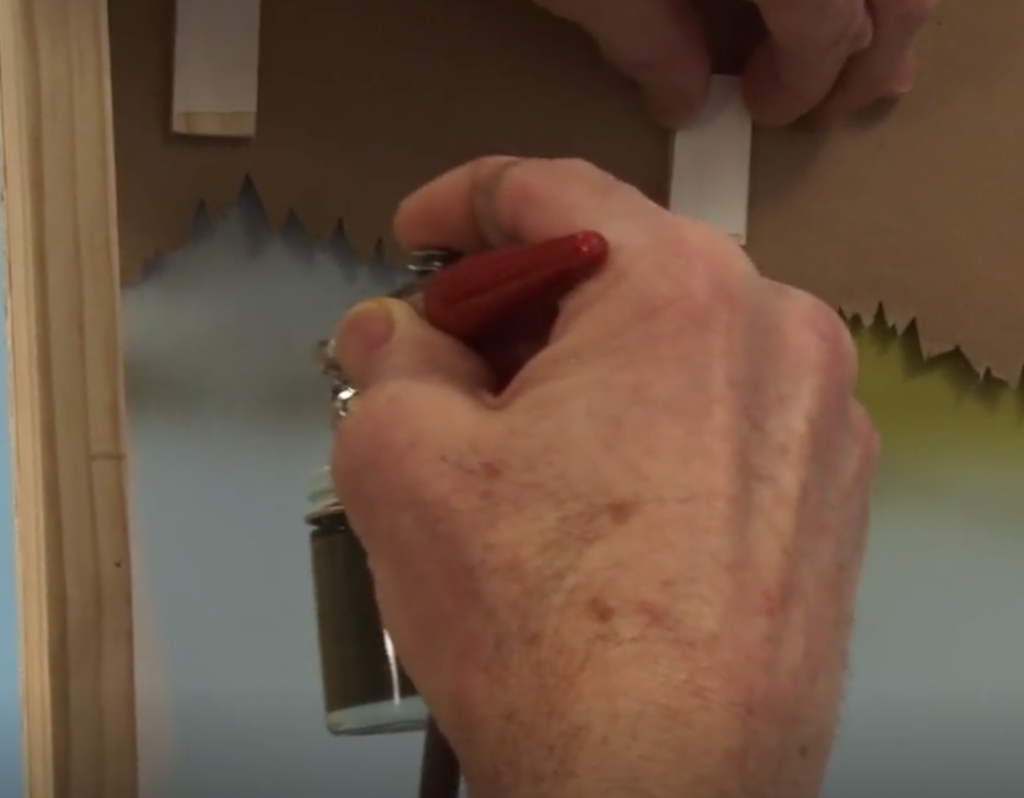
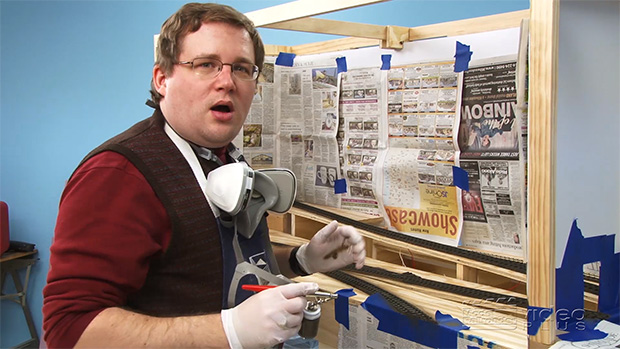
Using little more than a cardstock template and a couple paint colors, artist Jay Smith shows viewers just how quick and easy it is to add a realistic pine forest treeline to MRVP’s On30 Olympia Logging Co. layout. Jay used his favorite internal mix airbrush to apply the paint, but his simply technique for making […]
Read More…
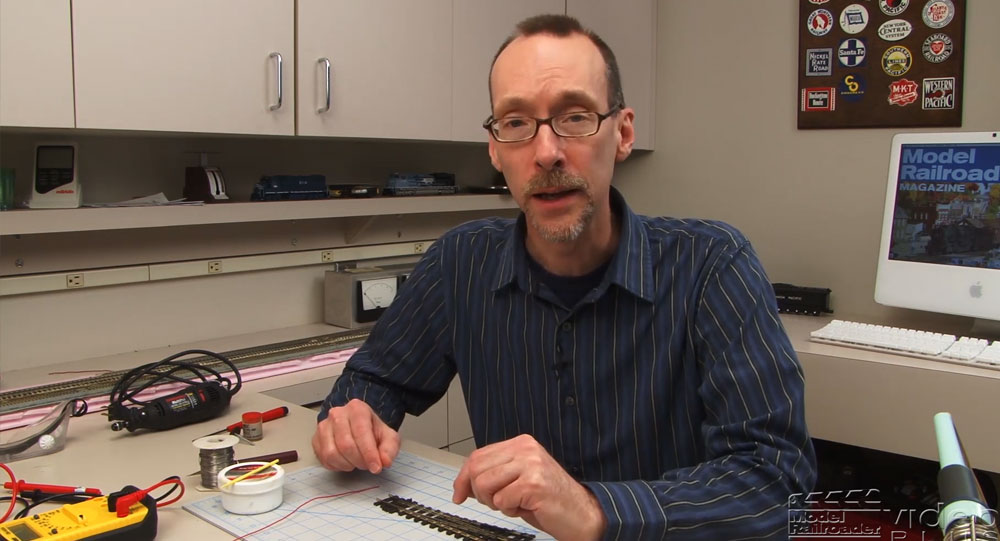
Having trouble viewing this video? Please visit our Video FAQ page Adding weathering effects to the trackwork of MRVP’s On30 Olympia Logging Co. layout can be just as beneficial as adding them to locomotives, rolling stock and structures. In this video, Cody Grivno walks through the steps for giving the rails and ties a […]
Read More…
Having trouble viewing this video? Please visit our Video FAQ page All the prep work is done, so now David can get down to the task of installing flexible On30 track and turnouts on MRVP’s Olympia Logging Co. layout. David demonstrates all of the essential tracklaying steps, including how to cut and trim the […]
Read More…
Installing cork roadbed is the first step to laying reliable trackwork on MRVP’s On30 Olympia Logging Co. display-style layout. In this video, David shows you basic techniques for preparing, cutting, fitting, and securing the HO scale roadbed along the main line, sidings, and on the sector plate. Plus, David also demonstrates how one specific product […]
Read More…
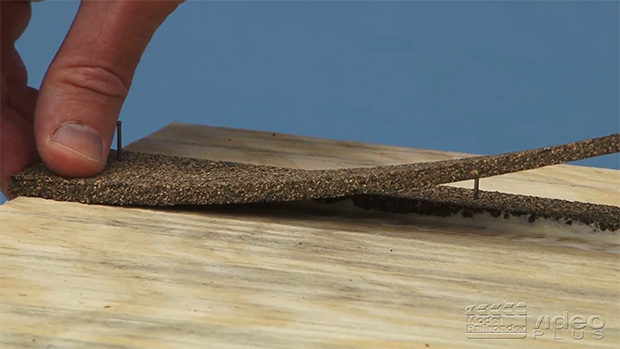
Before the trackwork can be added to MRVP’s On30 Olympia Logging Co. display-style layout, David Popp first makes a few modifications to the turnouts. In this video, he guides you through trimming the ties, preparing the connection points, soldering new wires, cutting the rails, and testing the modifications – steps that are intended to make […]
Read More…
