Heat-shrink tubing is something you need to have in your wiring toolkit. This material makes neat, insulated soldered joints simple and fast.
What is heat-shrink tubing?
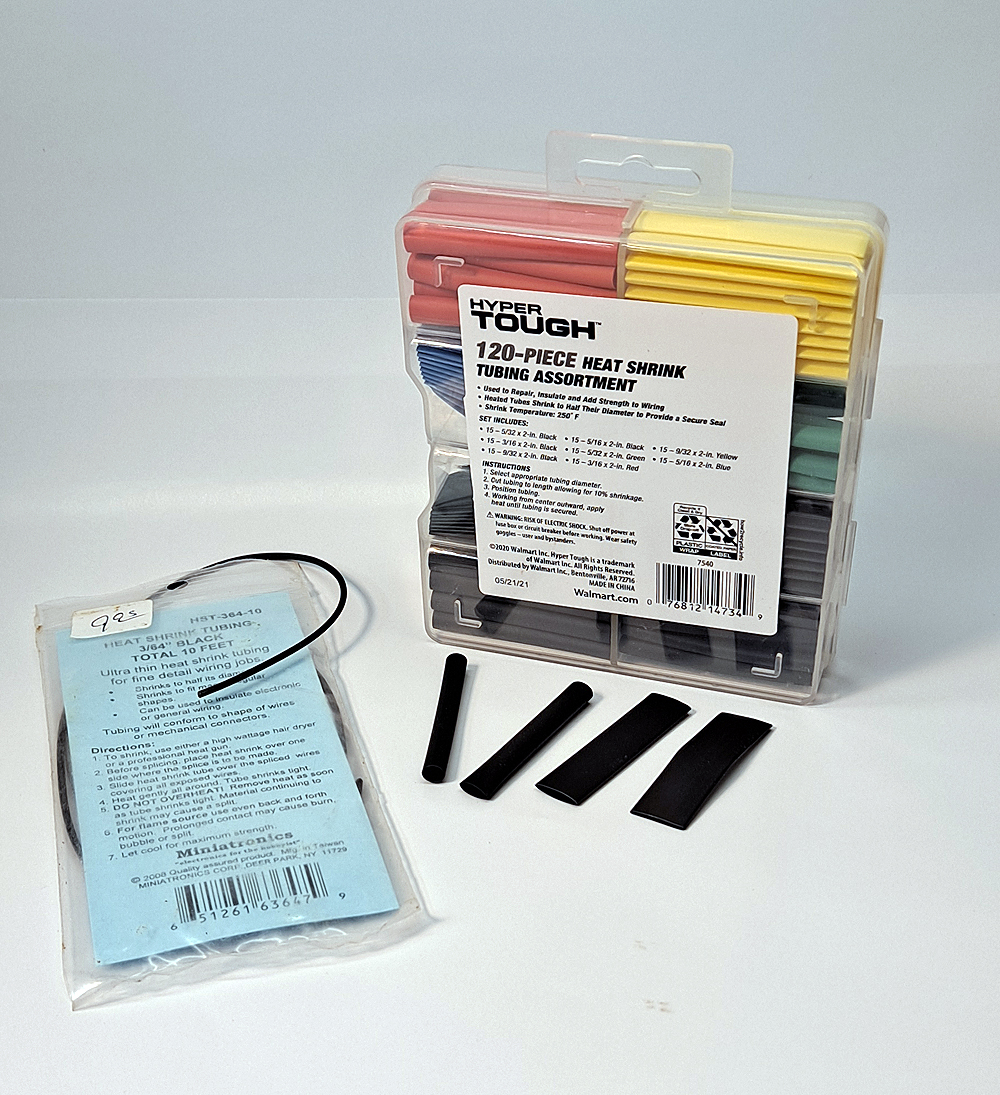
As the name implies, the material shrinks when it’s heated. It comes in multiple sizes, some of which are somewhat specialized and are most likely to be found in a hobby shop or other retailer that caters to modelers or electronics hobbyists.
I also have a package of larger tubing I picked up at a big-box store. It came in multiple colors and is useful for layout wiring projects. It’s designed to be used on lower voltage projects – it’s not something you’d use on a 115/120V home wiring project.
Preparation
The first tip to using the tubing is to put it on one of the wires you’re connecting before you solder the joint. Since it’s a tube, there’s no way to put it in place after the fact, unless one end of the wire is still free.
You’ll want to find a size that will slide over the completed joint fairly easily. Usually, the tubing is flexible enough that it can expand a bit, but if it starts to tear, it won’t be able to do its job correctly. Make sure you can slide the tubing away from the area you’re soldering, as the heat from soldering can shrink the tubing in place. Then you’ll have to start over. With that in mind, cut a piece of tubing that’s just slightly longer than your finished joint. That can help when you’re soldering connections in tight spaces.
If you need to connect multiple wires, you can slip the tubing over the end of a pigtail joint.
Applying heat
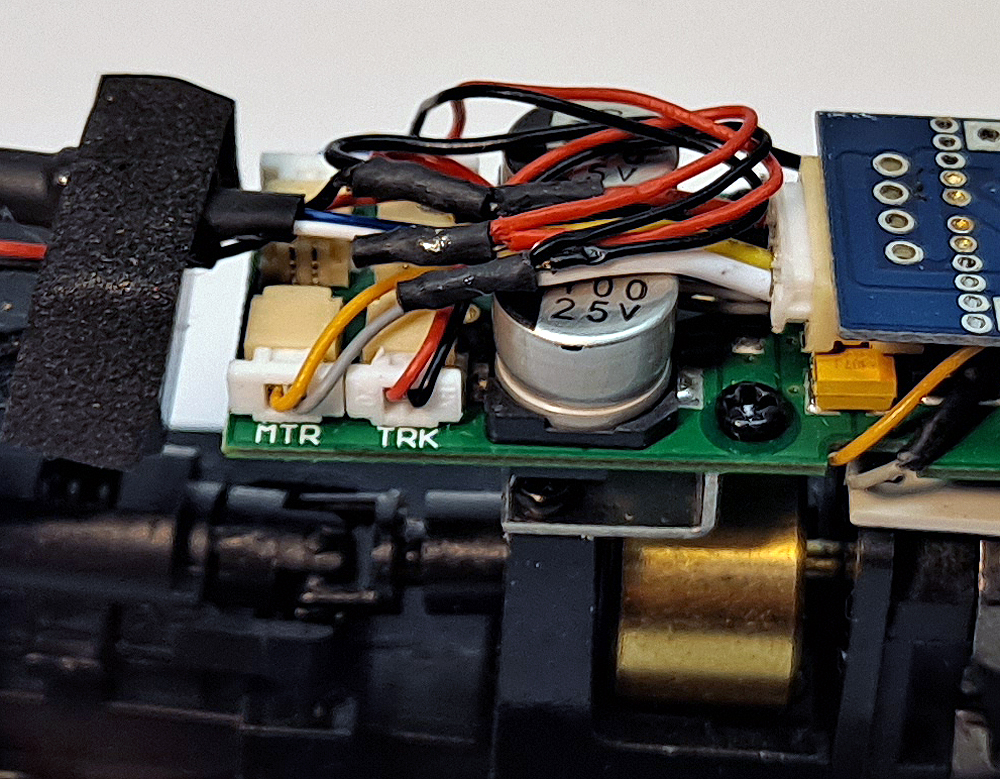
There are three popular ways to shrink the tubing. If it’s a small diameter connection, such as for a Digital Command Control decoder installation, I often just use the heat from the soldering iron. Move the tip close to the tubing, and you can see it start to shrink. It’s easy to get it into a tighter space, and there’s no flame.
Which brings us to another popular method. Many people will use a lighter. This works more quickly than the soldering iron, and is more useful on larger connections, such as layout wiring. Be sure to keep the flame moving so you don’t ignite the tubing.
Finally, there’s the heat gun. There’s no flame here either, and it will handle larger connections with ease. It might be too bulky for delicate projects, though.
Other uses
Heat-shrink tubing also has other uses beyond insulation. I’ve used it to bundle a group of wires in a decoder installation. You only need a short segment. You can also use black shrink tubing to camouflage colored wires between a steam locomotive and its tender. It also works well as a light shield for light-emitting diodes to keep light from leaking out the sides of the diode.