Weathering with an airbrush: If you’re looking to give your freight cars and locomotives a general coat of grime in relatively little time, try using an airbrush and thinned acrylic paints.
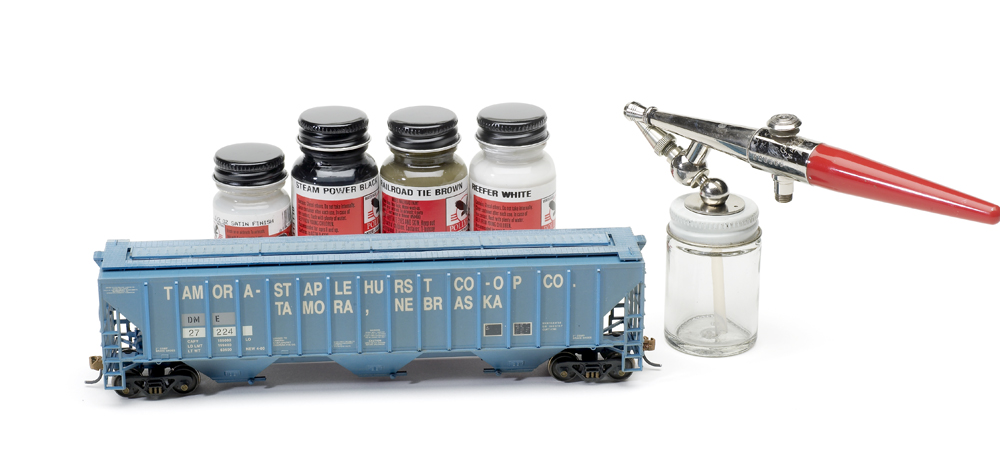
My first step on this Athearn HO scale 54-foot covered hopper kit was to spray the entire car with thinned Polly Scale Reefer White (1 part paint to 9 parts 70 percent isopropyl alcohol). I built up the color in layers, aiming for a slightly faded look.
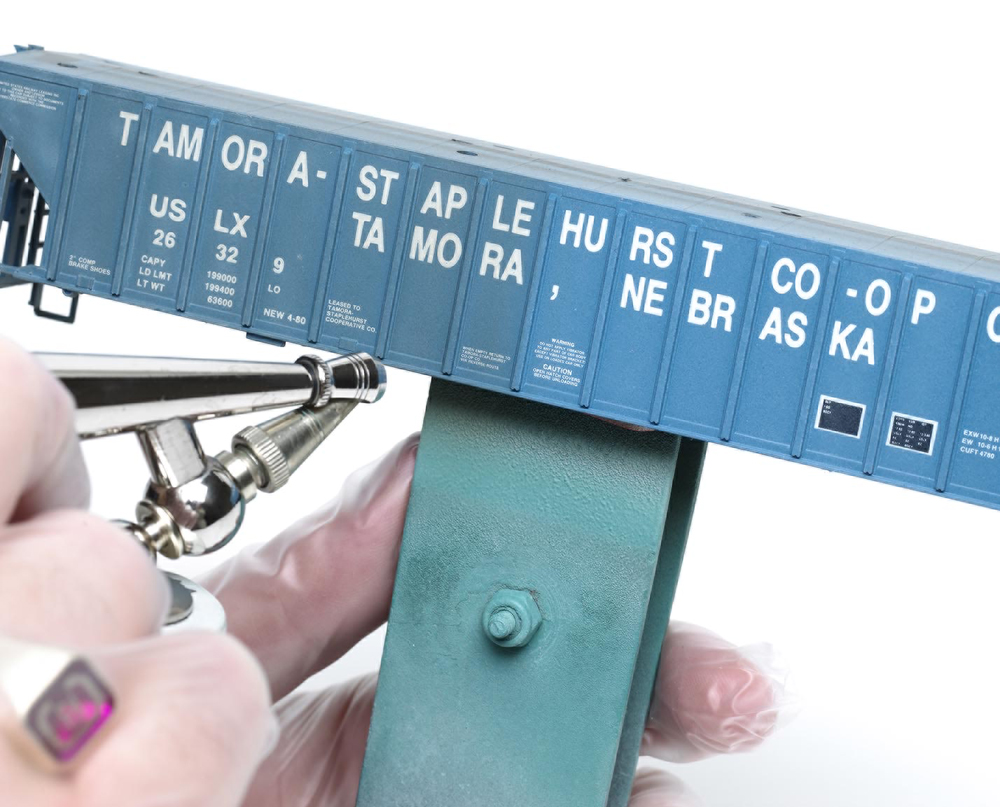
After the white had dried, I sprayed the car with the same ratio of Polly Scale Railroad Tie Brown. I moved the airbrush in a vertical motion, keeping it parallel with the exterior posts,.
Some of you may be wondering why I recommend using acrylic paints. Well, it’s for the next step. After I applied the Railroad Tie Brown, I dipped a cotton swab in Windex and carefully wiped the paint off the faces of the exterior posts.
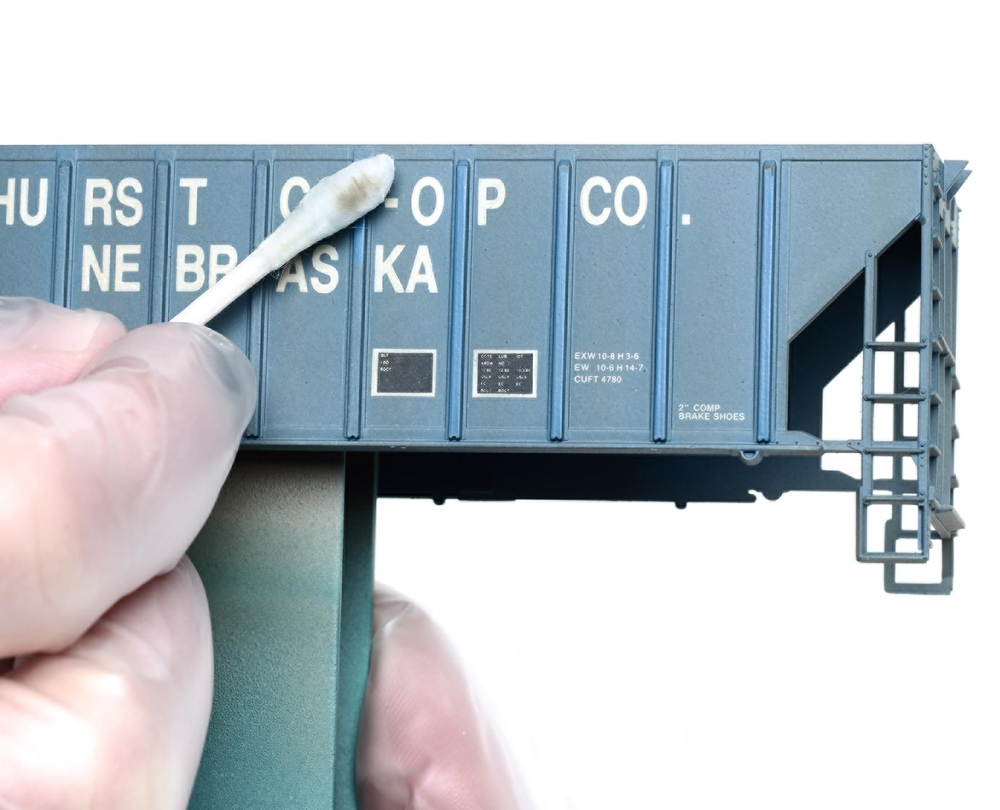
These posts tend to collect less dirt than the car sides. This subtle bit of reverse weathering is an easy way to give your exterior-post freight cars some added realism.
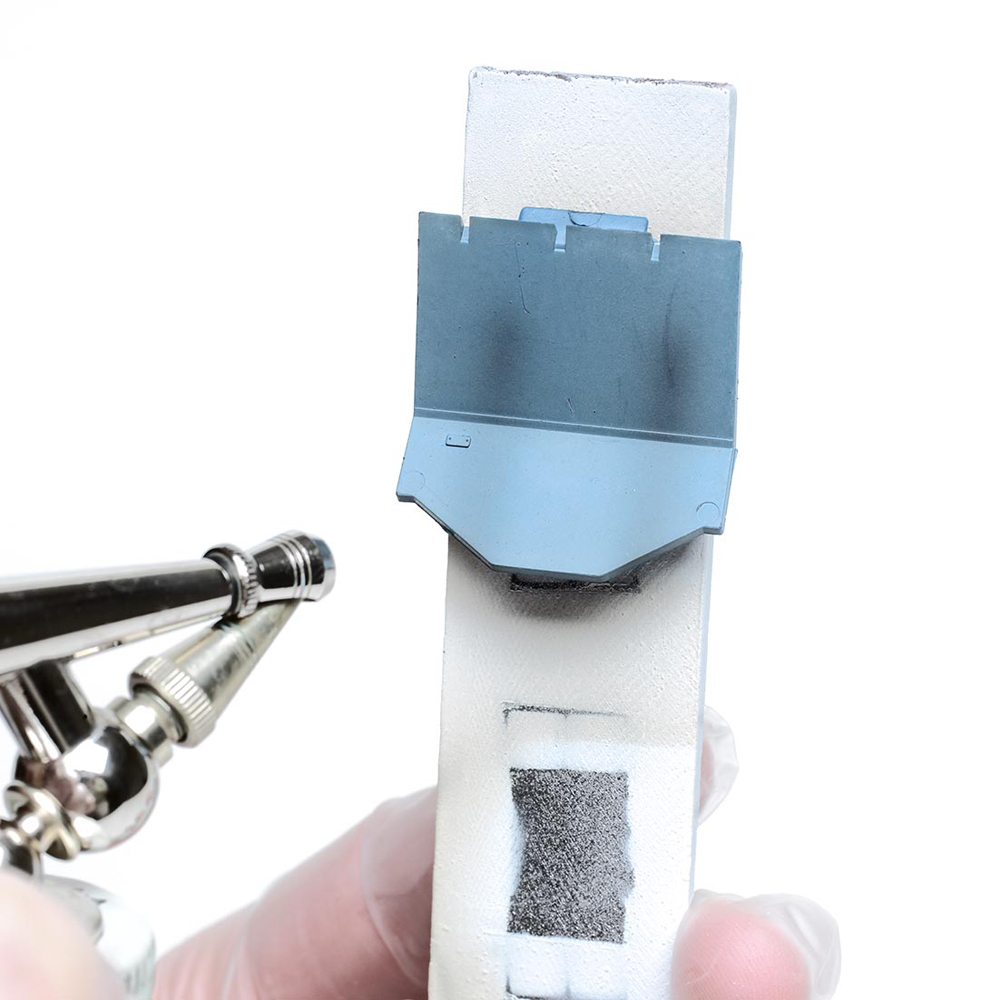
I then shifted my attention to the slope sheets. Finally, I used thinned Polly Scale Steam Power Black to simulate the oil and grease streaks on the car ends. The key here is to keep the streaks vertical and parallel.
With the weathering complete, I sprayed the carbody with Polly Scale Gloss Finish in preparation for decal-ing. Afterward, I sprayed the entire model with the firm’s Satin Finish.