Q: I’ve searched all over the internet for information on how to build a model railroad when you’re in a wheelchair, but I’ve found nothing. Nada! Zilch! Can you help, please? I’m desperate! – Joe Kienlen, Conshohocken, Pa.
A: Though we haven’t run an article specifically about how to build a layout while using a wheelchair, we’ve run a good number of articles with tips and techniques that add up to the information you need.
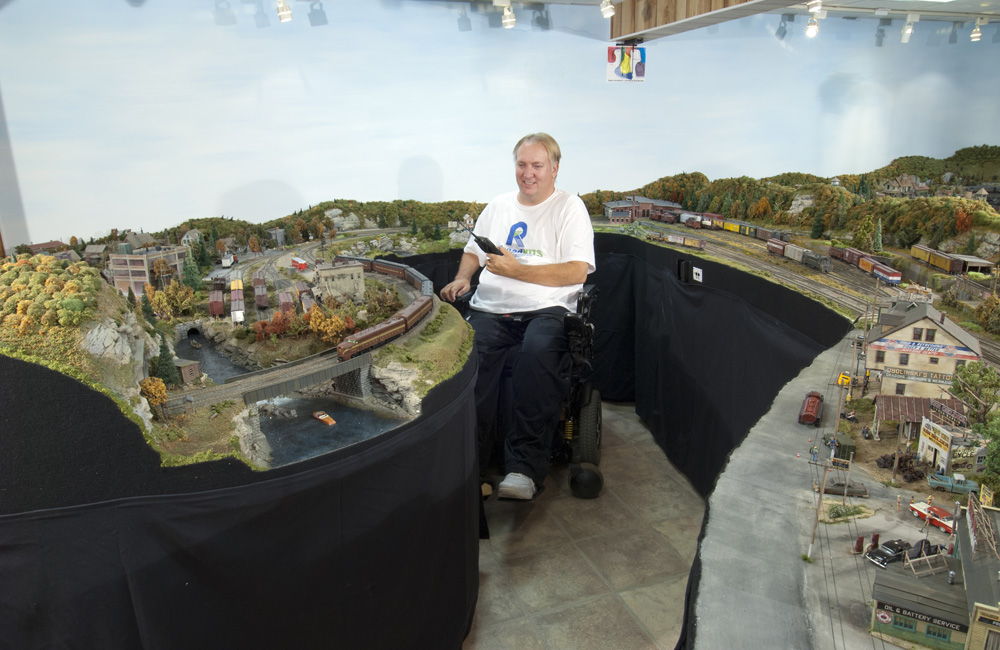
Start with the article “New life for the Pennsy Middle Division,” an article by Lou Sassi in our February 2013 issue. In it, the author explains how Jimmy Deignan and his friends refurbished an existing layout and made it wheelchair-accessible after Jimmy was left partially paralyzed after a motorcycle accident.
Next, check out “Operating sitting down,” by Paul Dolkos, in our April 2009 issue. Though that article talks about operating from rolling office chairs, a lot of the same issues mentioned in that article apply – reach-in distance, turnout controls, and visibility. Apply these principles to the entire layout, rather than specific operating stations.
To make a layout wheelchair-friendly, I would suggest you keep the following in mind:
• Leg and chair clearance. If you don’t want your knees or the arms of your chair bumping into your benchwork, you’ll want about 28” to 30” of clearance under the layout. An around-the-walls shelf layout will let you use low-profile shelf brackets or cantilevered beams to support the layout sections, so you don’t have to maneuver around benchwork legs or angled supports.
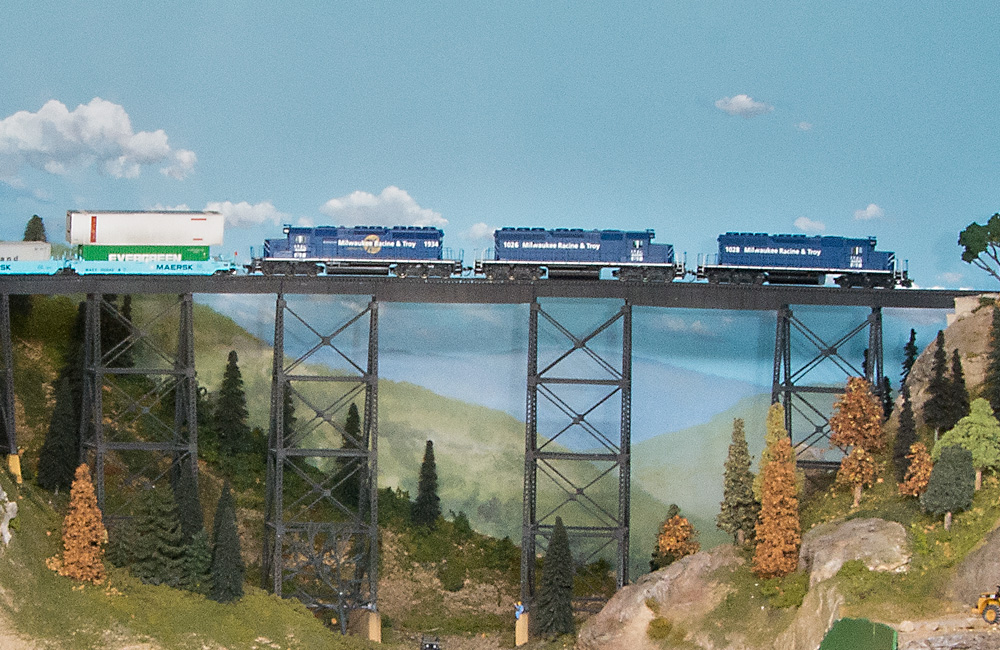
• Layout height and reach. While two feet might seem like a reasonable maximum distance to reach in to align a turnout or rerail a car, and 36” from the floor might seem like a good height at which to view and operate a layout from a seated position, remember that the higher the layout is, the shorter your reach-in distance will be. And remember that once your layout is scenicked, you’ll be reaching over trees, line poles, and buildings, too. So keep your shelves narrow – 12” to 18” or even less. Consider modeling N scale to pack the most modeling fun onto those narrow shelves.
• Benchwork thickness. If we want at least 28” of clearance under the benchwork and a maximum rail height below 36”, that’s not a lot of wiggle room. Look into commercially available benchwork systems like Mianne, Sievers, and KamKonnect for low-profile, pre-built, easy-to-assemble benchwork. If you want to build your benchwork yourself, use an open grid of 1×3 lumber to keep your modules as low profile as possible. Look at how Lance Mindheim built benchwork for his Los Angeles Junction shelf layout in “Floating benchwork for shelf layouts” in our Oct. 2016 issue.
• Accessibility during construction. Access to the bottom of the layout for such tasks as wiring and turnout machine installation will be difficult in a wheelchair. I would suggest planning your layout so you can build it in a modular fashion, on the workbench. Plan sections from 3 feet to 4 feet long and probably no more than 12” to 18” deep so you can easily tip them up to access the underside. Once the tracks are laid and wired, attach the sections to brackets you’ve installed on the walls.
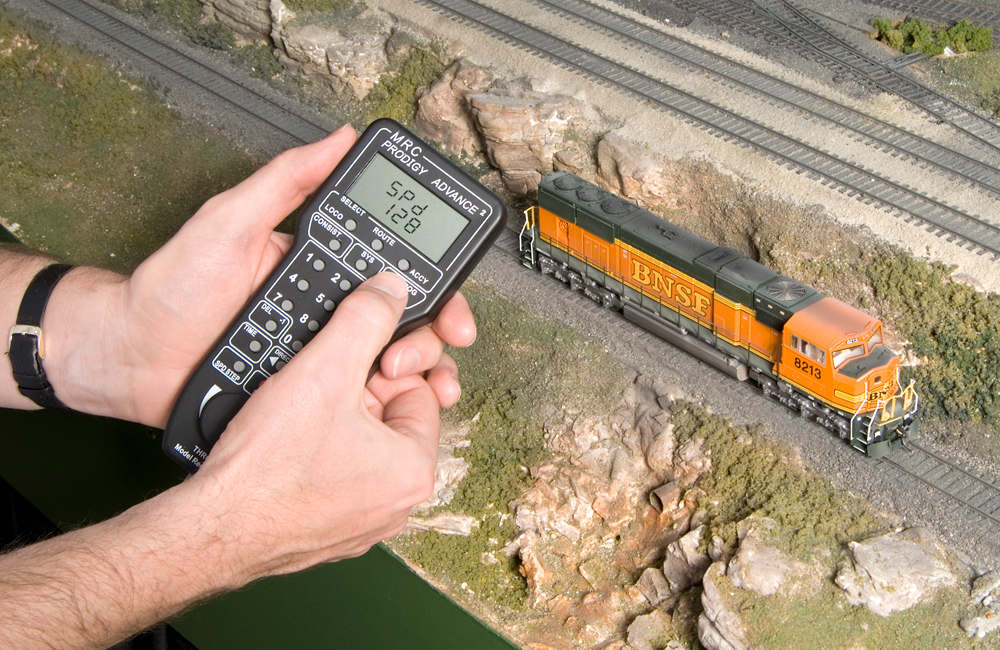
• Turnout control. You’ll want to avoid installing turnout motors under the benchwork, where knees or chair arms can bump them. I would suggest lining turnouts via choke cables, with controls mounted on the front of the benchwork. Check out the articles “Easy turnout controls” (May 2003) and “Installing ground throws in the foreground” (Oct. 2018) for a few ways to do this.
I hope this provides you with the information and inspiration you need to get started on your layout. Happy railroading!
Send us your questions
Do you have a question about model railroading you’d like to see answered in Ask MR? Send it to associate editor Steven Otte at AskMR@MRmag.com.