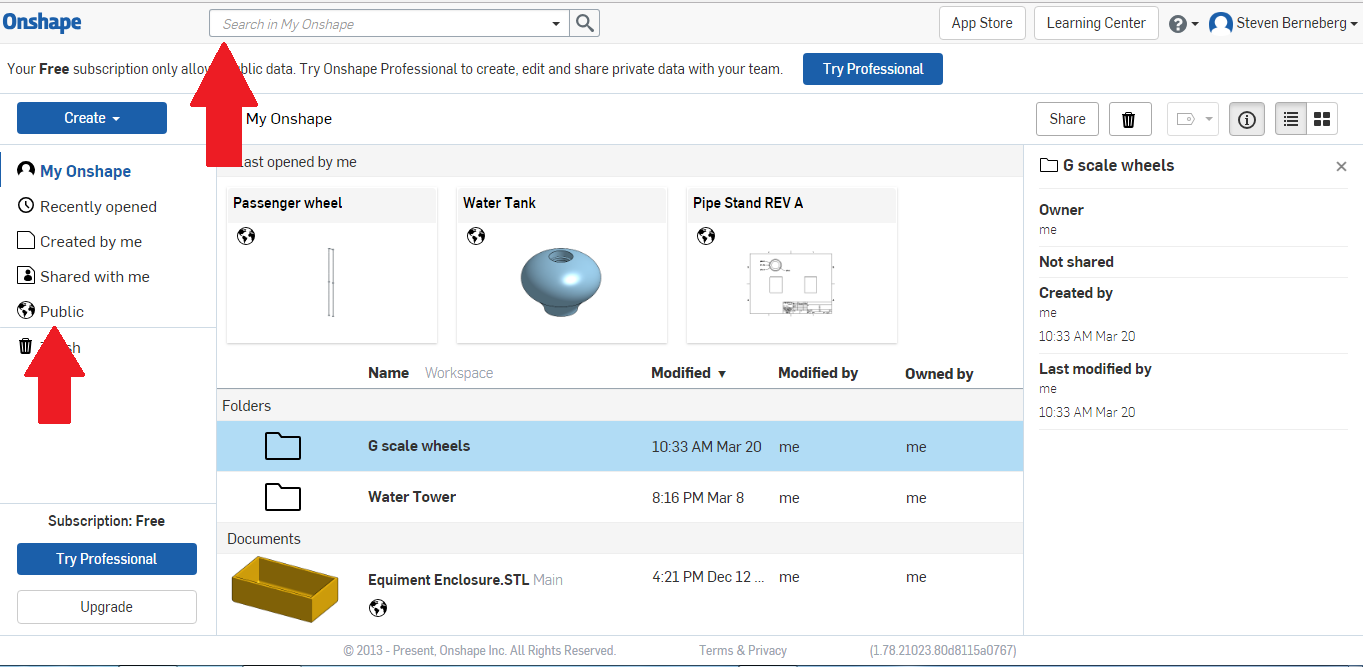
Before I go any further, I want to share a feature of OnShape that you might like to try. You will have to create an account, but that’s easy. I covered this before and the process is straightforward. Once you sign in, you will see a page that looks like the one below (this is my page, photo 1).
If you click on “Public” (above the bottom red arrow), all public documents will be available to you. The top red arrow points to a search box. Let’s type in “water tank” and see what comes up. The public database will be searched for water tanks. Mine should pop up.
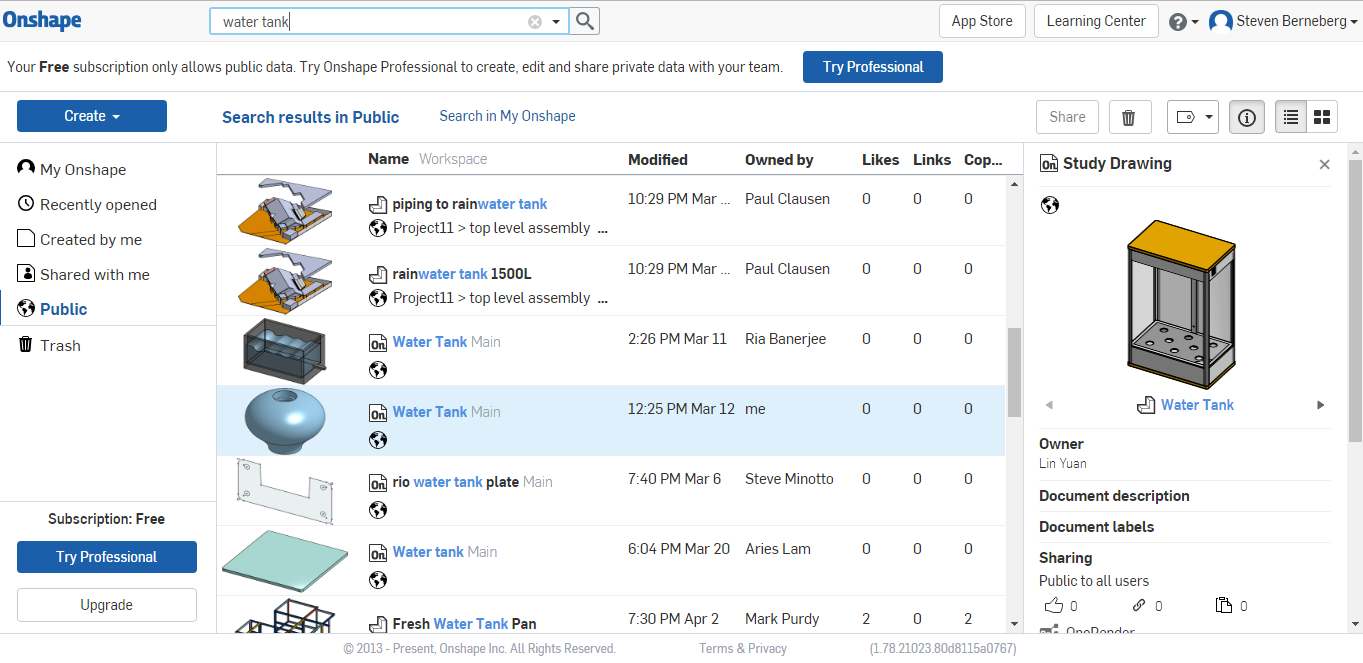
Below, my water tank is highlighted in photo 2.
If you double-click on the water tank, it will go to my page and open the file for editing. However, if you want to copy the file, let’s open something we might want to modify for our use, or just copy and print out.
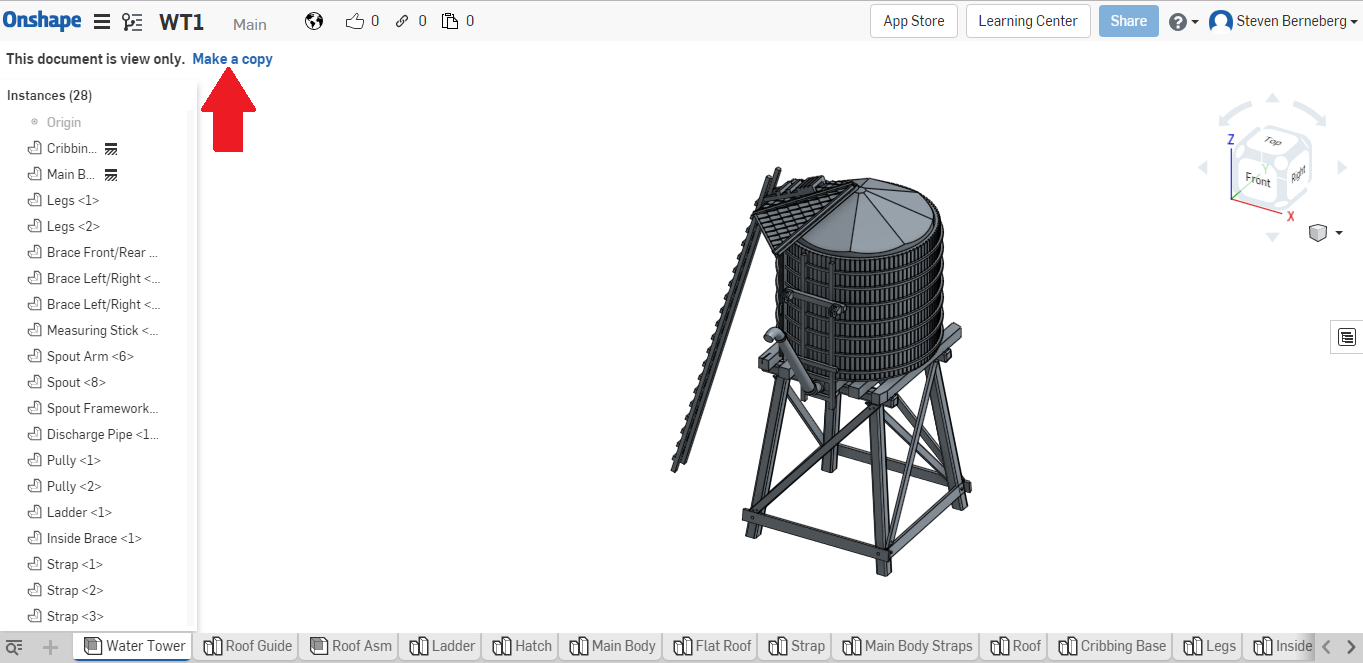
I have been looking at a particular water tower that I liked, so I searched “water tower” and found what I was looking for. I then double-clicked on it to open the file (photo 3).
The red arrow points to, “Make a copy.” You can copy this file to work on and use.
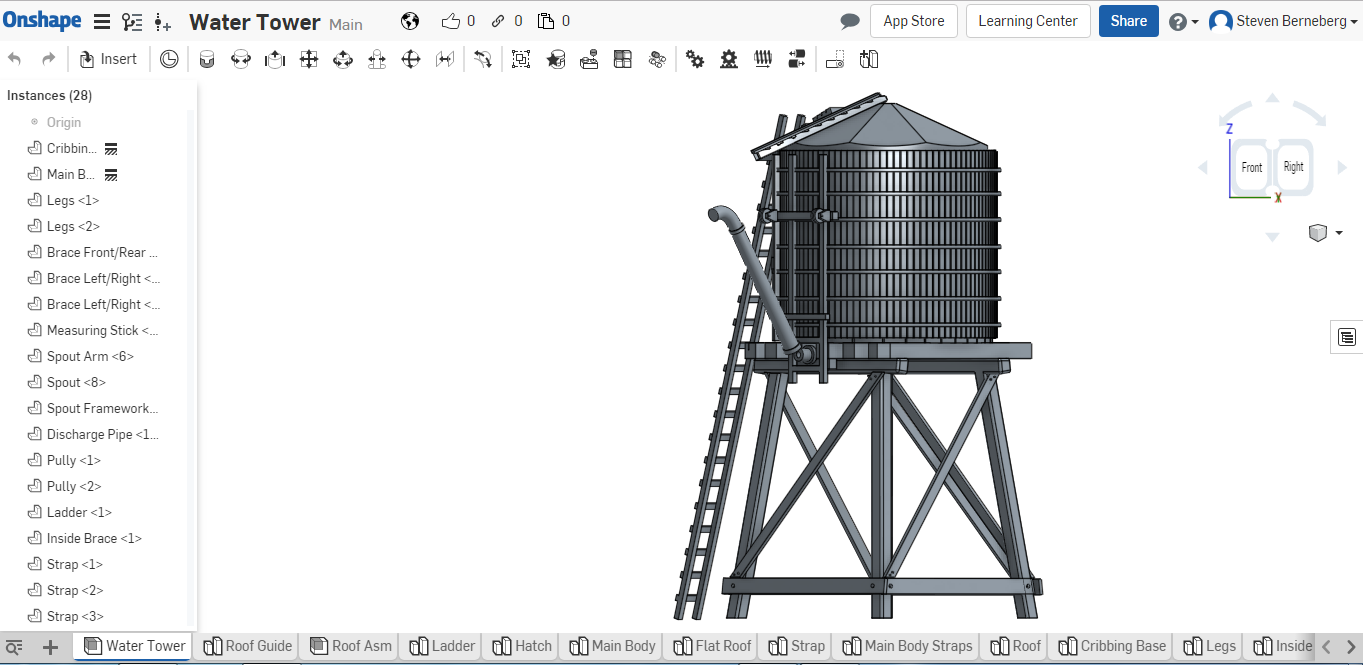
Here is the copied water tower in my workspace (photo 4). I can change, modify, and save this model. I don’t think I need to change it, though — it is a good-looking model.
Not only can you look up the parts that I have been working on, you can search for other peoples’ parts too.
Let’s return to our water tower project.
In the last article there was a print failure — I ran out of filament. Need to make a quick order and start over.
The new filament came in and a new water tank was successfully printed. There was so much excitement over the large print that I forgot to take a picture! Now it’s time to put everything together and make a water tower with a sprinkler inside.
All the parts are now assembled, aligned, and double checked for straightness, and the water tank is properly aligned with the base. Superglue was used to assemble the parts. Once the glue had dried and was secure enough to handle, Bondo was used to cover up the blemishes that surrounded the individual parts and the places where the print cracked a bit due to warping.
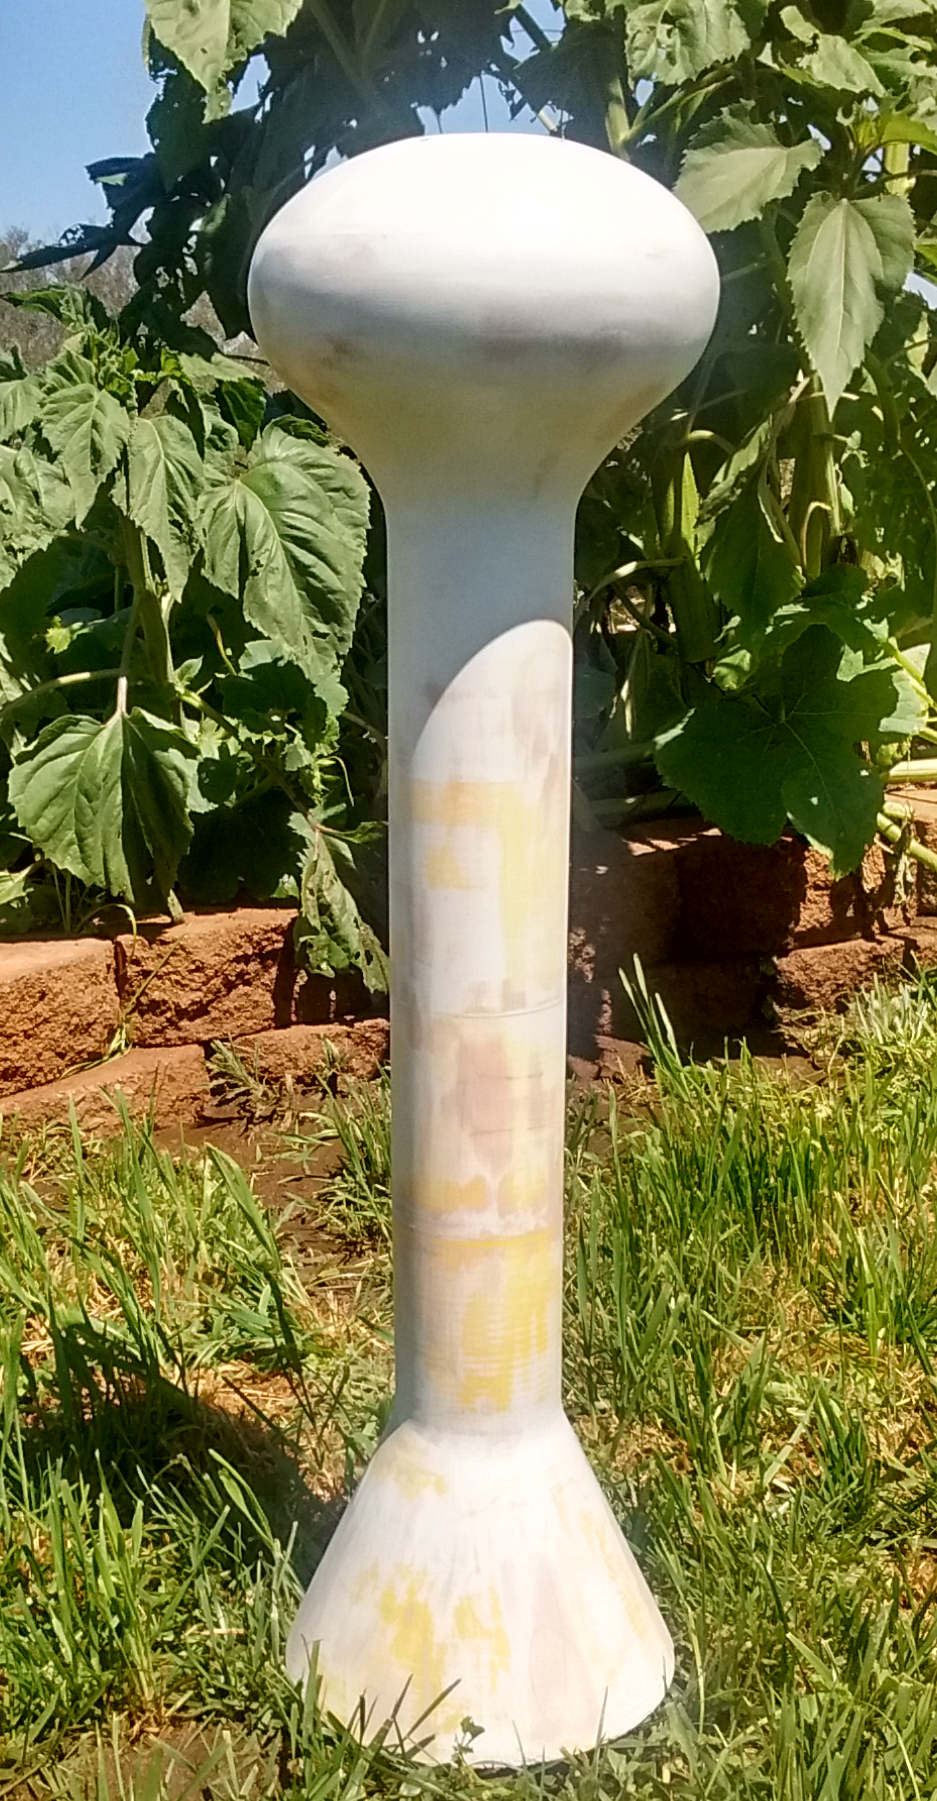
Here is my completed water tower ready for paint (photo 5). I sanded everything with 120-grit, then 220-grit sandpaper to ensure a fairly smooth surface.
I believe that the proportion of the completed tower is off. Next time I will keep the the top of the tower the same size and make the stacks and the base thinner.
Now it’s off to the paint shop. I am going to use white “Rust-Oleum, Universal, Advanced Formula, satin paint & primer in one” spray paint that I picked up at the local big-box store. I will spray the tower, then, after letting it dry for a couple of days, will sand or steel-wool it down for a fine finish, then paint it again, until I am satisfied with the overall appearance and finish.
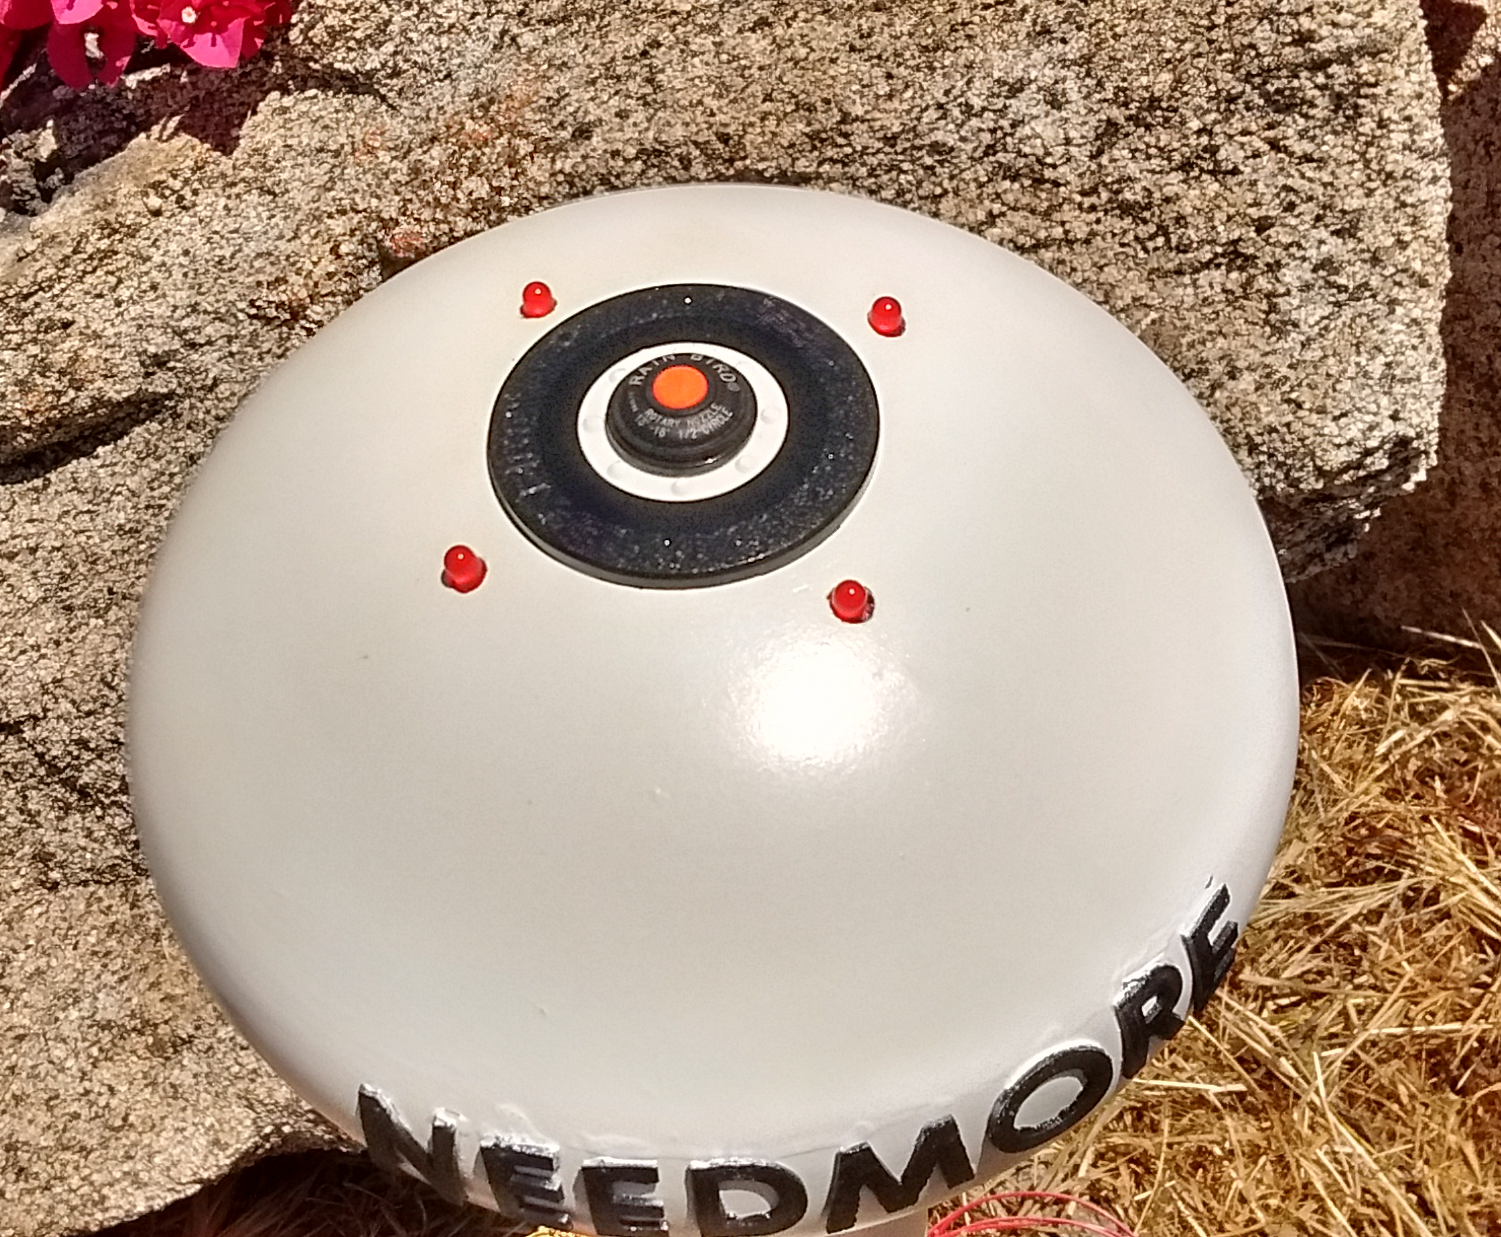
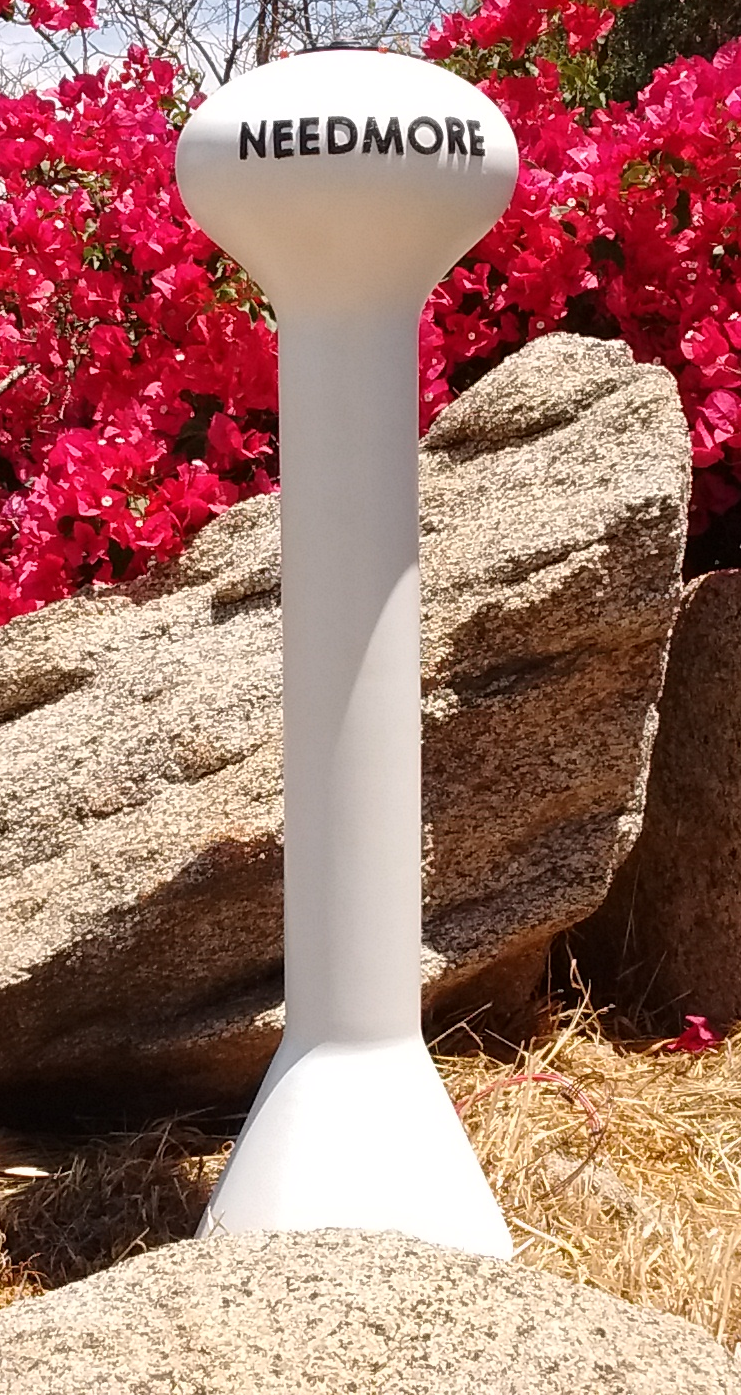
The finishing touch is the sprinkler head. It was a tight fit but it’s installed and works as planned. Now I just have to find a place in the railroad to place the completed tower (photo 7).
I might just build another with better proportions and see how that turns out.
Every project has problems that require some thought to fix. This one had some problems, too, but everything turned out fine. It will be a fine addition to the railroad and has already attracted plenty of attention. This is especially true at night when the hazard lights flash. I think I’ll add some lighting at the bottom to make it stand out a little more.
In the next article I’ll discuss a new material that I have been experimenting with that would have solved many of the problems I had with this project.