By Frederic Williams Rohm and Brian Michelson
I grew up in central Pennsylvania where my family had been long-time residents. My garden railroad is based on the Pennsylvania Railroad circa 1900; my grandfather and uncles worked on the PRR.
The premier Pennsy passenger train of this era was the Pennsylvania Limited, which began making the prestigious New York to Chicago run in 1902. I decided to replicate this train as the crown jewel of my layout. It typically consisted of the locomotive, tender, a baggage car, several coach cars, and a dining car.
I found LGB produced a baggage car as well as coach cars. The coach cars came empty, so I added lights and figures for more realism. I used mostly factory lighting, and figures that my son-in-law, Brian, painted for me while he was stationed in Iraq.
There was one problem: LGB did not make a dining car, and my research with the Pennsylvania Railroad Technical and Historical Society showed there was one on these trains. Documents indicated that the dining car was based on a coach design, so my only option was to convert a coach car to a dining car. After more research, I realized that this would be a fairly complicated endeavor and enlisted my son-in-law for help.
Disassembly and changes
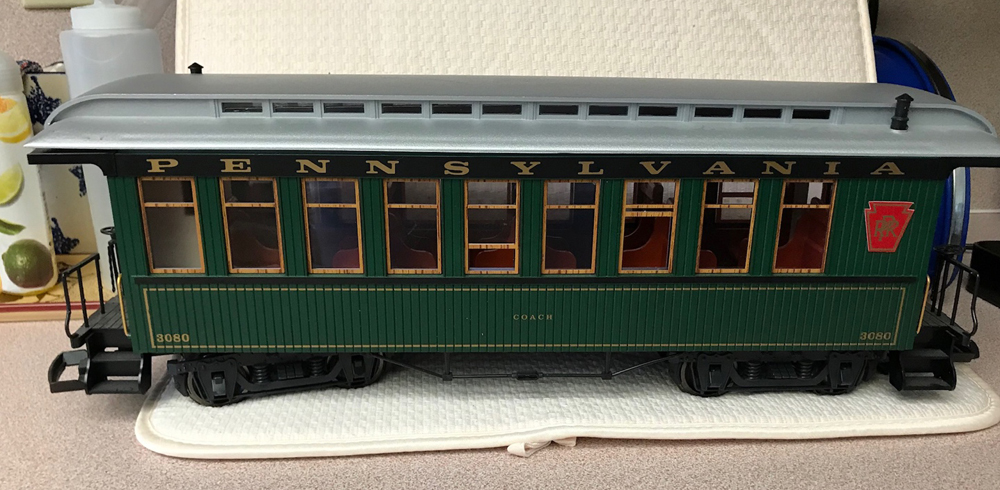
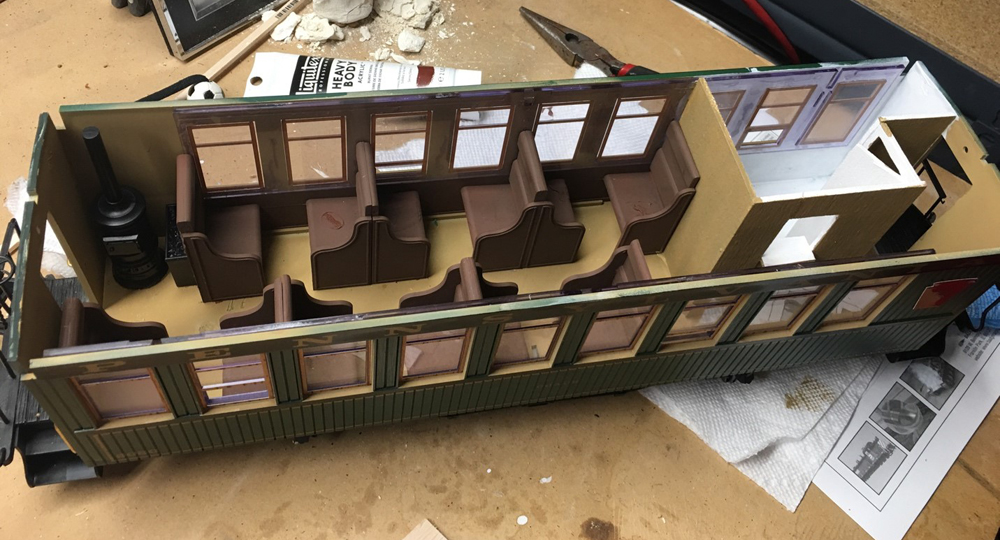
We started with a standard coach car as shown at top.
First, remove two small screws from the ends of the roof. The roof will lift off to expose the interior of the car.
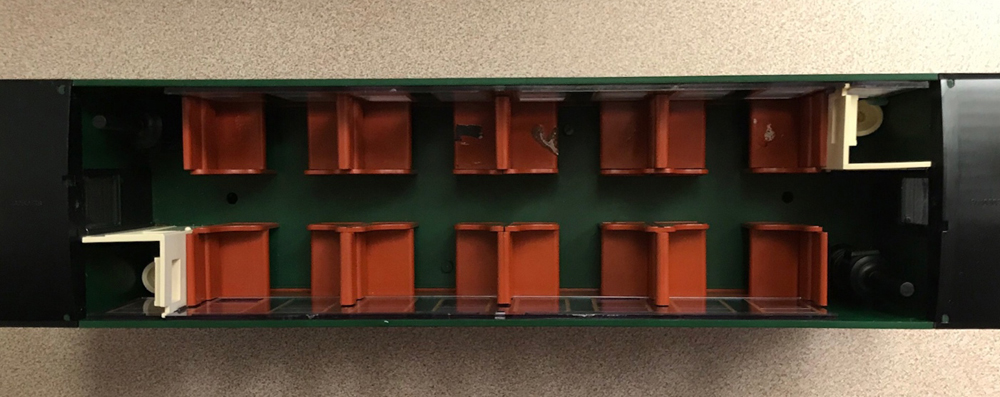
We first needed to remove the interior pieces. The seats, end doors and windows were easily removed, but the toilets, bathroom walls, stoves, and coal boxes were a challenge. The walls and stoves were tall enough to provide enough leverage to pry them out by hand, although with considerable effort. The coal boxes were smaller and were even tougher to get out. The toilets were by far the worst to get out. We had to pry them out with an adjustable wrench. After all items were out, we removed the plastic and epoxy residue with a Dremel tool.
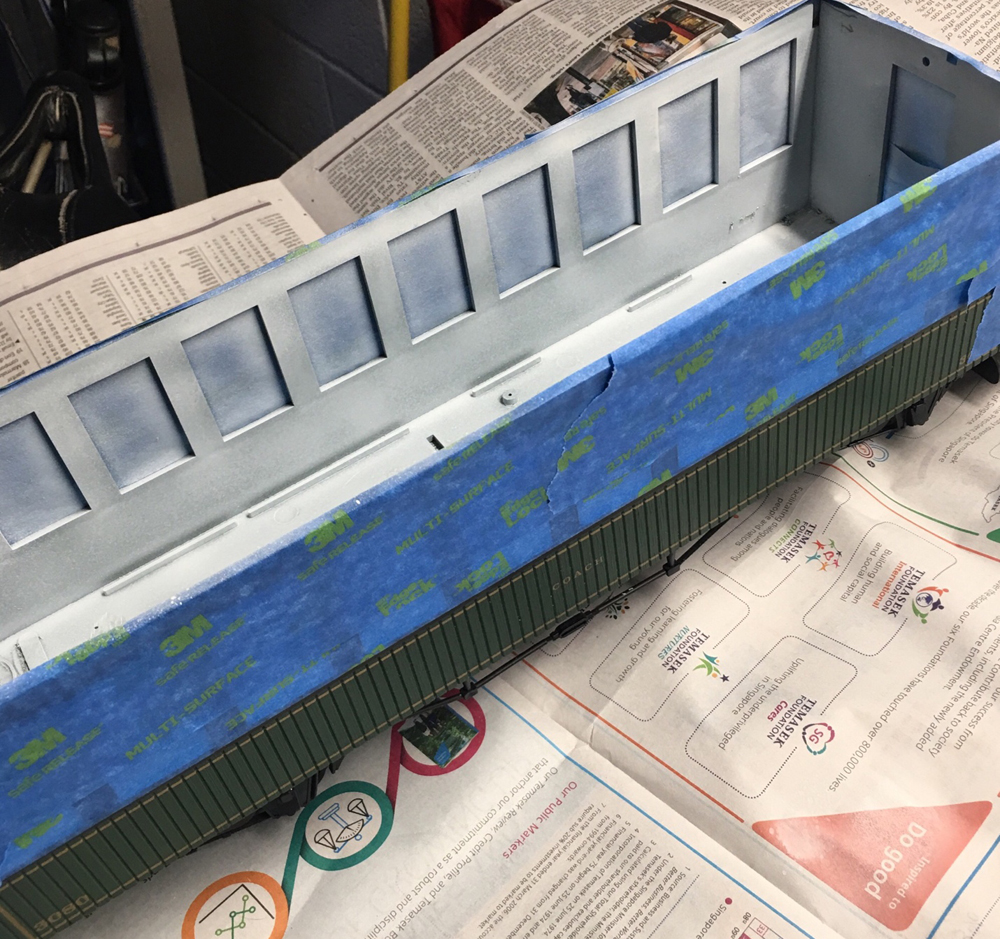
We used an airbrush to add two coats of primer to the interior. We selected a period-correct tan for the walls and floor, and added two coats for an even finish. We used a dark brown to give the seats a leather look, which contrasted nicely with the tan walls. Some of our color choices were educated guesses based on black and white photographs and my memories of riding trains as a child.
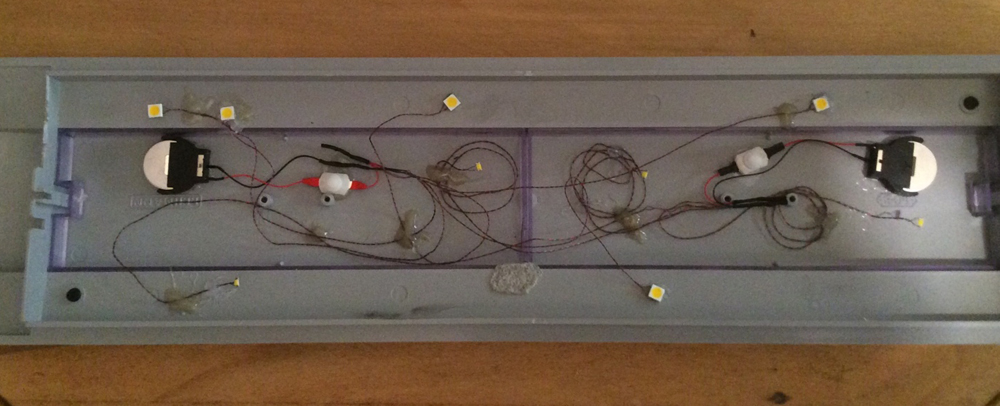
We moved on to lighting next. First, we installed a set of six 1 mm LEDs from True2Scale. After temporarily placing the roof back on the car, the lighting was inadequate, and we ordered a set of the more powerful 5mm LEDs. It took a total of 11 LEDs, along with two 3-volt batteries and switches to get the lighting right. The 5mm LEDs are particularly bright and in hindsight, I probably would have use 9-10 of them versus the combination of small and large lights. We also learned the plastic roof was not friendly to attaching wires and battery clips. I tried model glue, silicone, and epoxy with the epoxy generally working the best. [True2Scale no longer sells LEDs. Similar lighting is available from Evan Designs.—Ed.]
Details make a difference
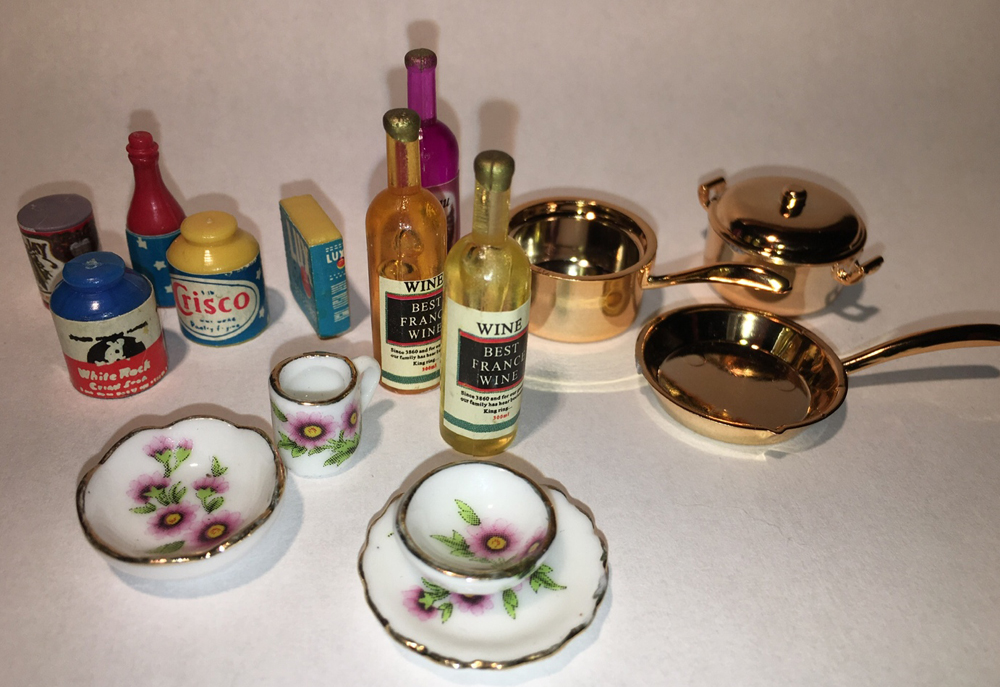
One of the next challenges was finding appropriate cookware, dishware, people, and other details that make models come alive. As LGB’s 1:22.5 is not a common scale, we had to improvise, and as always, internet searches were helpful during our quest. We settled on dollhouse items, commonly in 1:12 scale. By selecting things carefully, we were able to assemble items that while a bit out of proportion, were not egregiously so. For example, we used saucers as dinner plates, and cut what were 375ml wine bottled down to look like 750ml bottles. We also found that by careful placement, we could limit a viewer’s perspective to further hide the scale of the items.
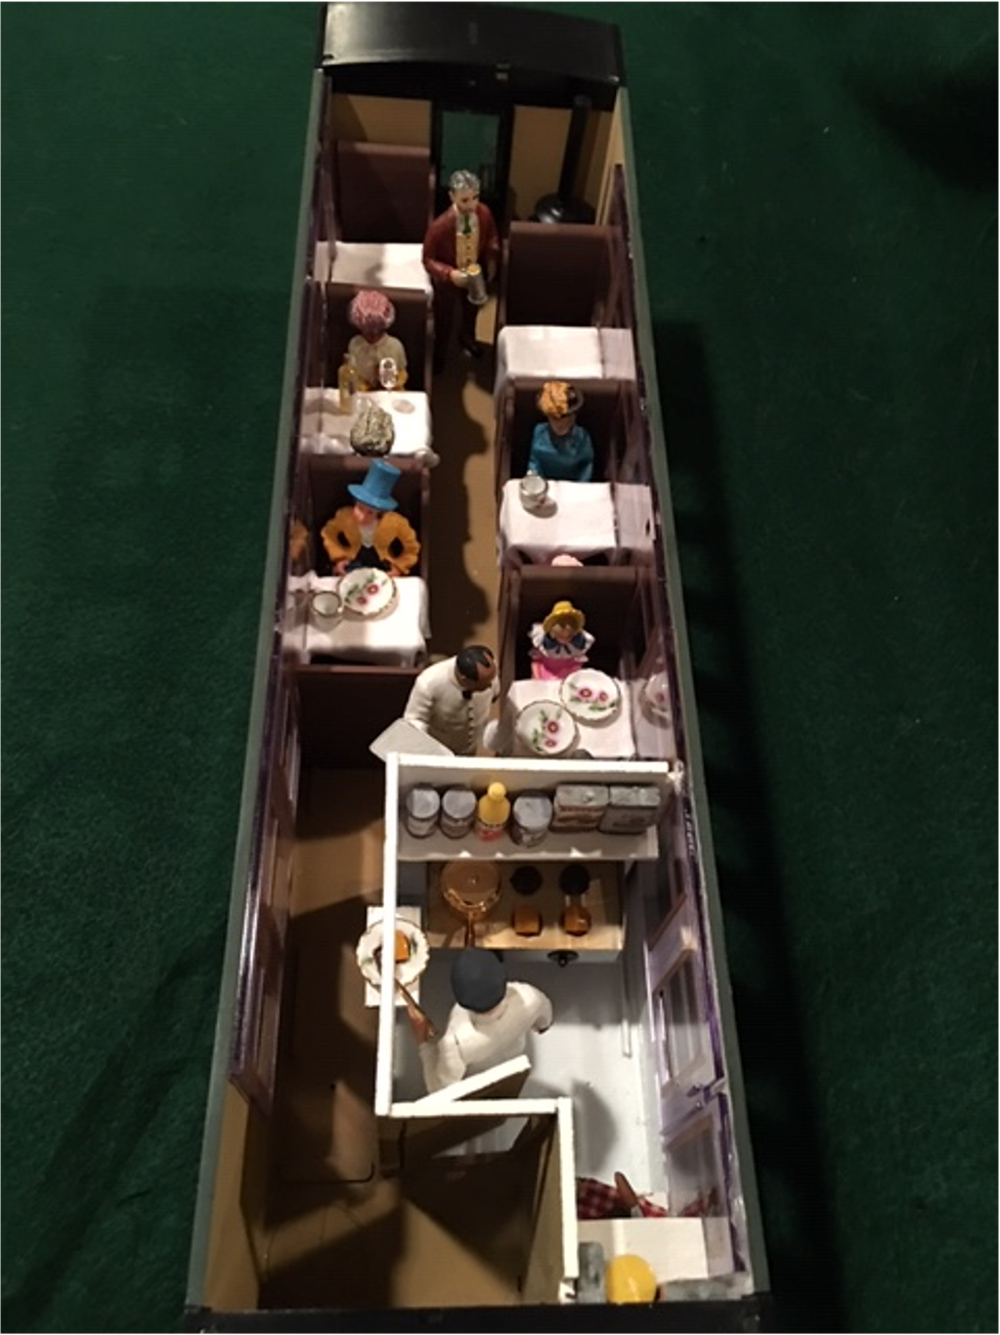
We reinstalled the seats in a staggered arrangement which is different from the original coach configuration. This left an empty space on the top left, which we filled with a coal heating stove. Balsa wood sheeting was used to construct the walls and door to make a kitchen.
Eighth-inch balsa was carefully cut for the walls, door and other parts. The entire unit was assembled and painted it before installation. We added shelving, a stove (an eBay find) and various cooking and food items to complete the look of the kitchen.
Builder’s note: In a newbie mistake, we assumed that the balsa/paint combination we were using would result in a smooth surface texture. We had forgotten how porous balsa wood is, and it did not turn out initially as well as hoped. We ended up adding additional coats of paint to recover from the error. In hindsight, I would have sanded and sealed the balsa ahead first or used a thin hobby plywood instead.
Final assembly
To make the tablecloths, we sacrificed a white silk pocket square. After cutting the silk to conform to the balsa tabletops, we wetted and shaped the small fragments to better drape over the tables. Once dried, they draped nicely over the edges of the table. We then glued the dinnerware and cups to the tablecloths to complete the look and added the figures.
We bought figures from Preiser and Just Plain Folks, some of which we modified to obtain specific poses, especially the cook. One important thing decide regarding the people: how could we make models look like something was going on in the car? What “scene” were we trying to make?
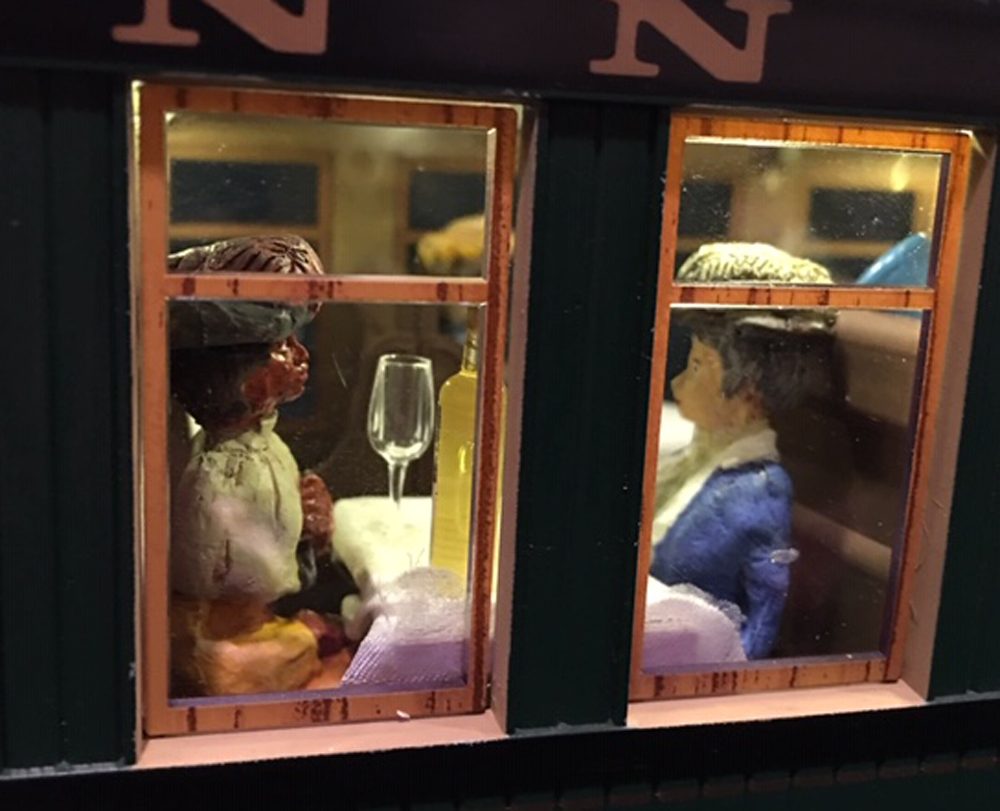
We decided to have a few things going on: two ladies having wine, a family ordering dinner, a man staring off into space, a cook working, and a man in back with a beer. We think it makes the car far more interesting.
After reassembly of the car and roof, we needed to change the lettering on the car’s side. Without proper stencils, we had to change the name from “Coach” to “Dining” by painting it on by hand. It was a bit tricky, as we had to match the green and gold while getting the lettering right, but the end result was passable at three feet.
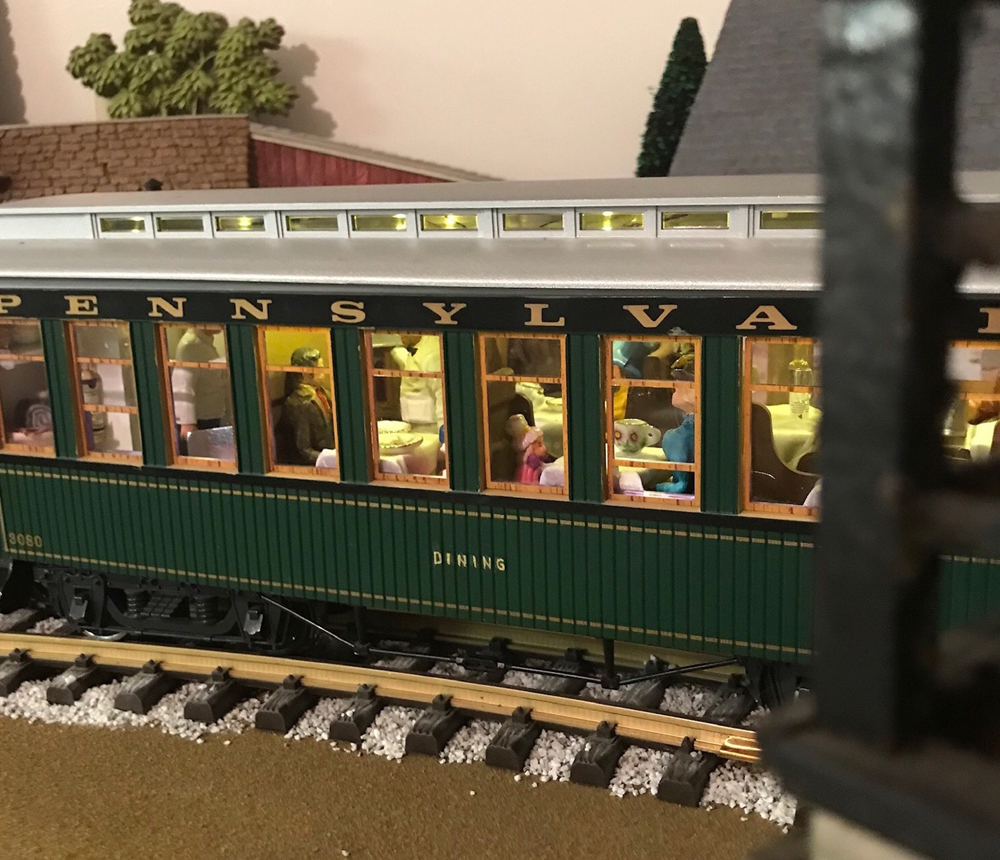
The Pennsylvania Limited is once again offering its travelers an unparalleled experience on the run from New York to Chicago, or more accurately in this case, from one end of the basement to the other. All Aboard!