


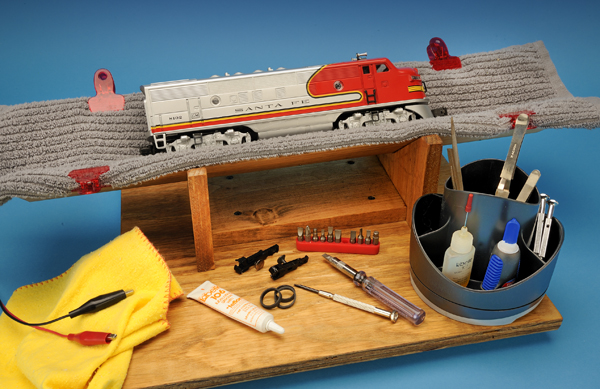
Let me share with you an easy and inexpensive solution to this common problem. I constructed a universal maintenance cradle using a couple of pieces of “craft” wood (finished wood from an artist supply store), an office caddy, some screws, glue, a new towel, and some wood from the “lumber yard” in my garage to make a sturdy cradle that can hold something as large and heavy as an O gauge model of a Union Pacific Big Boy. I built my cradle for O equipment; S gauge modelers should reduce the dimensions of mine only slightly.
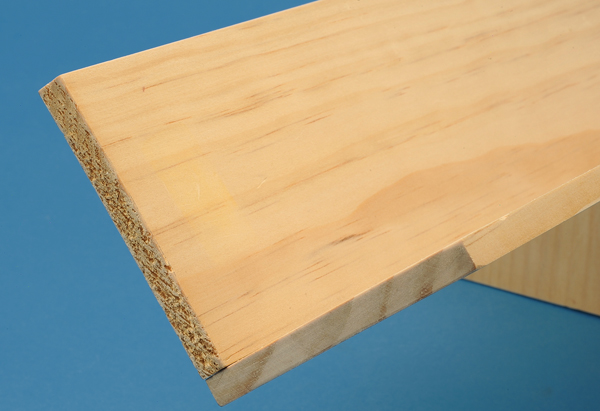
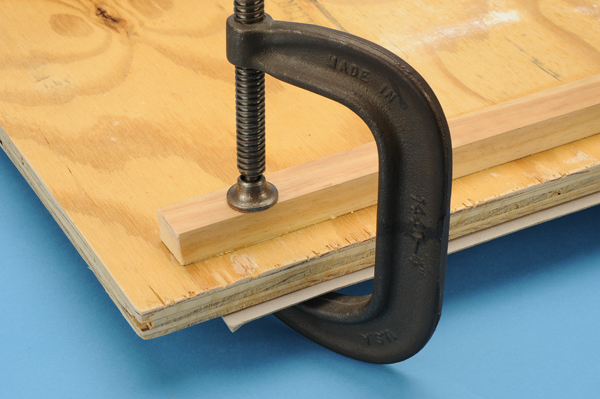
Since some O gauge die-cast metal locomotives check in at 15 pounds and 24 inches in length, I started with a piece of ¾-inch plywood cut to 16 inches square for my base. After sanding the edges, I took the two pieces of the ¼ x 4 x 24-inch pine boards and partially assembled them one inside the other, with the longer to be used as a back brace to support my work in the cradle. I secured both pieces with a few ¾-inch brads to aid as a pattern for my uprights.
Do not glue these pieces together, as you’ll need the flexibility to fill out the V notches in the uprights later for a tight fit (Photo 1).
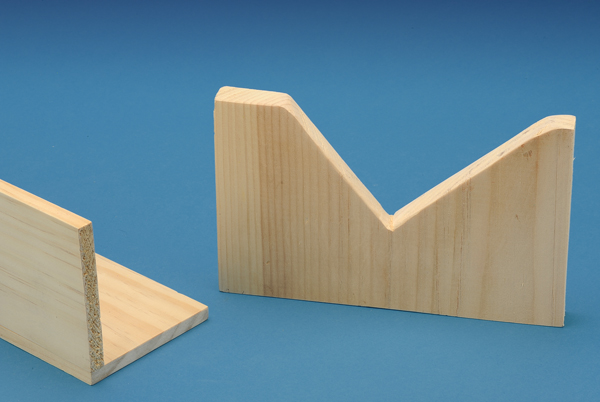
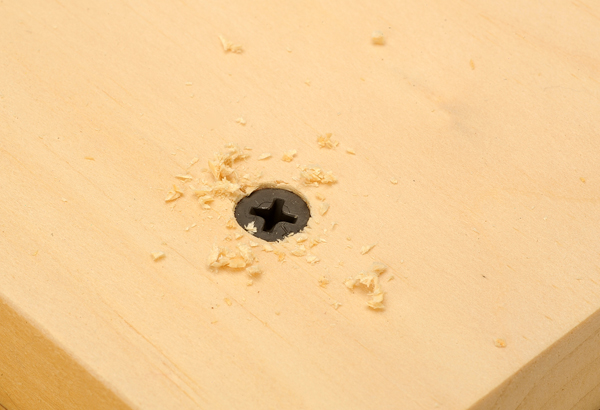
Gathering up some pine and cutting it down to 8 inches in width, I laid out the V supports, marking the pattern and then cutting it out. I made sure the top opening on the V supports measured out to at least 6 inches across with the bottom of the V about 2 inches from the bottom of the support (Photo 2). After cutting and sanding both pieces, I placed them aside for the final assembly.
To help brace those supports, I cut another piece of 1 x 6-inch pine 9 inches in length to be placed between the uprights. Laying it down on the plywood base, I carefully measured all around so it was square on the base.
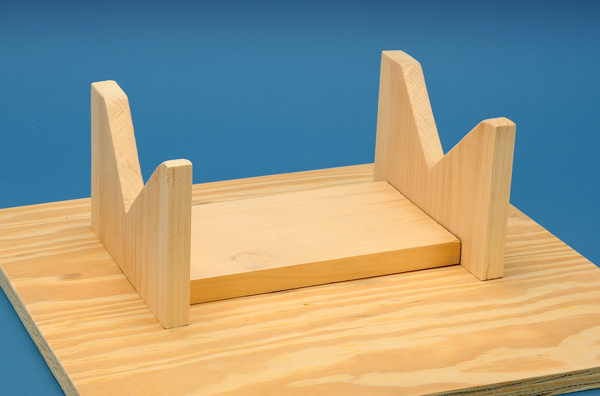
Placing the V supports was easy because all I had to do was match both so I installed them the same way on the center brace. I applied a small amount of glue and tightened everything down.
I did one side first and then secured the other side. I held the other side of the support in my hand and laid in the platform, making sure it fit perfectly into the upright brace.
You may have to move it forward or backward for a good center fit. Then I marked it on the base, glued, and secured it to the center brace.
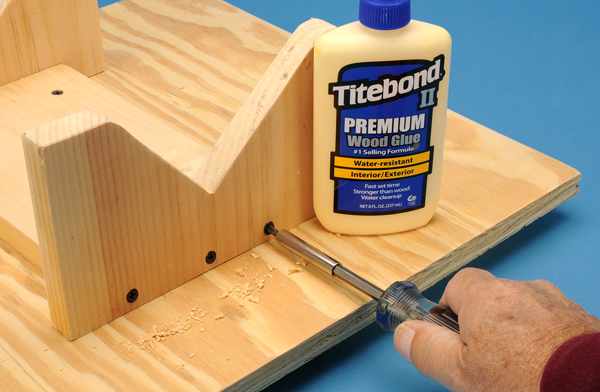
Do not tighten the screws with a power drill too much, because you can split the wood. I drilled pilot holes first, drove the screw in to where it was almost home, and finished with a screwdriver to hand tighten both sides to a snug fit. Afterward, I let everything dry overnight before finishing (Photo 6).
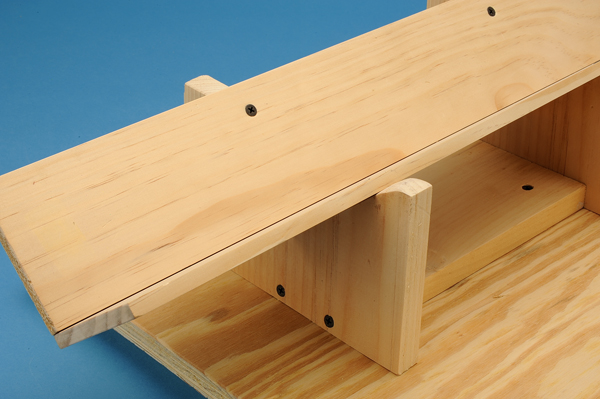
I finished by installing the V cradle into the V blocks. Because I had only lightly nailed the cradle together, I had a little wiggle room in the assembly to compensate for any off-center space within the blocks. I glued this together, pressing downward as I attached four screws (Photo 7).
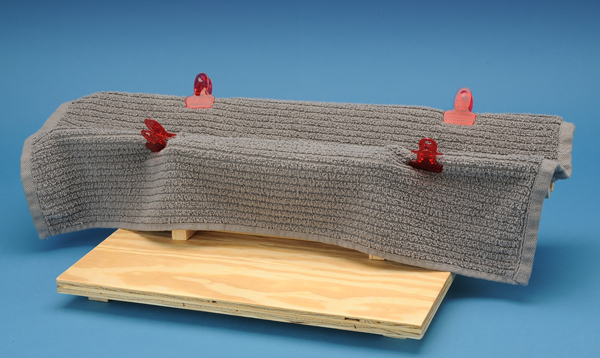
The V design enabled me to lay an engine on its side or its back or with the wheels down as when adding details or decals. For heavy engines, a double layer of a new towel kept their fragile parts from bending or breaking.


I made one of these but used a carpet square (from any home improvement store). The square gives a little more padding, but small parts like springs and small screws hook the carpet fibers if you drop them onto the fabric. You need to decide if you like the padding or the tight weave better. Either way, the design is excellent for cradling your work.
This looks like something that could be extremely useful for a whole bunch of things and not just dealing with heavy machinery! I reckon that a lot of people would be interested to have something that would help to cradle fragile or breakable items in their home while cleaning too!
nice idea, thank you